
Creating Default Files/Links
The guide covers creating new default files/links, saving configurations and applying those resources to all students or specific groups (e.g., by grade/status).
Apr 14, 2026●
1
Navigate to https://app.achieveiec.com/settings
2
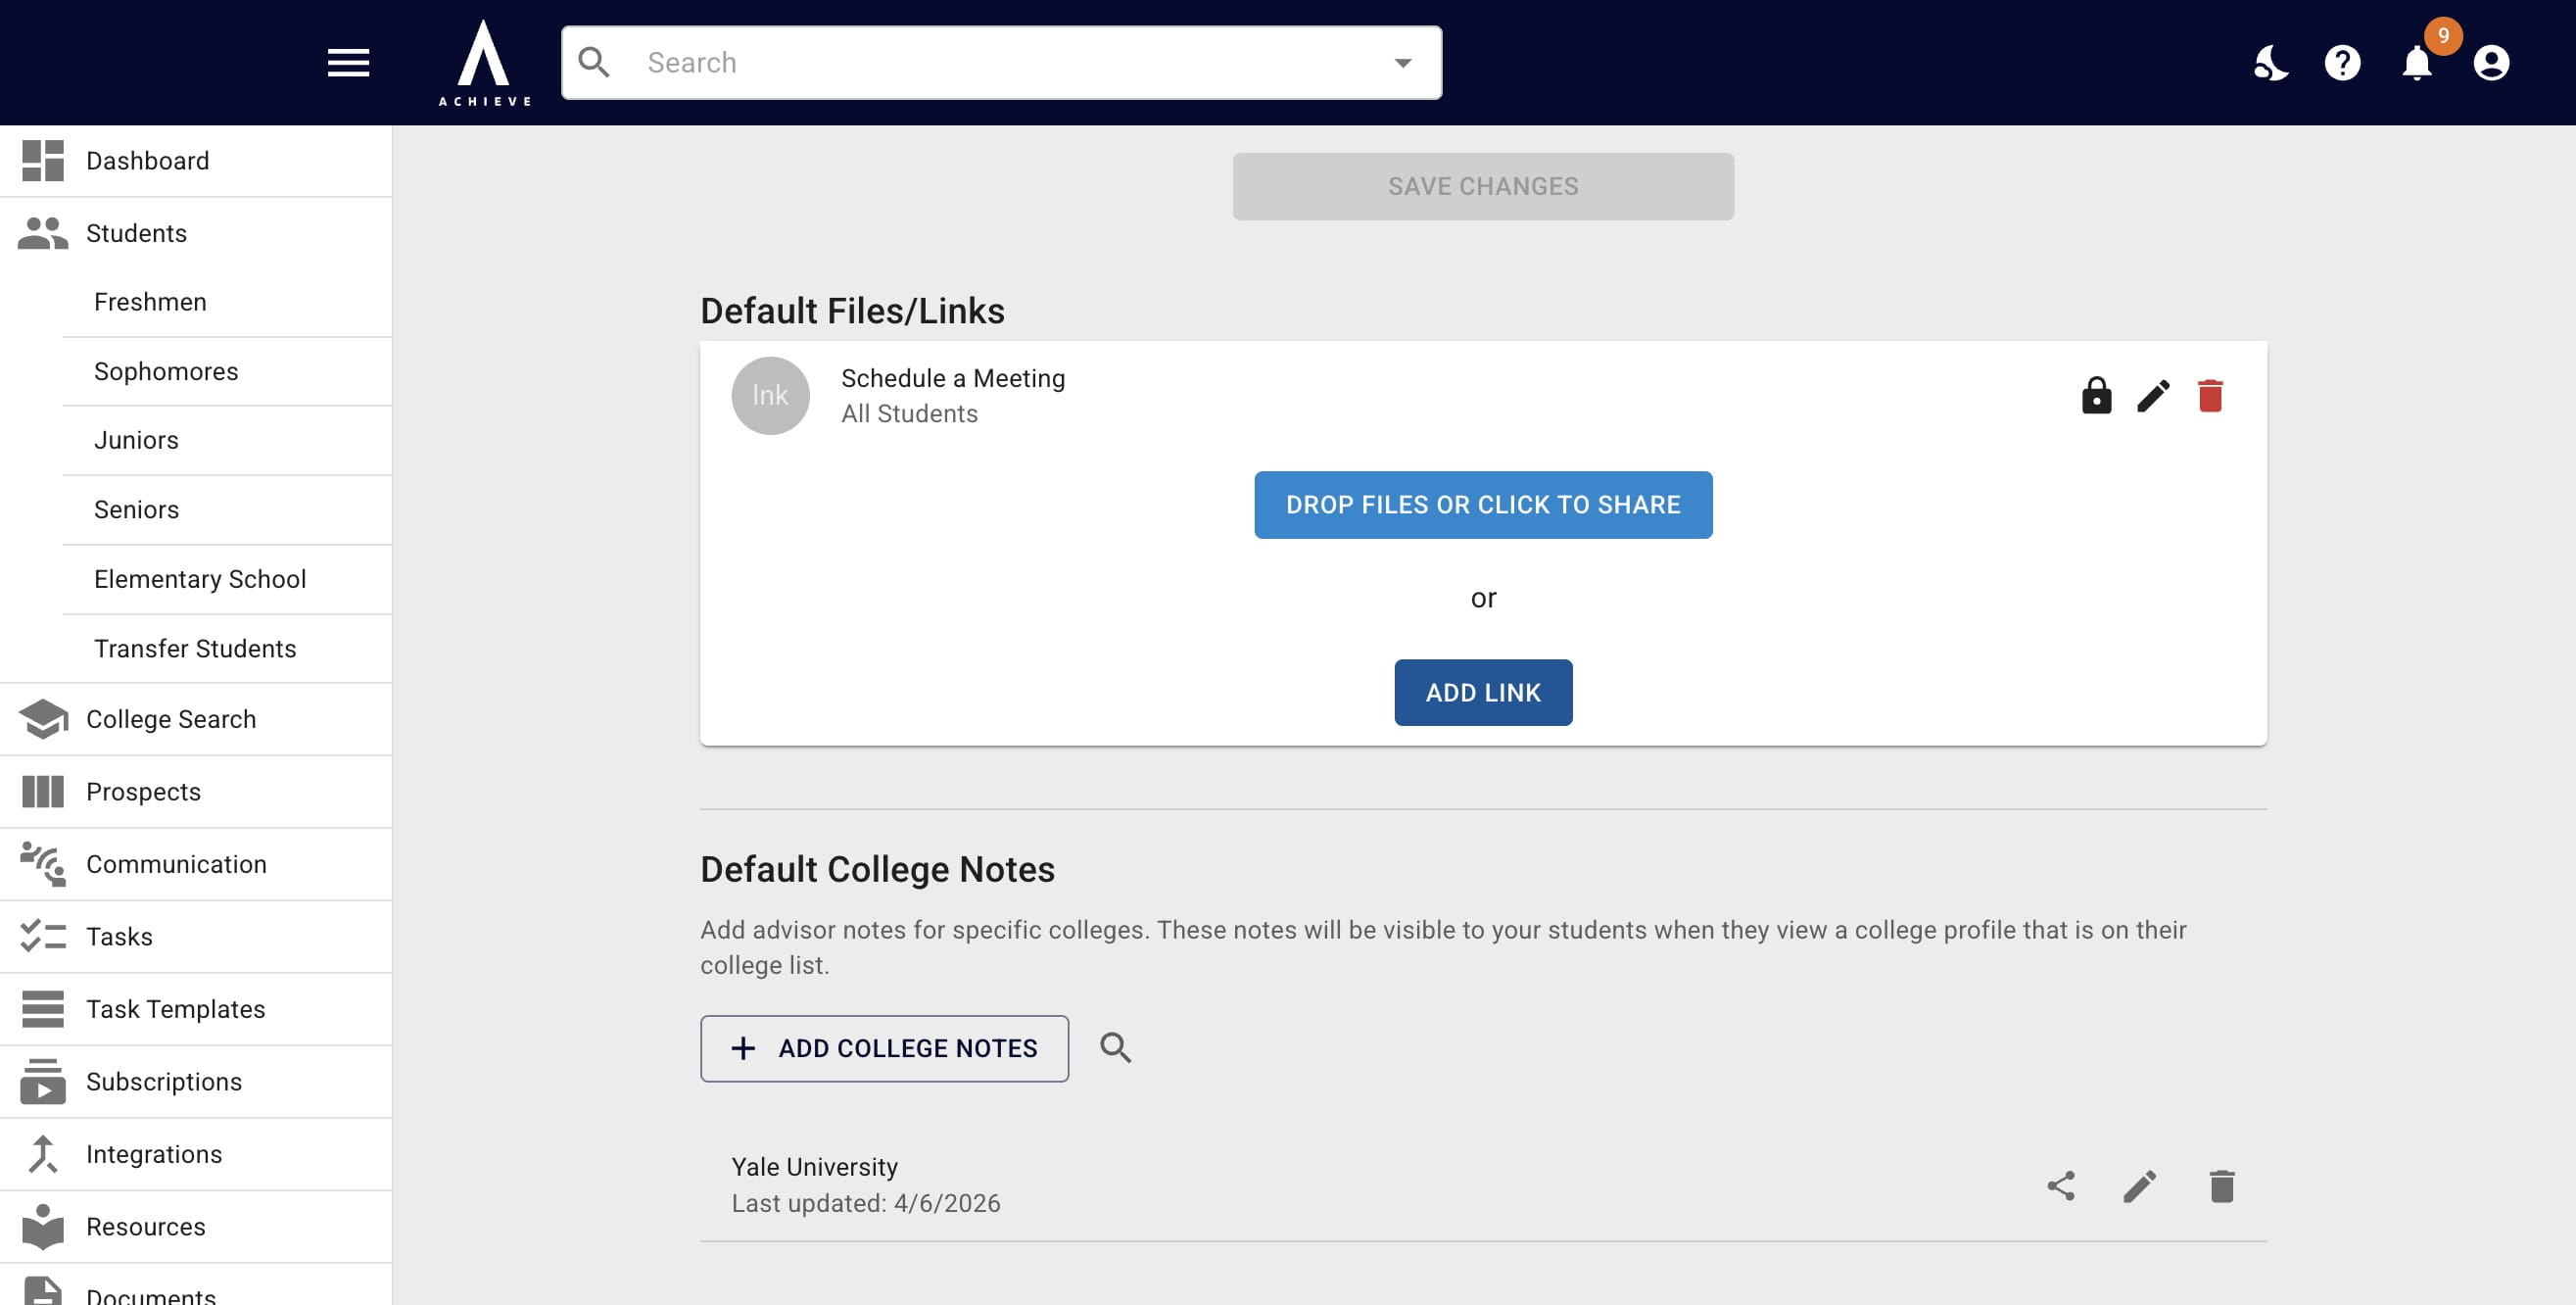
Click on Add Link (or Drop Files or Click to Share, if applicable)
3
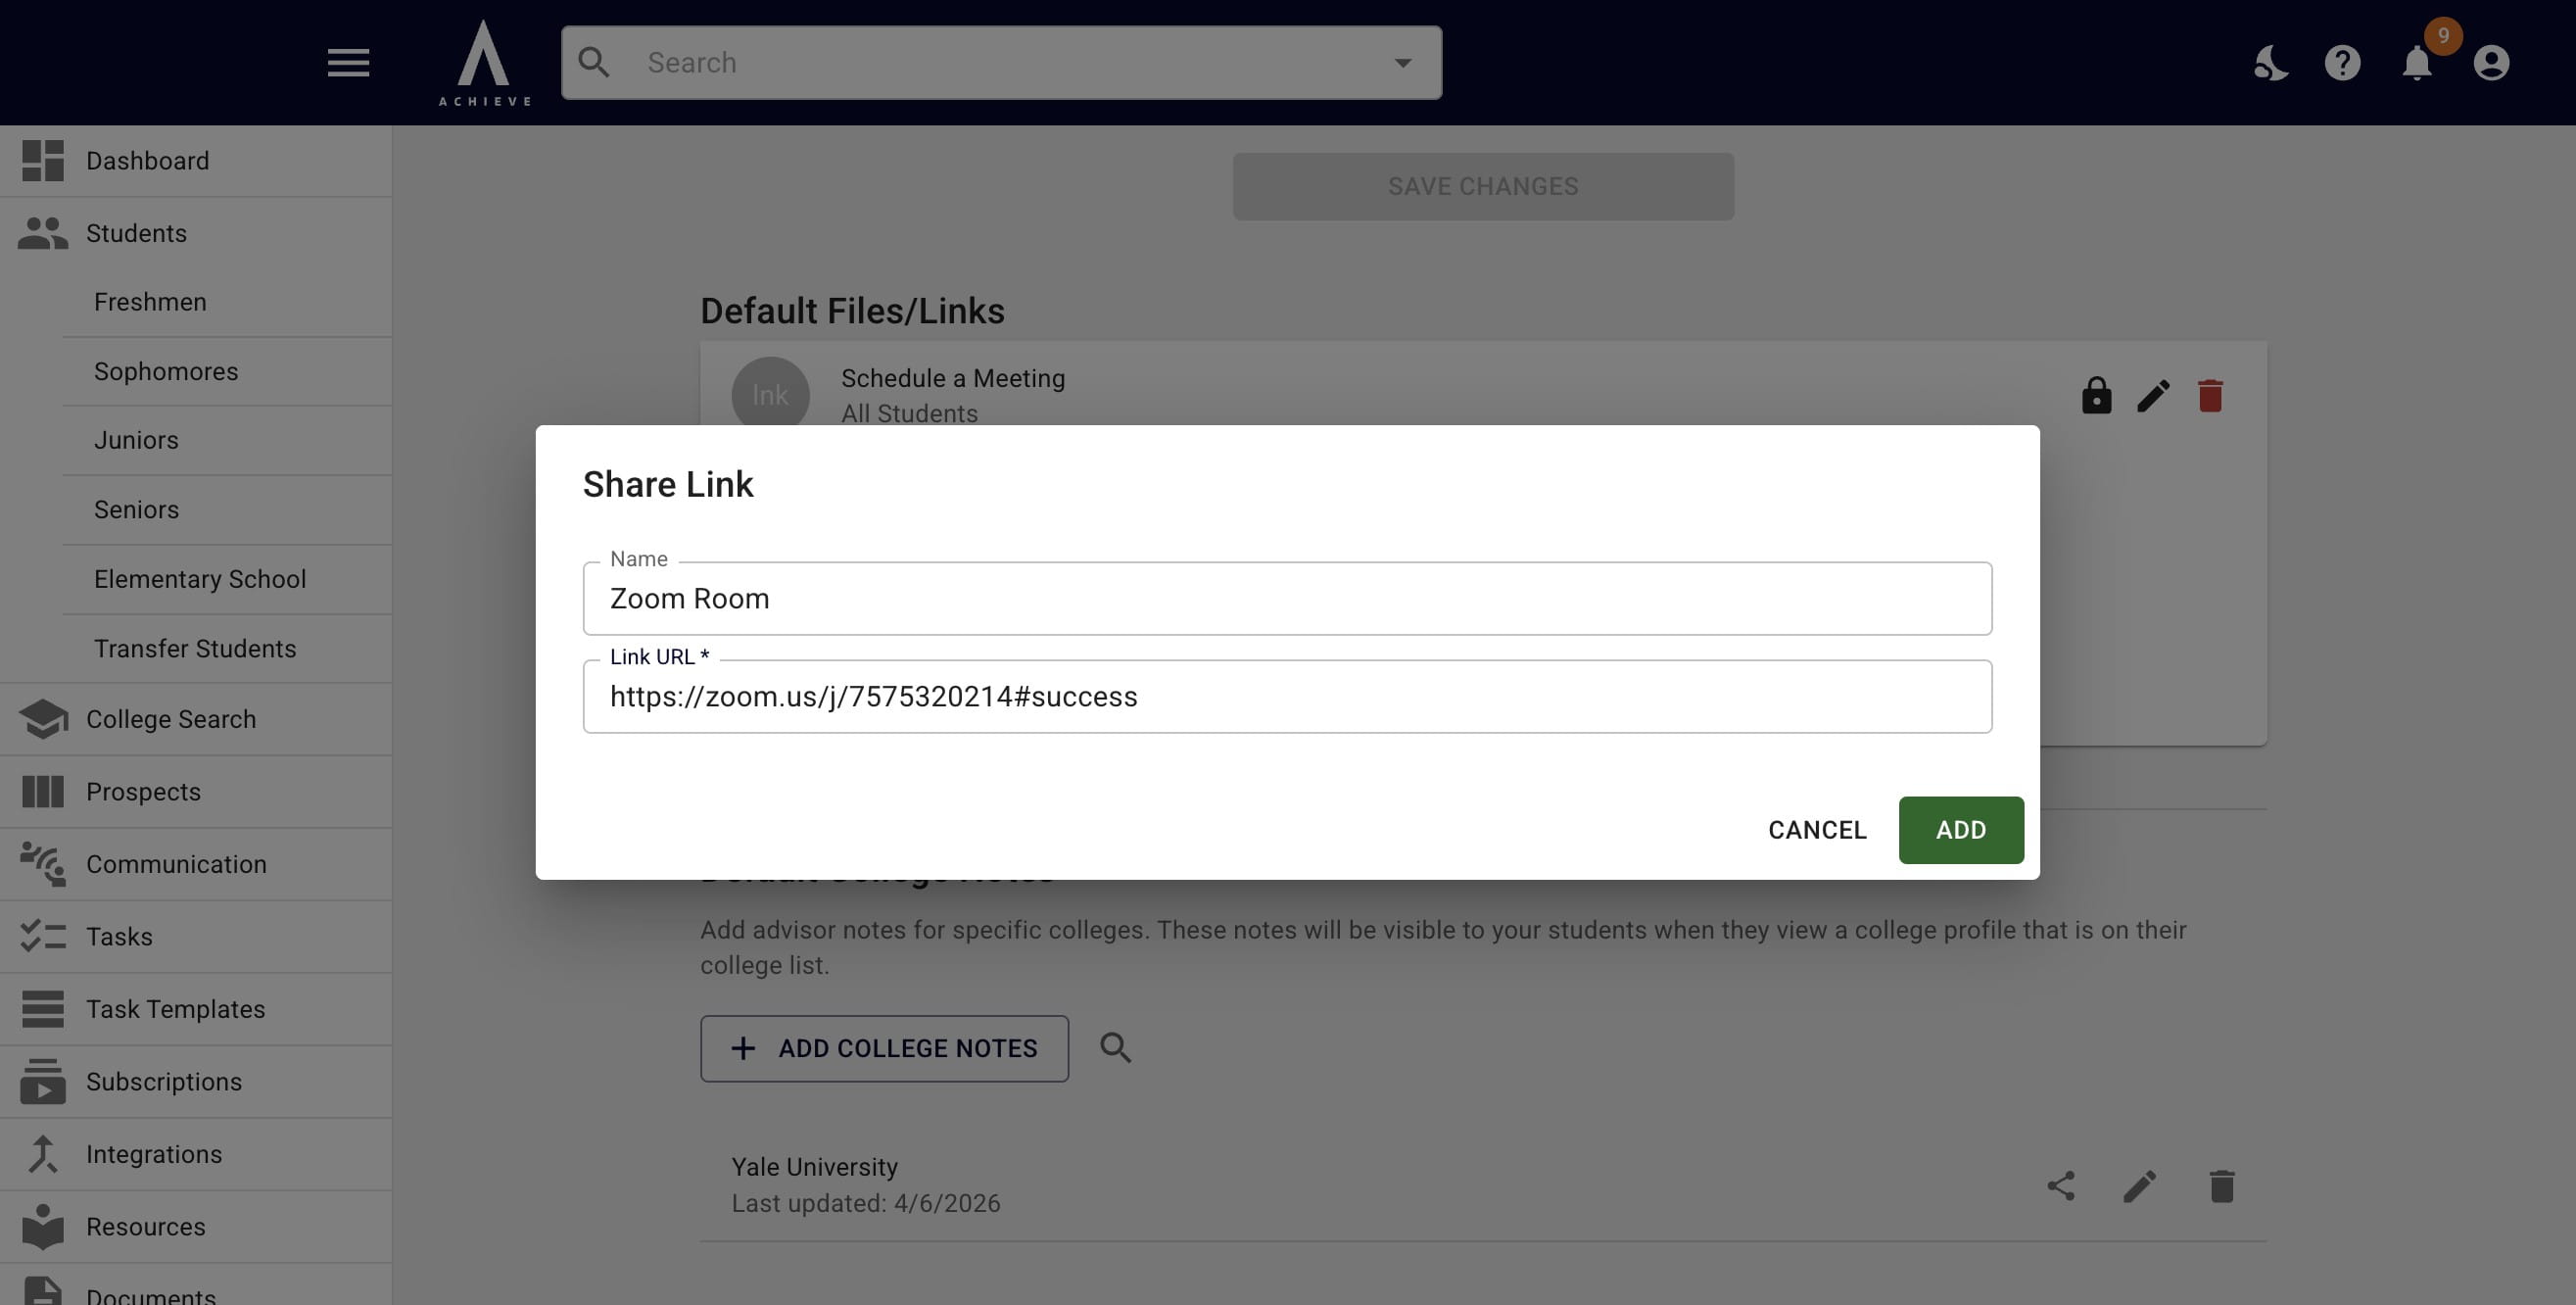
Add the URL and title of the link you're adding
4
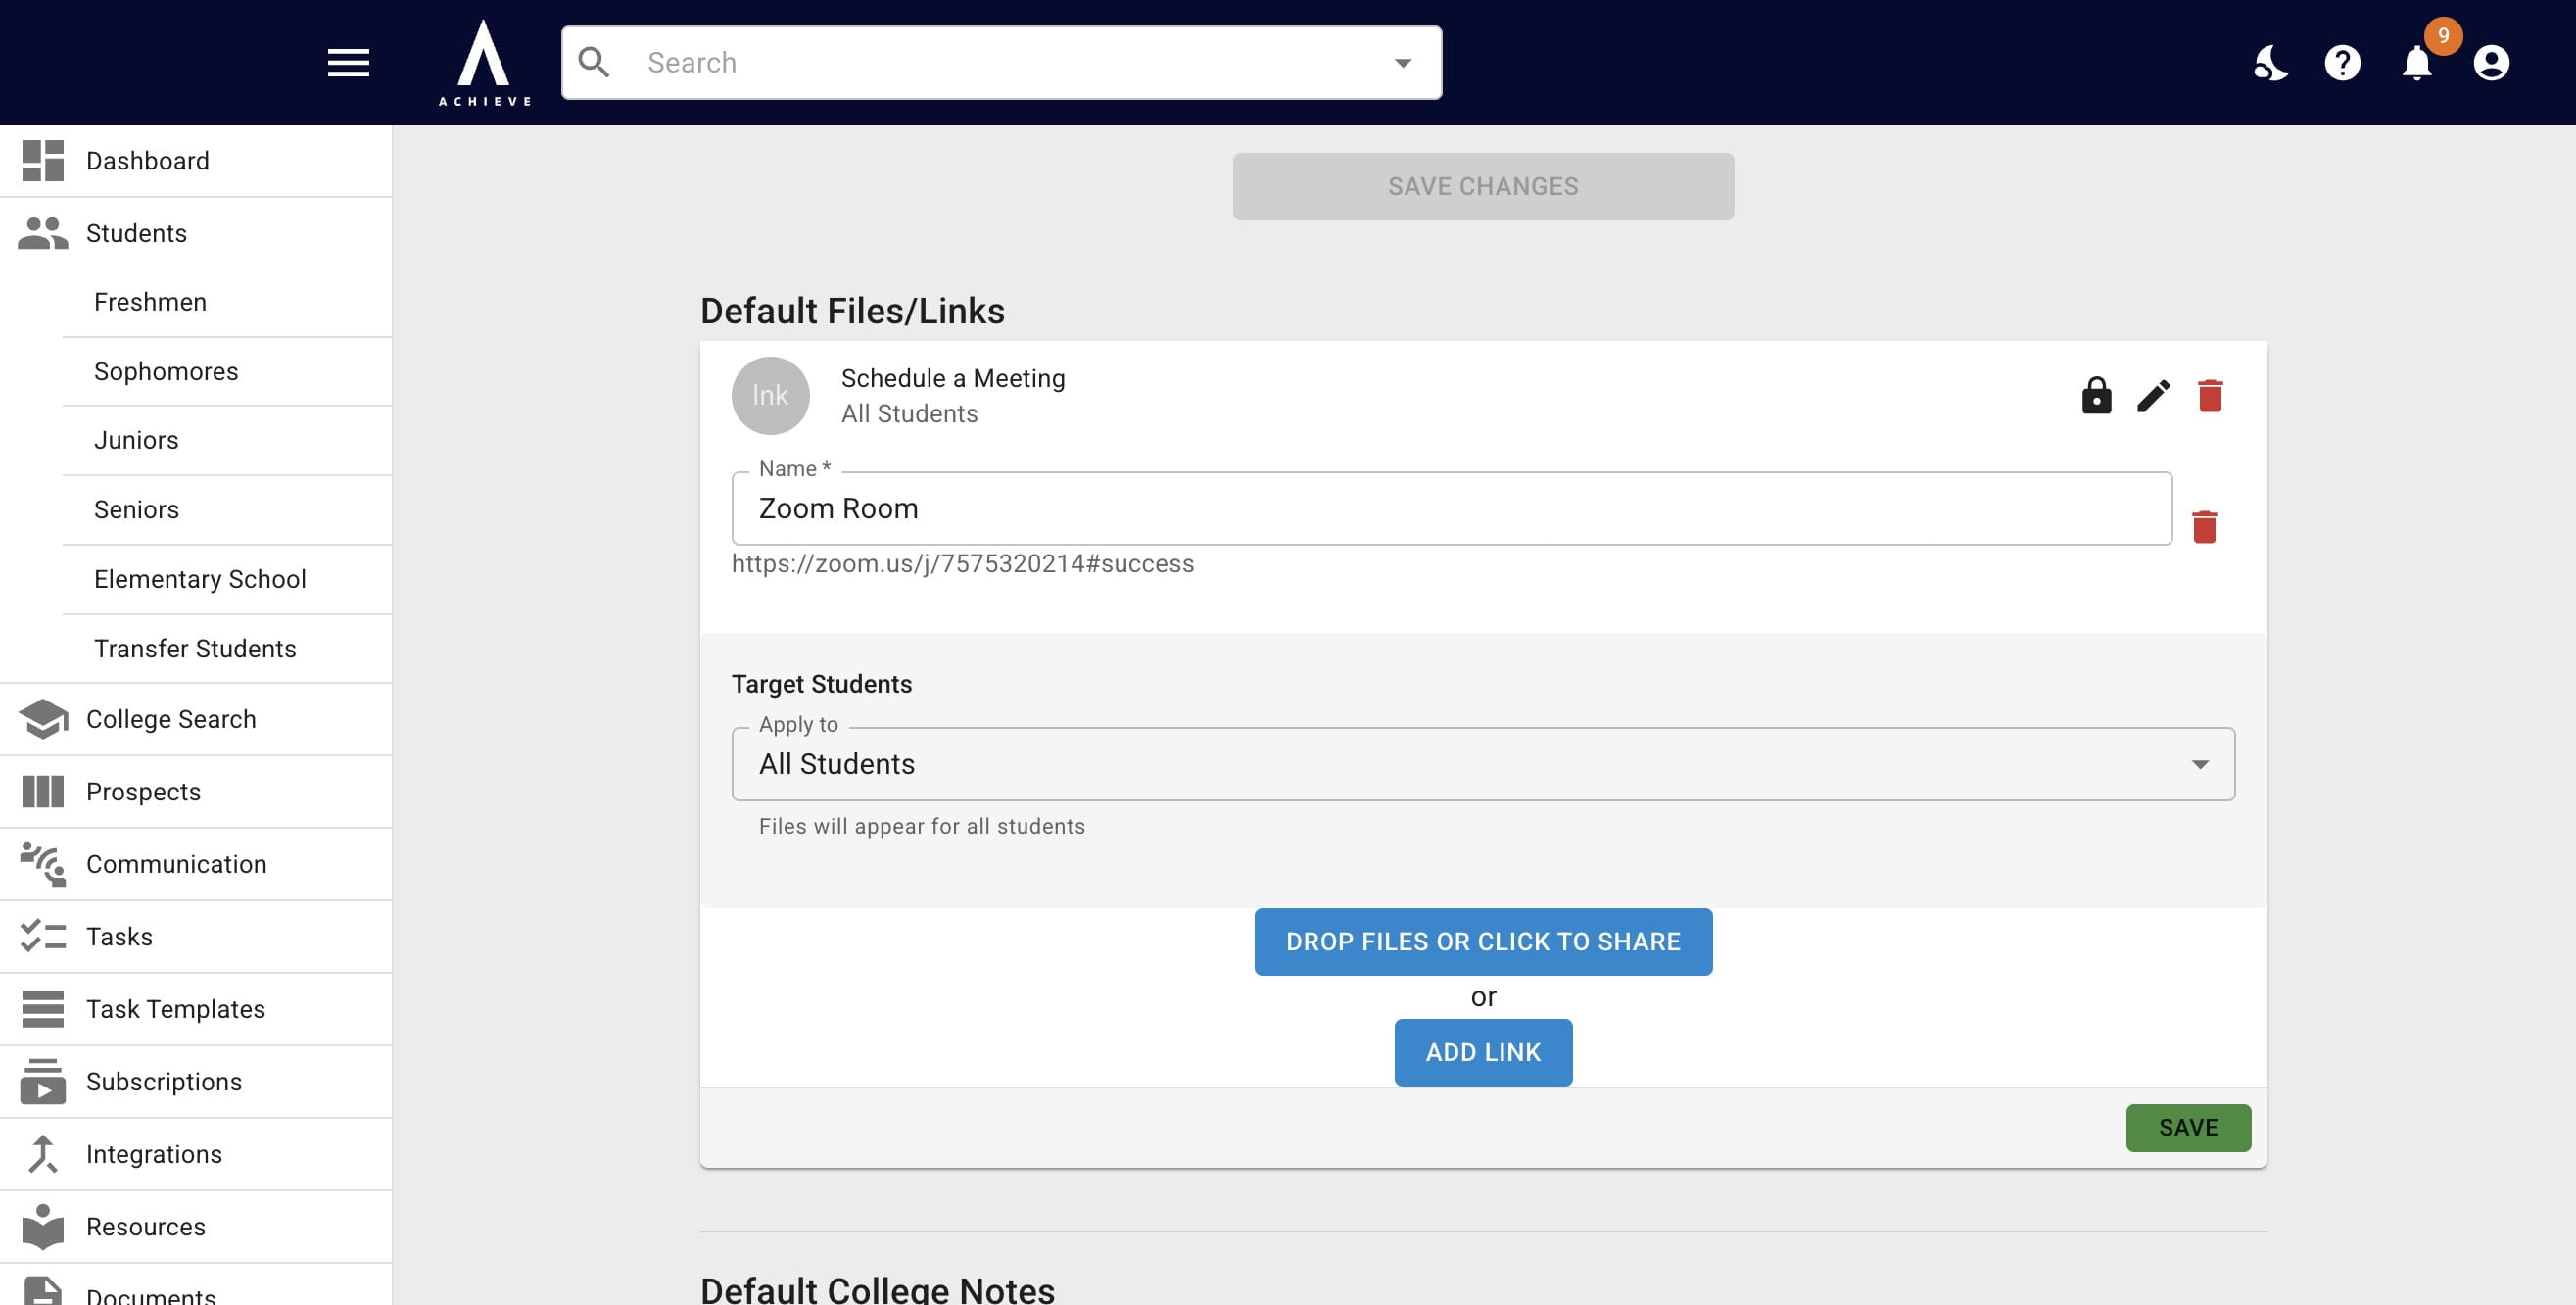
If you want all students to see the link, press Save
5
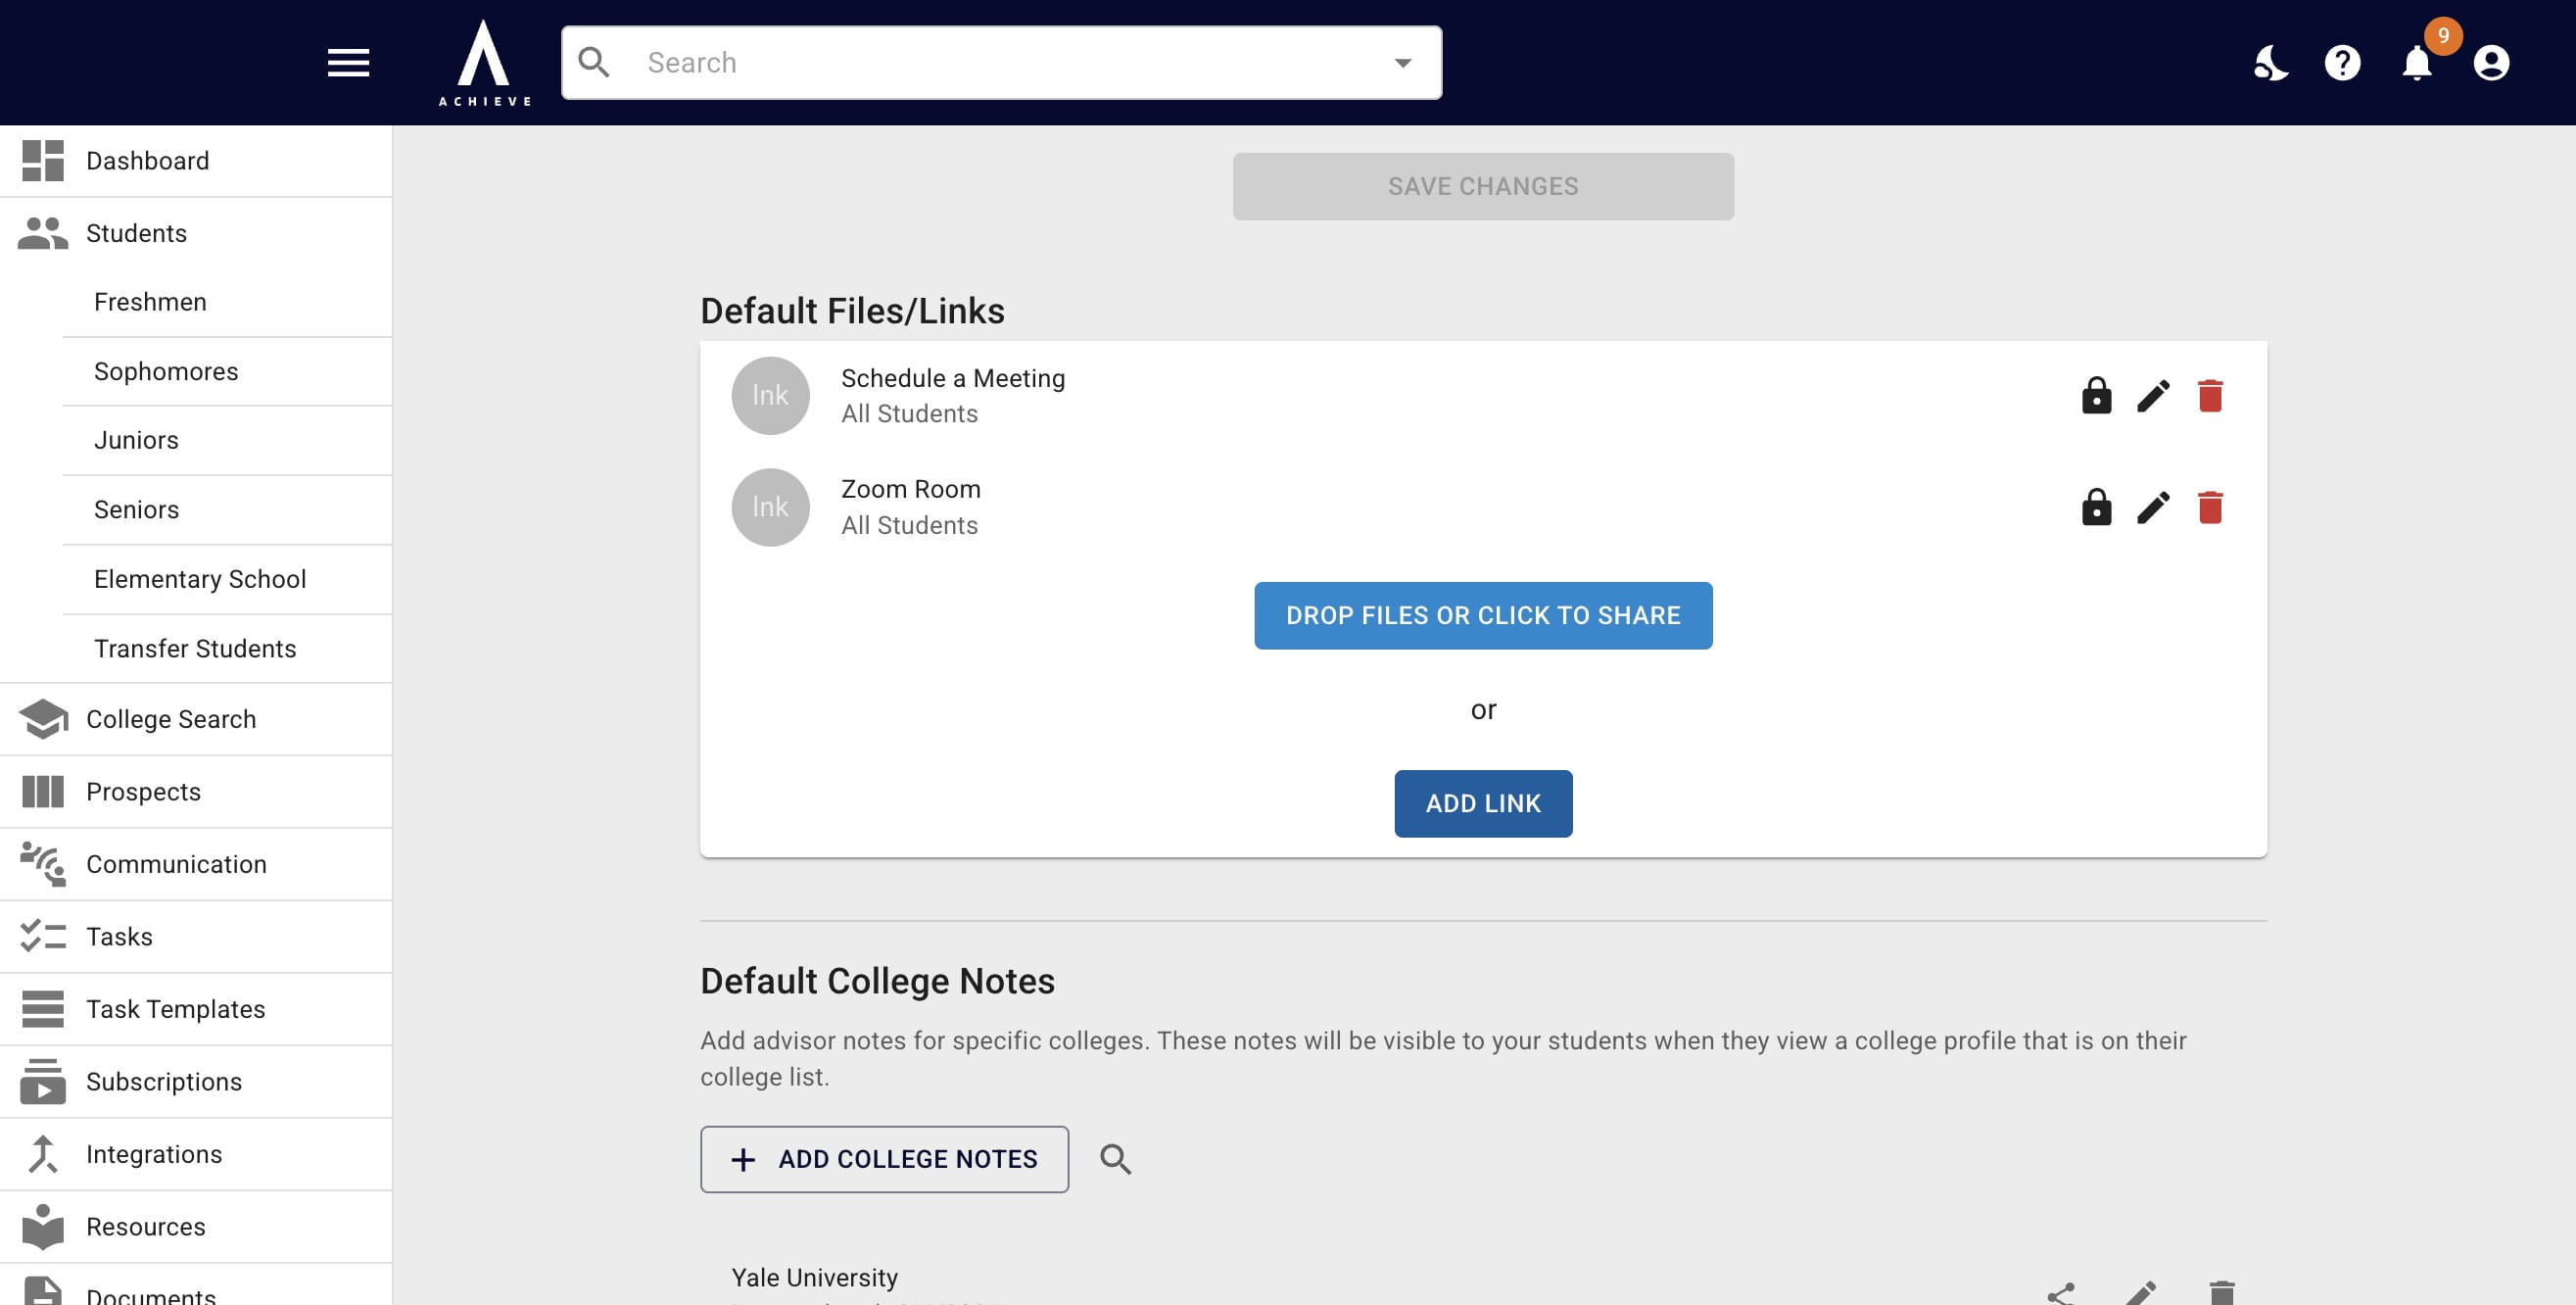
And then click on Add Link
6
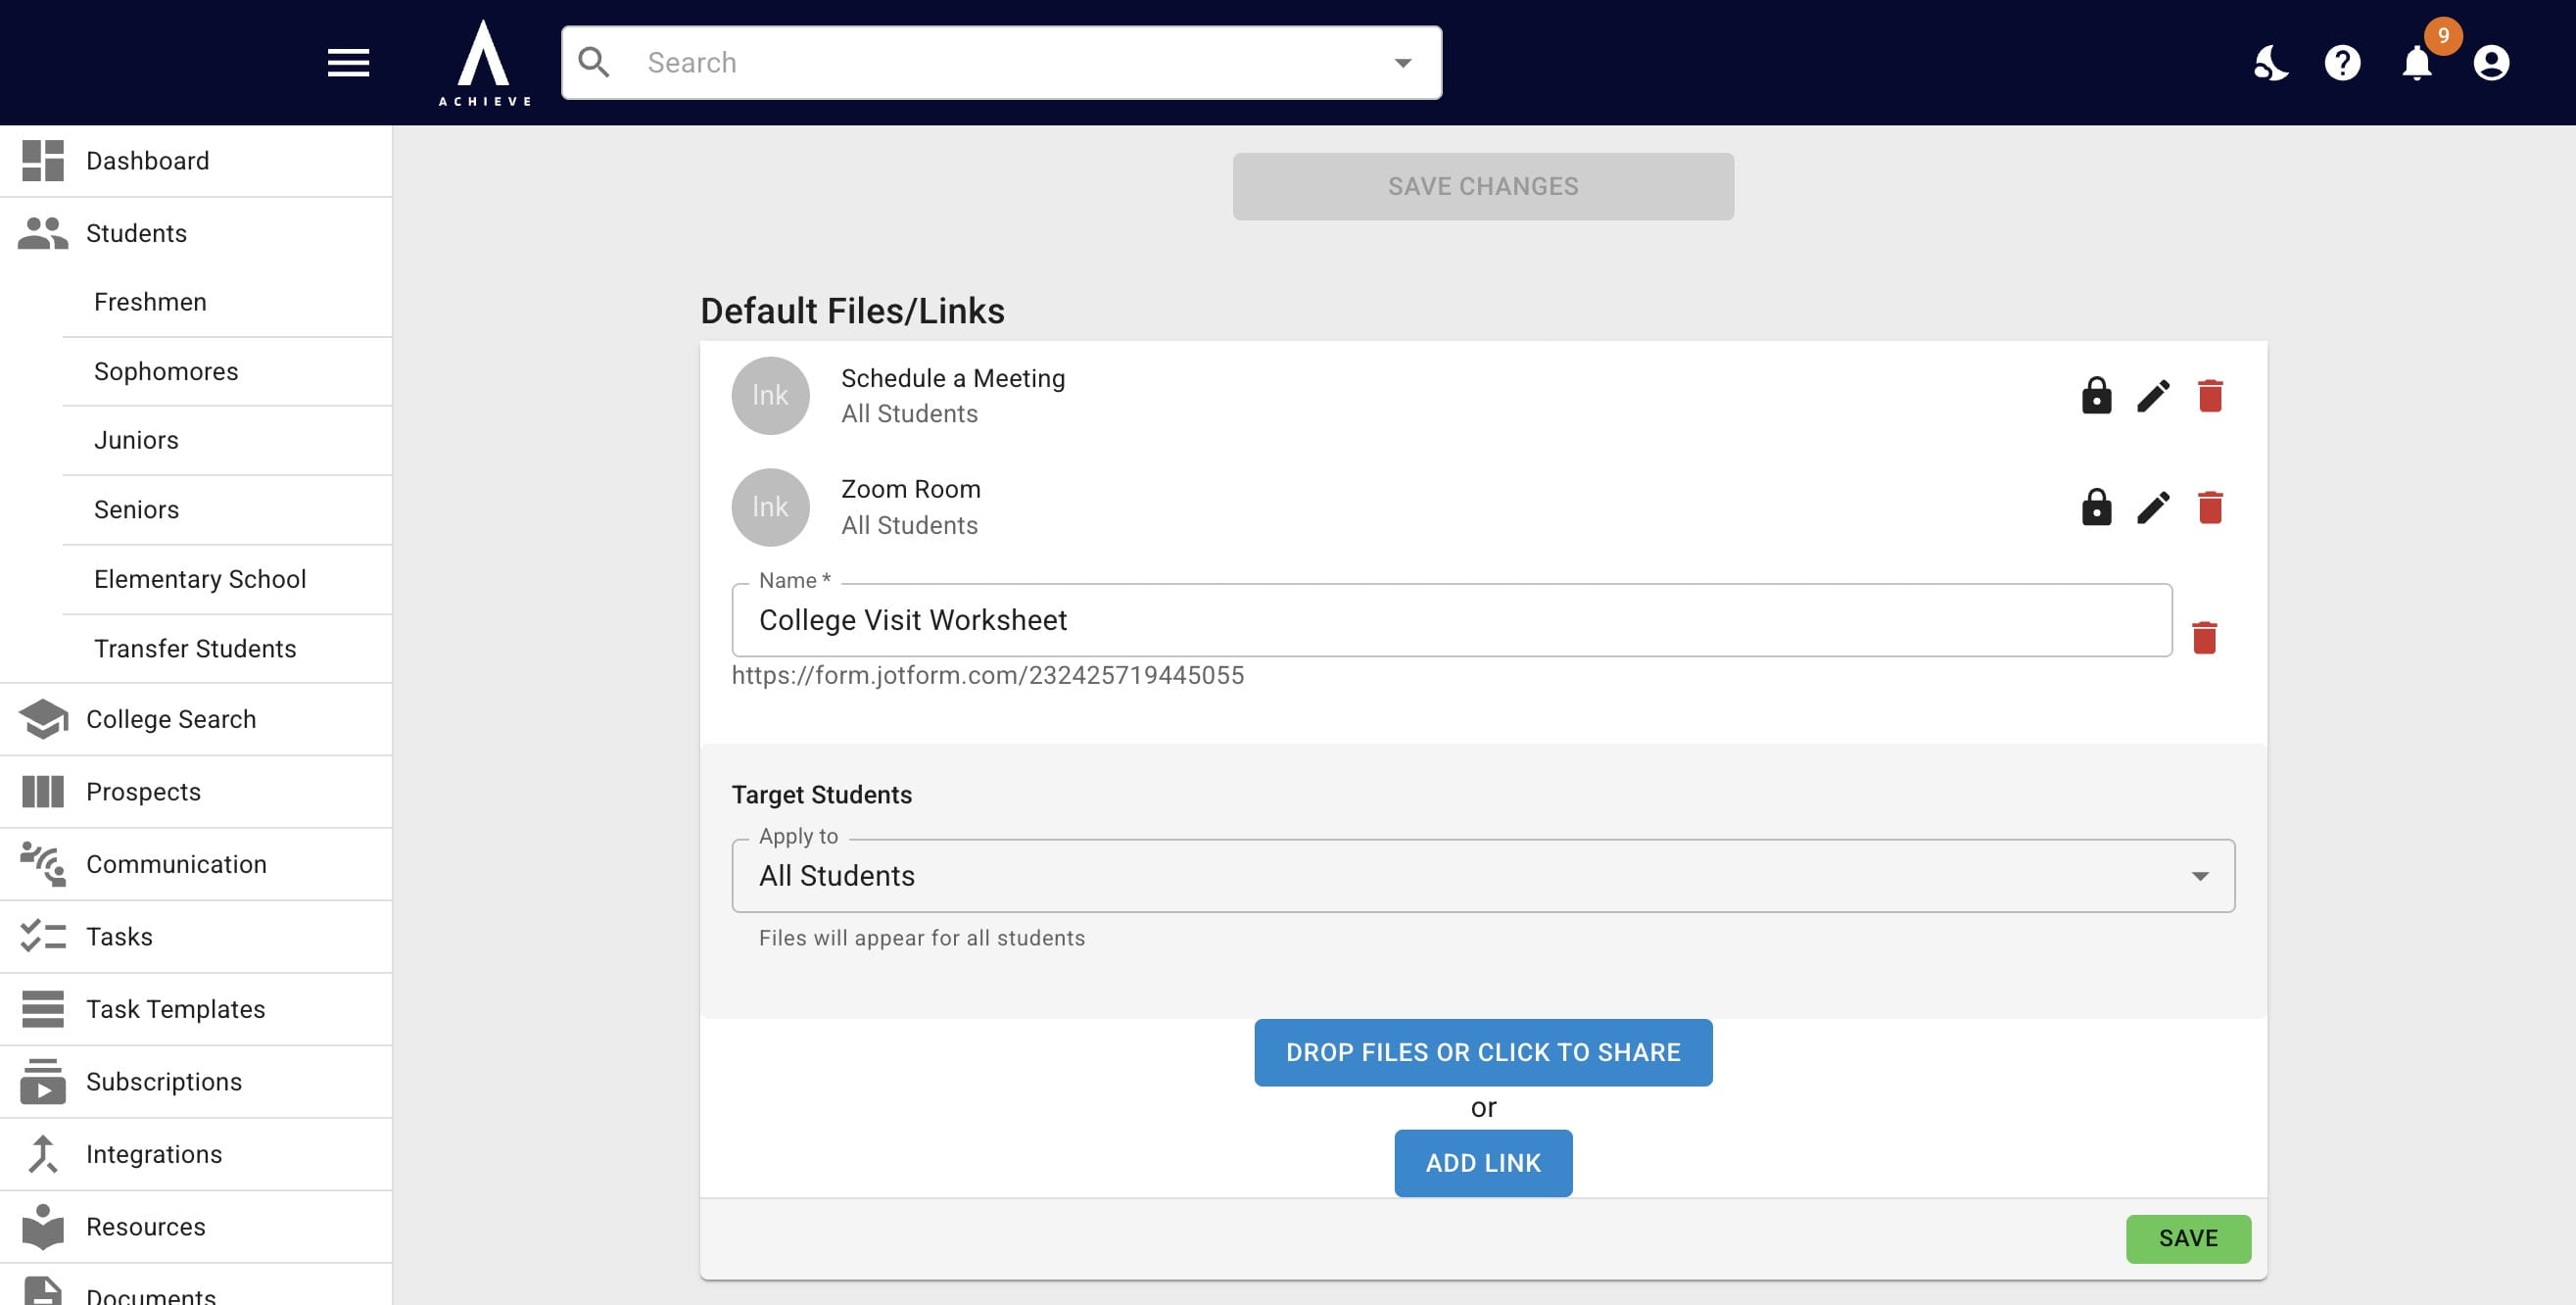
If it's a file/link you want only certain students to see, click on All Students
7
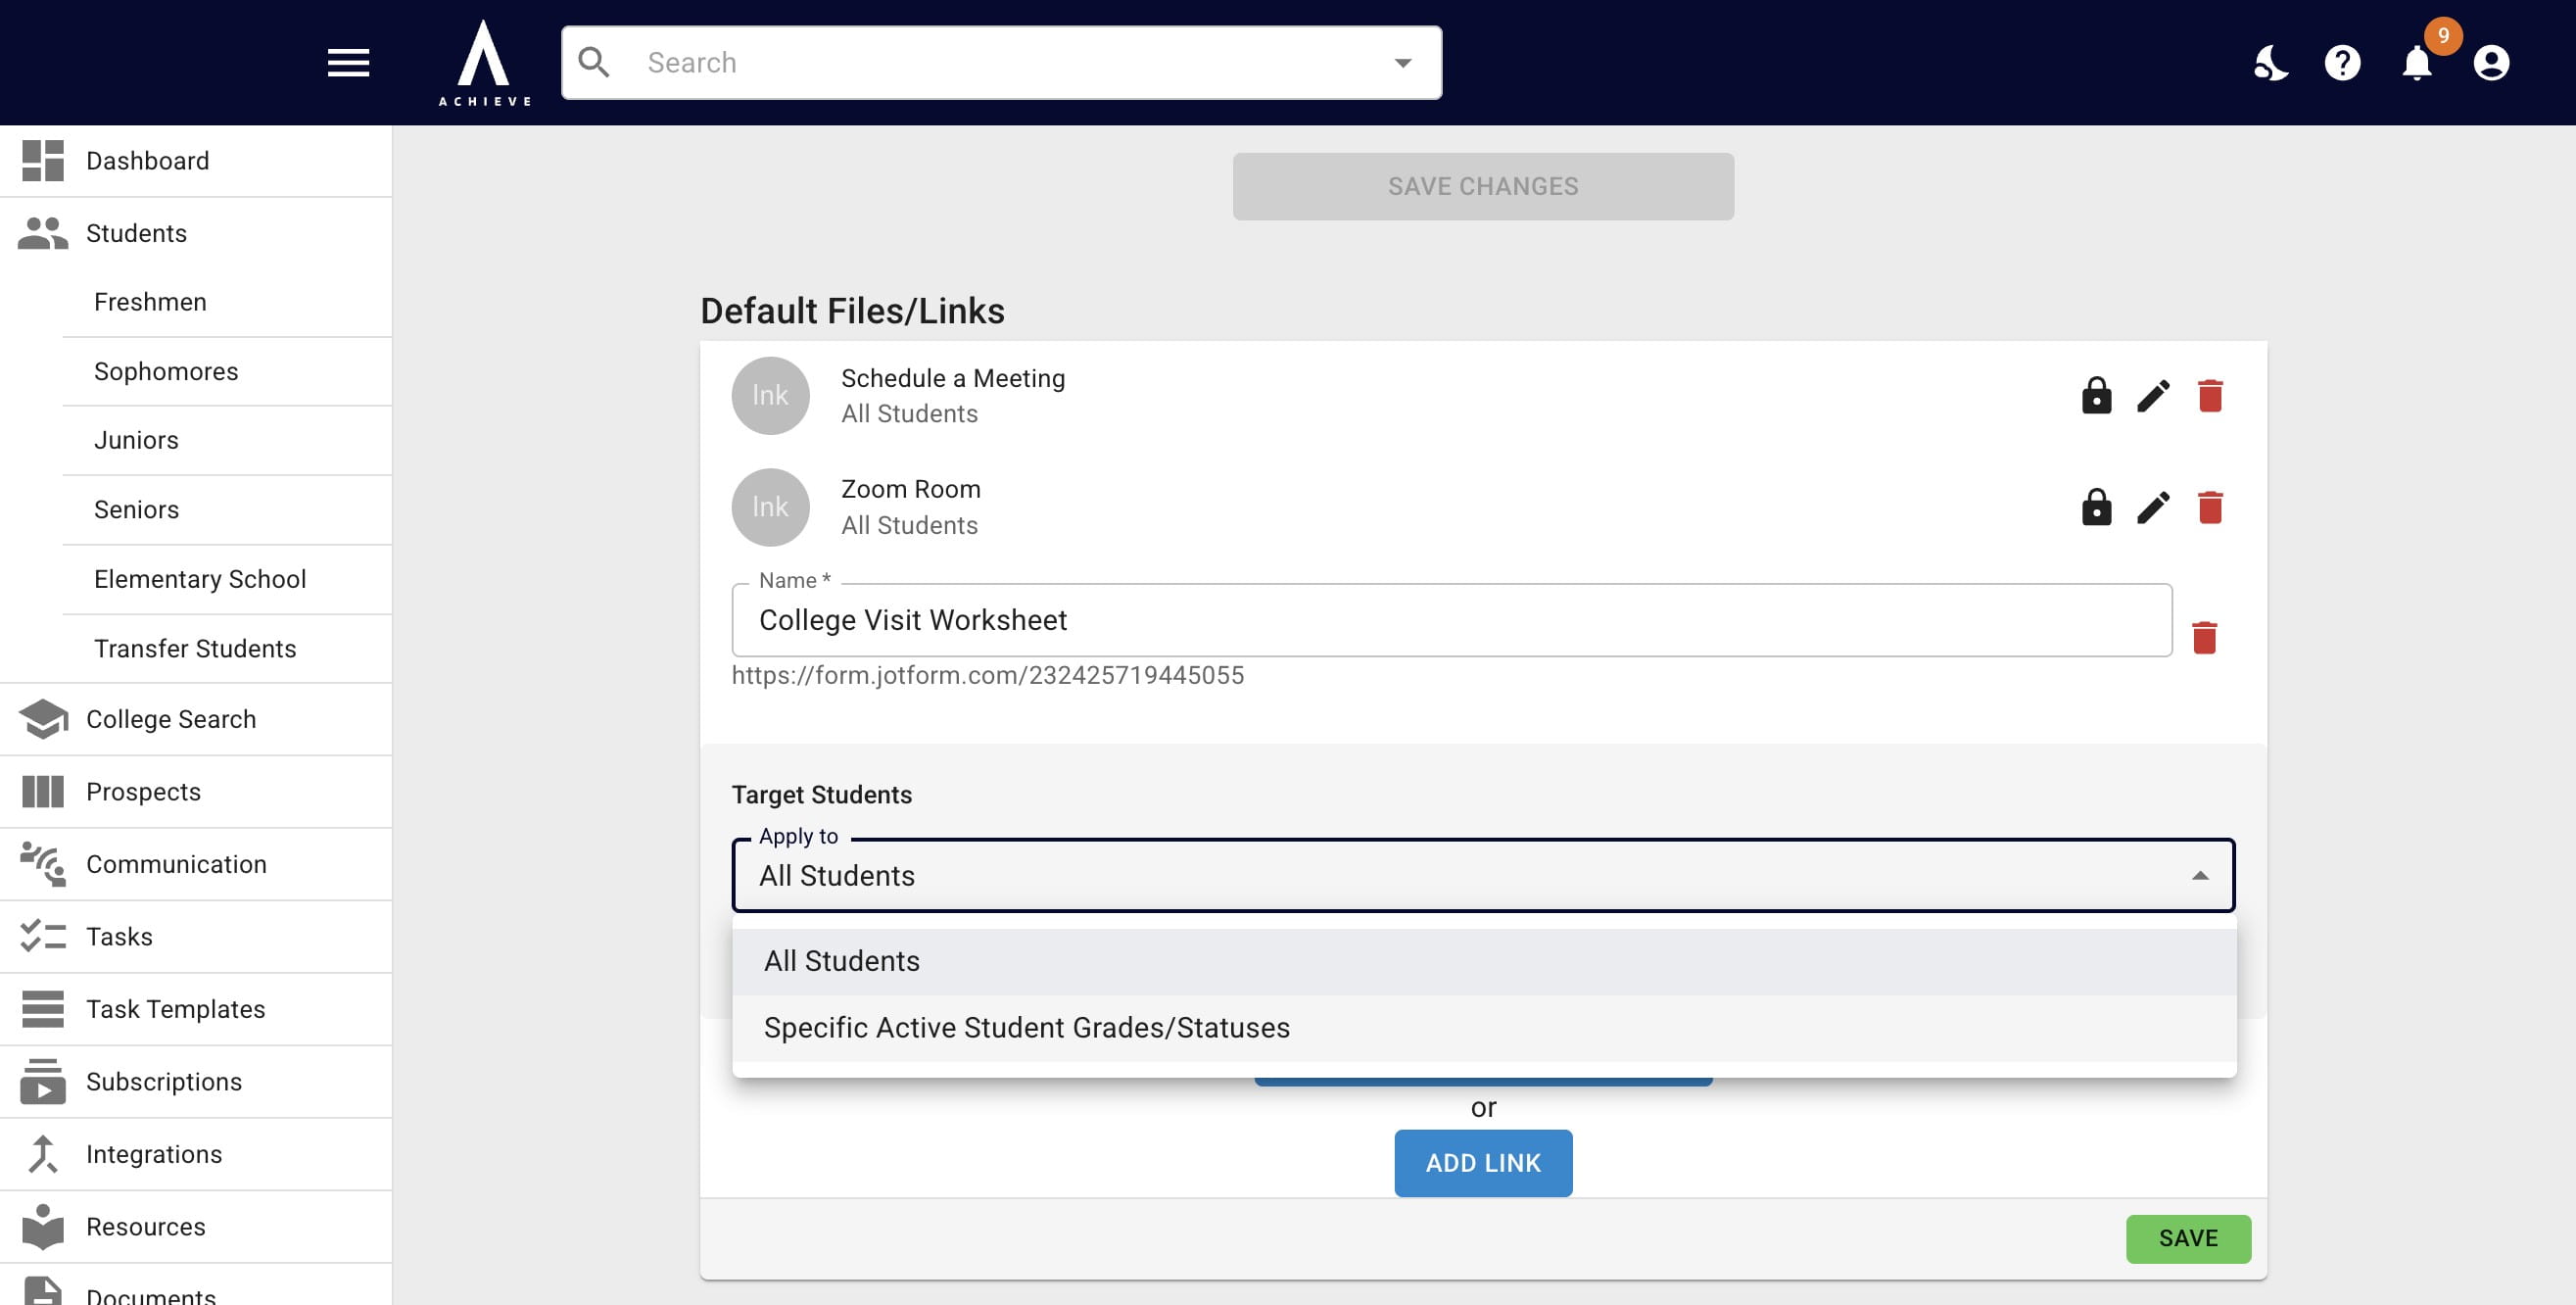
Change that to Specific Active Student Grades/Statuses
8
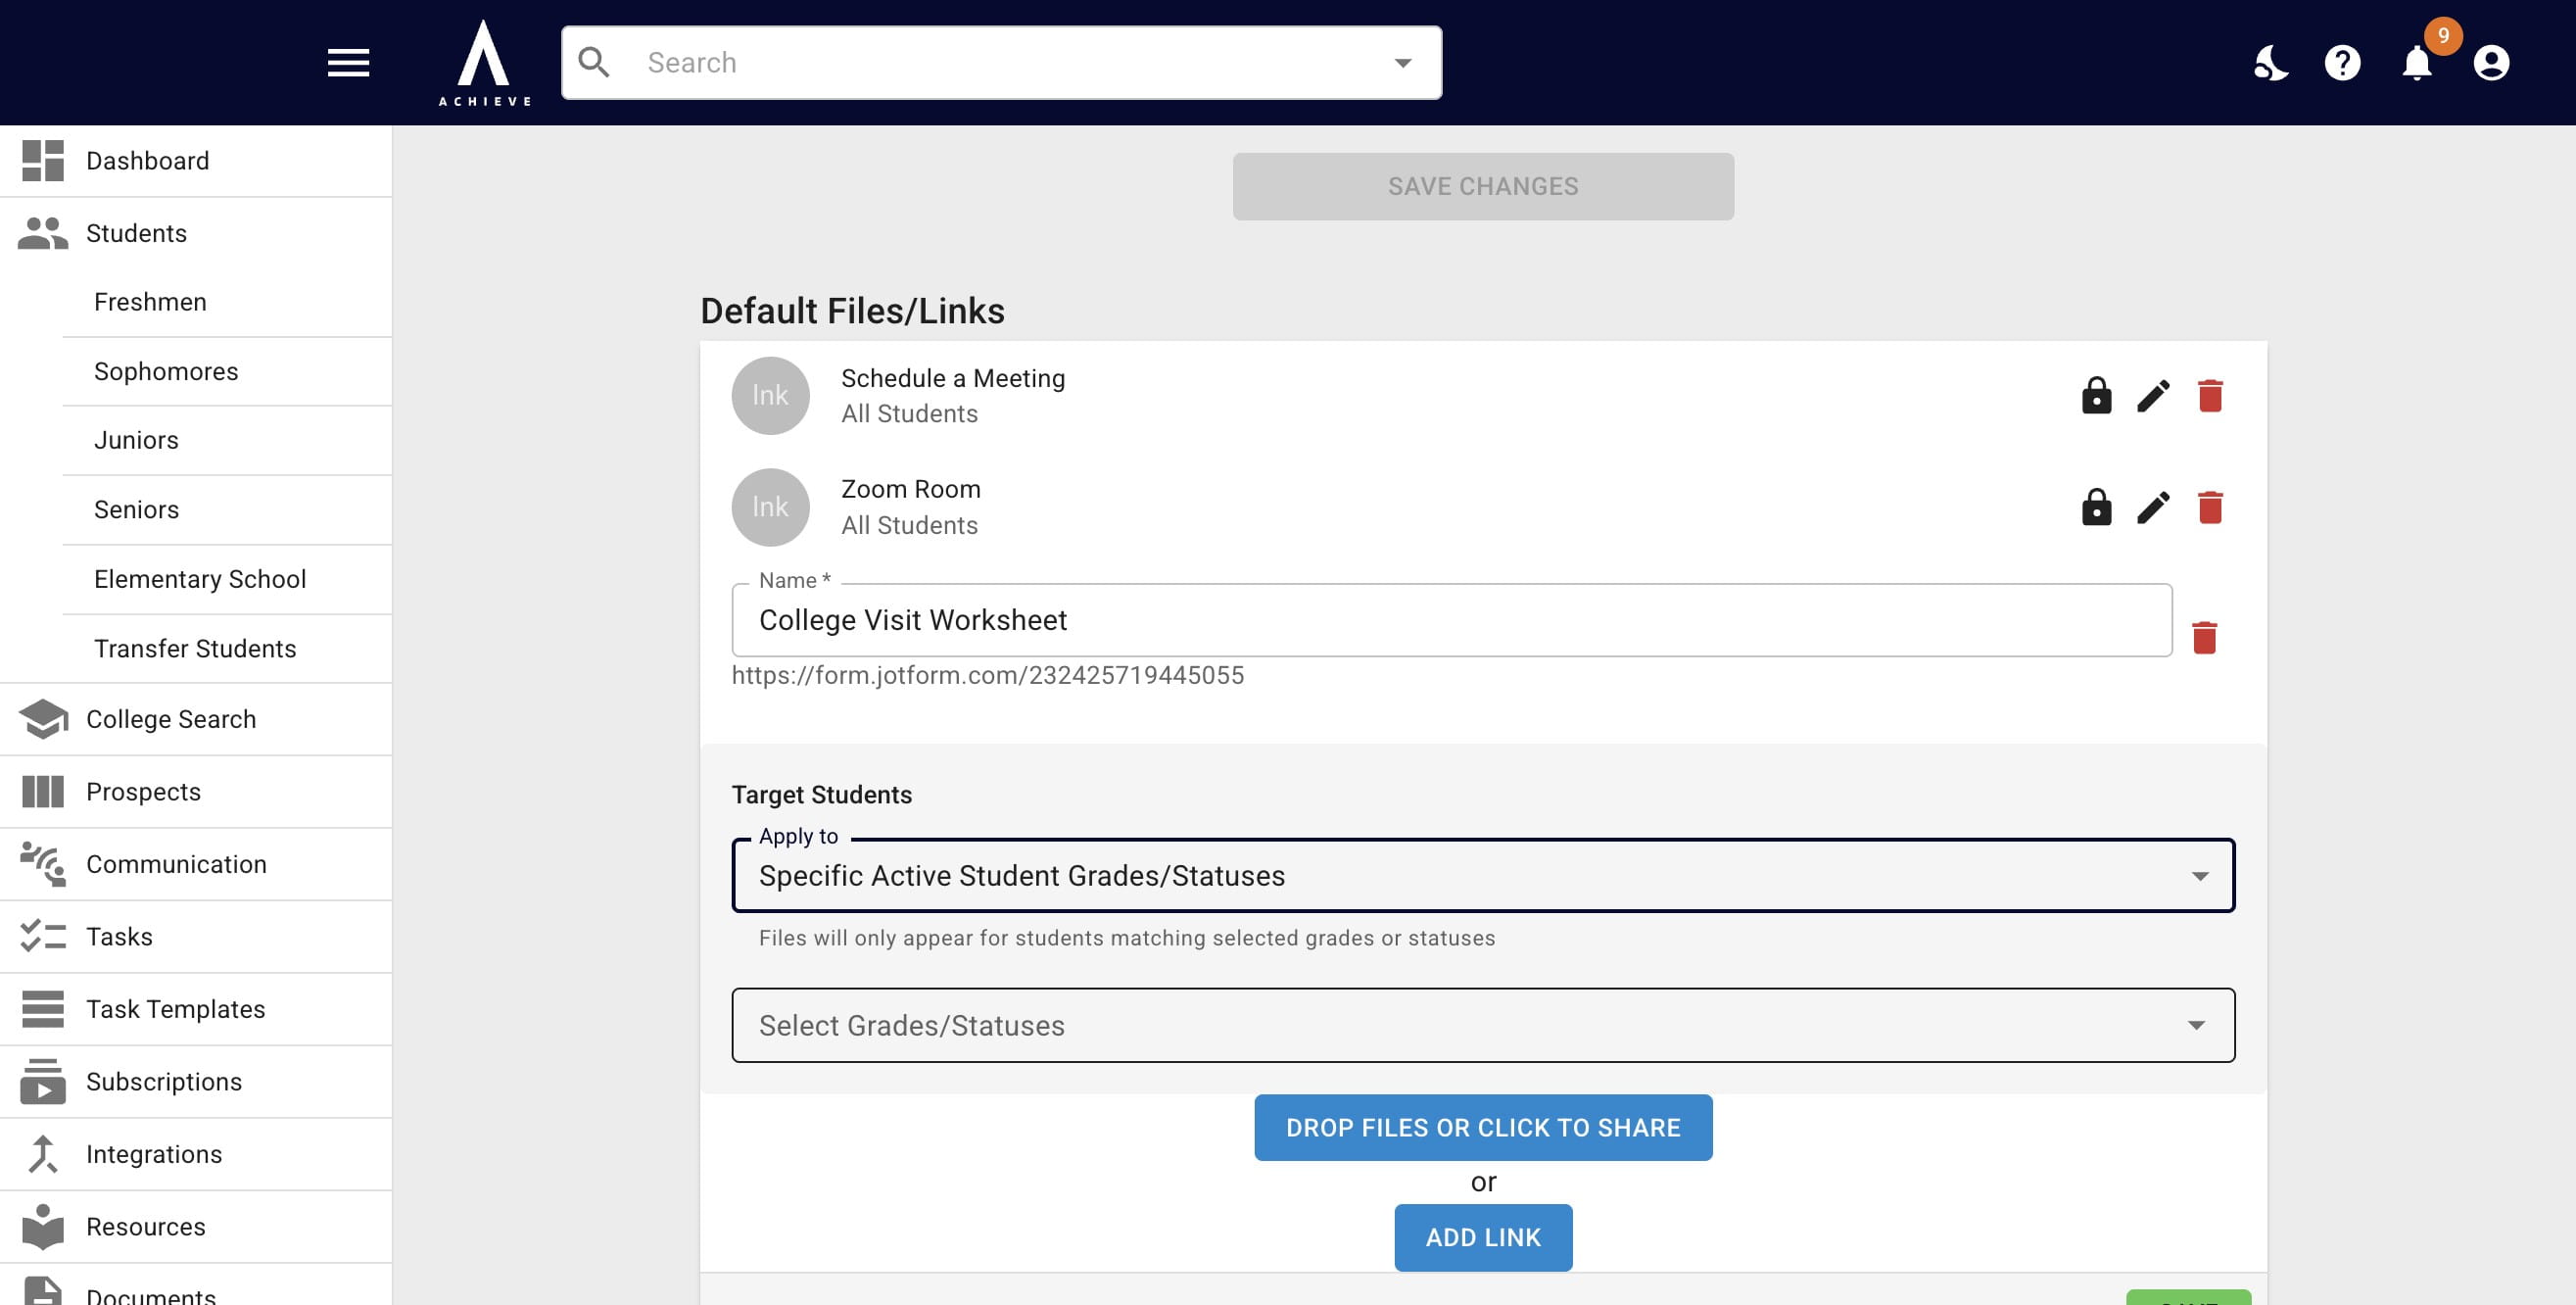
Choose the applicable grades/statuses
9
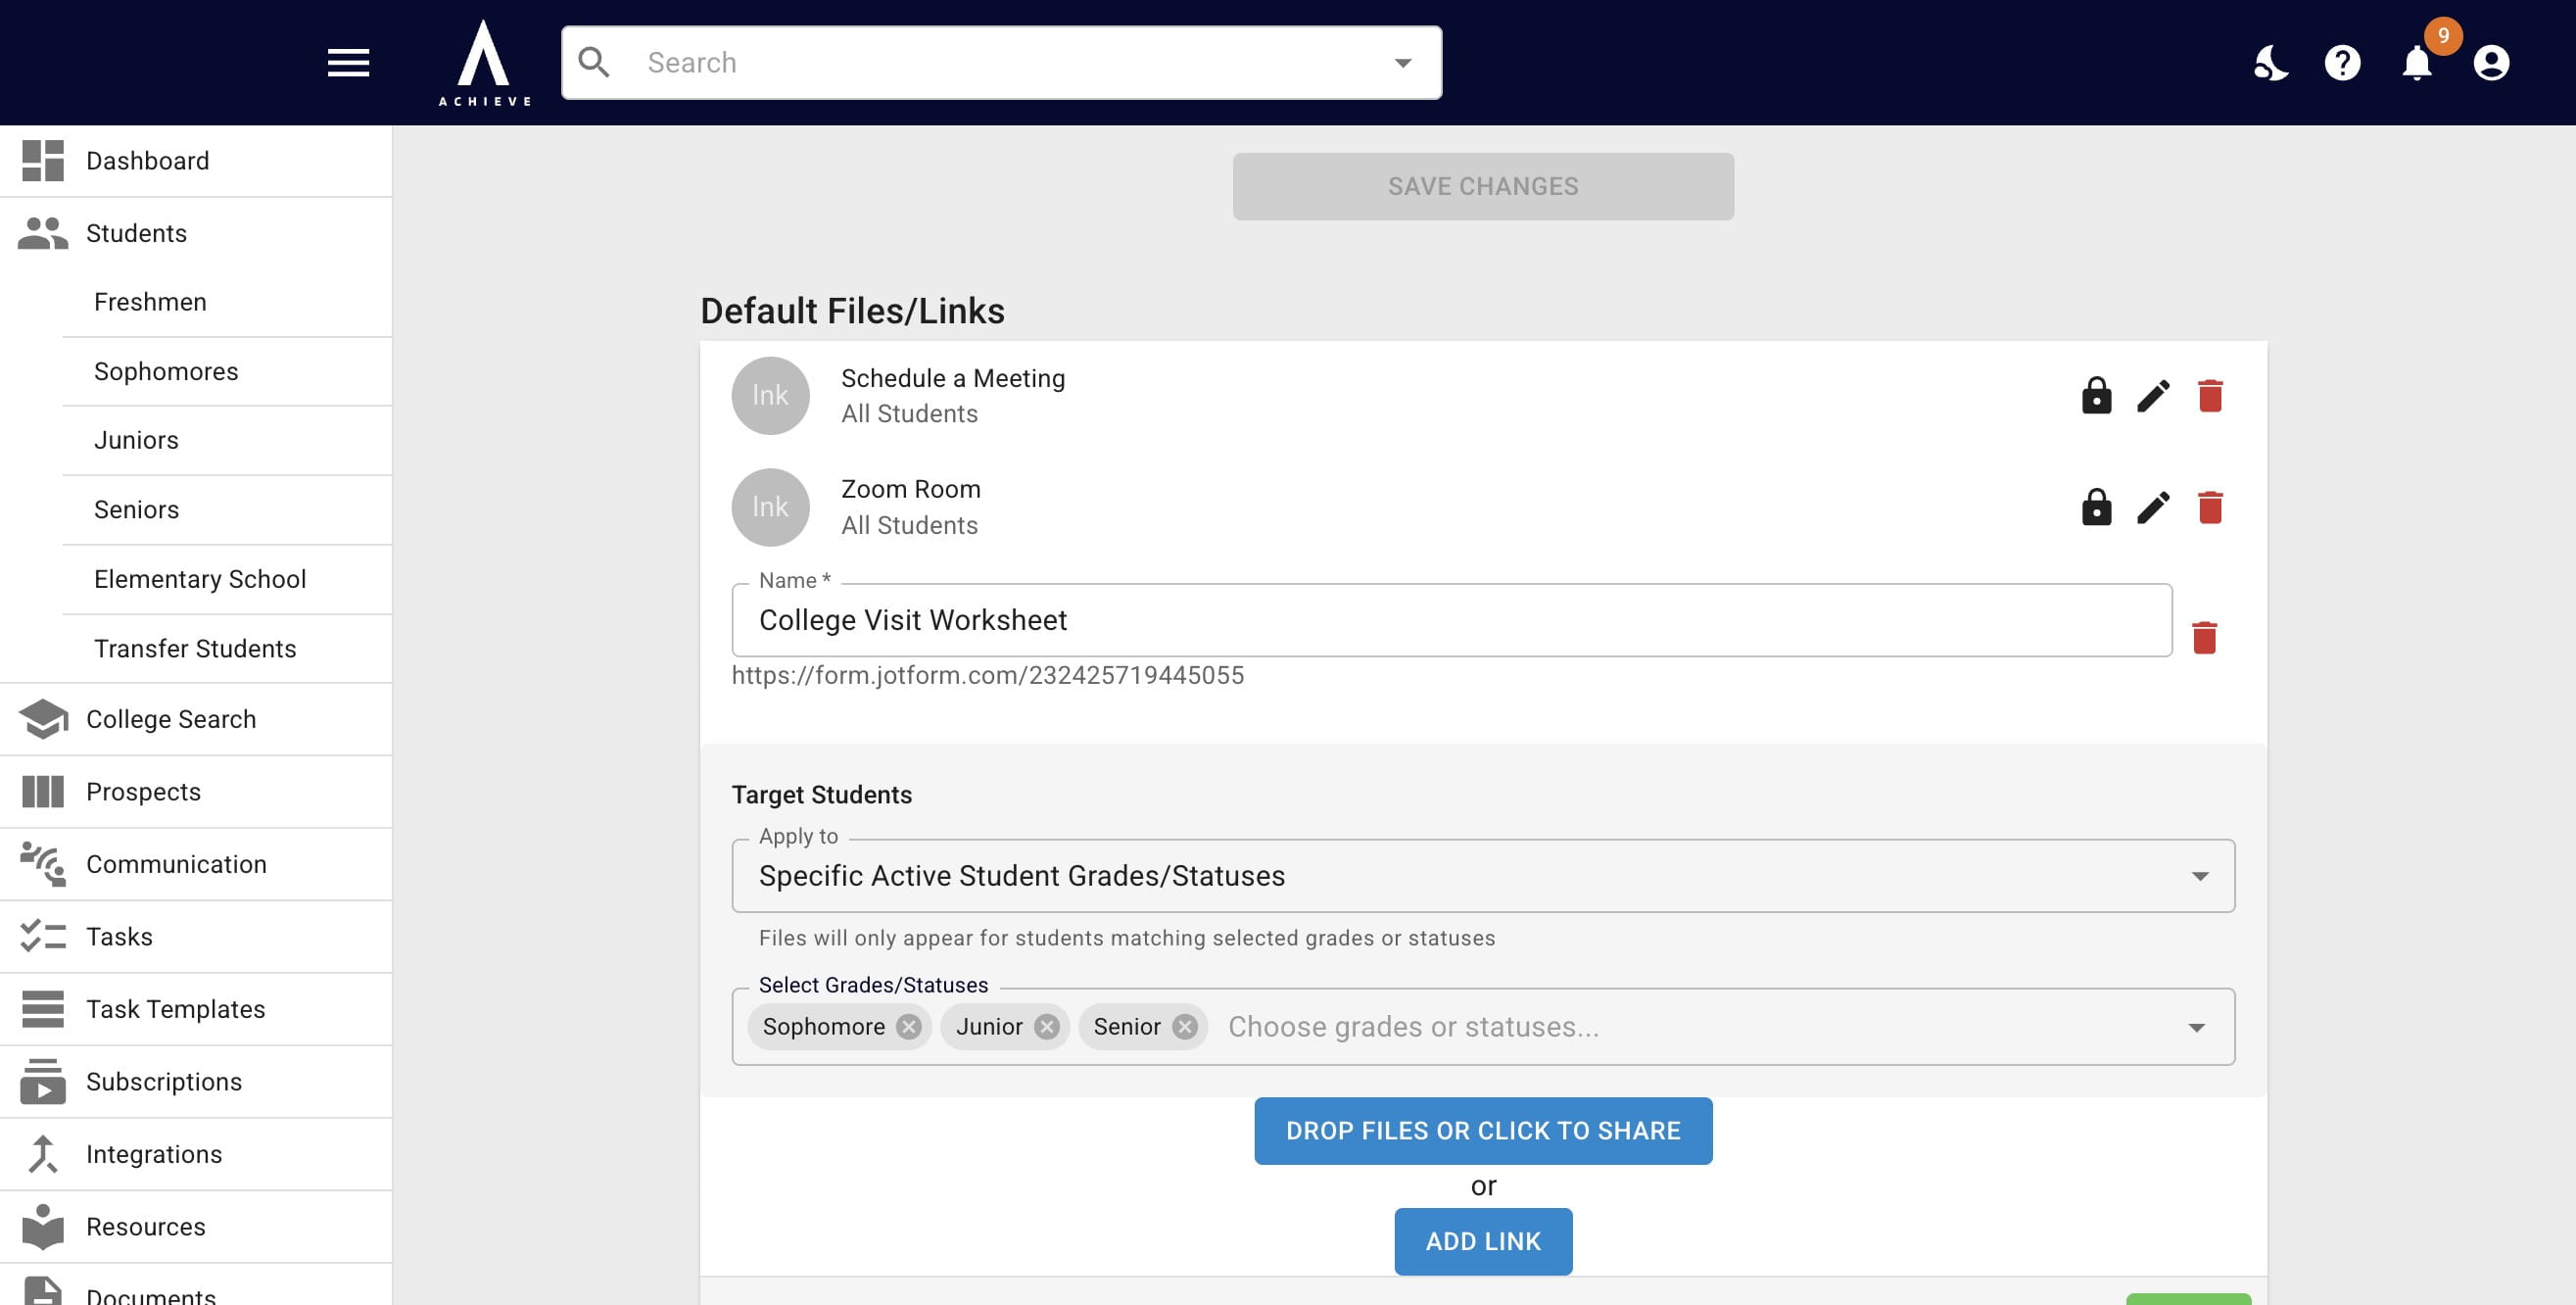
Click on Save
10
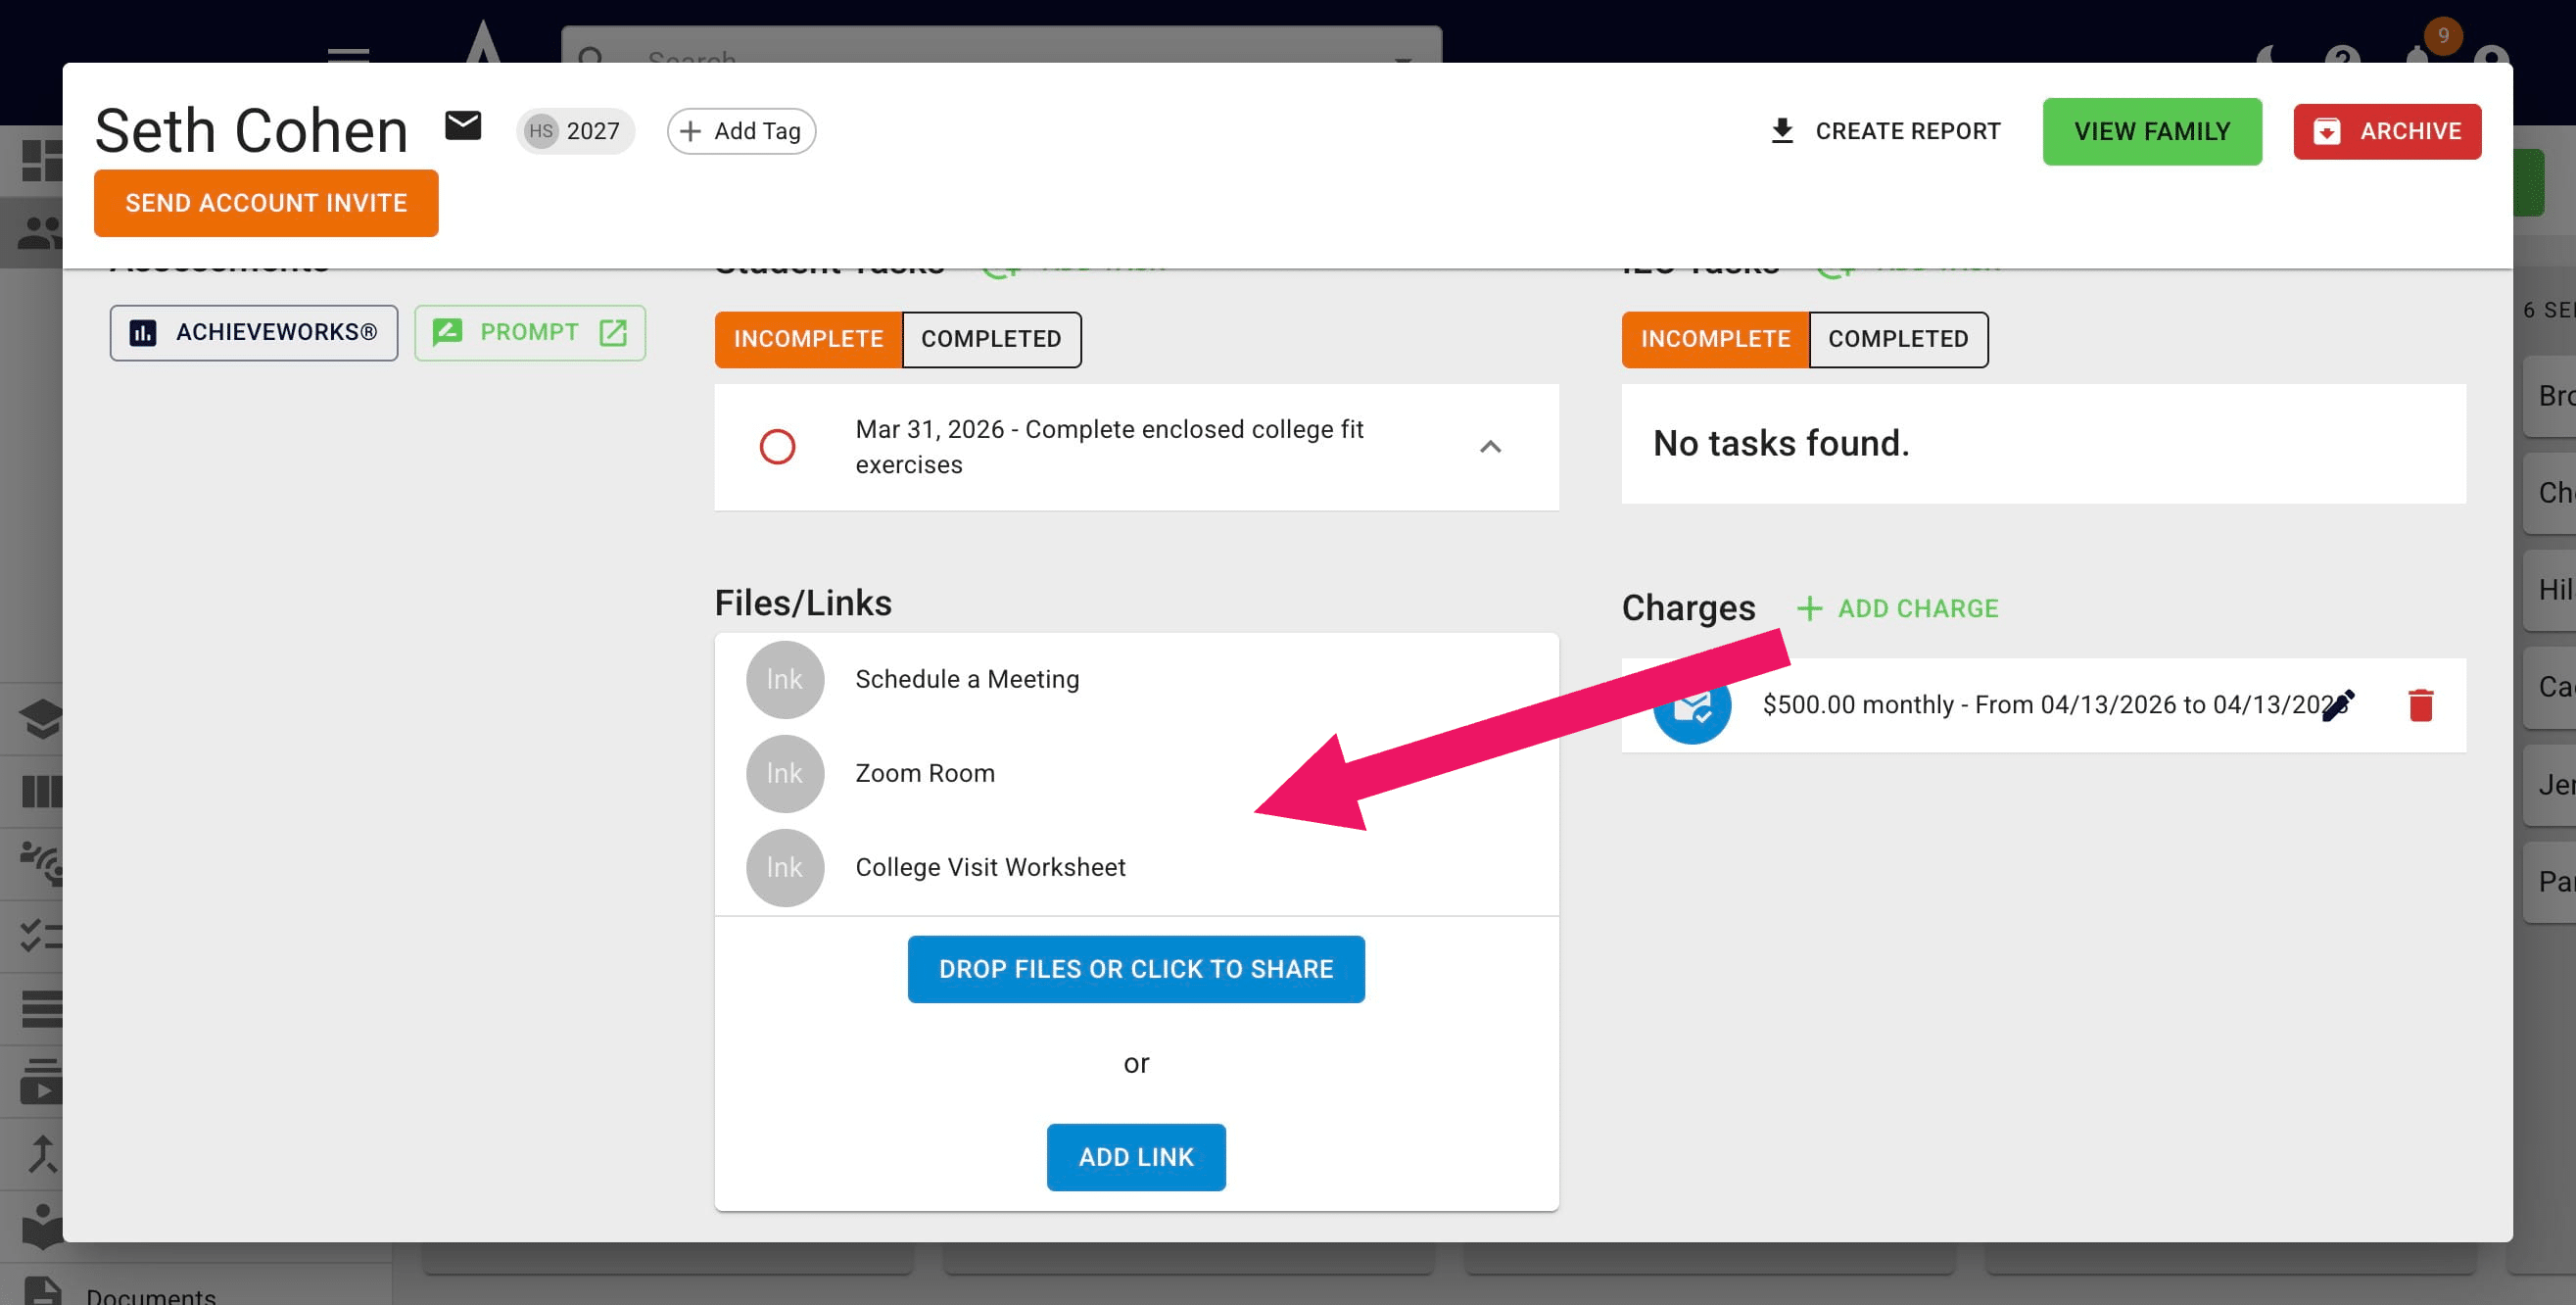
You'll then be able to see the applicable files/links listed on a student's profile
11
Done 🚀