
Files & Links Section
Guides users on how to add and manage files and links in a student's Achieve profile.
Within a student's profile in Achieve there are 2 places to add files/links. In the Action Bar towards the top and the Files/Links section itself.
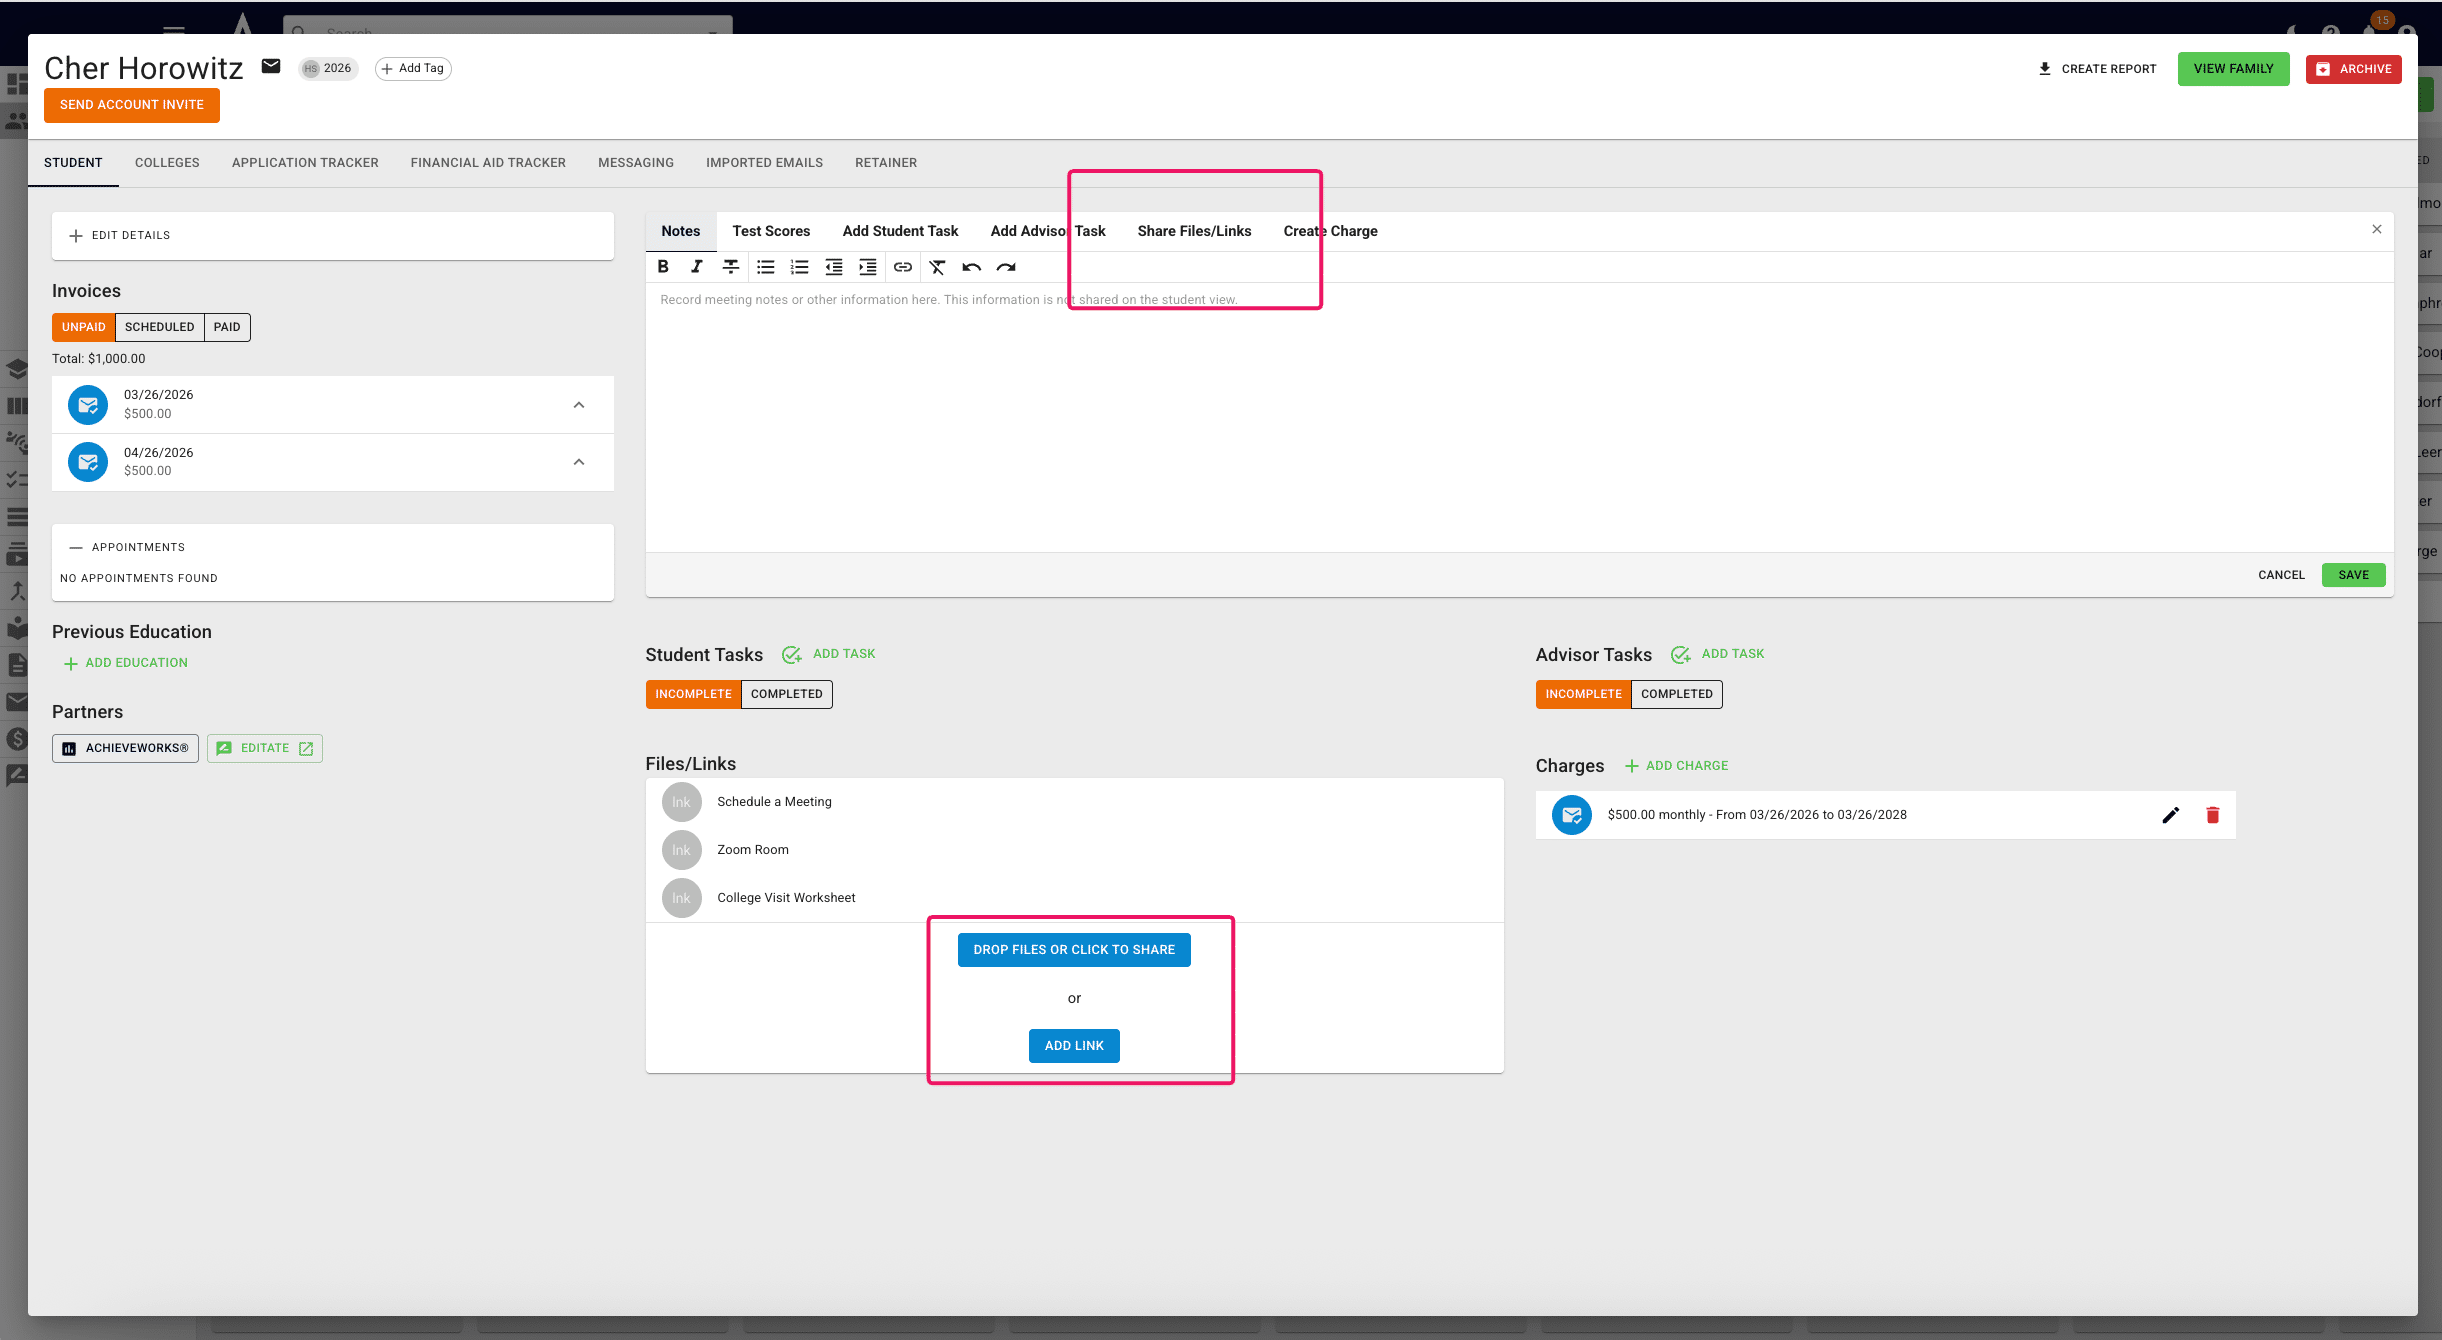
Both places will have the same options to upload a file/link. For actual files (Word Docs, PDFs, JPEGs, etc.), you'll press Drop Files or Click to Share.
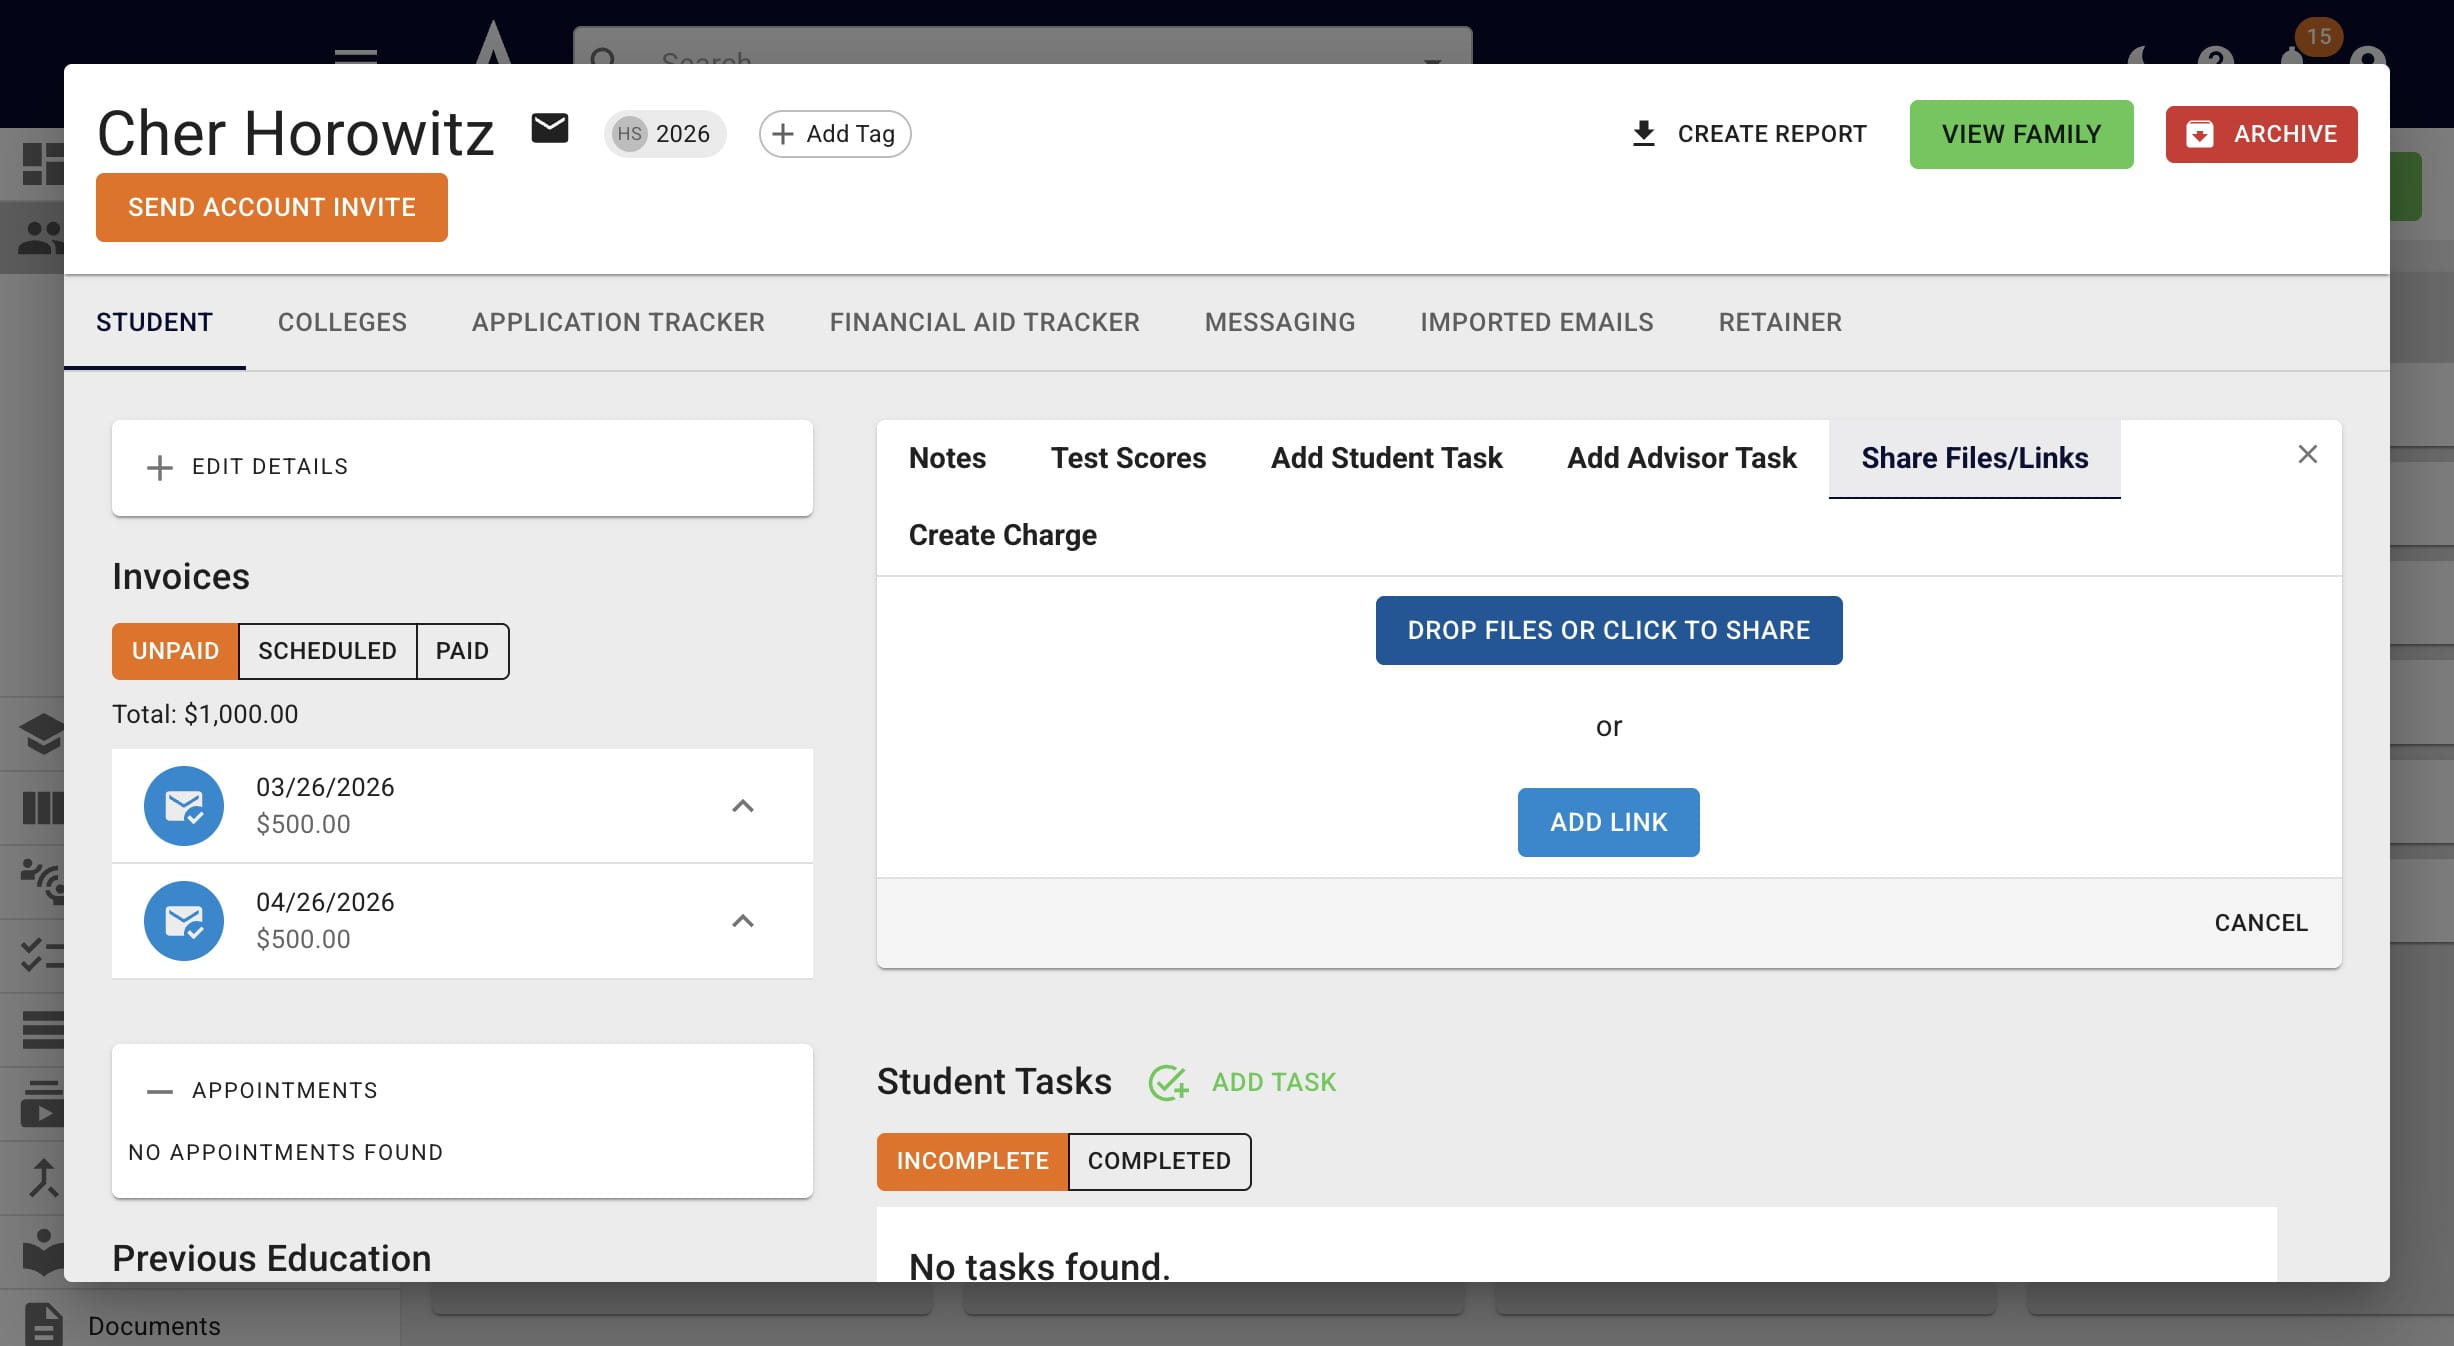
Once you choose which file you're adding from the menu that appears, you'll have the opportunity to rename the file.
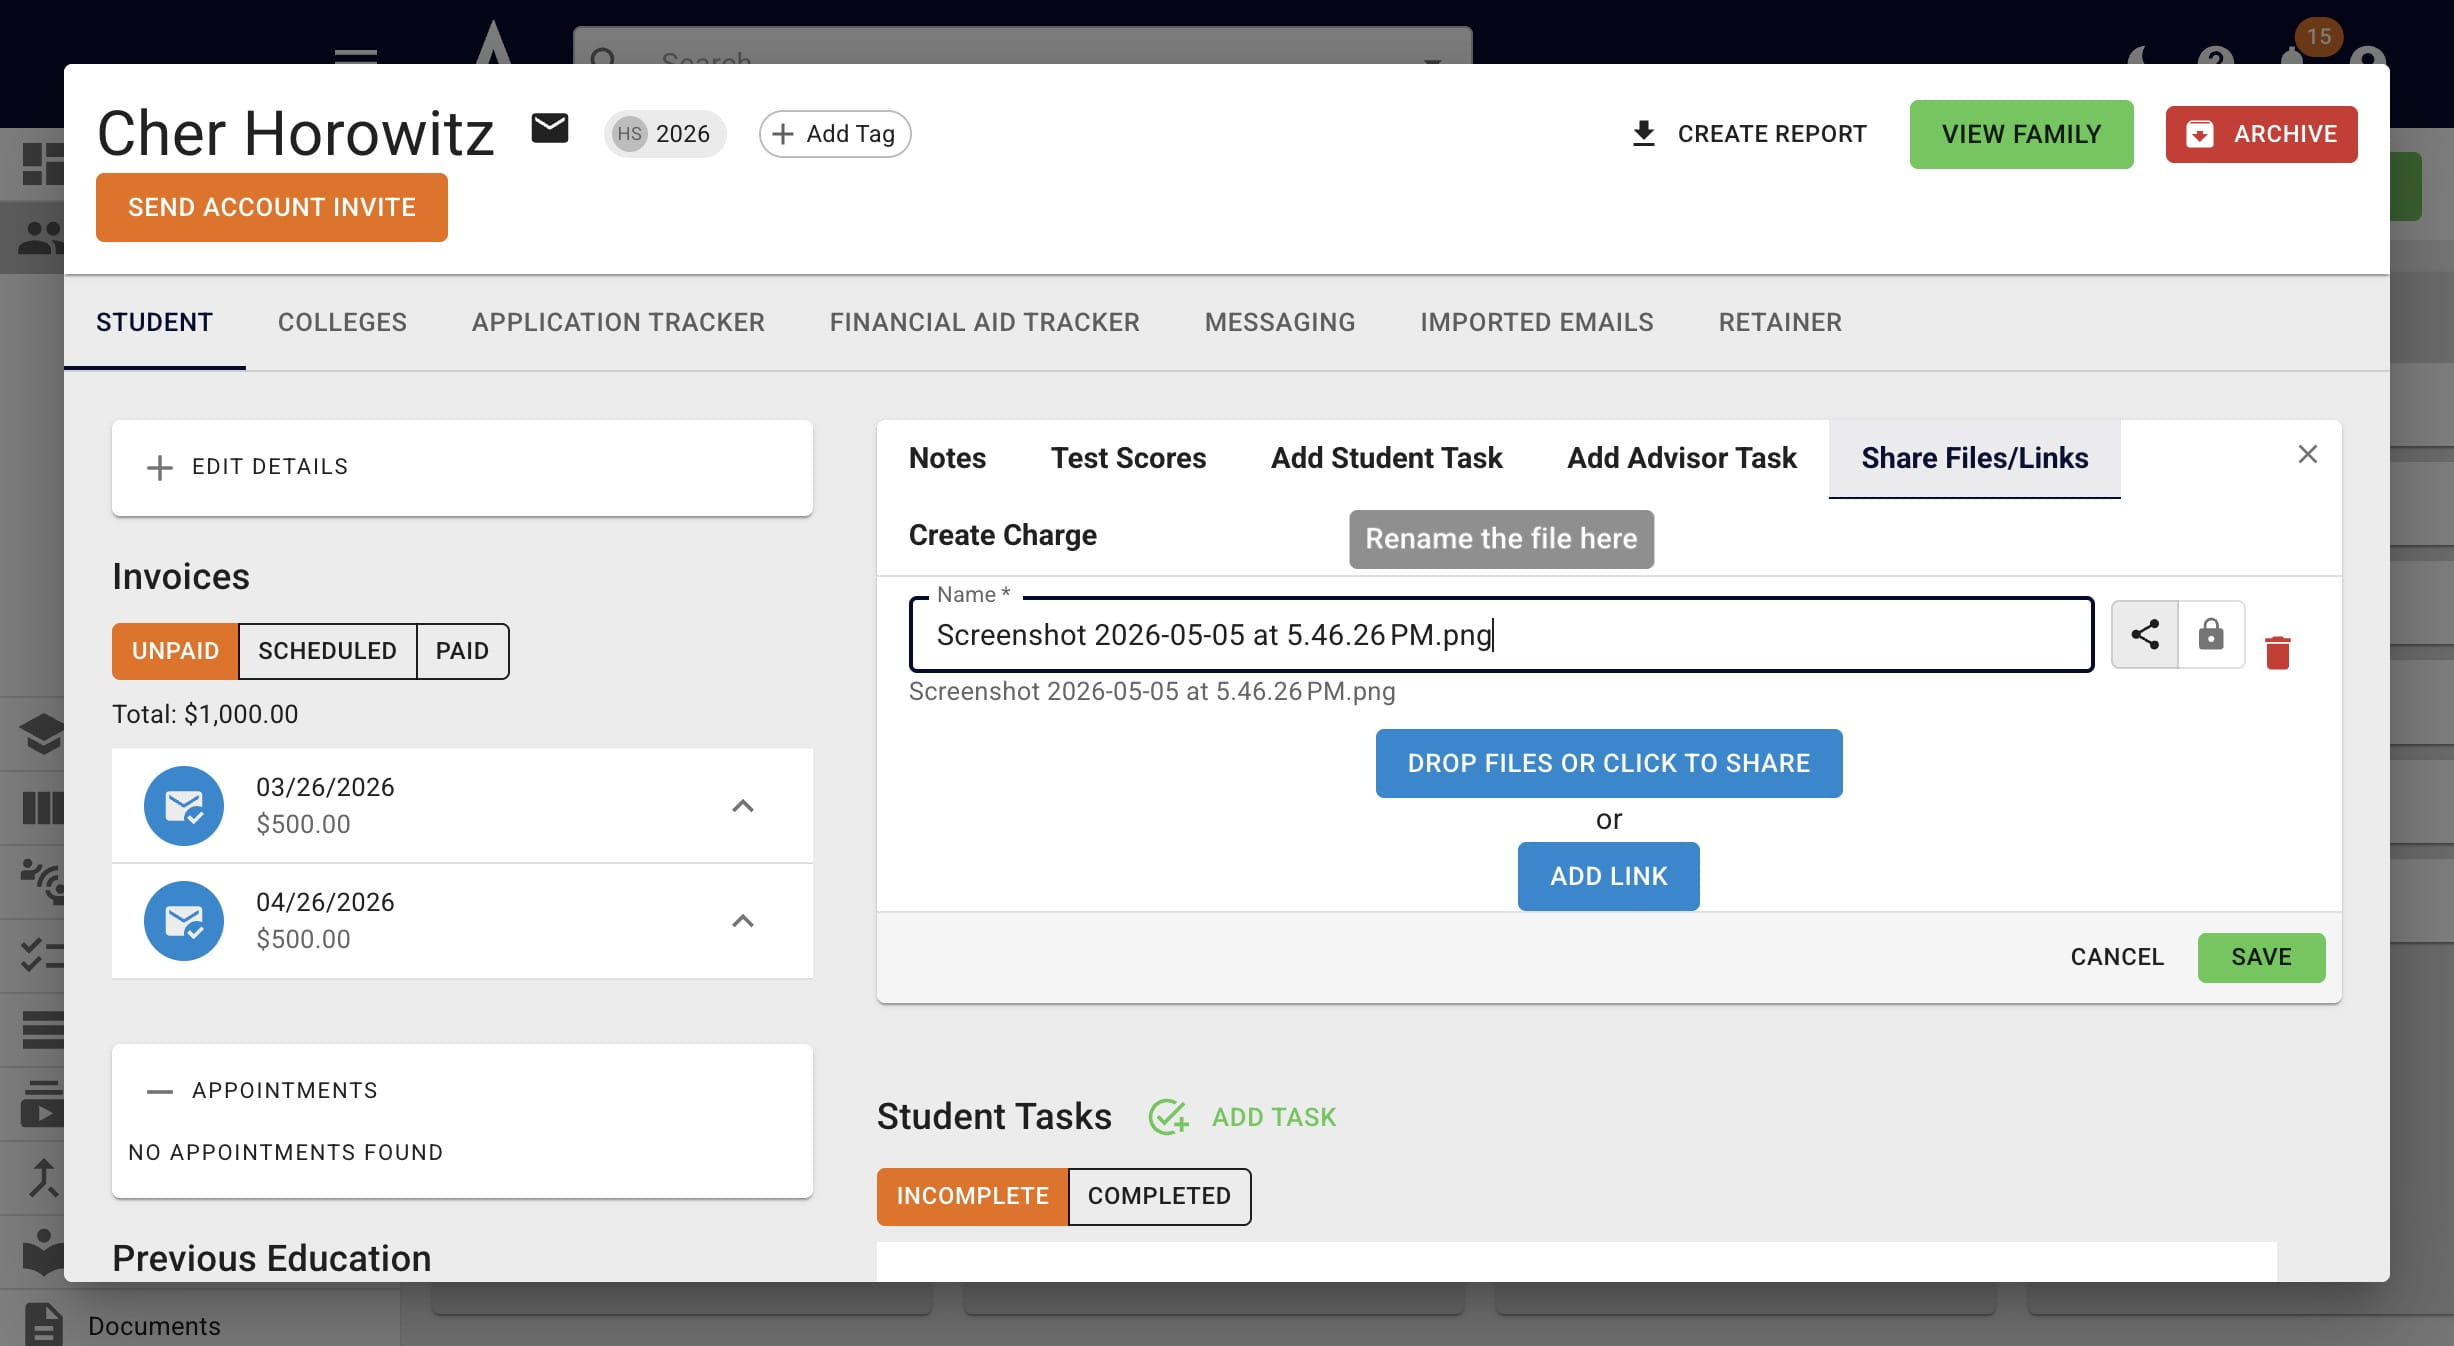
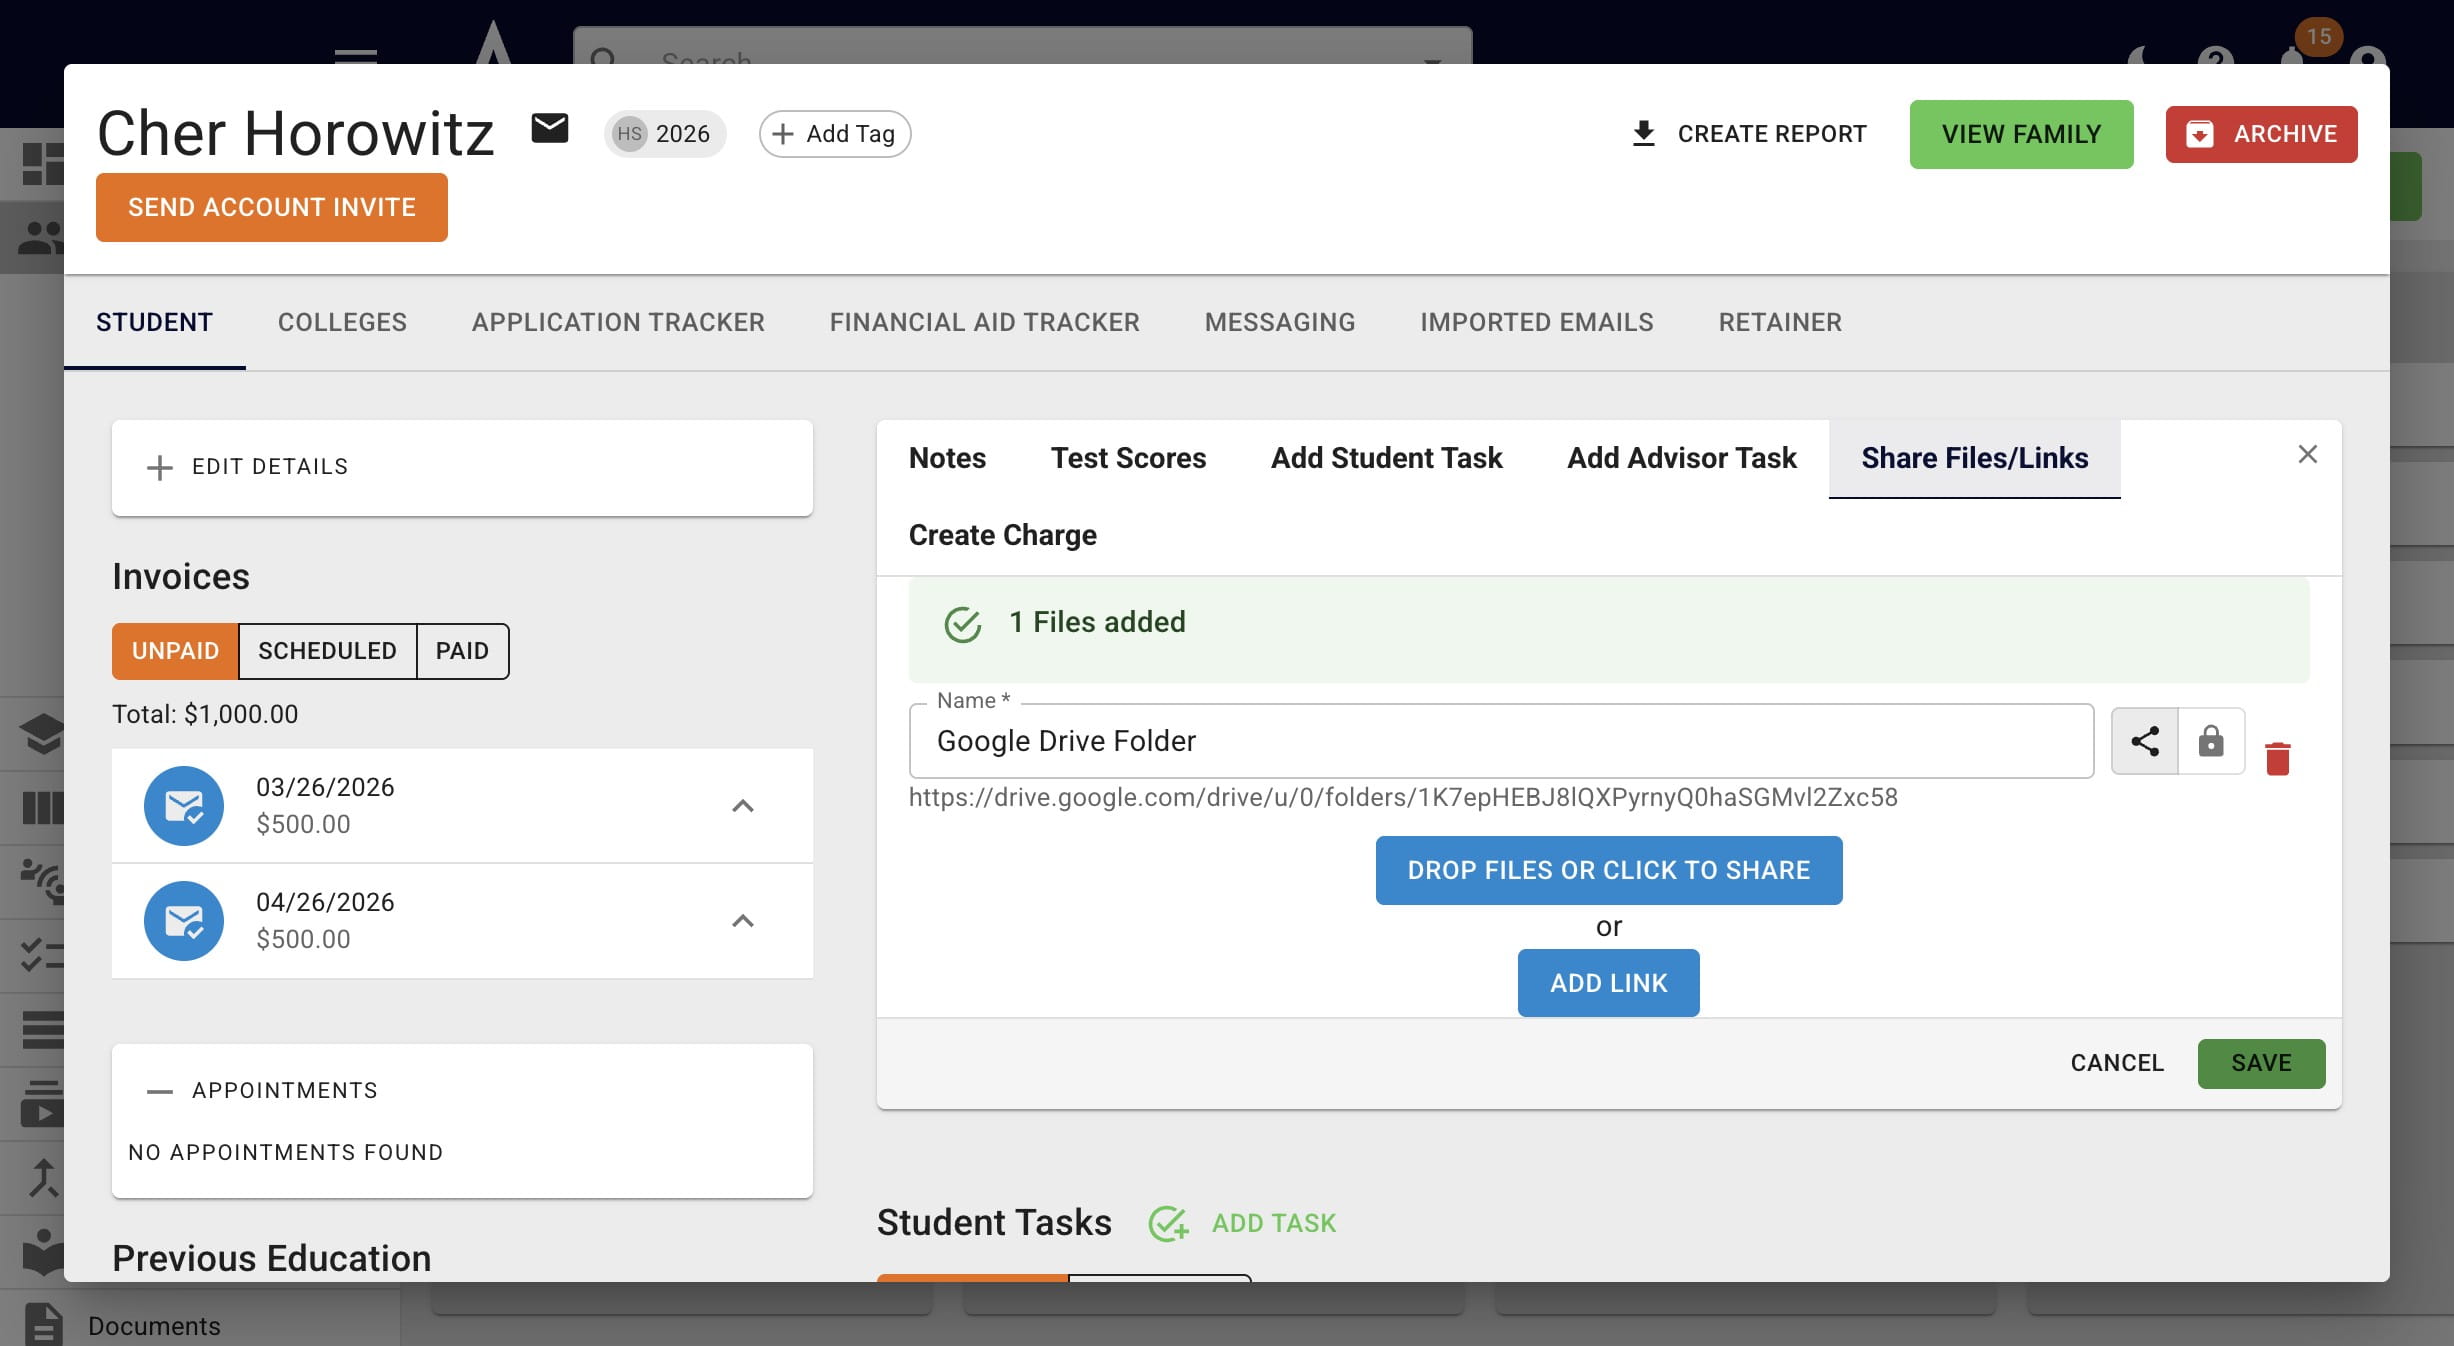
Once the file is named properly, press Save.
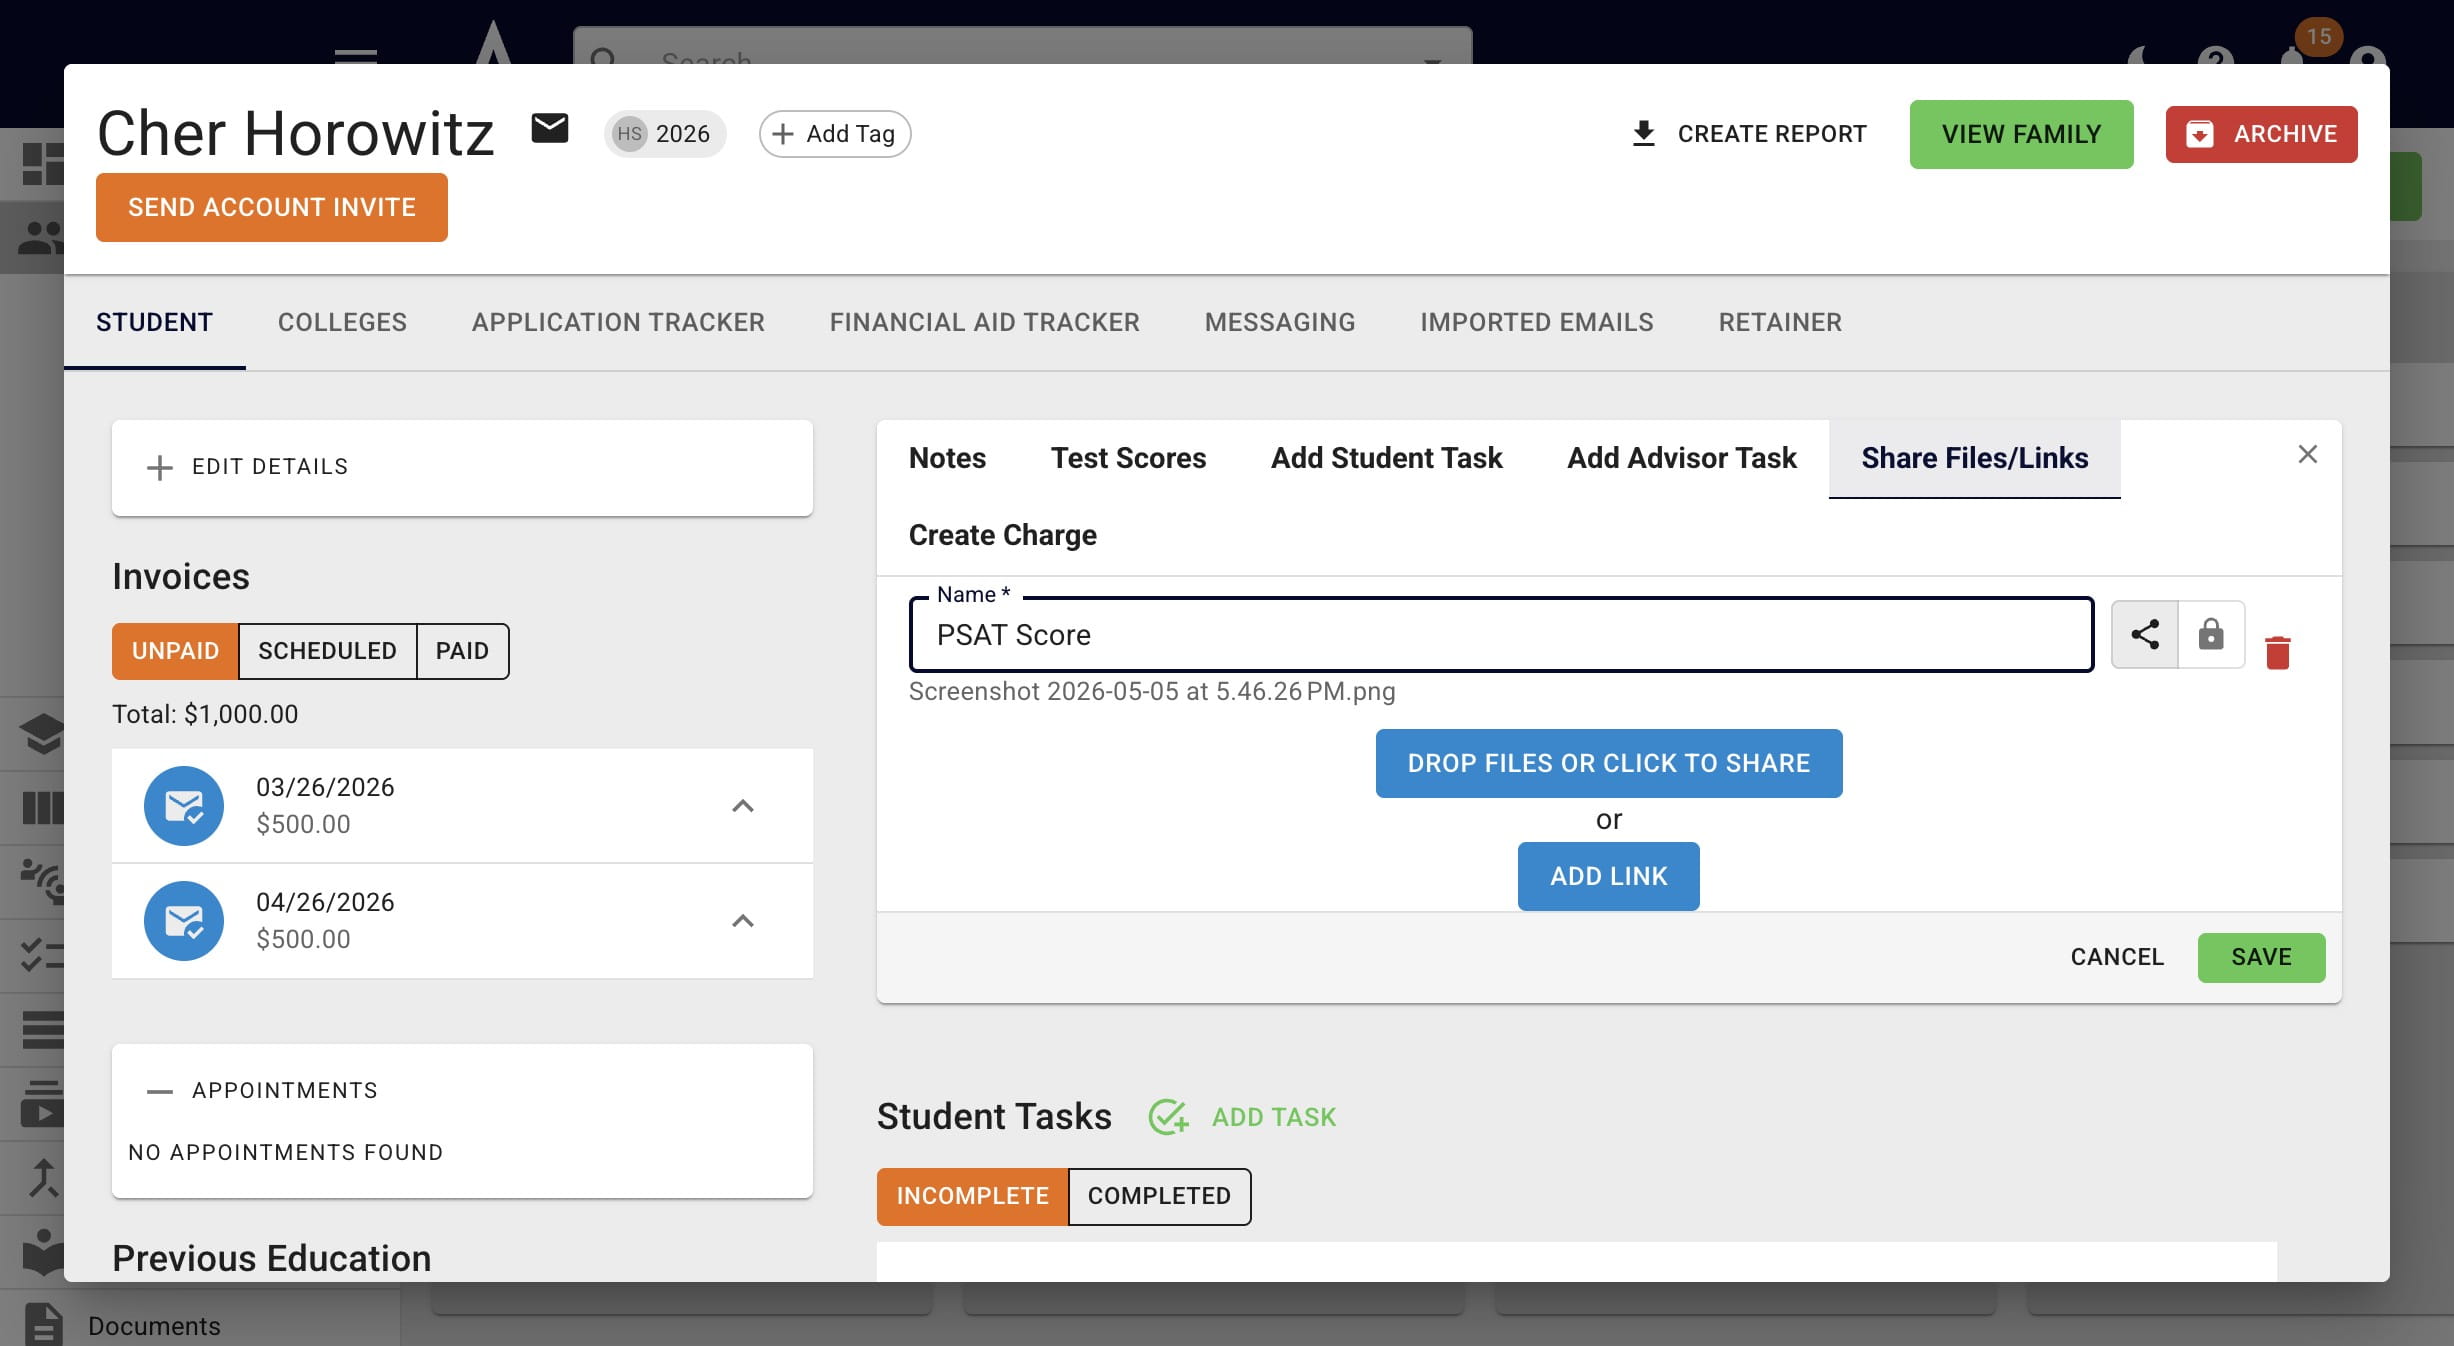
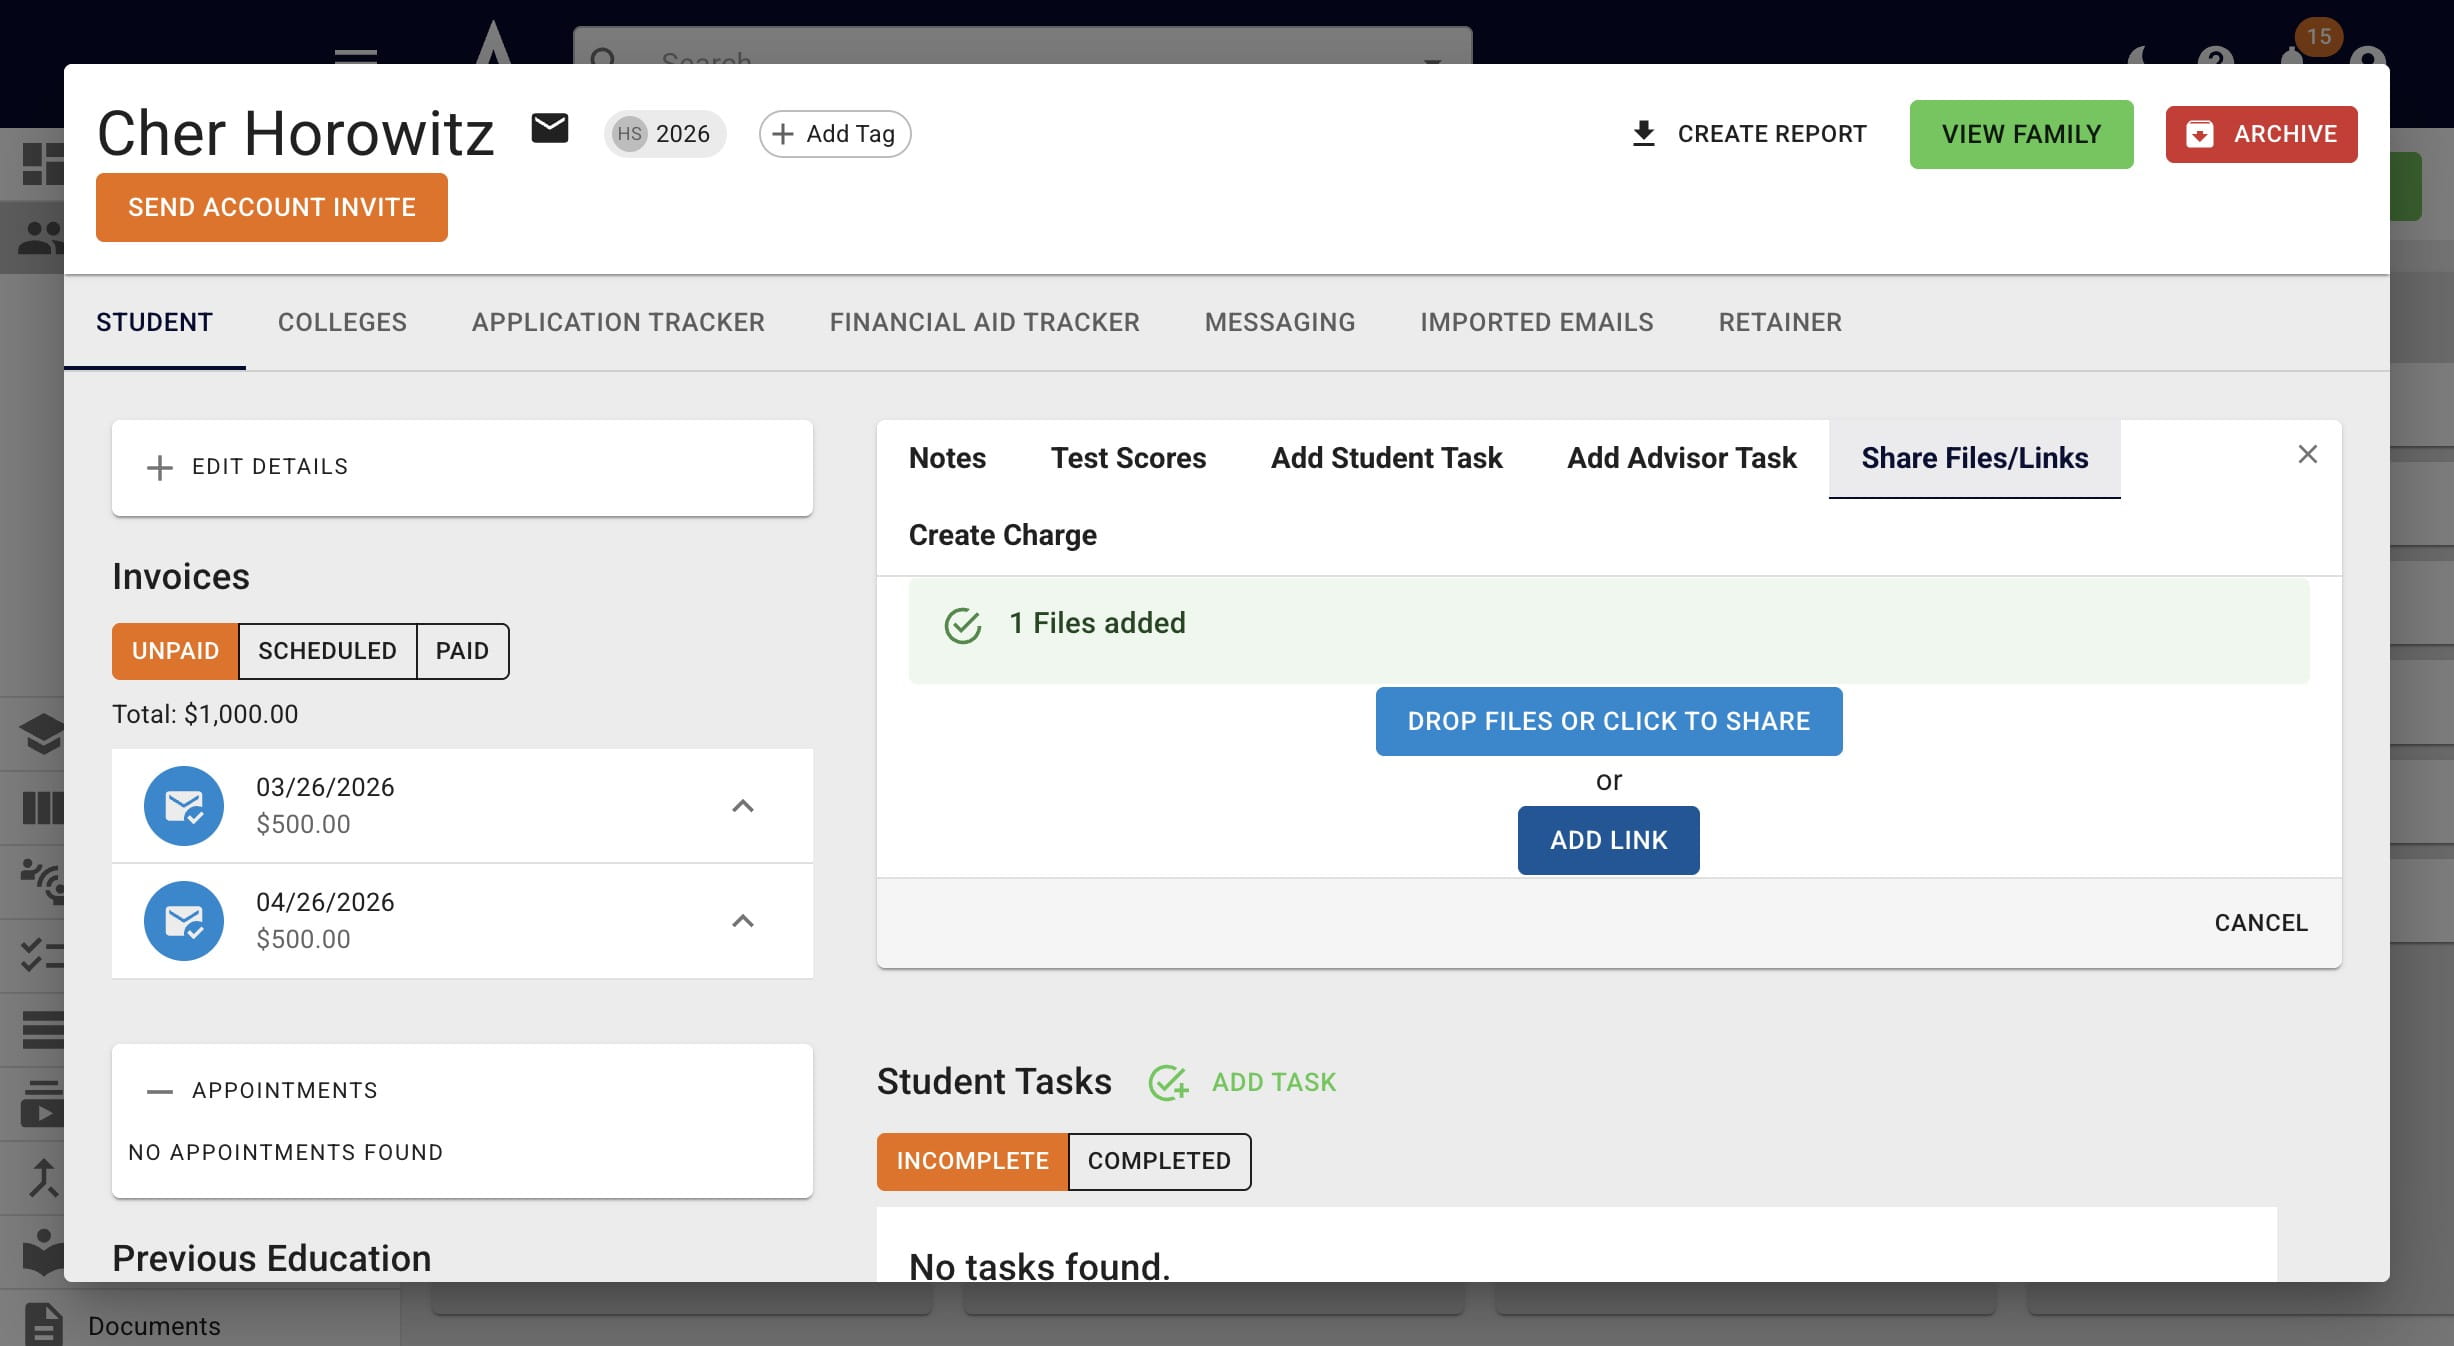
To add any type of URL (website, Google Doc, etc.) press Add Link.
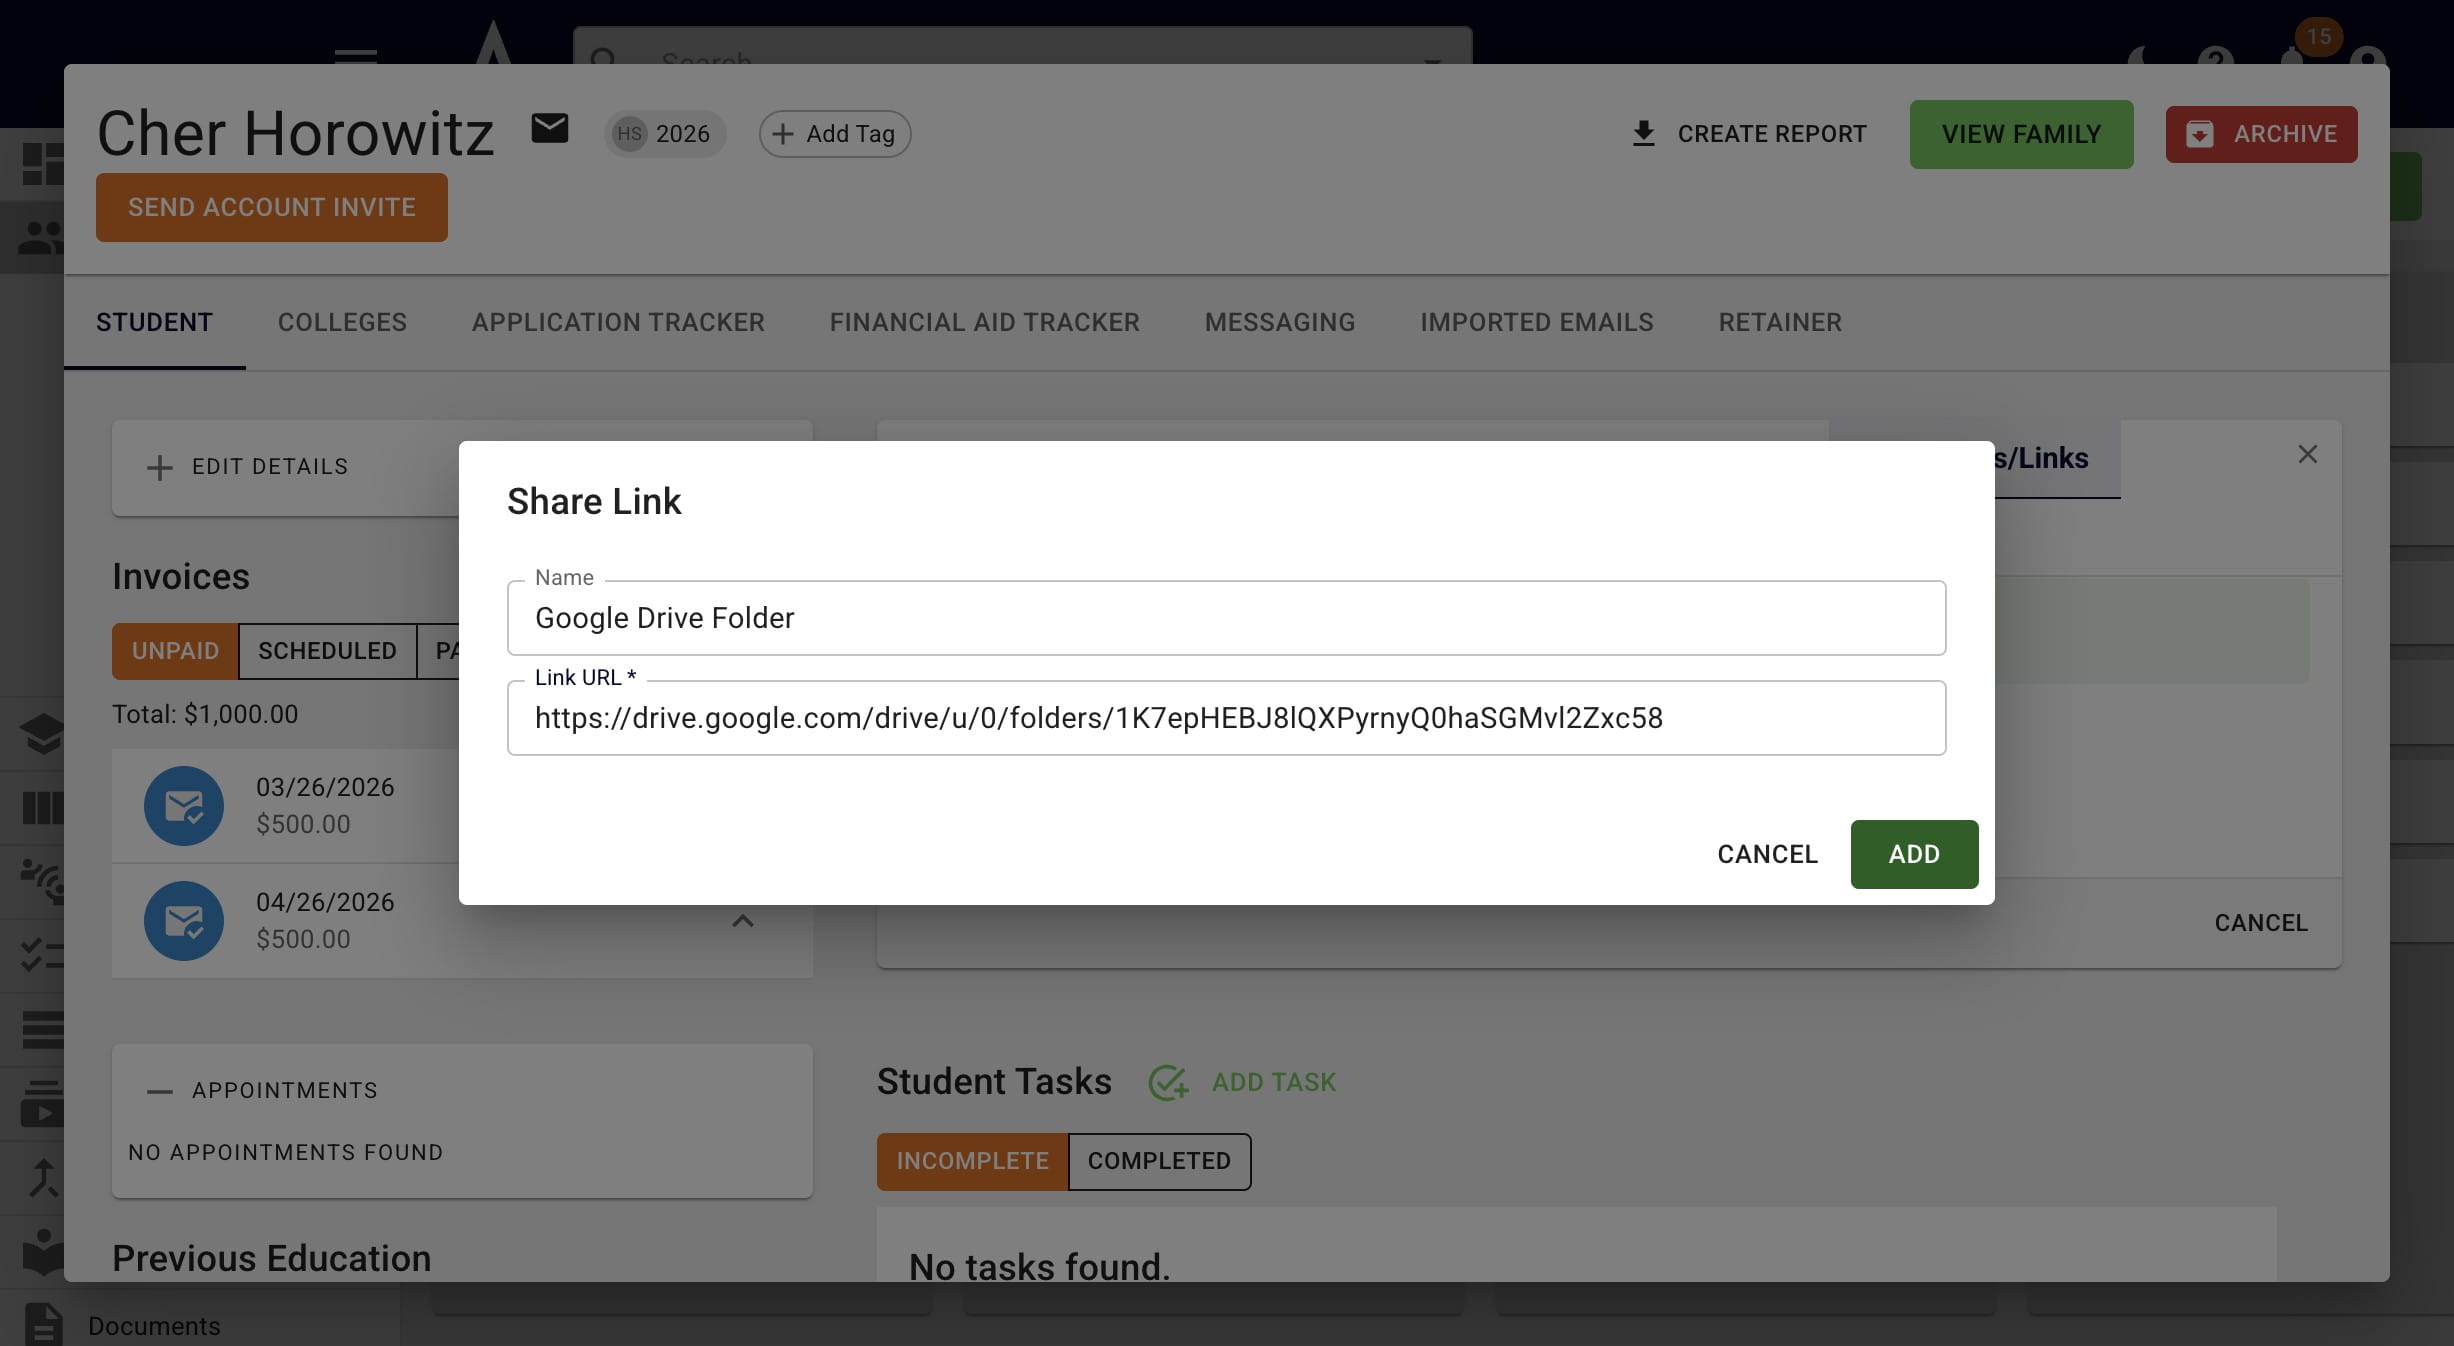
Once you'e pasted the URL and the applicable title, press Add.
Then click Save.
You can now see any files/links you added under the Files/Links section of the student profile.
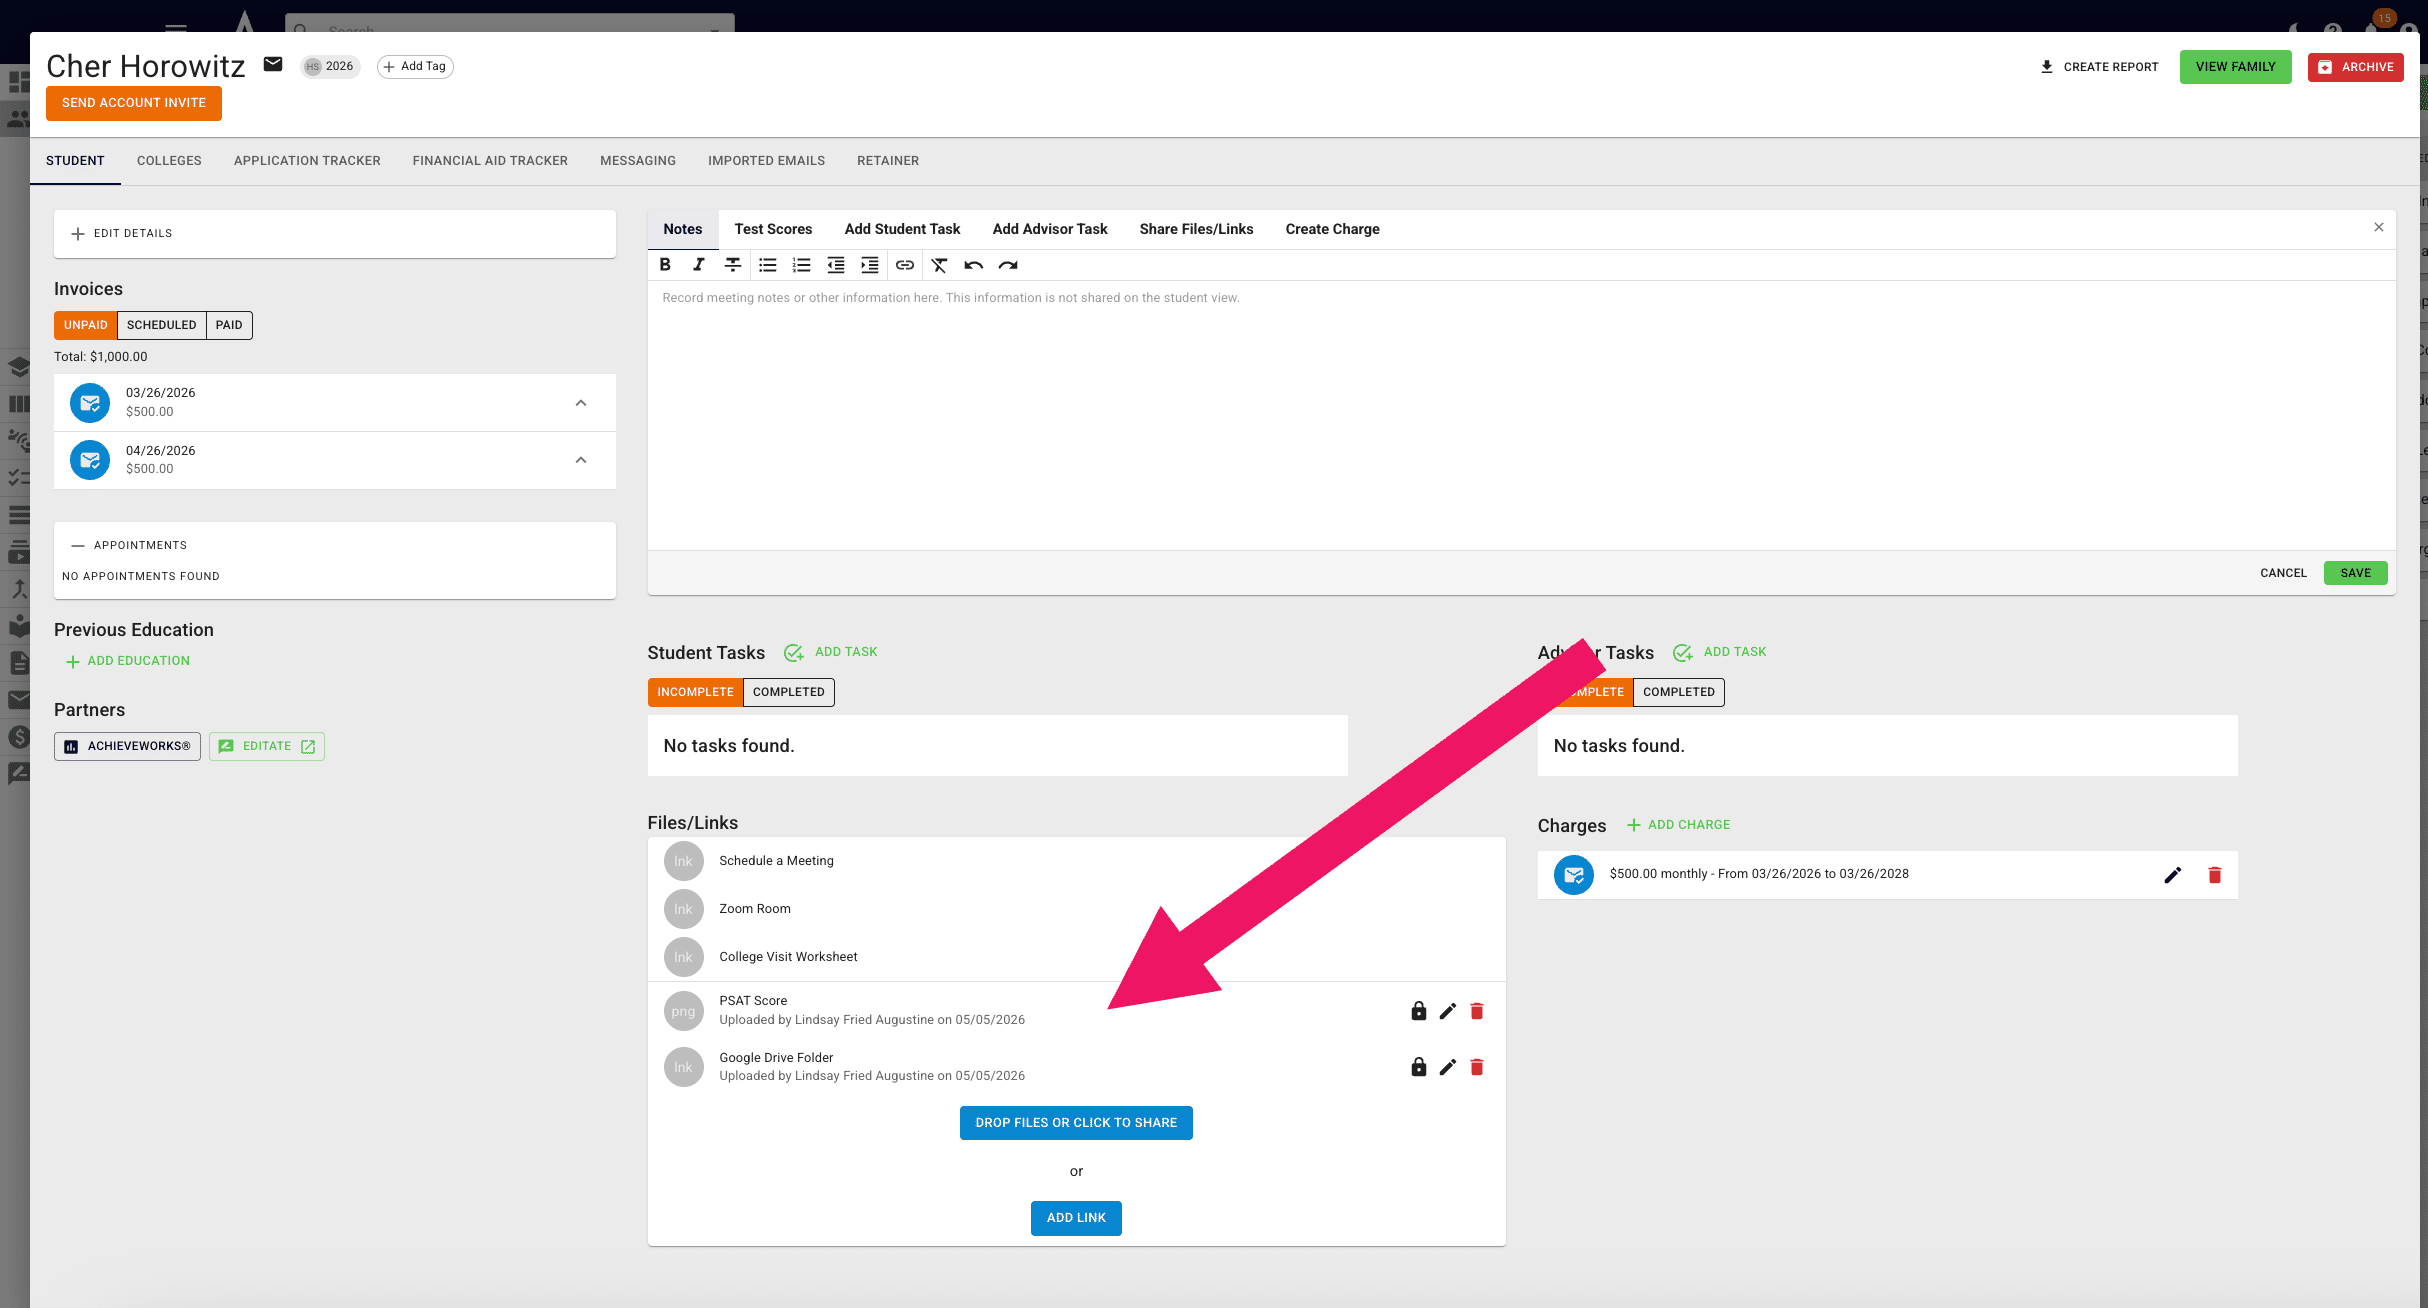
To make a file private, meaning only you can see the files, not the student click the Closed Lock icon. This is a helpful way to add contracts or other sensitive documentation.
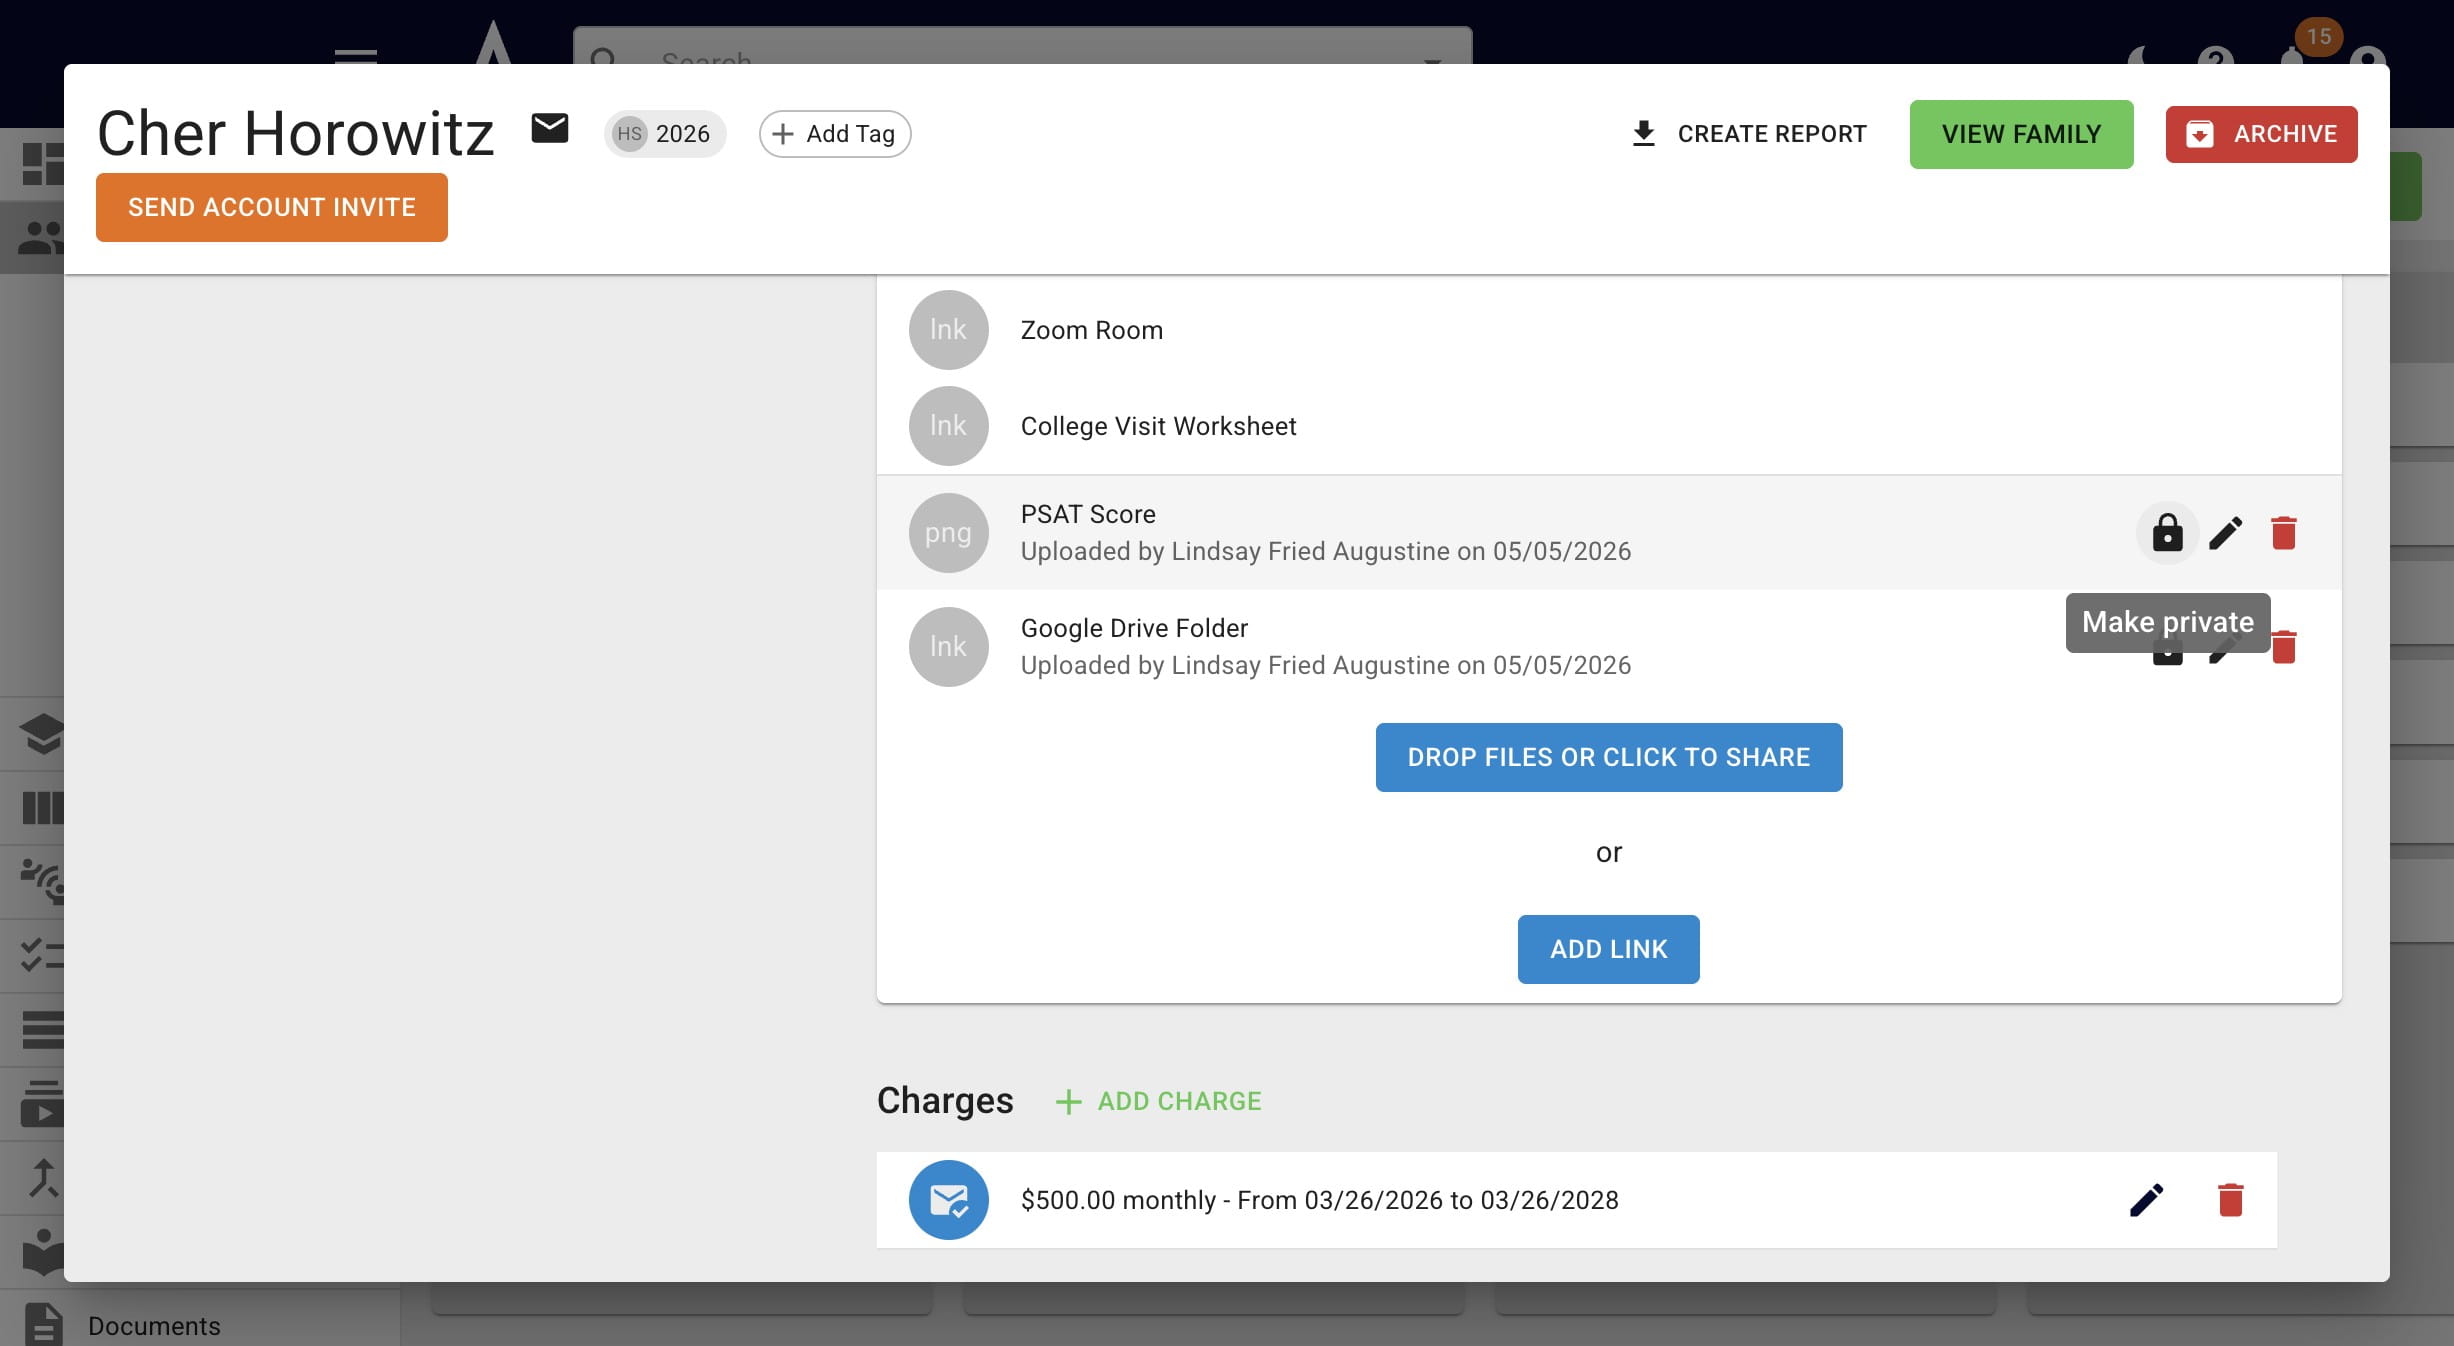
You can tell that an existing file/link is private because it has the Red Closed Lock icon to the right of the file/link name.
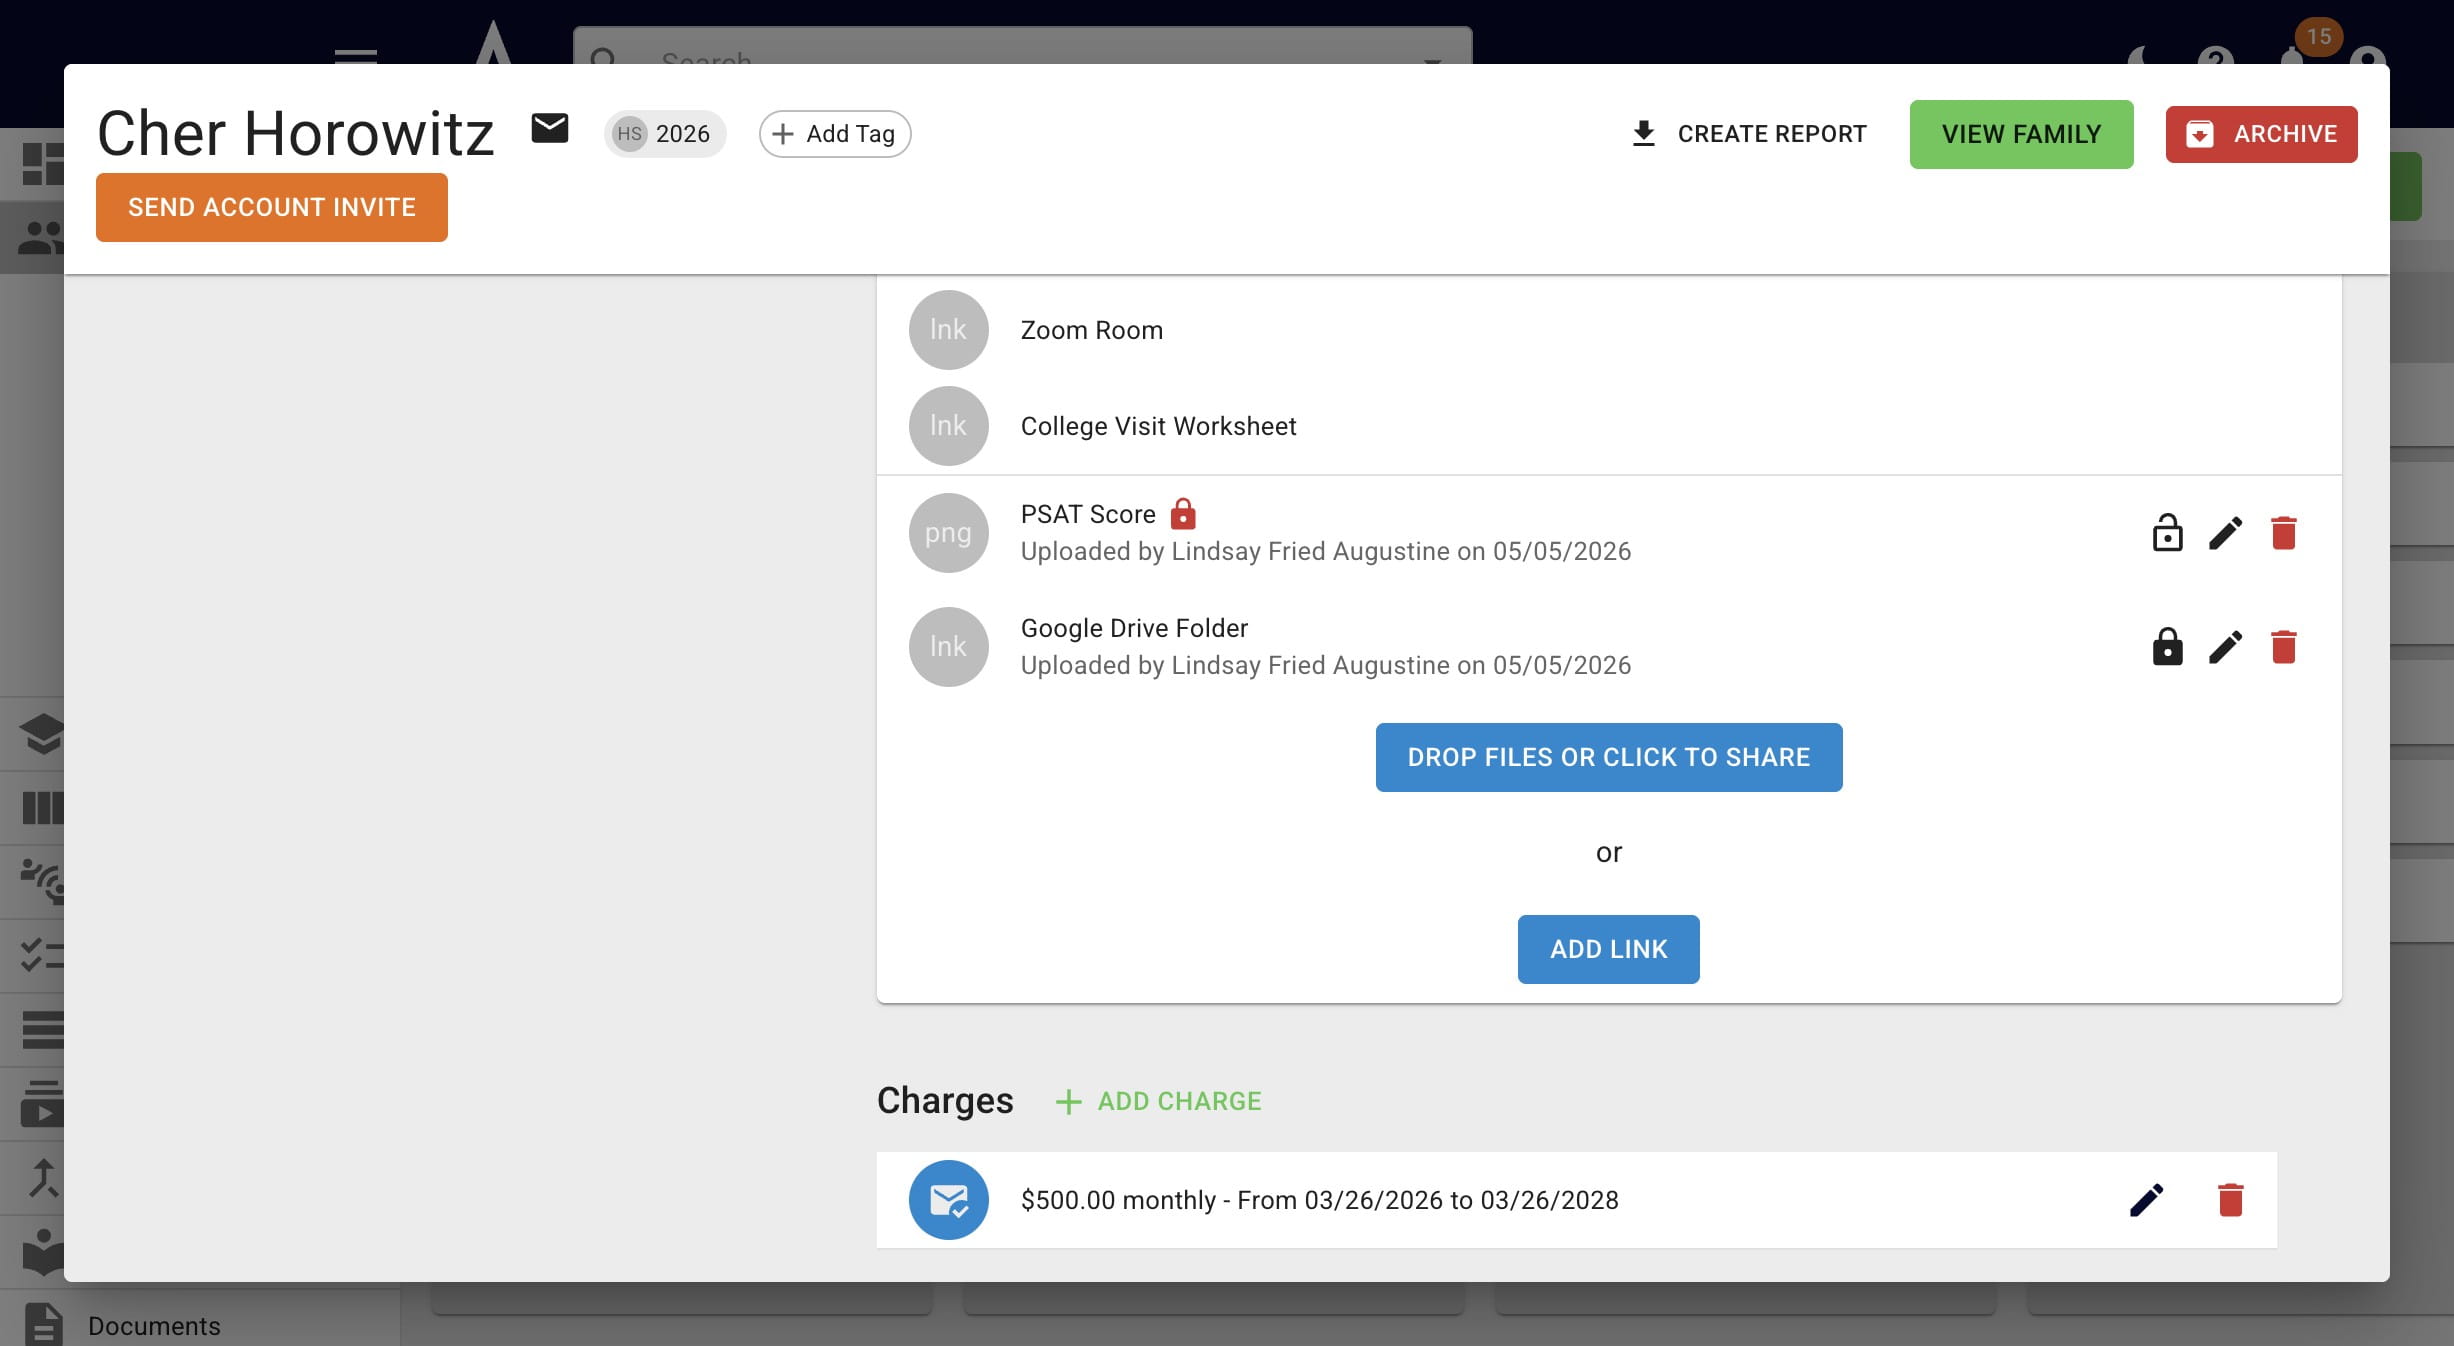
To make the file/link visible to the student again, press the Open Lock icon.
To edit the file/link's name, press the Pencil icon.
To delete the file/link, press the Red Trash Can icon.
Done 🚀