
Notifications and Settings
This guide explains how to manage notifications, access communications features, and configure account and IEC settings in Achieve.
Navigate to https://app.achieveiec.com/
On the top right-hand side of every screen in Achieve, you'll see a silhouette icon
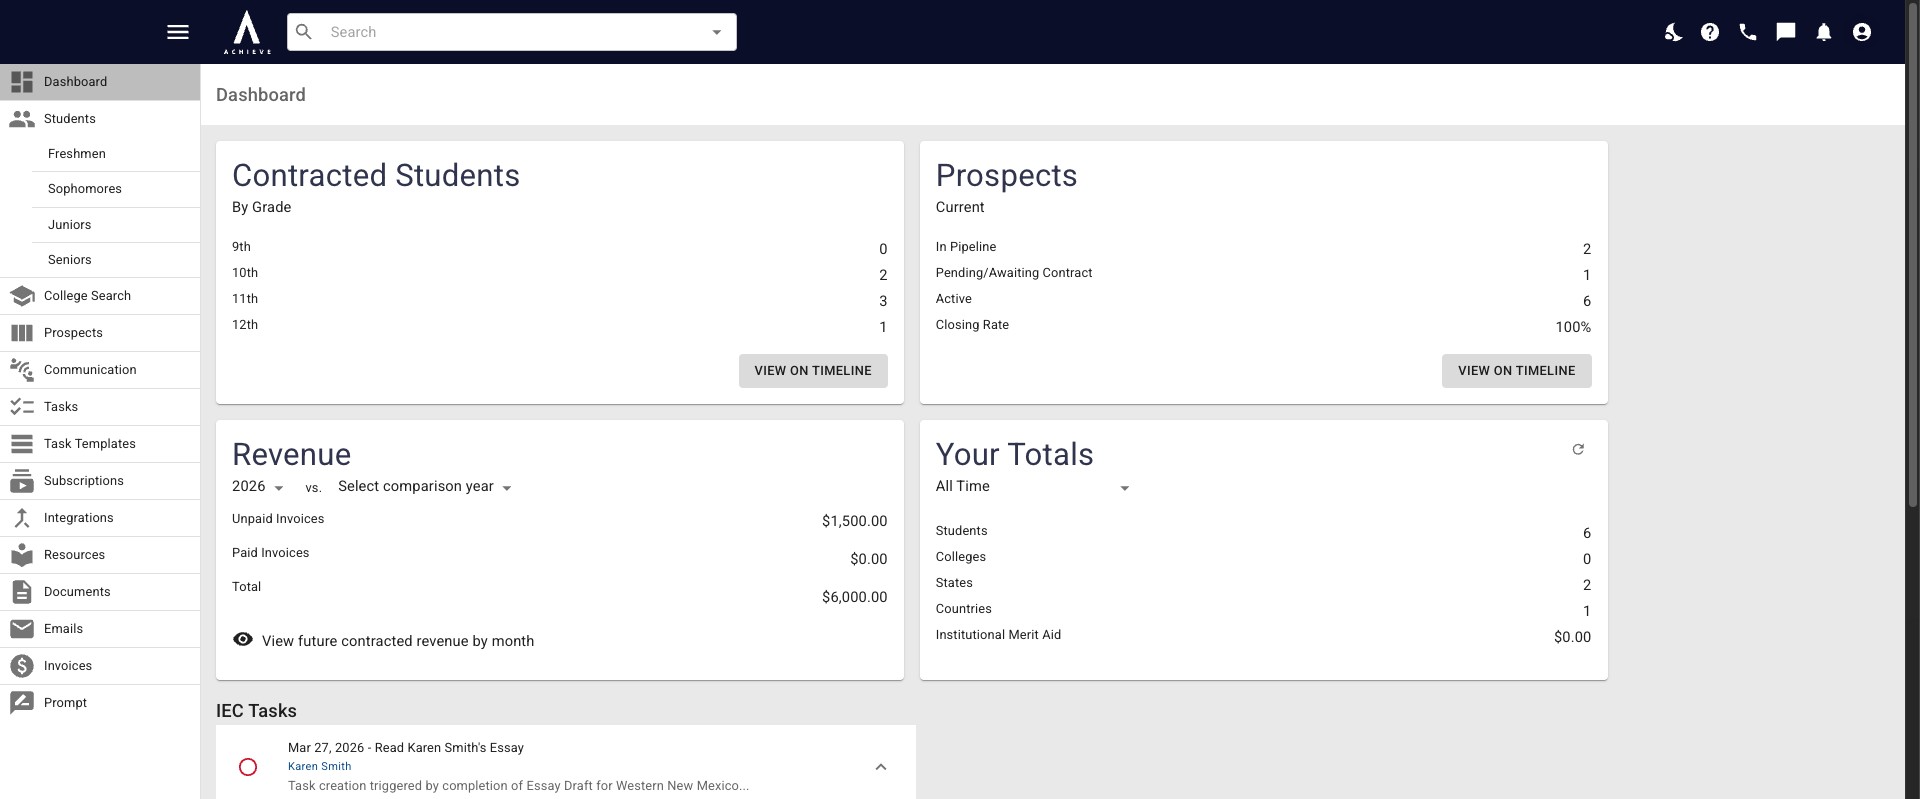
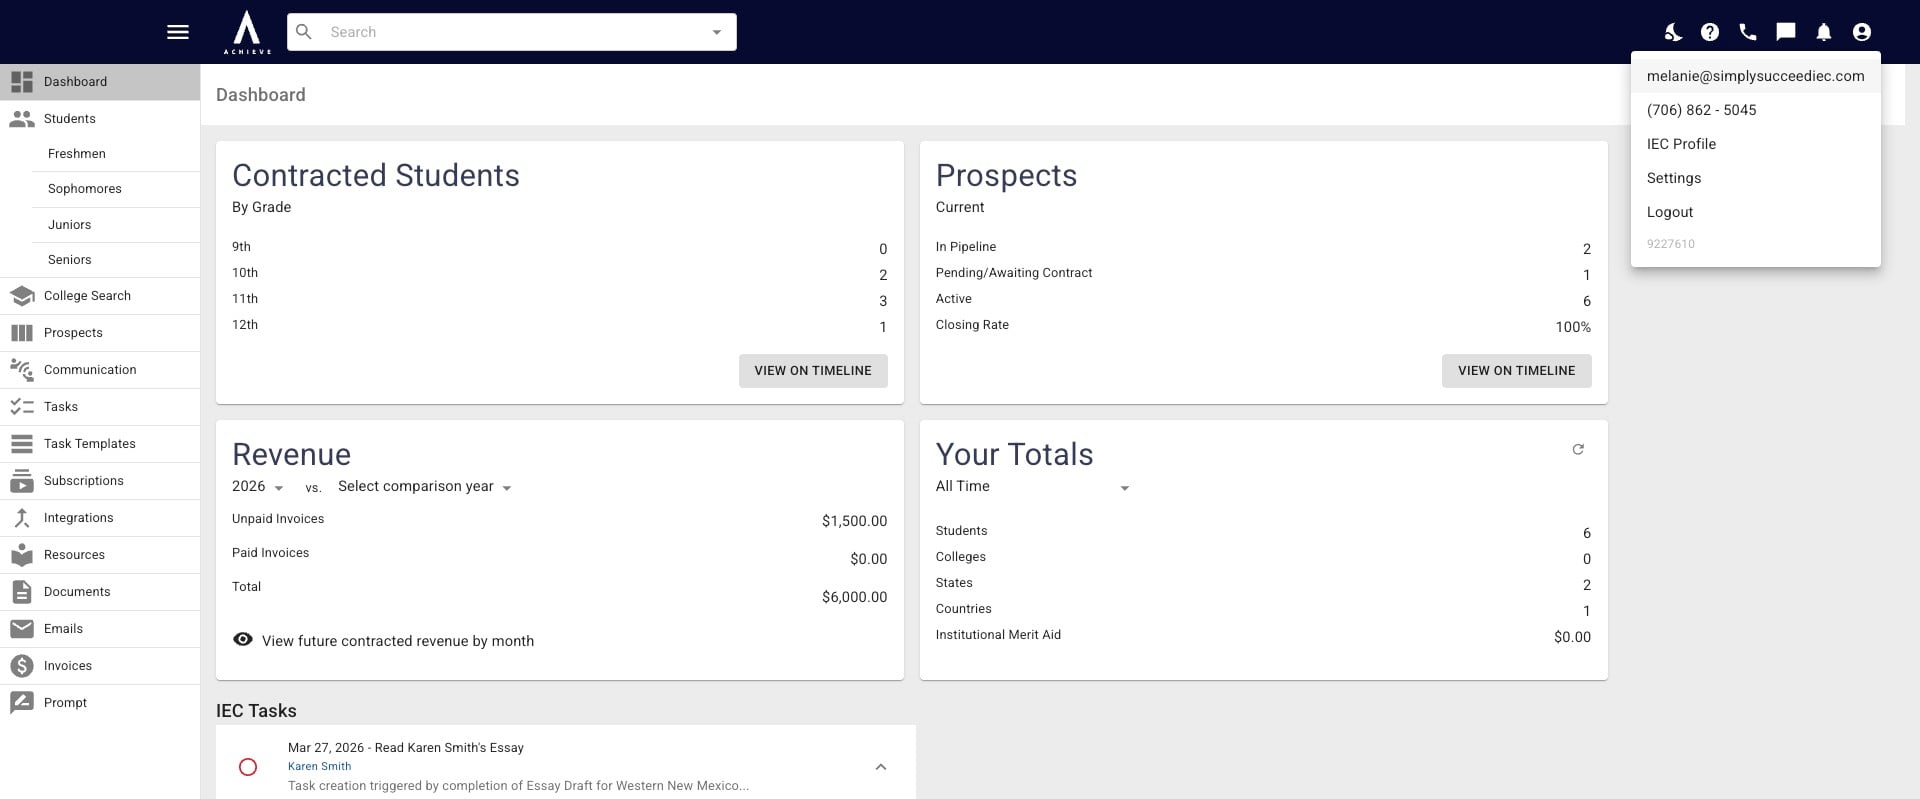
Clicking it reveals a drop-down list. The first list item is your email, the second is your Achieve phone number, if applicable. The third item is IEC Profile.
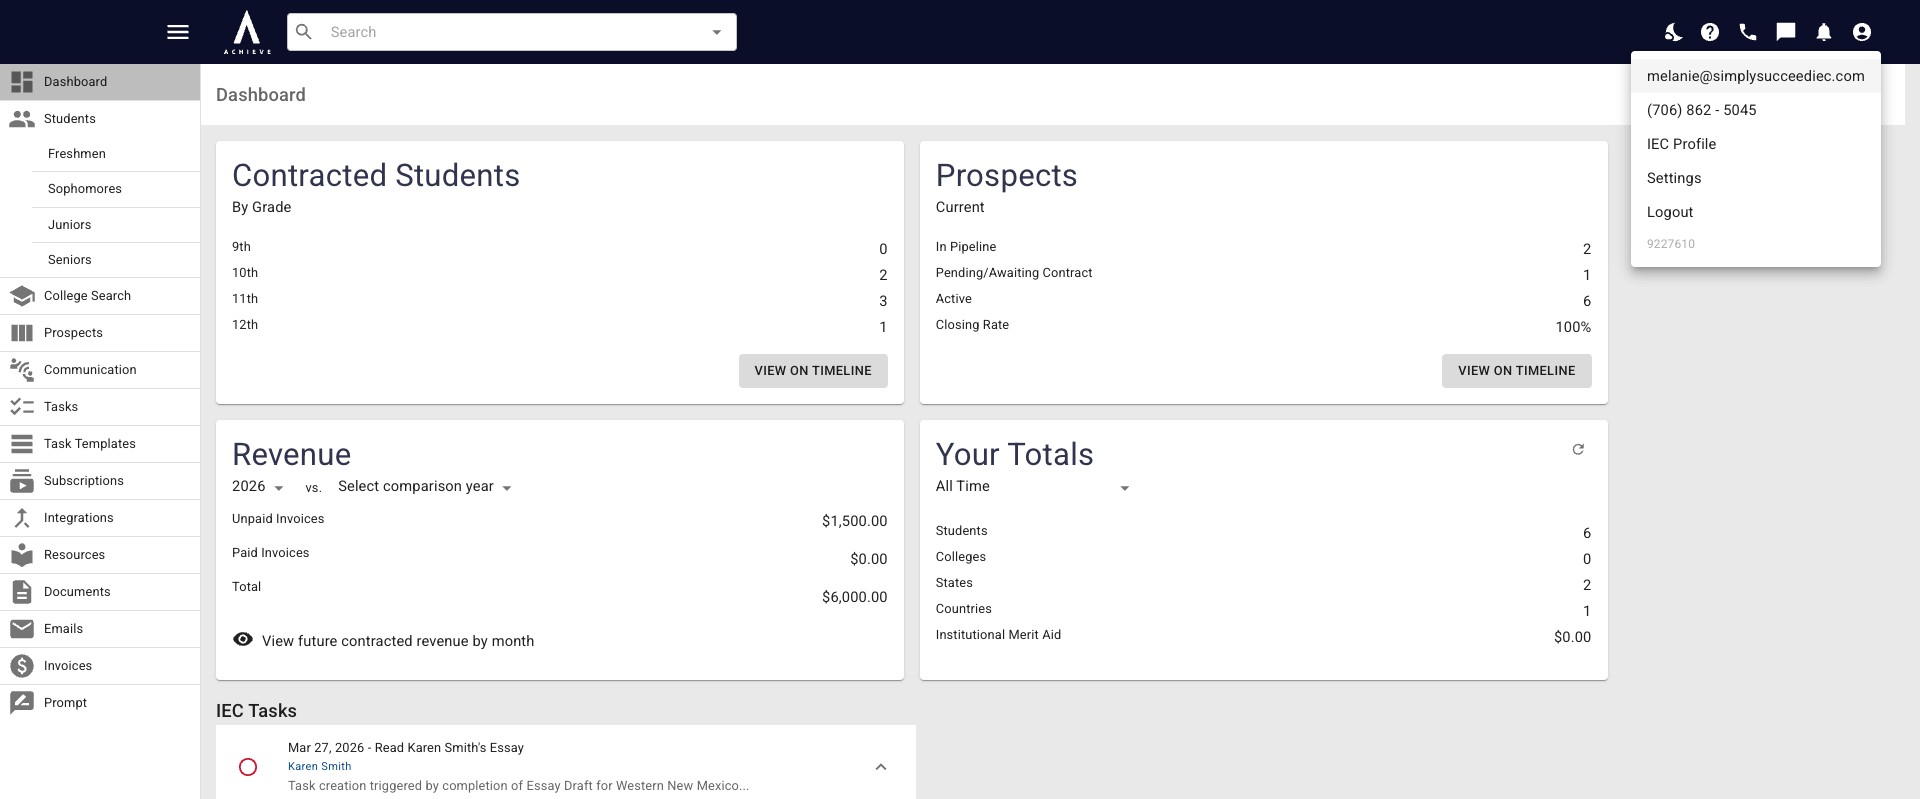
IEC Settings is where you can view & update your IEC Profile.
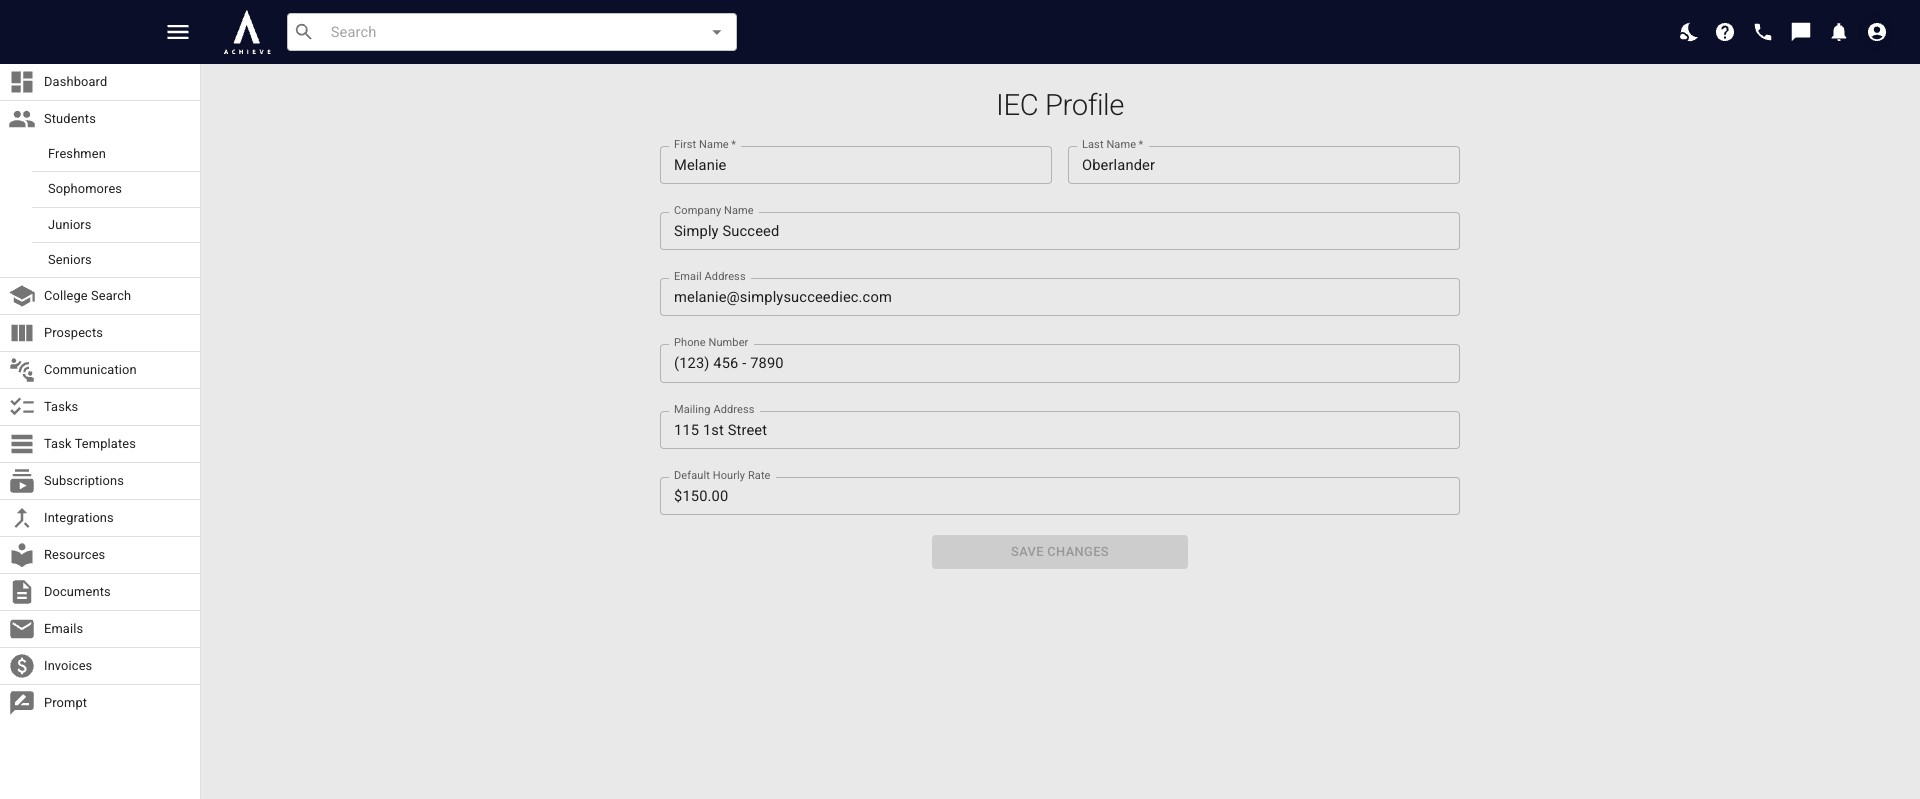
The next option on the drop-down list is Settings.
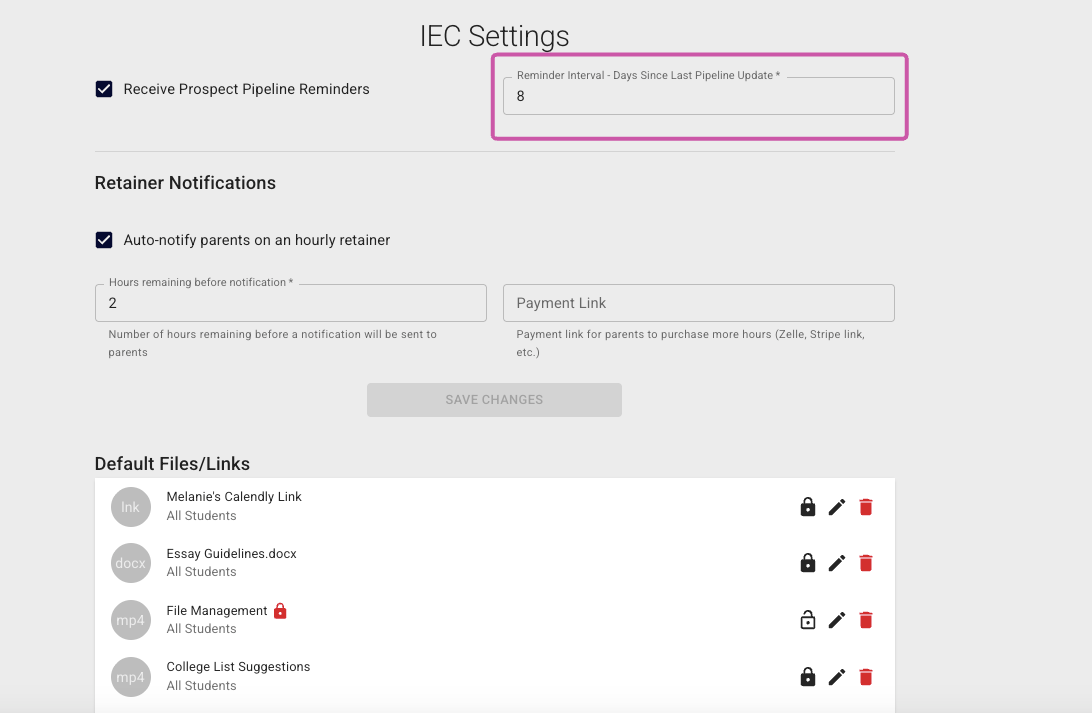
The first item under IEC Settings allows you to choose if you want to receive Prospect Pipeline Reminder emails and set their frequency. If the box is checked, it means you'll receive an email reminder at this interval if any families are listed in your Prospect Pipeline.
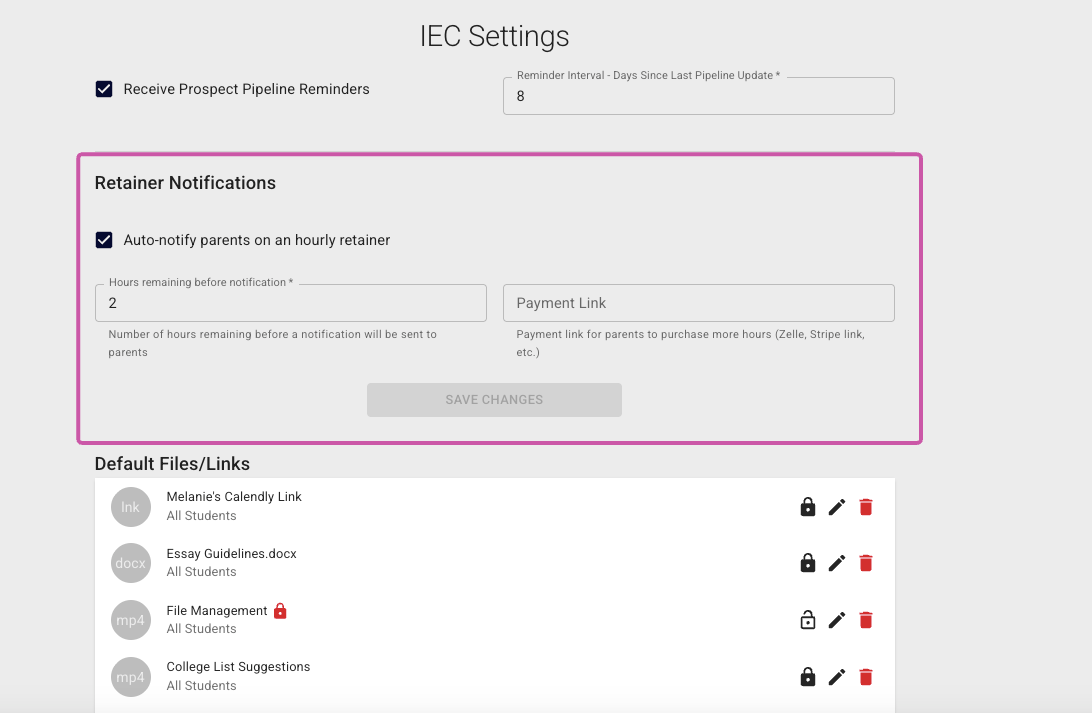
Next is Retainer Notifications. If you have families who buy blocks of hours, rather than comprehensive packages, you can choose to auto-notify them when their hours are running low. You can also include a payment link that allows them to purchase more hours automatically!
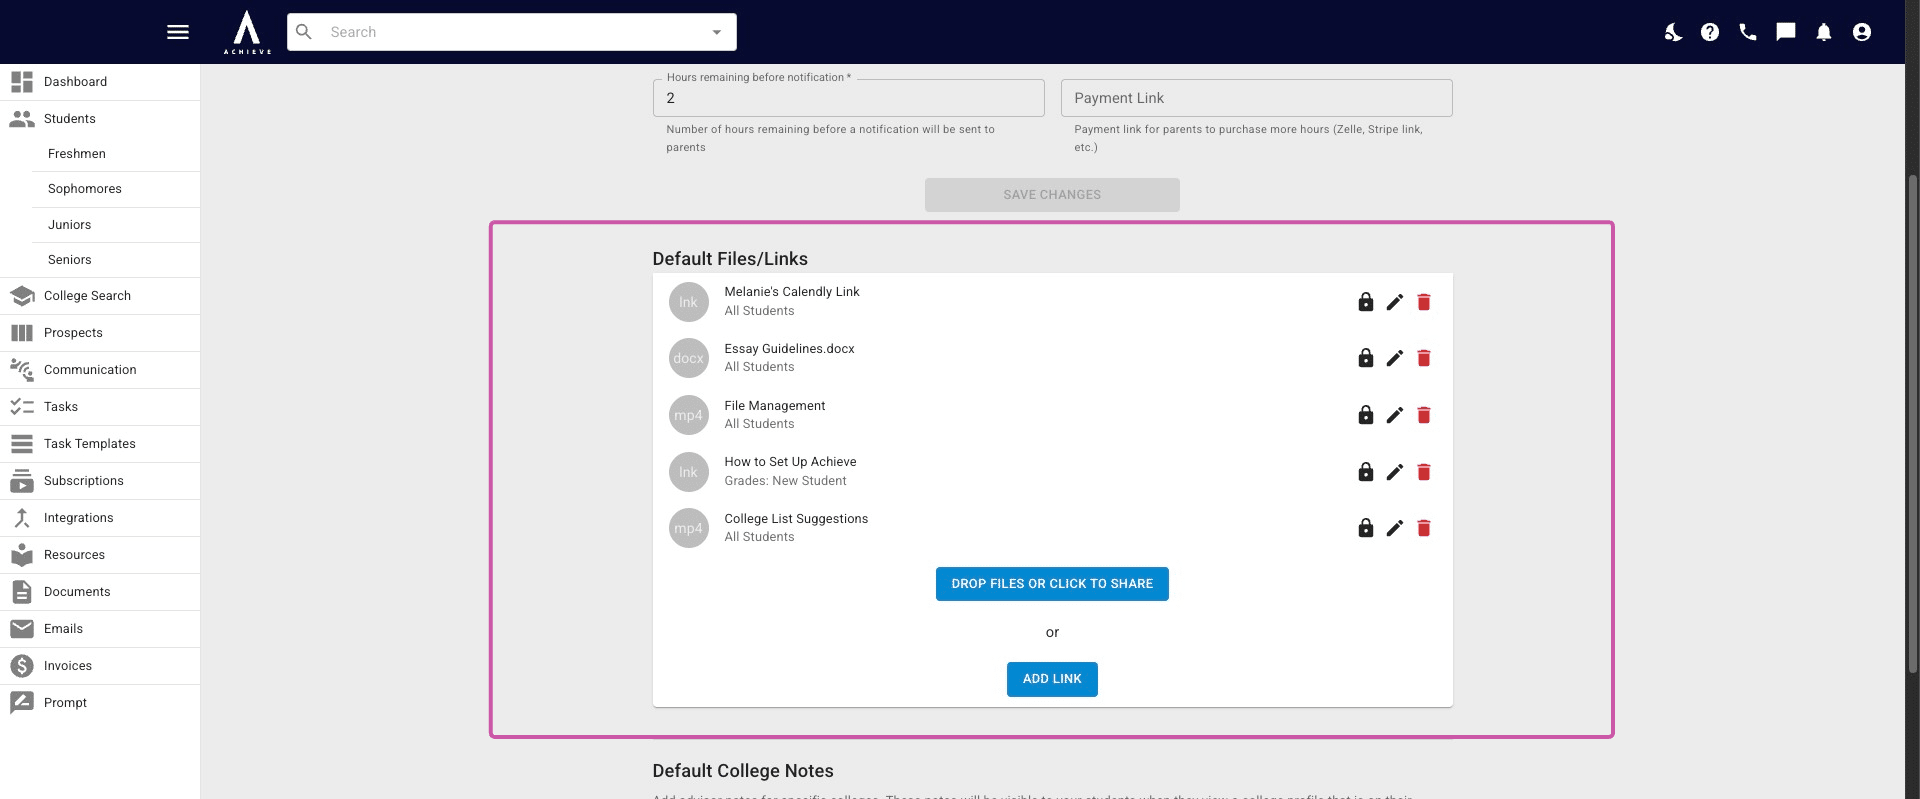
Below that is Default Files/Links. These are files/links that will automatically show up for either all students or students in a certain grade/status, depending on how you set up each file/link.
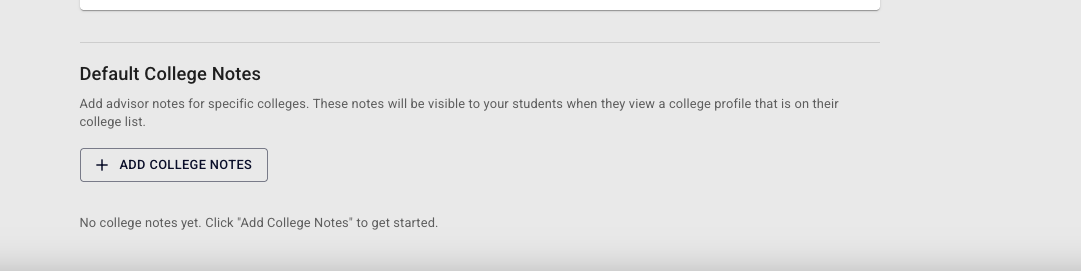
The last section on this page is Default College Notes. Here you can add your notes for a college that you only want your students to see.
Lastly, there is Logout. Click this to log out of your Achieve account.
Next, we have the Bell icon. This is where you will find your Notifications. When a student marks a task as complete, adds a file, or when an invoice is paid a small red bubble will appear with a number in it. That number indicates how many unread notifications you have.
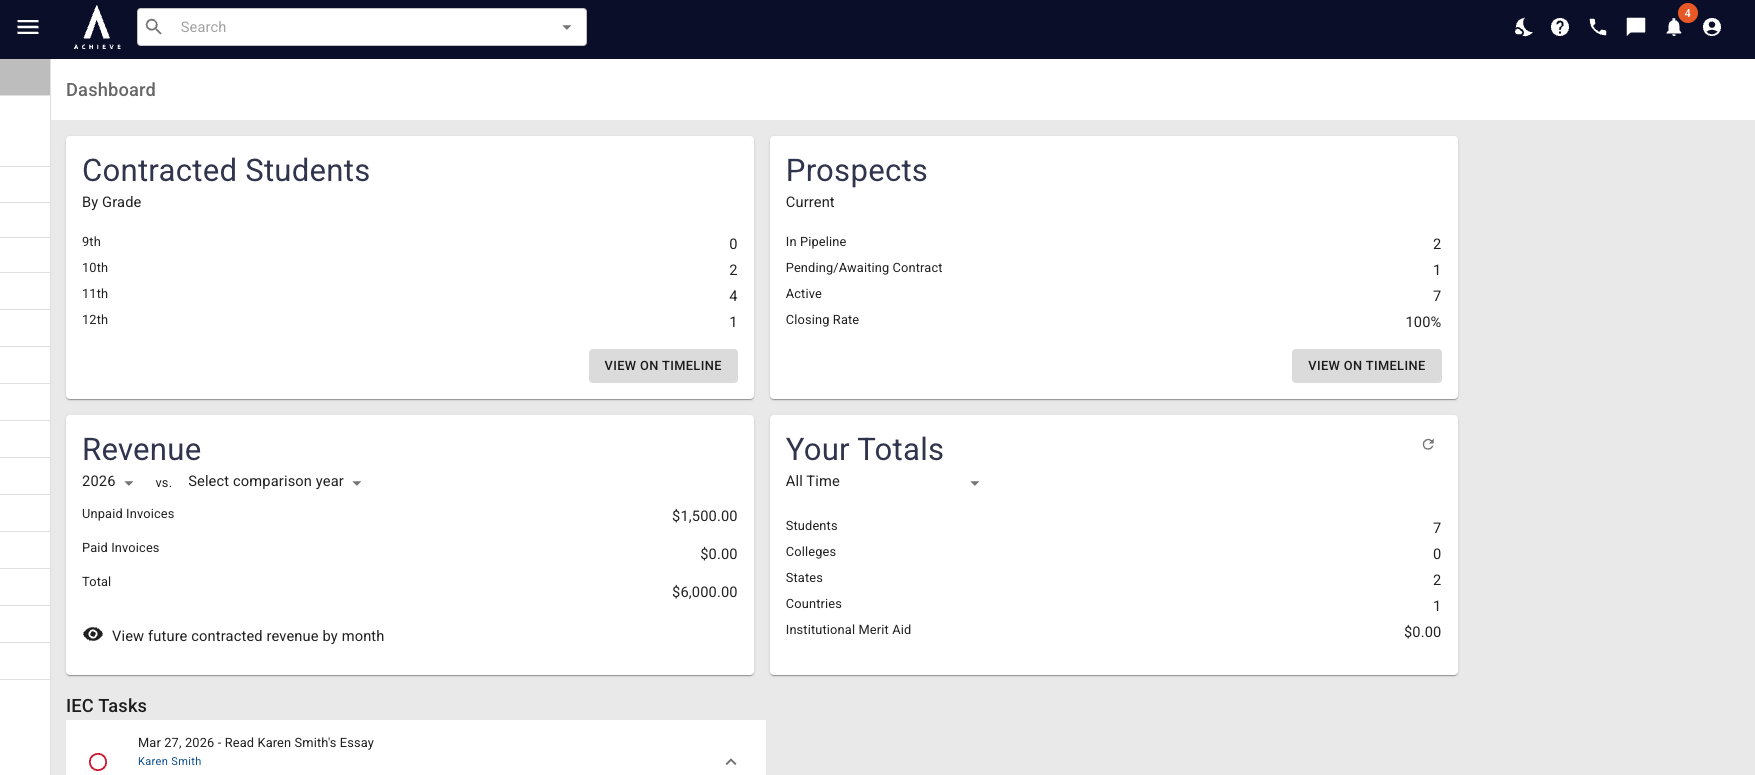
When you click on the Bell icon, a dropdown list of your Notifications will appear. If you click on a specific notification, it will take you to the student's page or the file that's been uploaded.
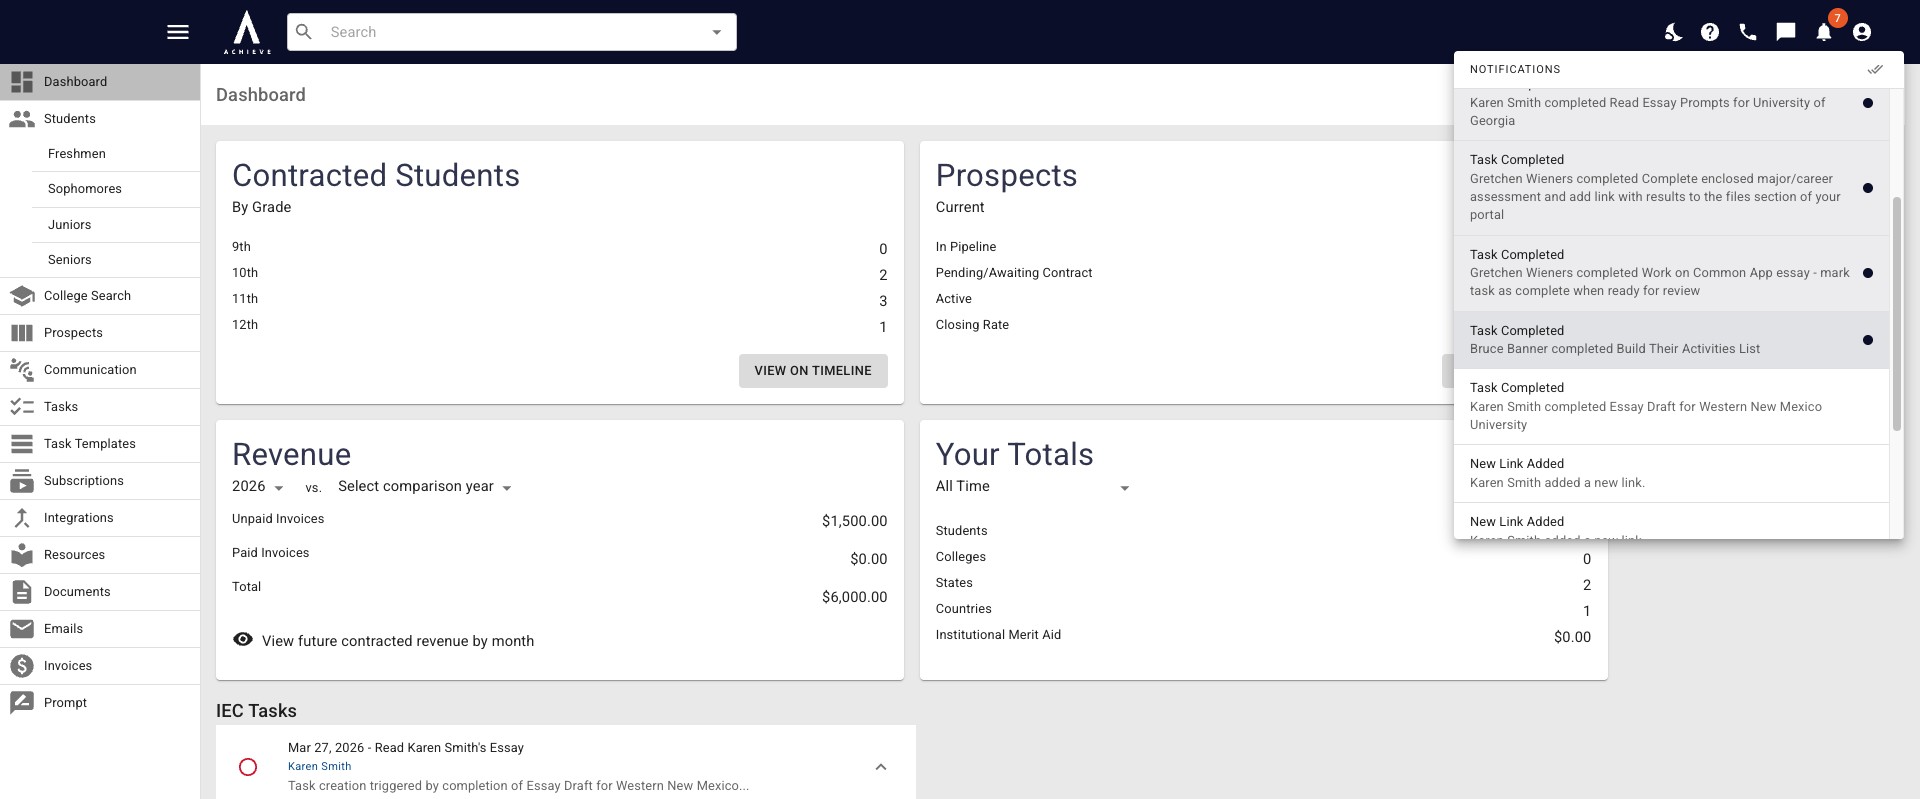
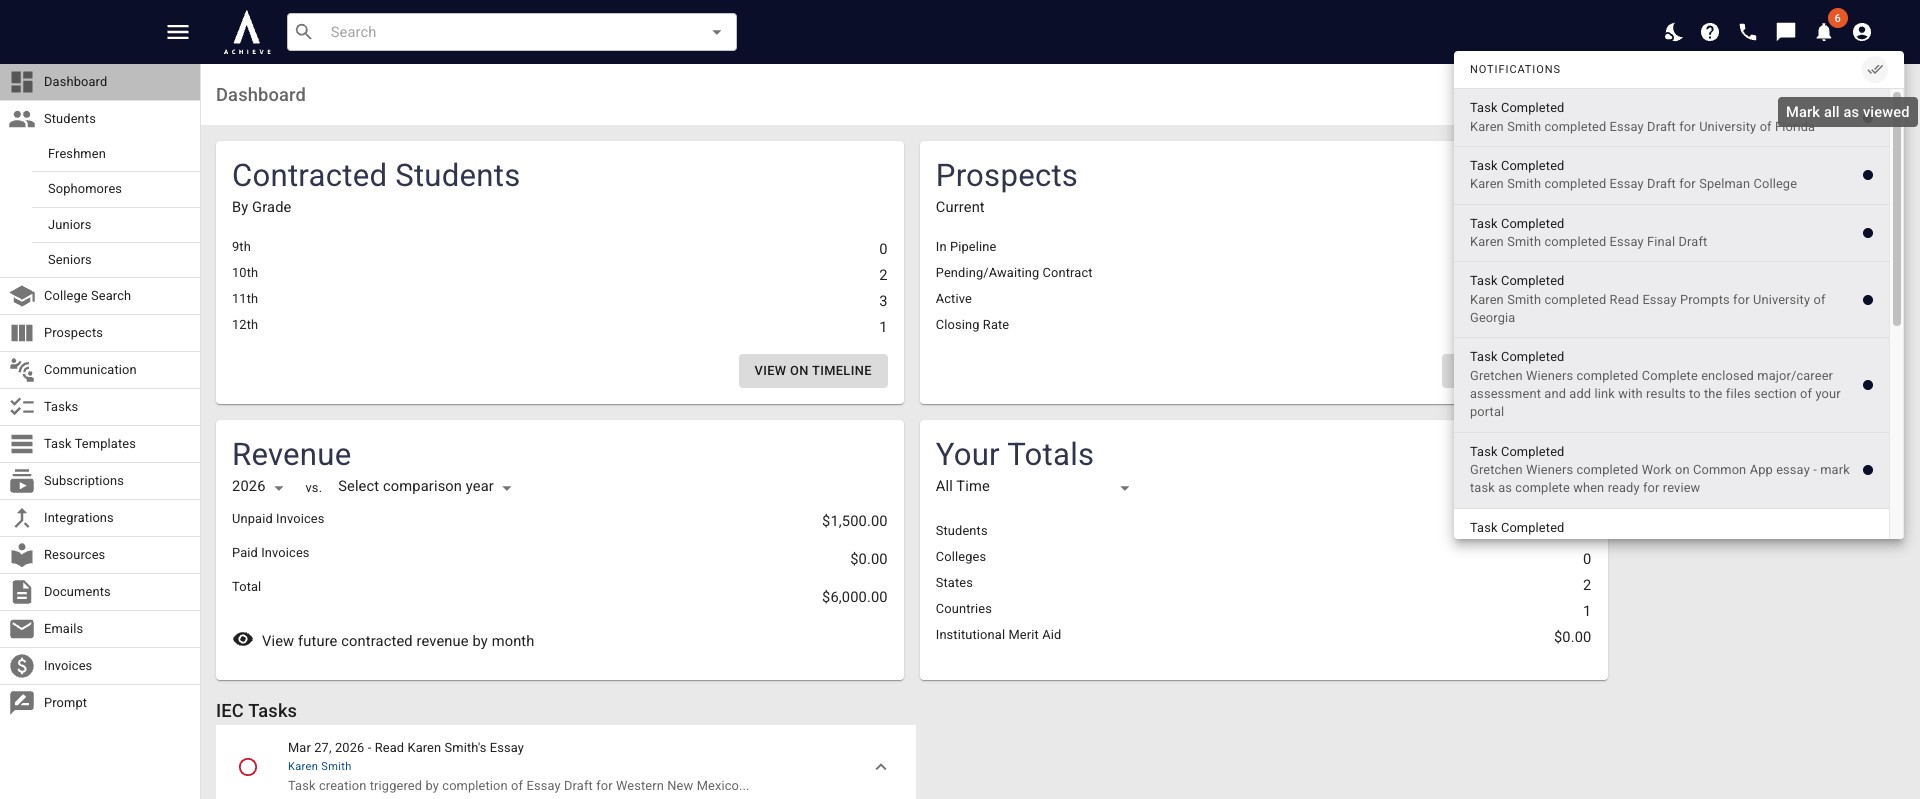
At the top of the drop-down menu, on the right-hand side, you will see two checkmarks. Clicking this marks all Notifications as Viewed.
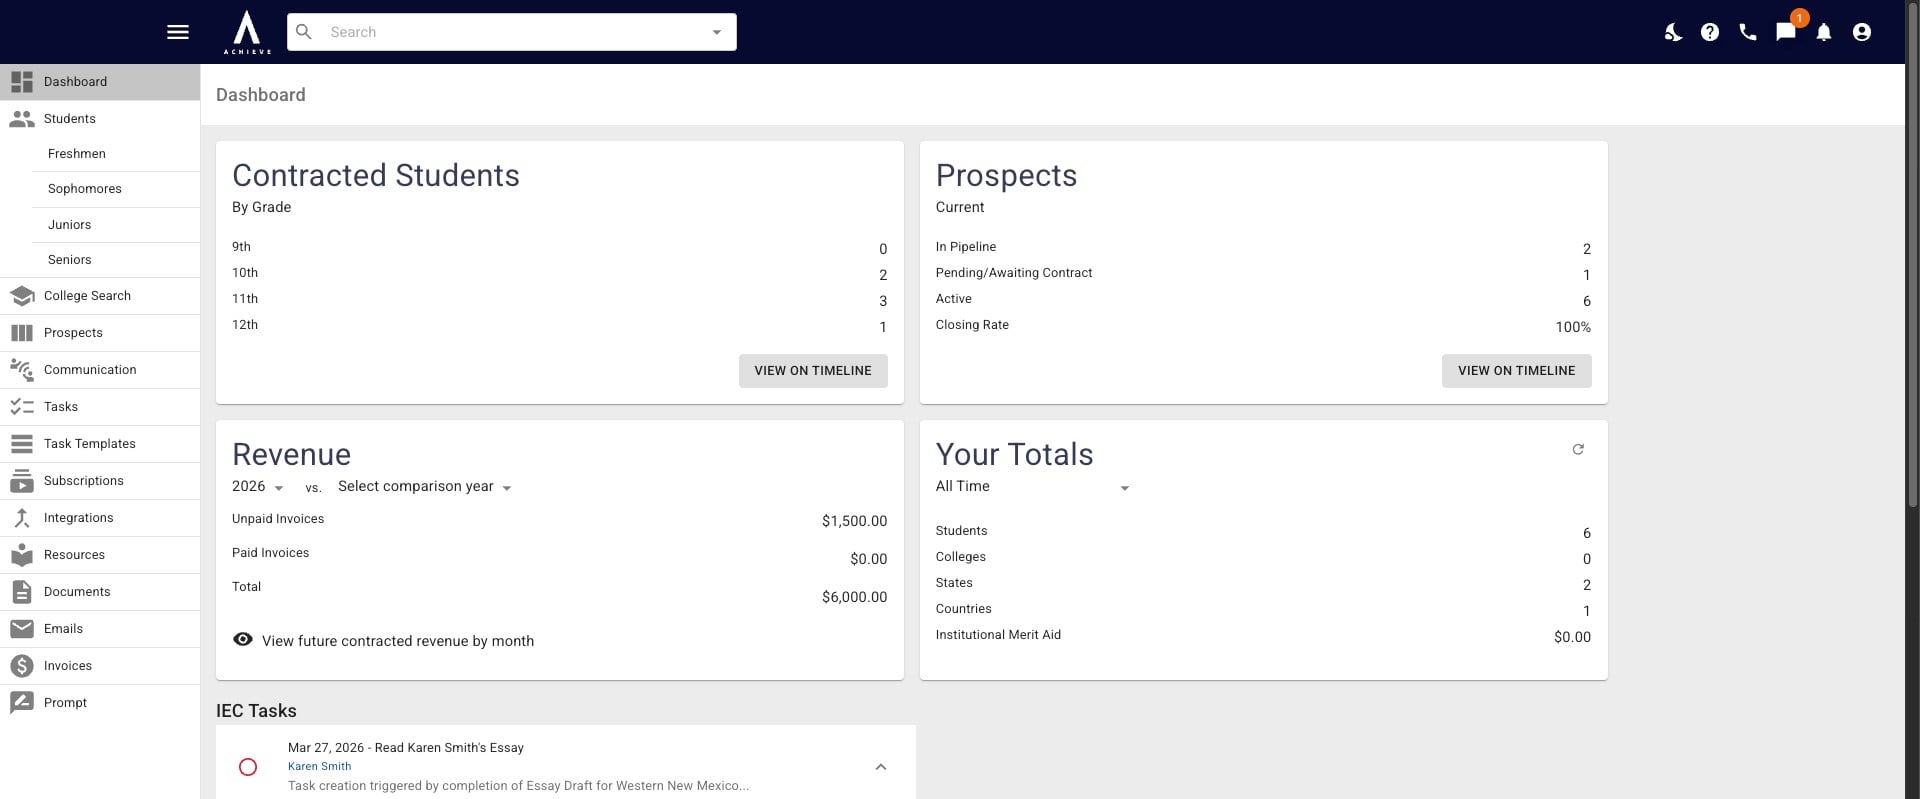
To the left of the bell icon, you'll see the Messages icon if you have an Achieve phone number. If you have any unread messages, you'll see a red notification indicating the number of unread messages you currently have. Clicking on the messages icon will take you to the Texting page.
Next is the Phone icon. If you hover over this icon, your Achieve Number will appear.
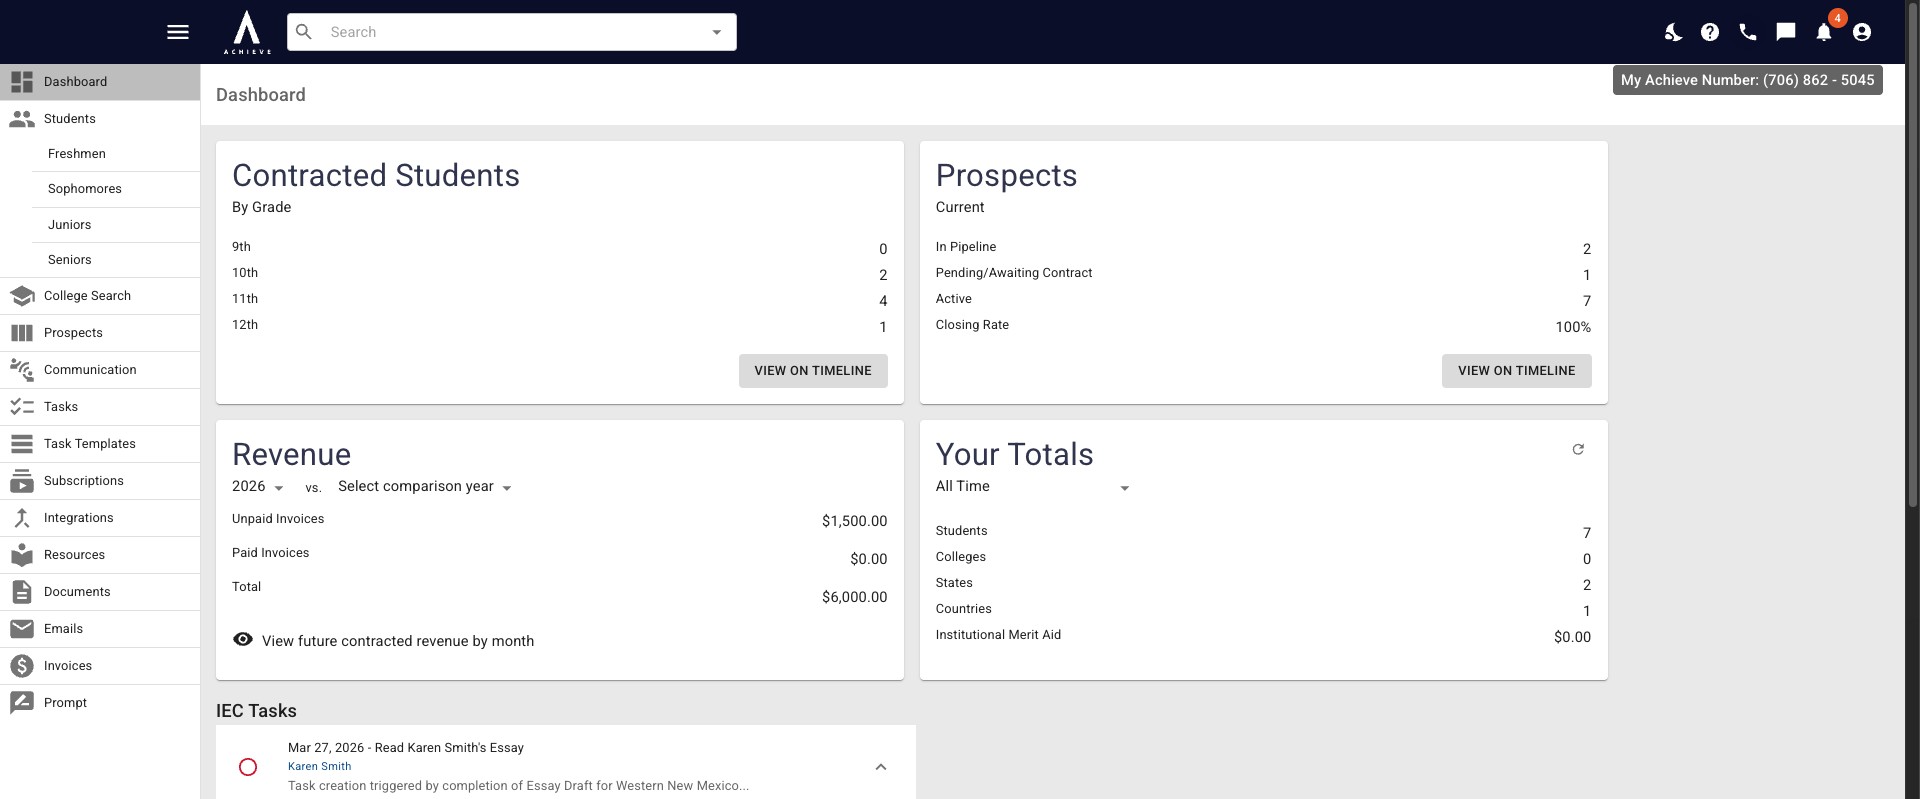
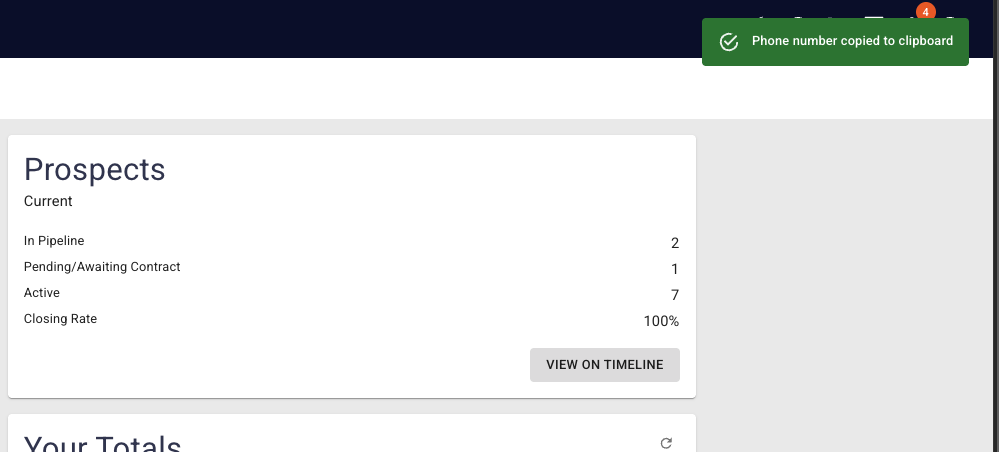
If you click on the Phone icon, your Achieve Number will be copied to the clipboard for you to paste elsewhere.
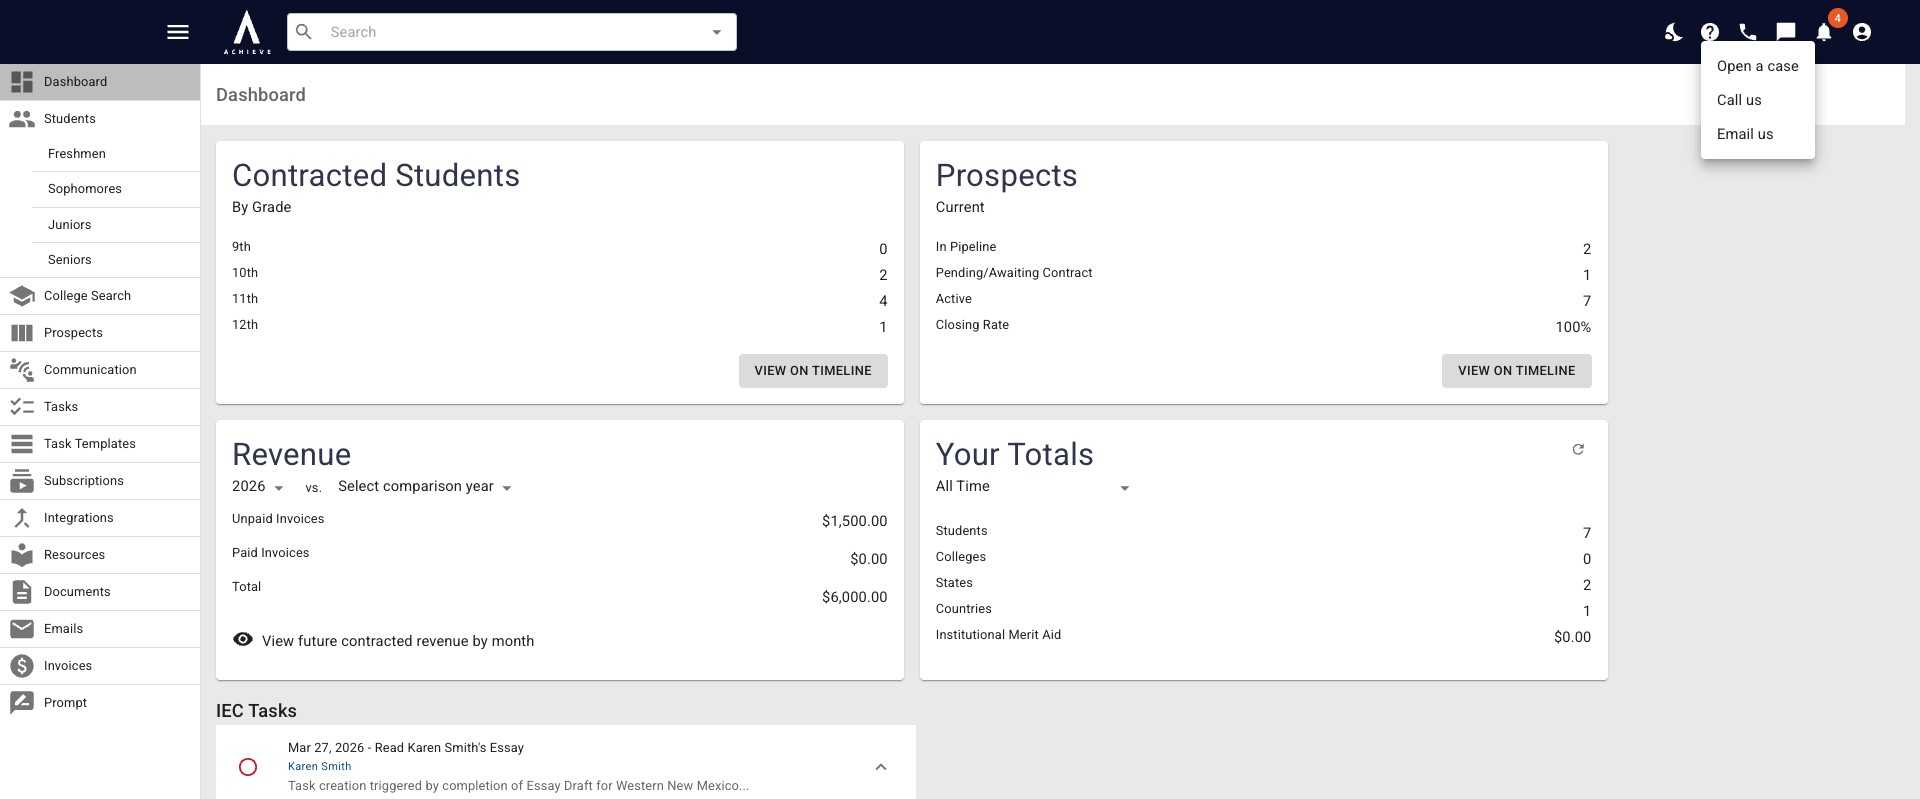
Next, we have the Question Mark icon. If you click on this, a drop-down list will appear. If you choose Open a Case, you'll be able to submit an error report, suggestion, or other comments/issues.
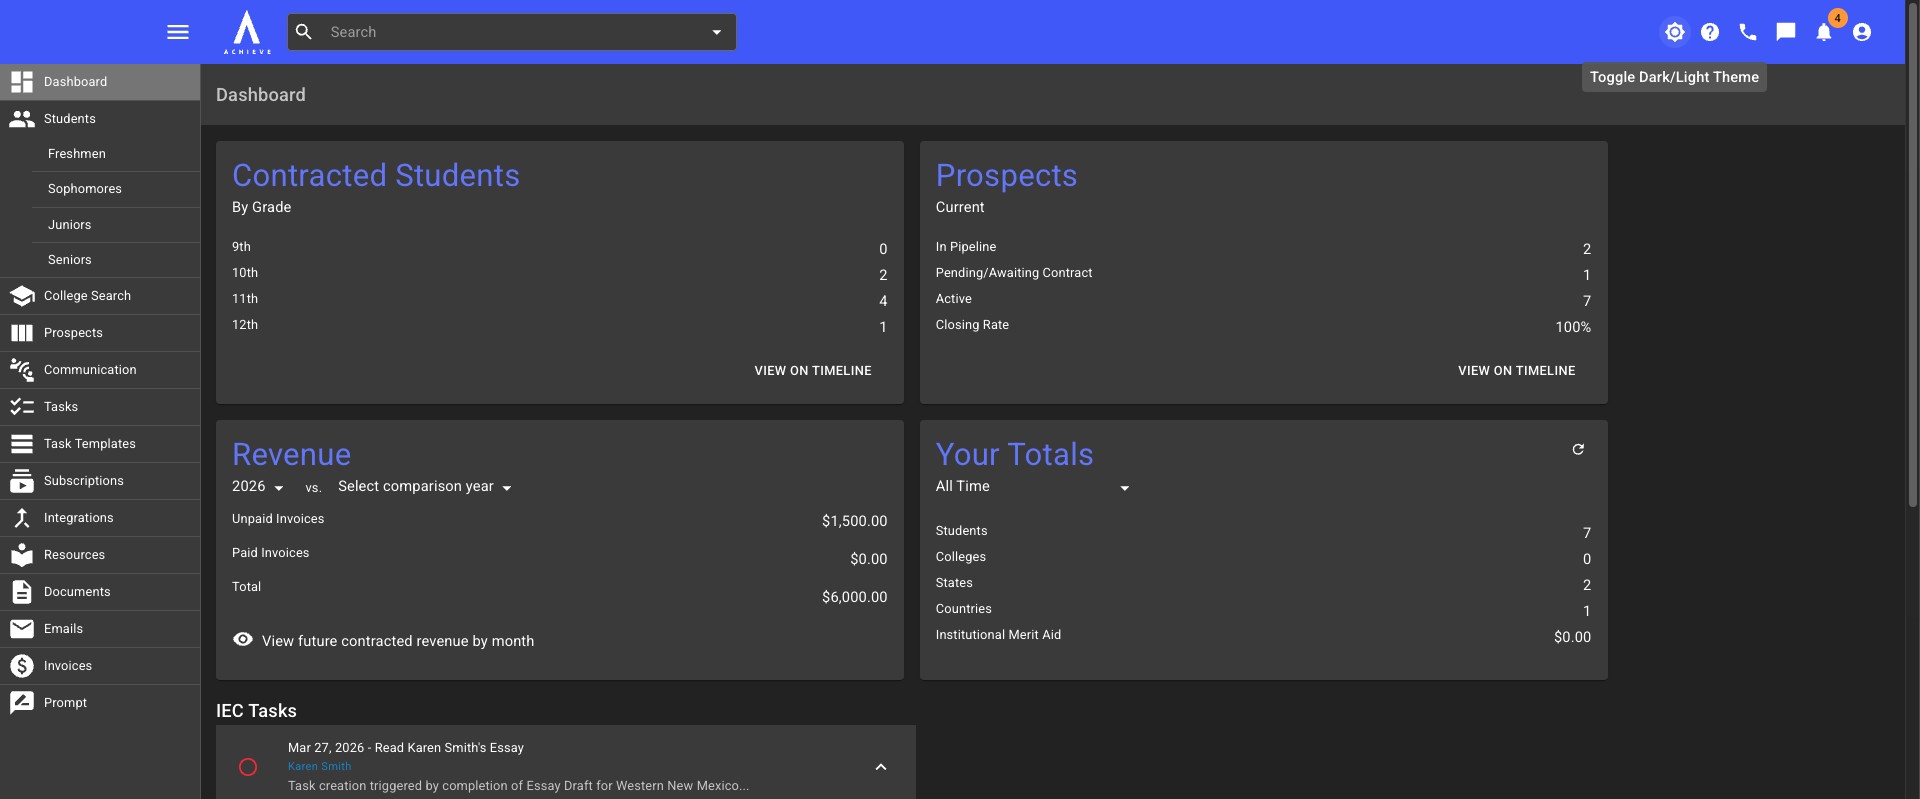
The final icon is the Moon icon. Clicking on this toggles you between Dark and Light Themes. Below is the Light Theme.
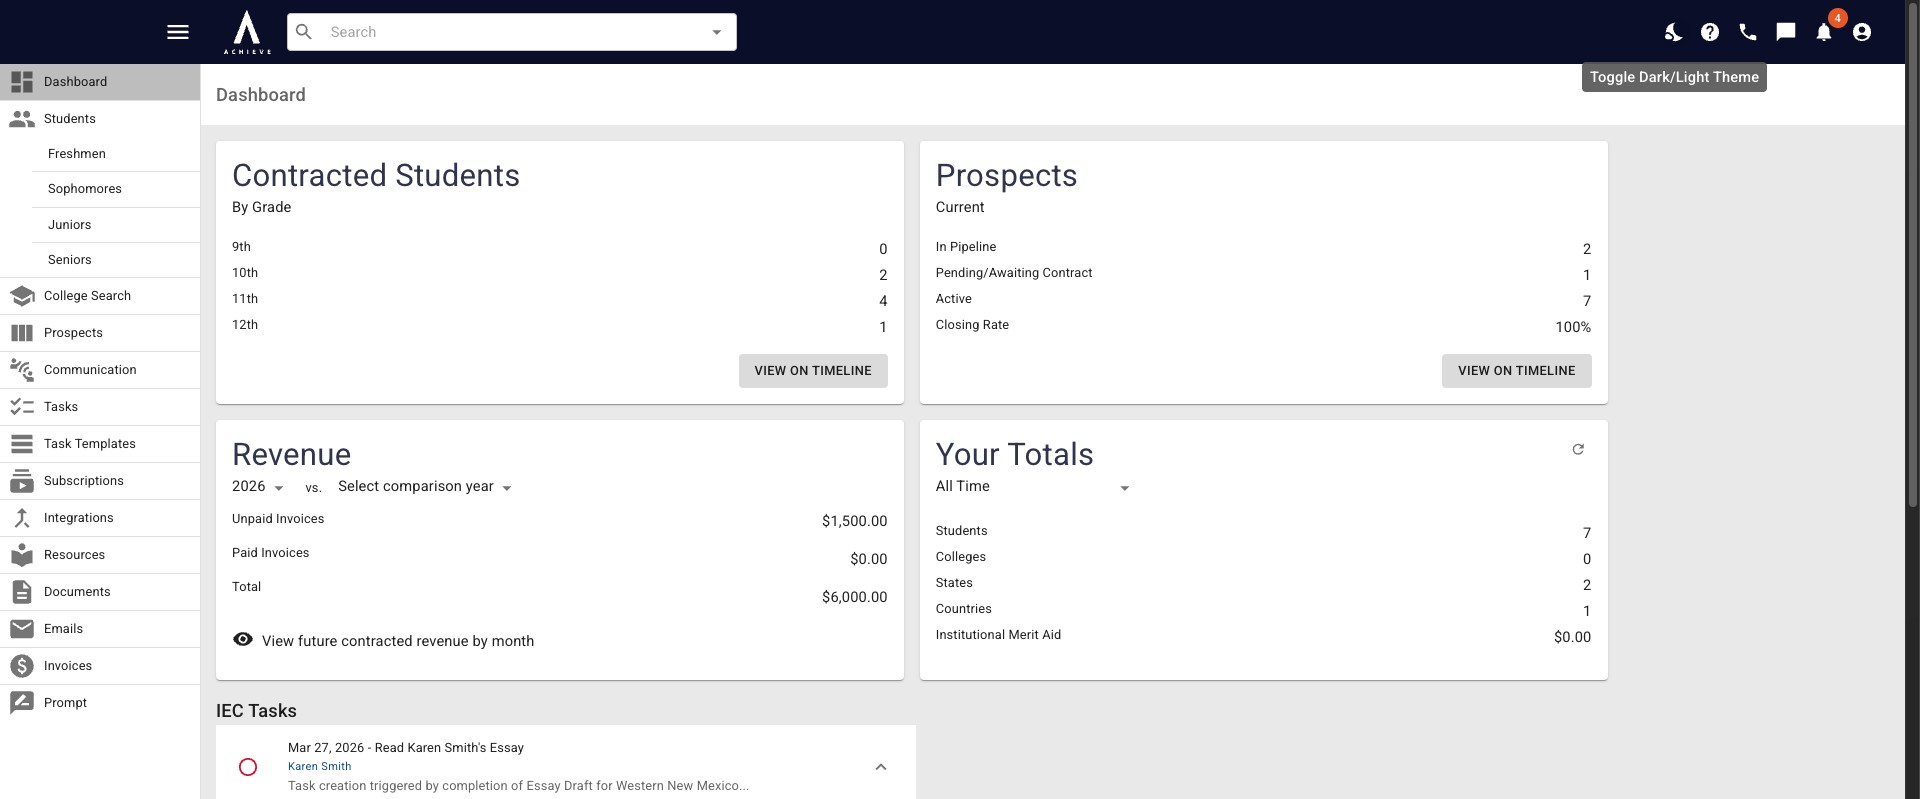
This is Dark Theme. Click on the Sun icon to return to Light Theme.
Done 🚀