logo

Retainer Section

This guide explains how to manage a student's retainer in Achieve.

May 09, 2026â—Ź
1

Within a student's Achieve profile, click Retainer.
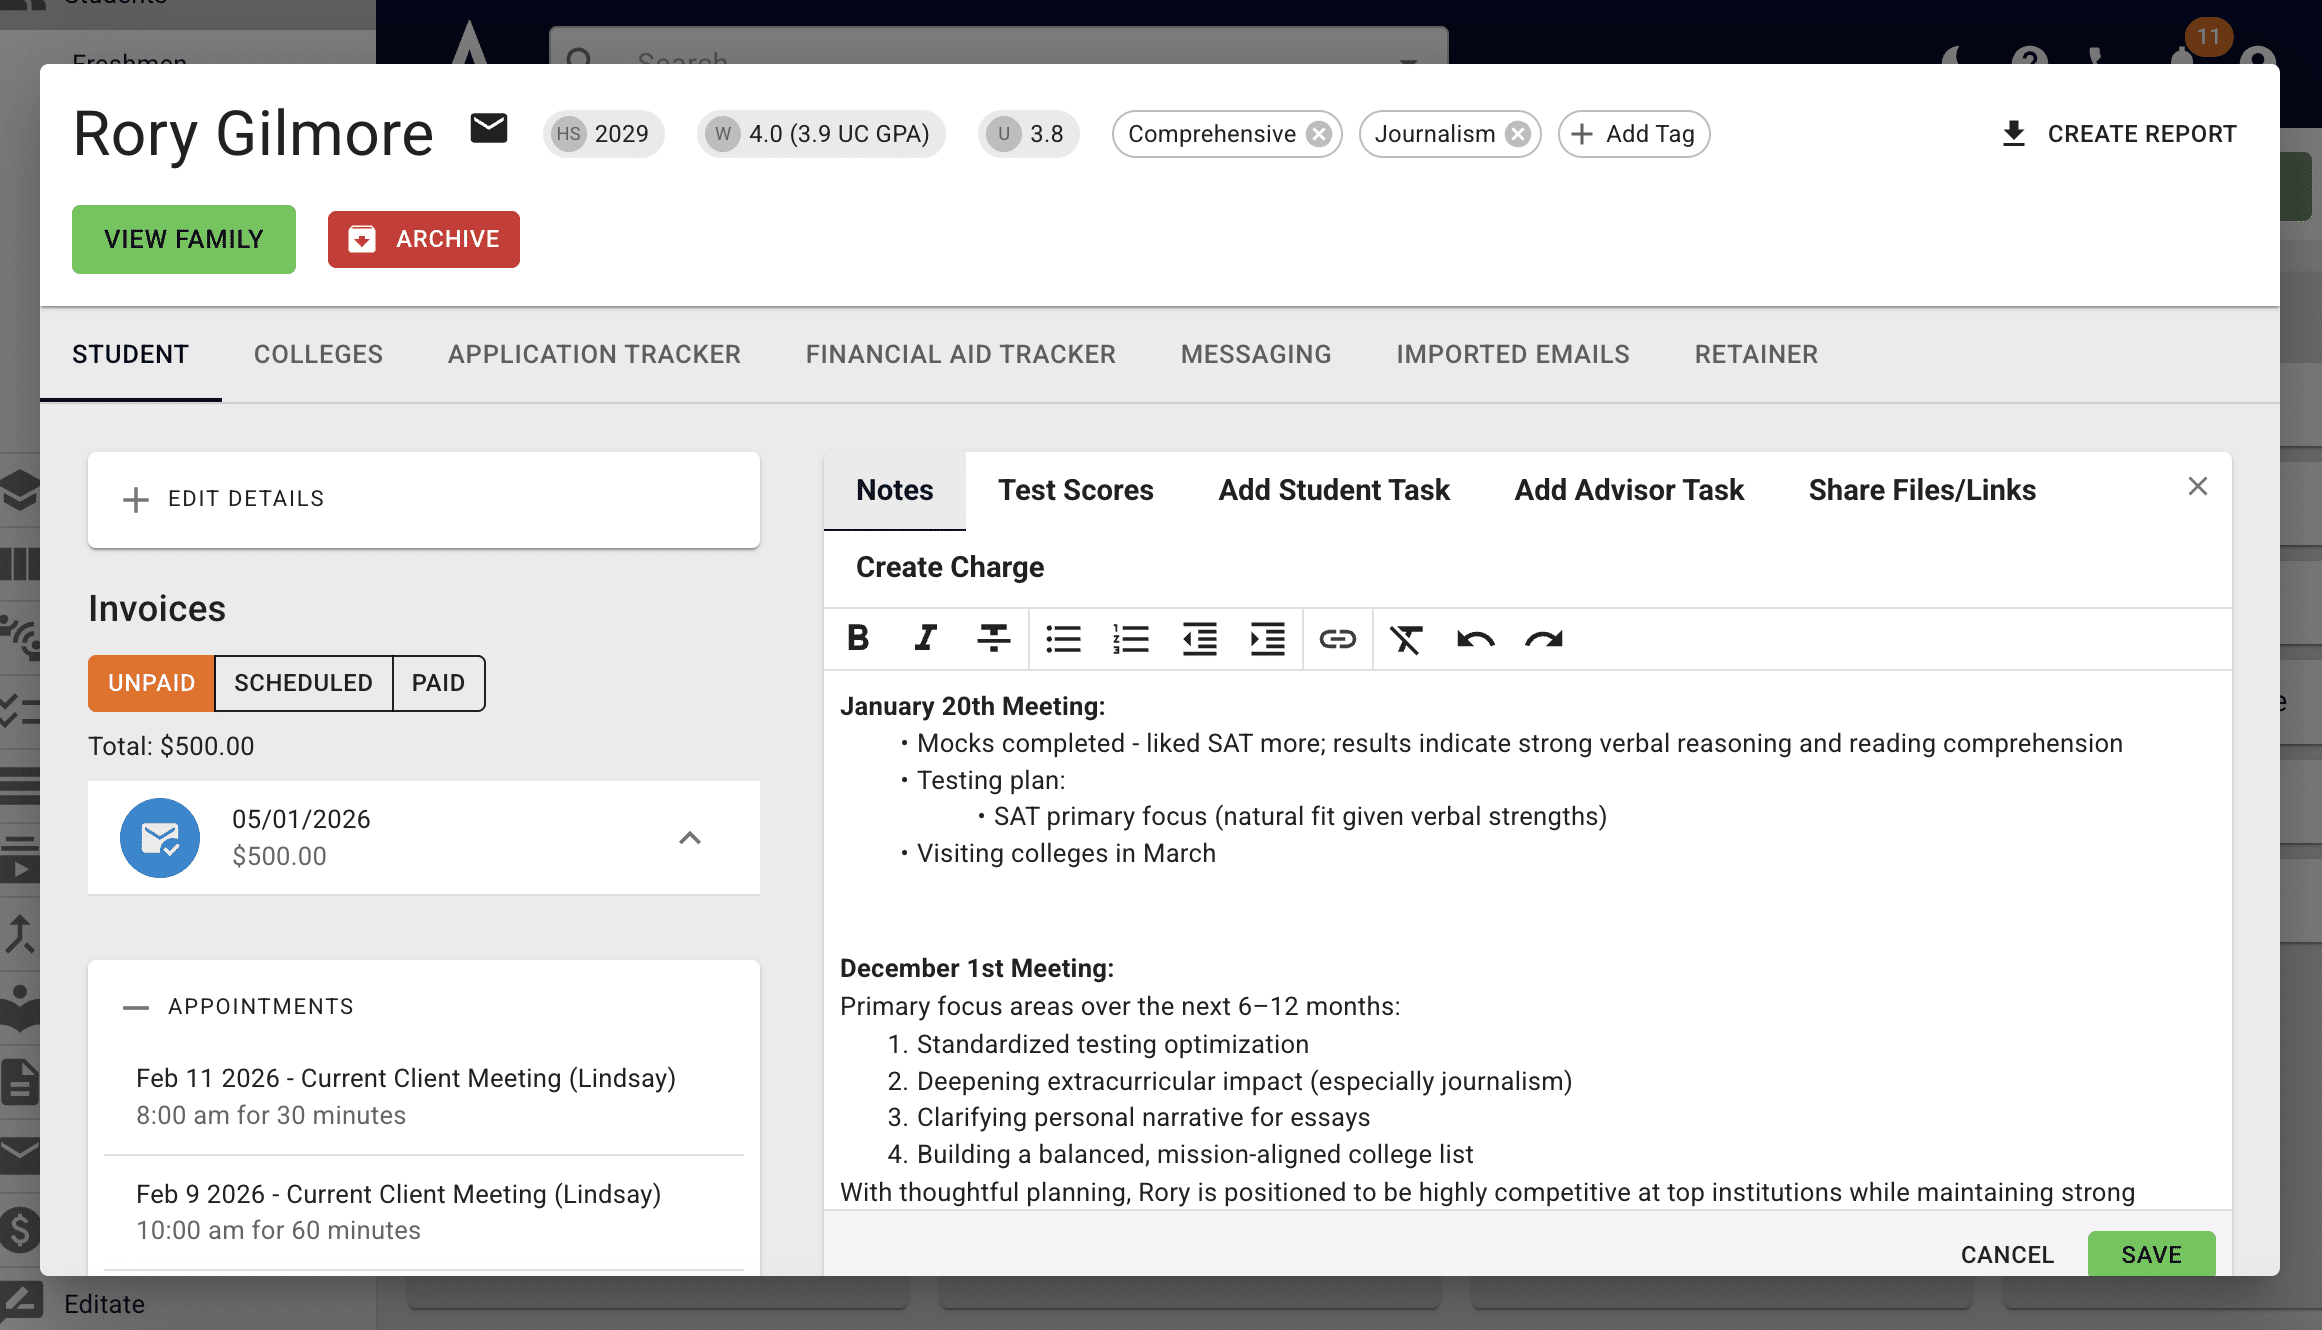
Within a student's Achieve profile, click **Retainer.**
2

To add time purchased or used, press + Add H0urs.
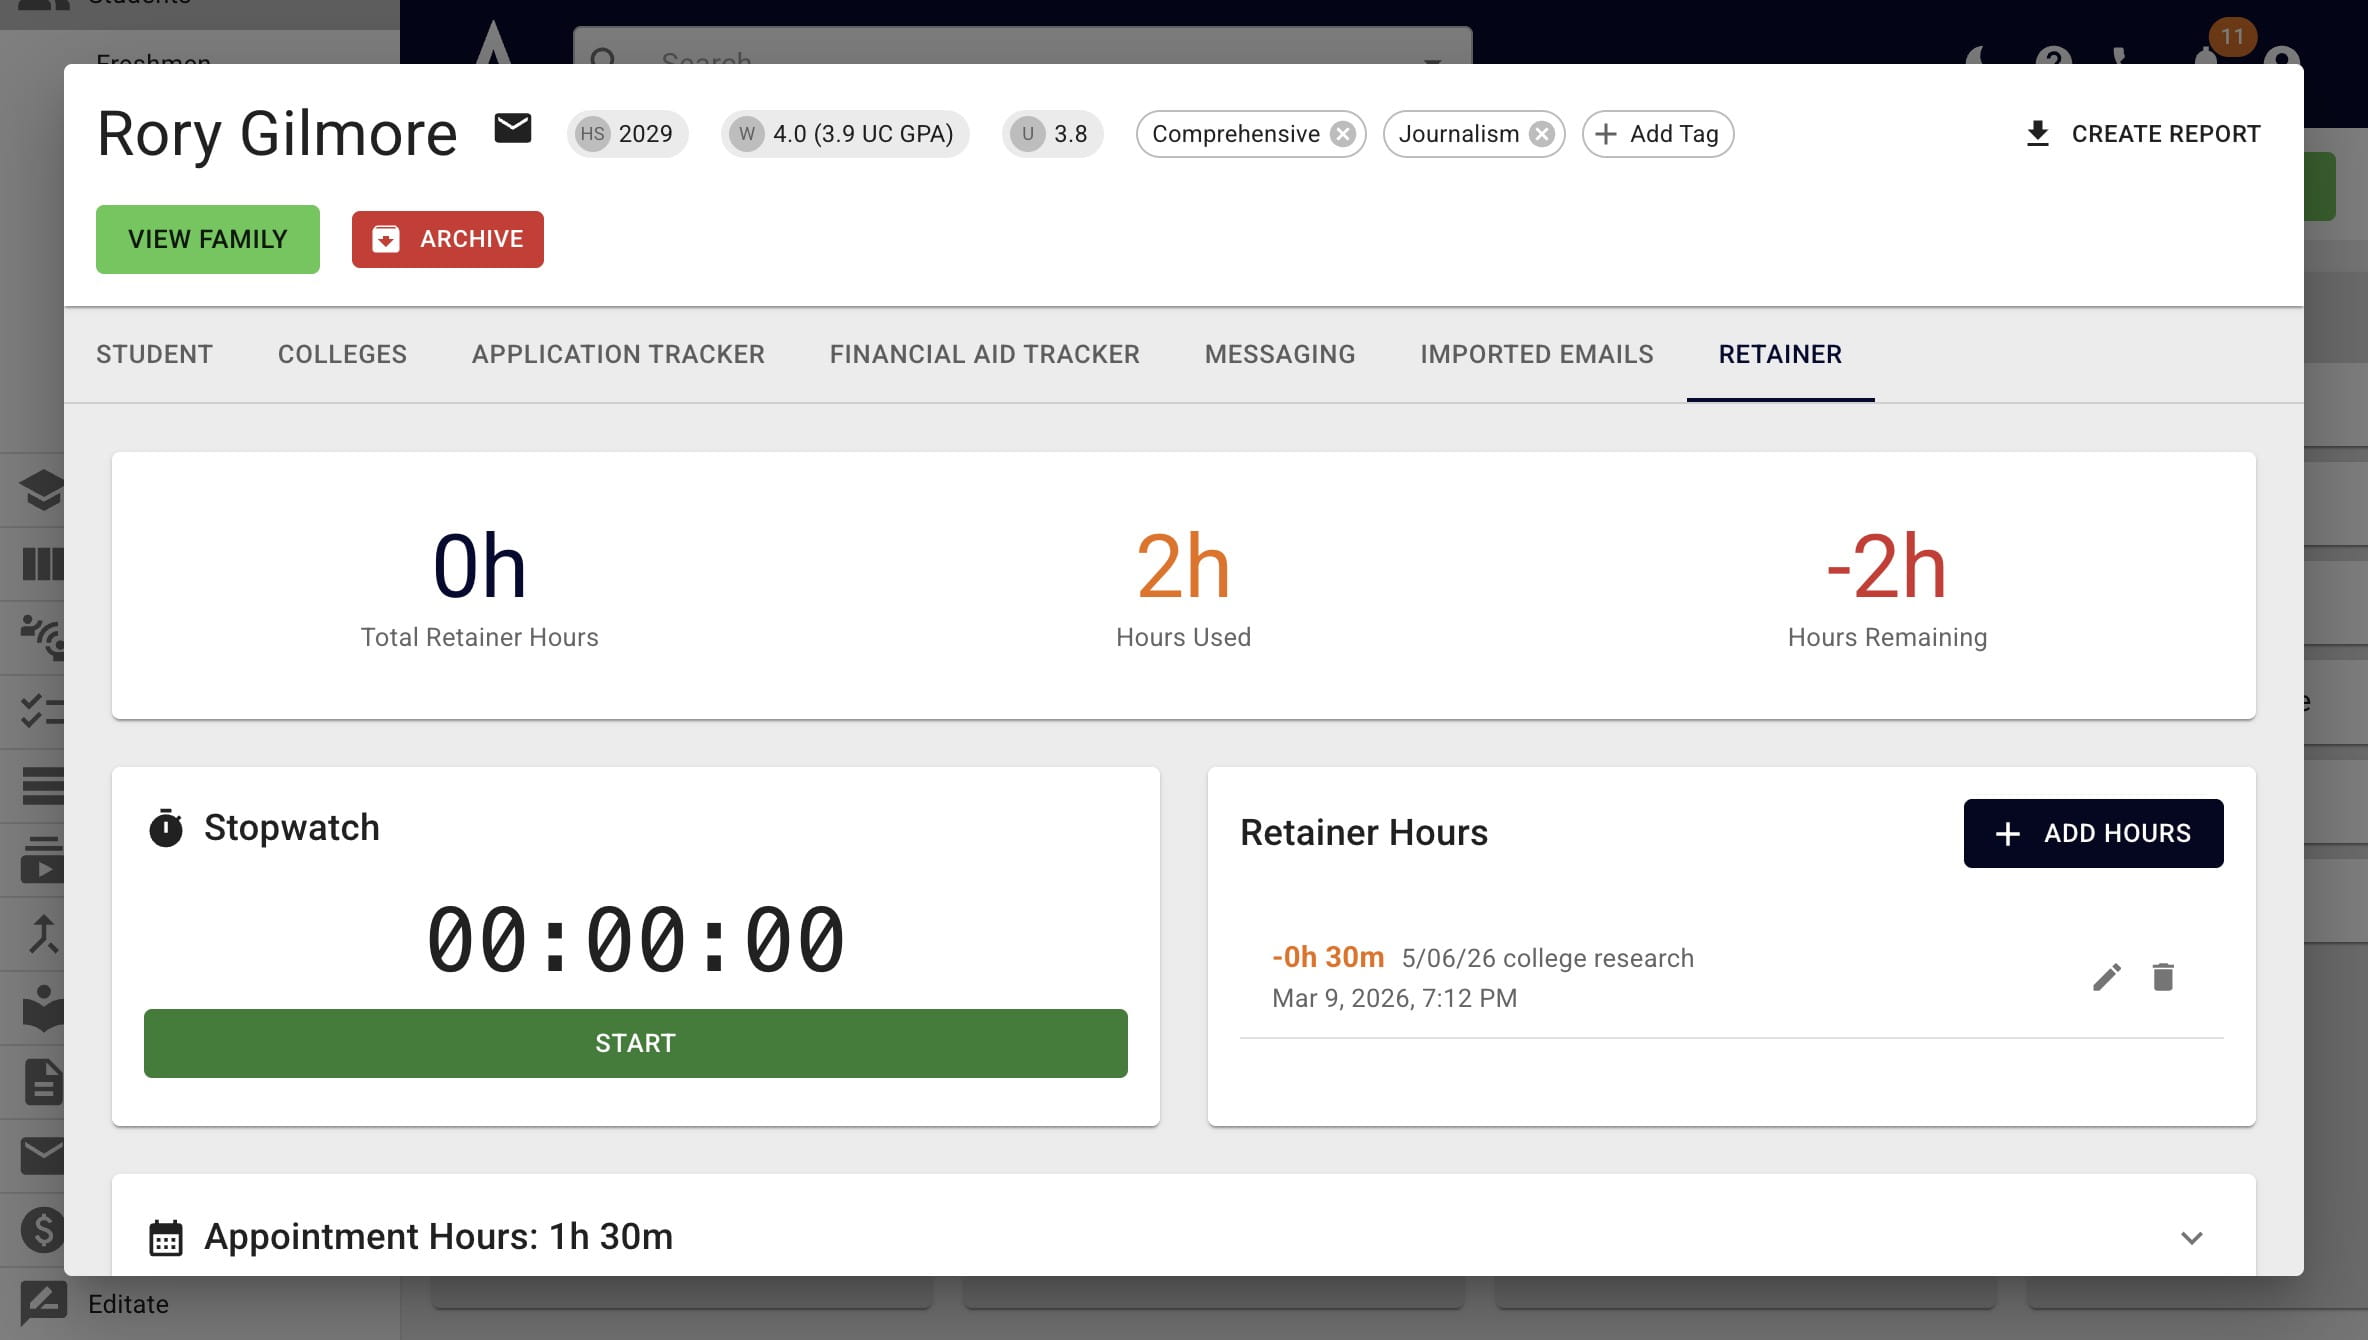
To add time purchased or used, press **+ Add H0urs.**
3

Under Entry Type, choose if you're recording time purchased or used.
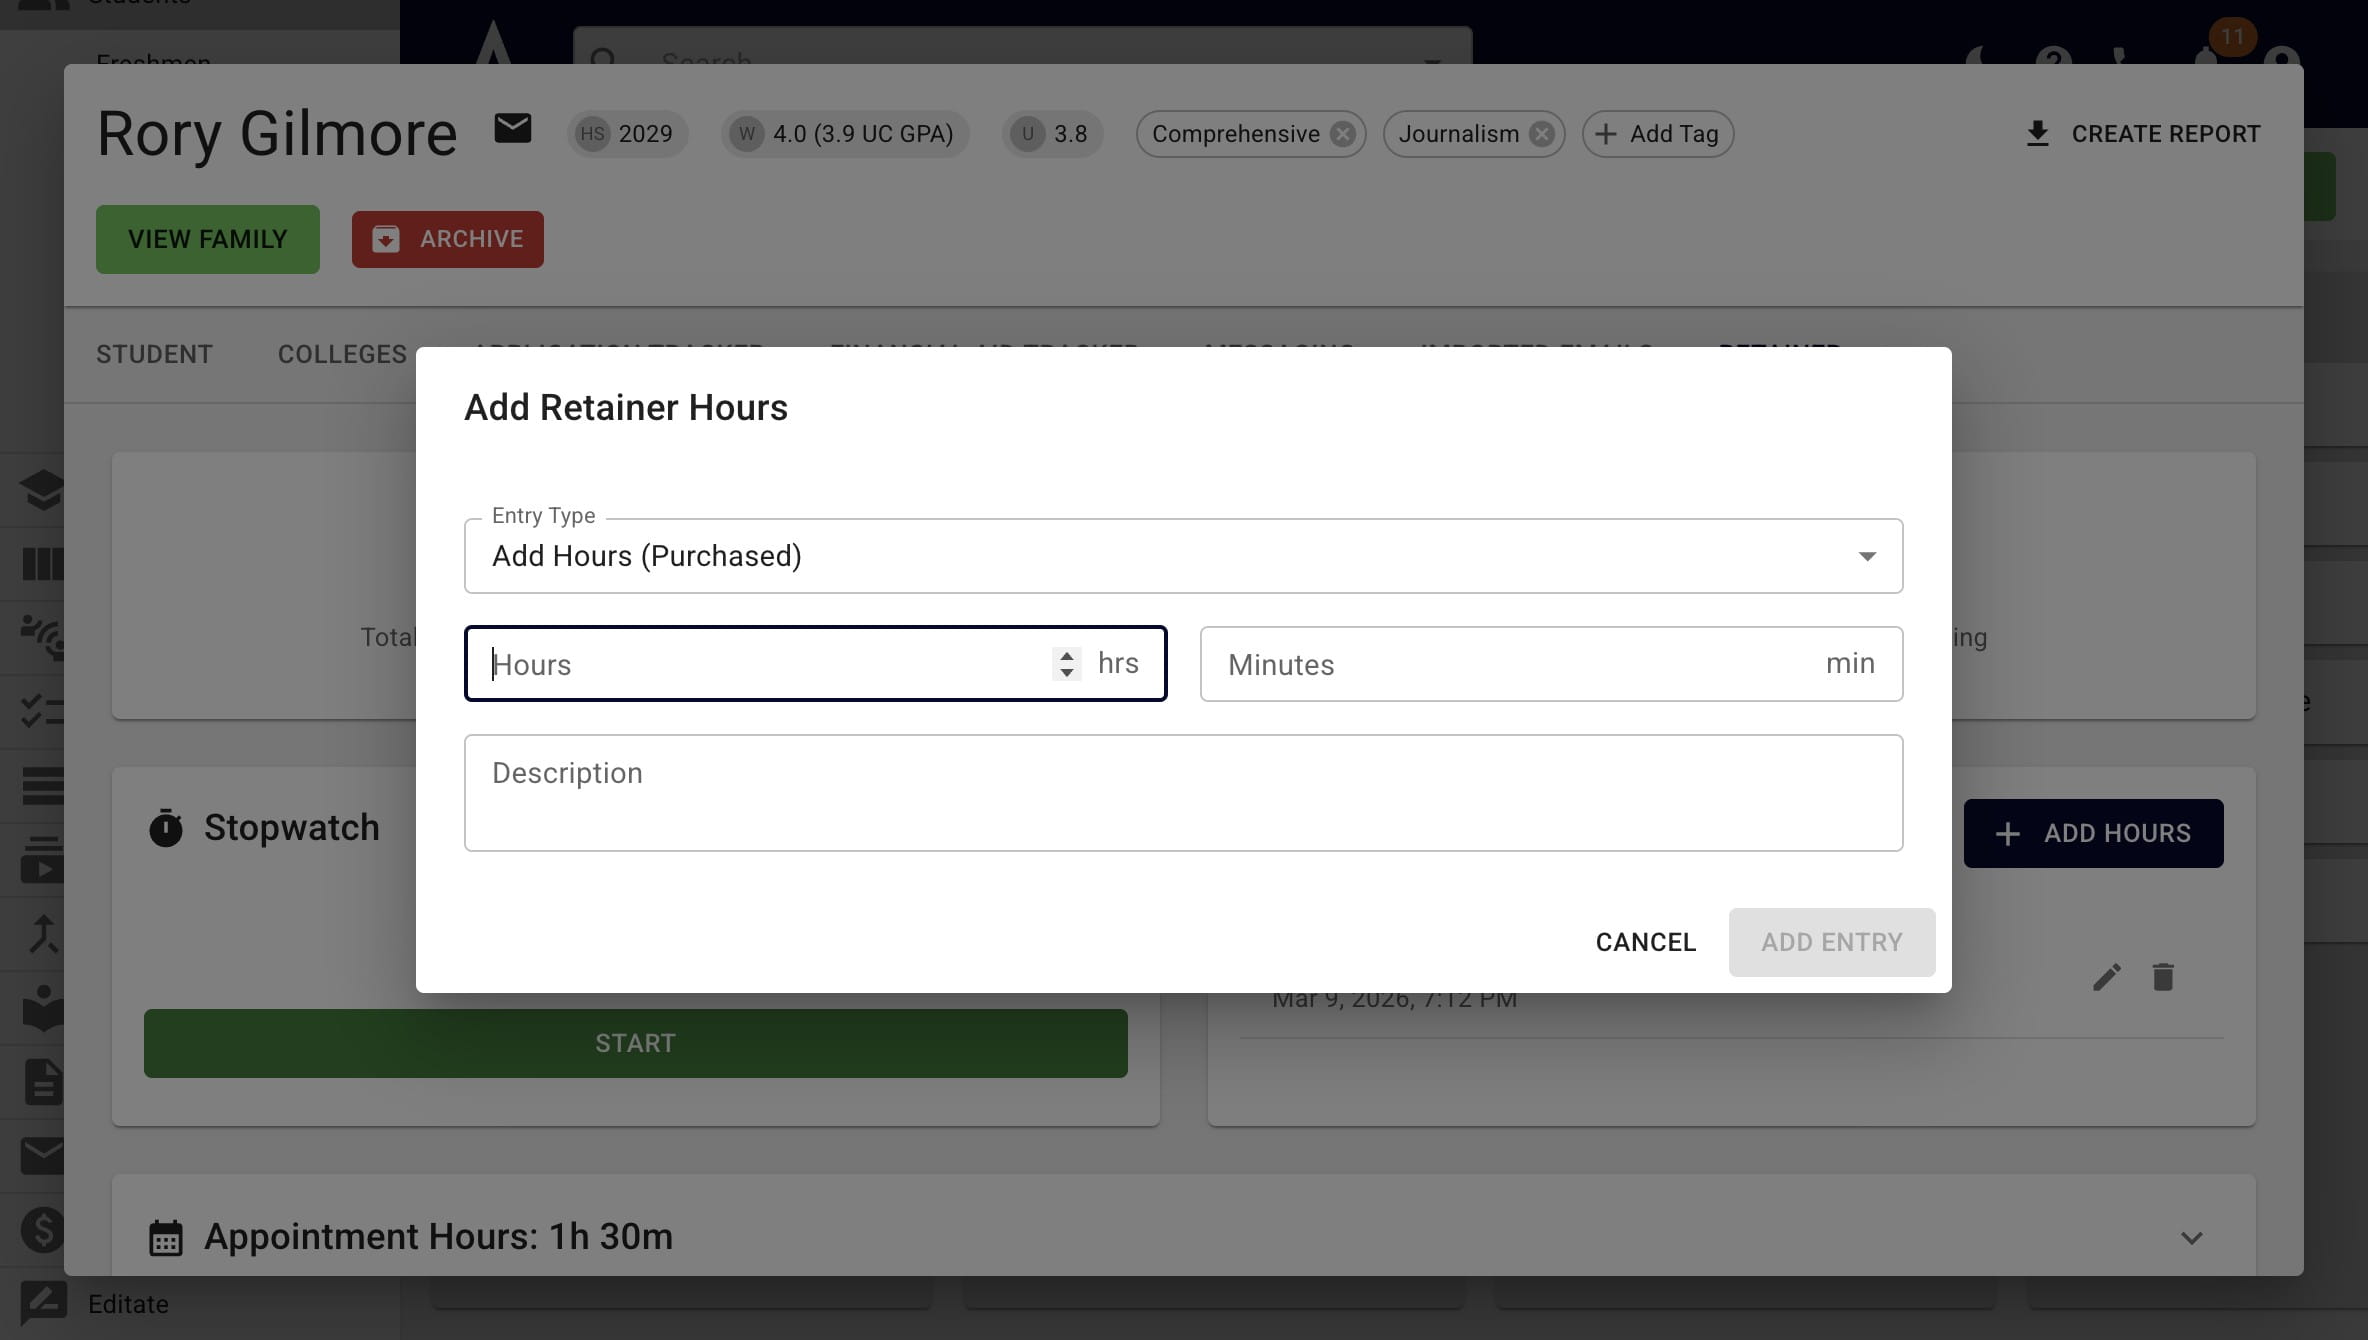
Under **Entry Type**, choose if you're recording time purchased or used.
4

When all the necessary details are added, press Add Entry.
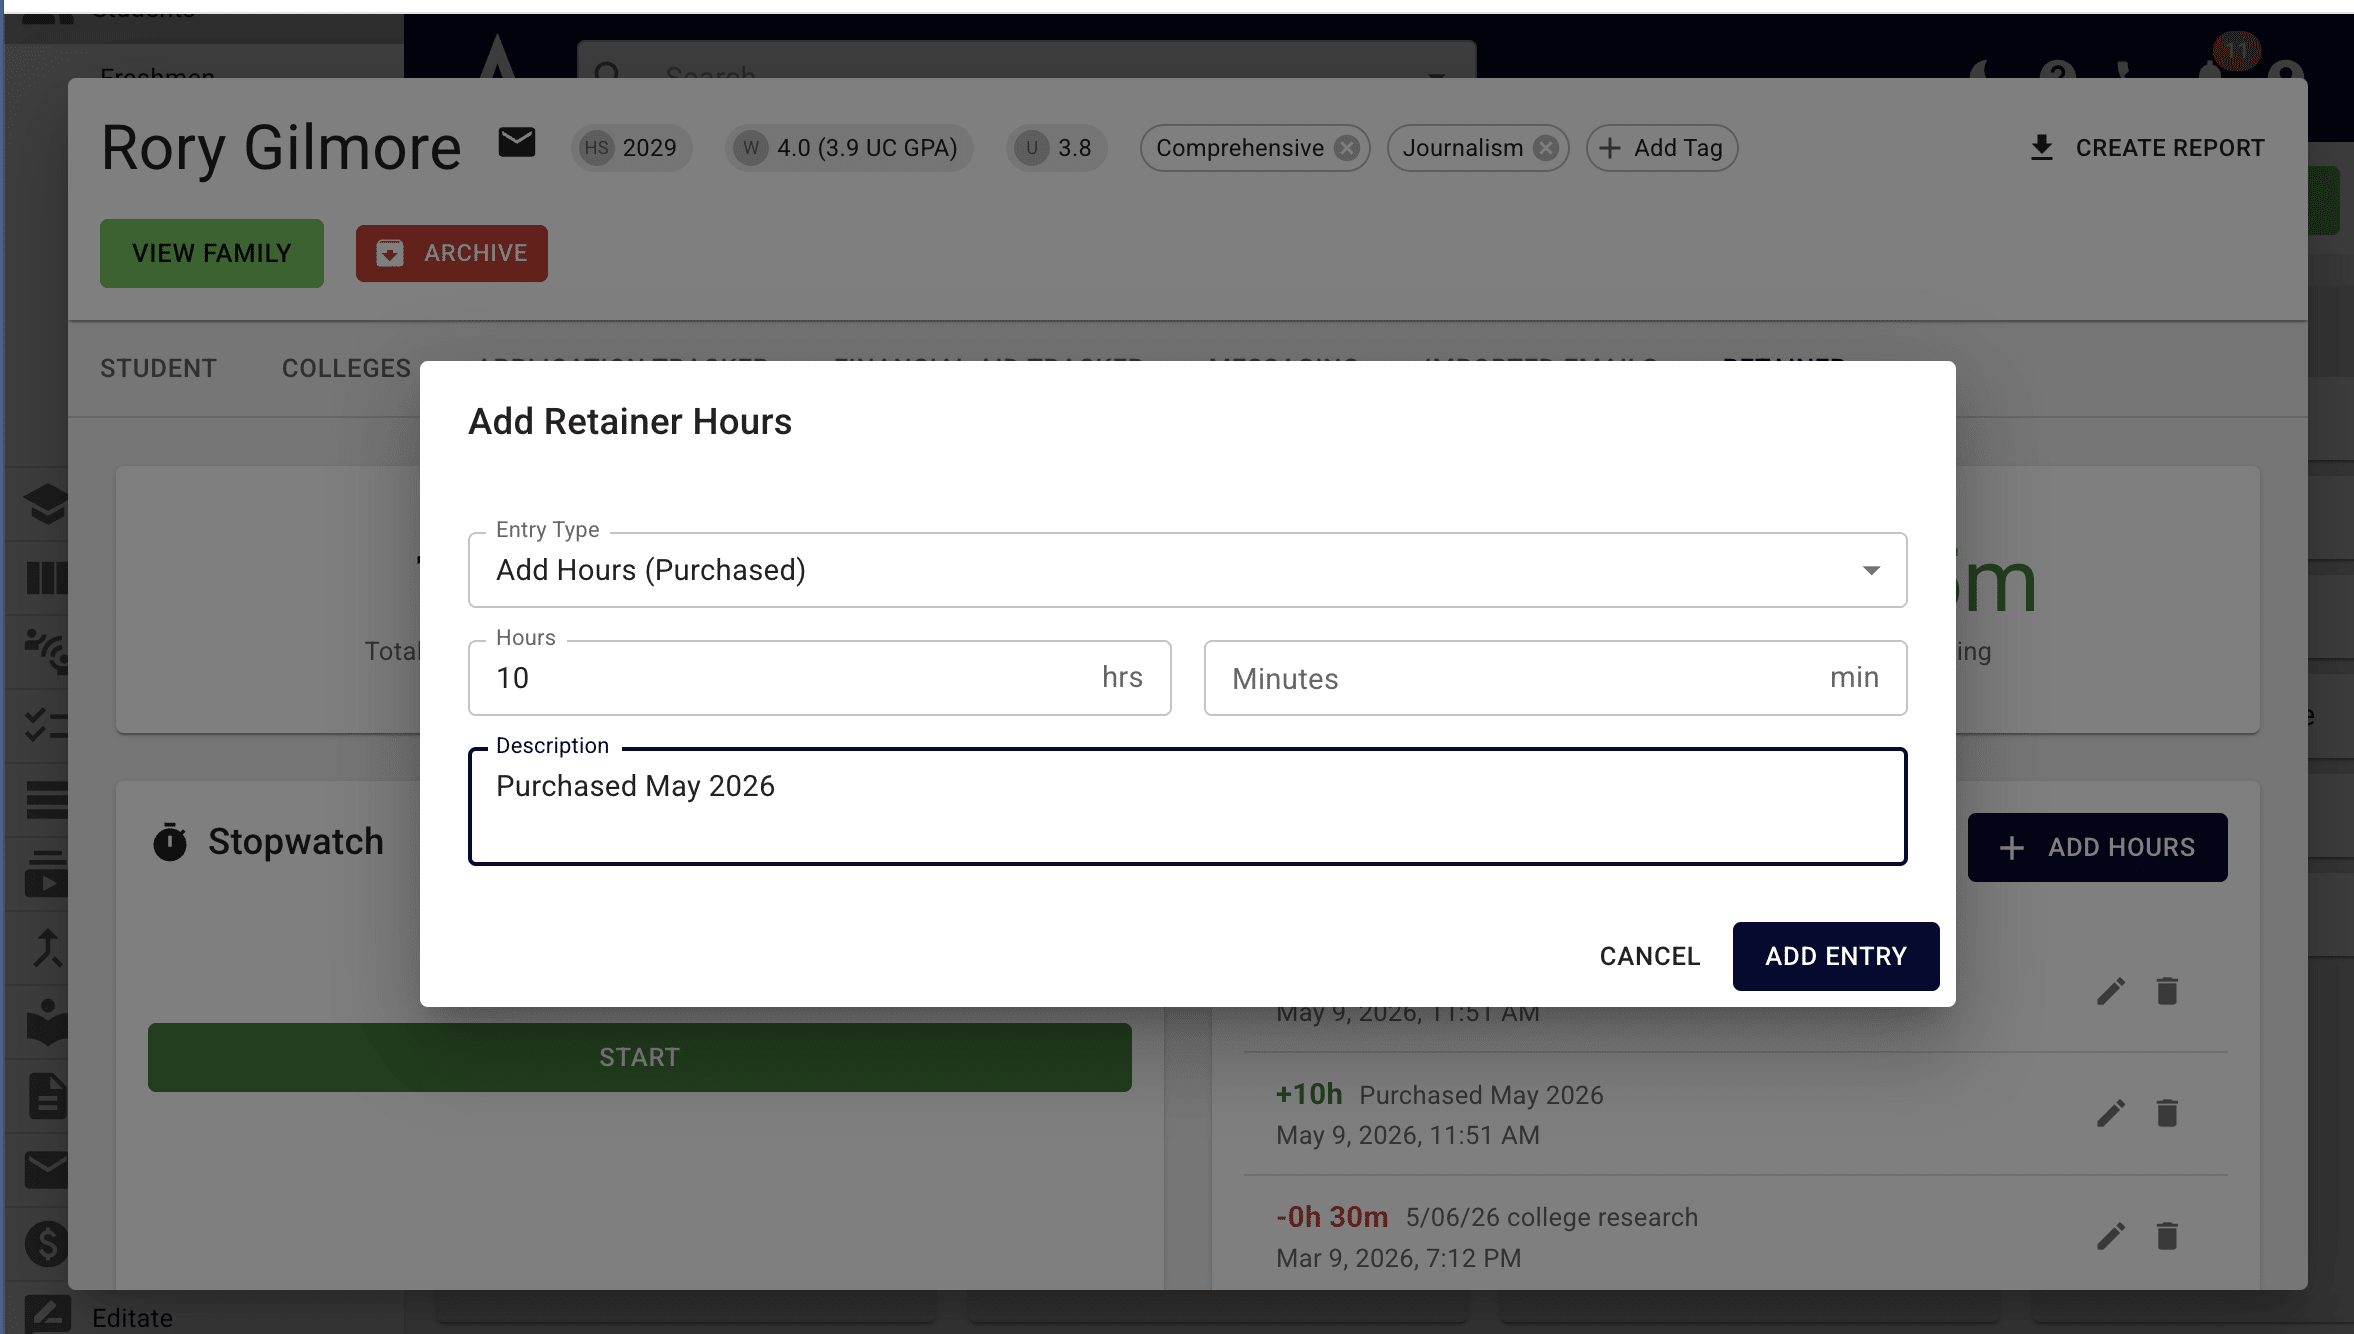
When all the necessary details are added, press **Add Entry.**
5

To view all appointments, press the down arrow icon. All meetings that are in the past will be automatically be marked as Hours Used. These appointments are being pulled from Acuity/Calendly.
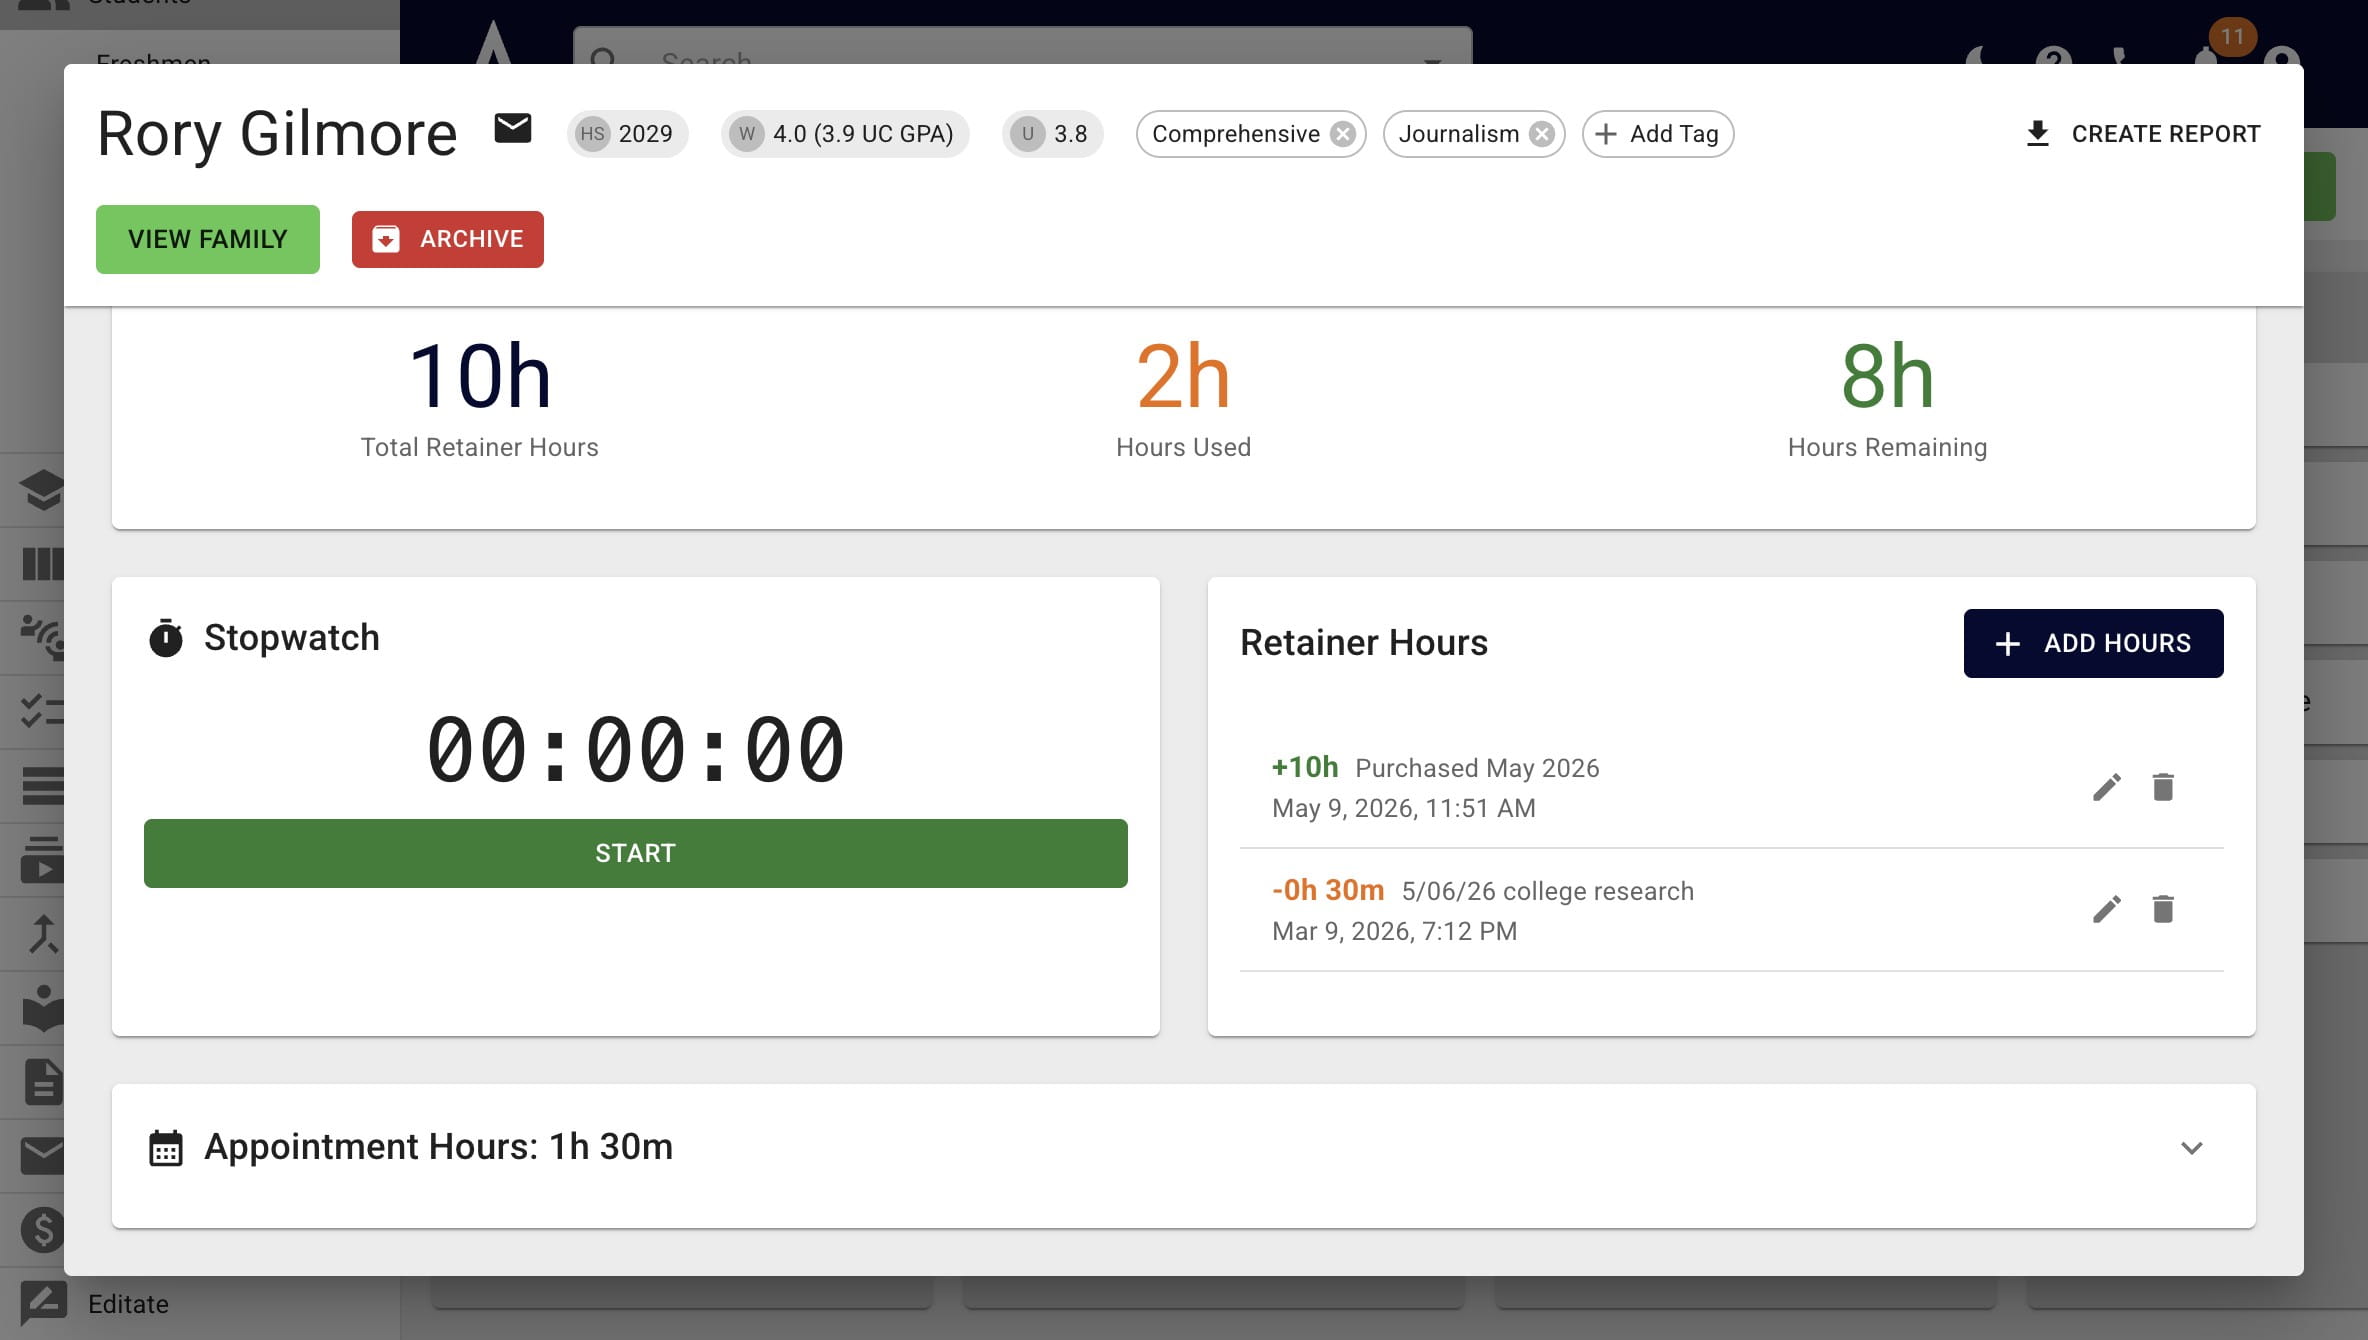
To view all appointments, press the **down arrow** icon. All meetings that are in the past will be automatically be marked as **Hours Used**. These appointments are being pulled from Acuity/Calendly.
6

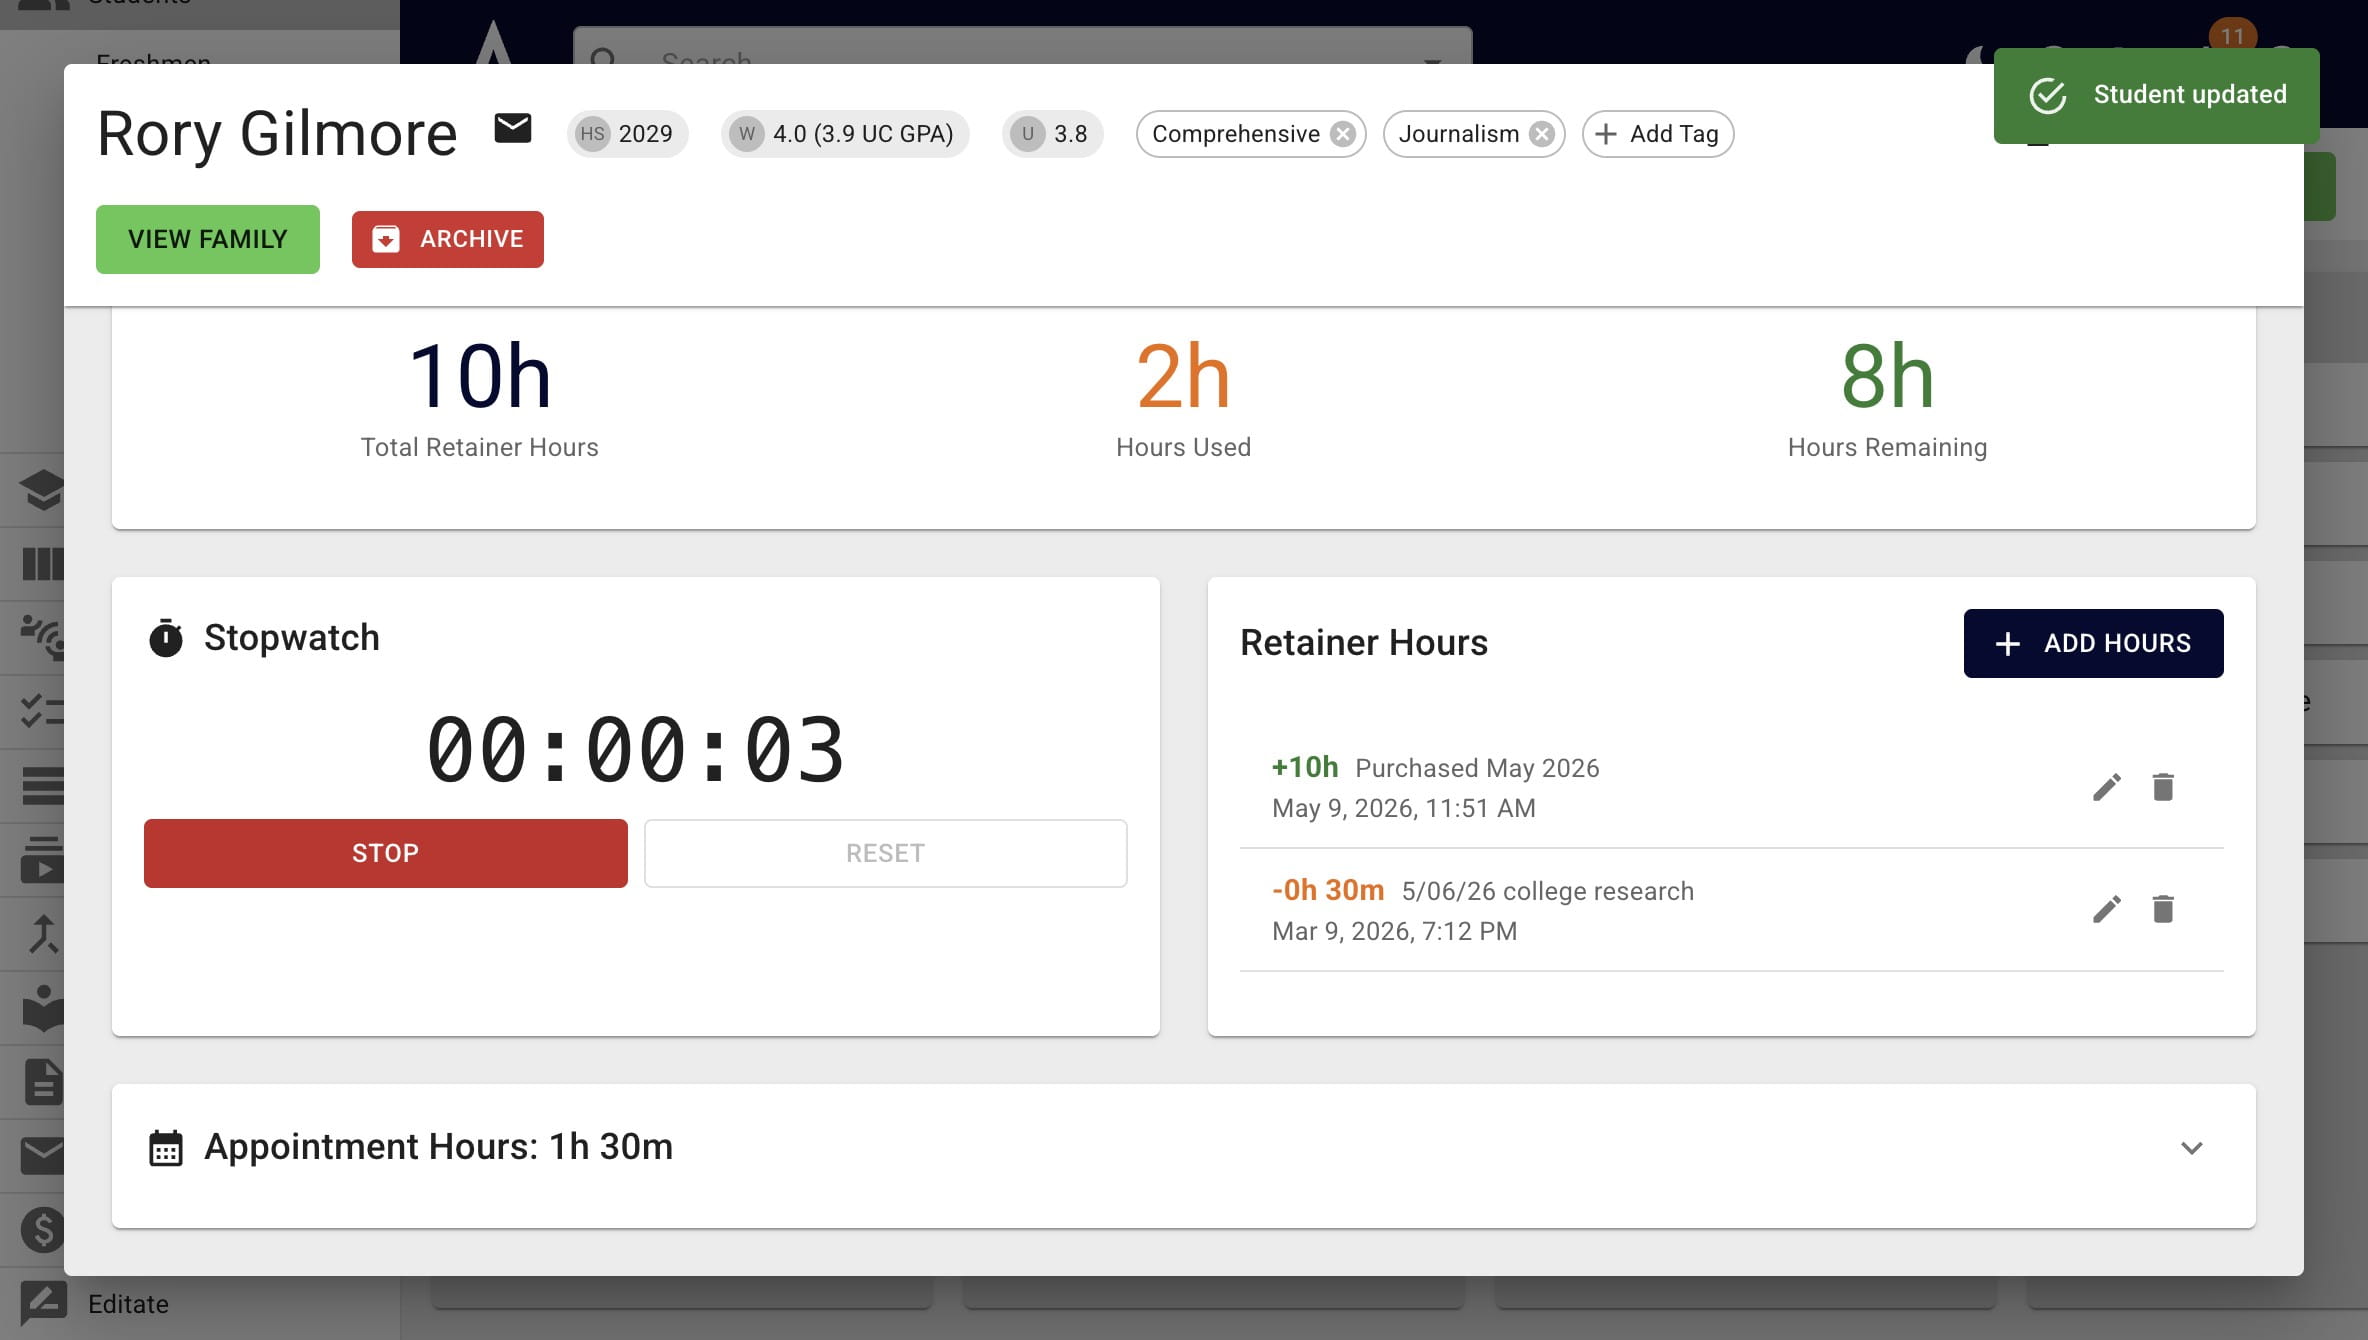
If you're reviewing an essay, you may want to use the stopwatch to record the time spent. Press Start when you're ready to begin.
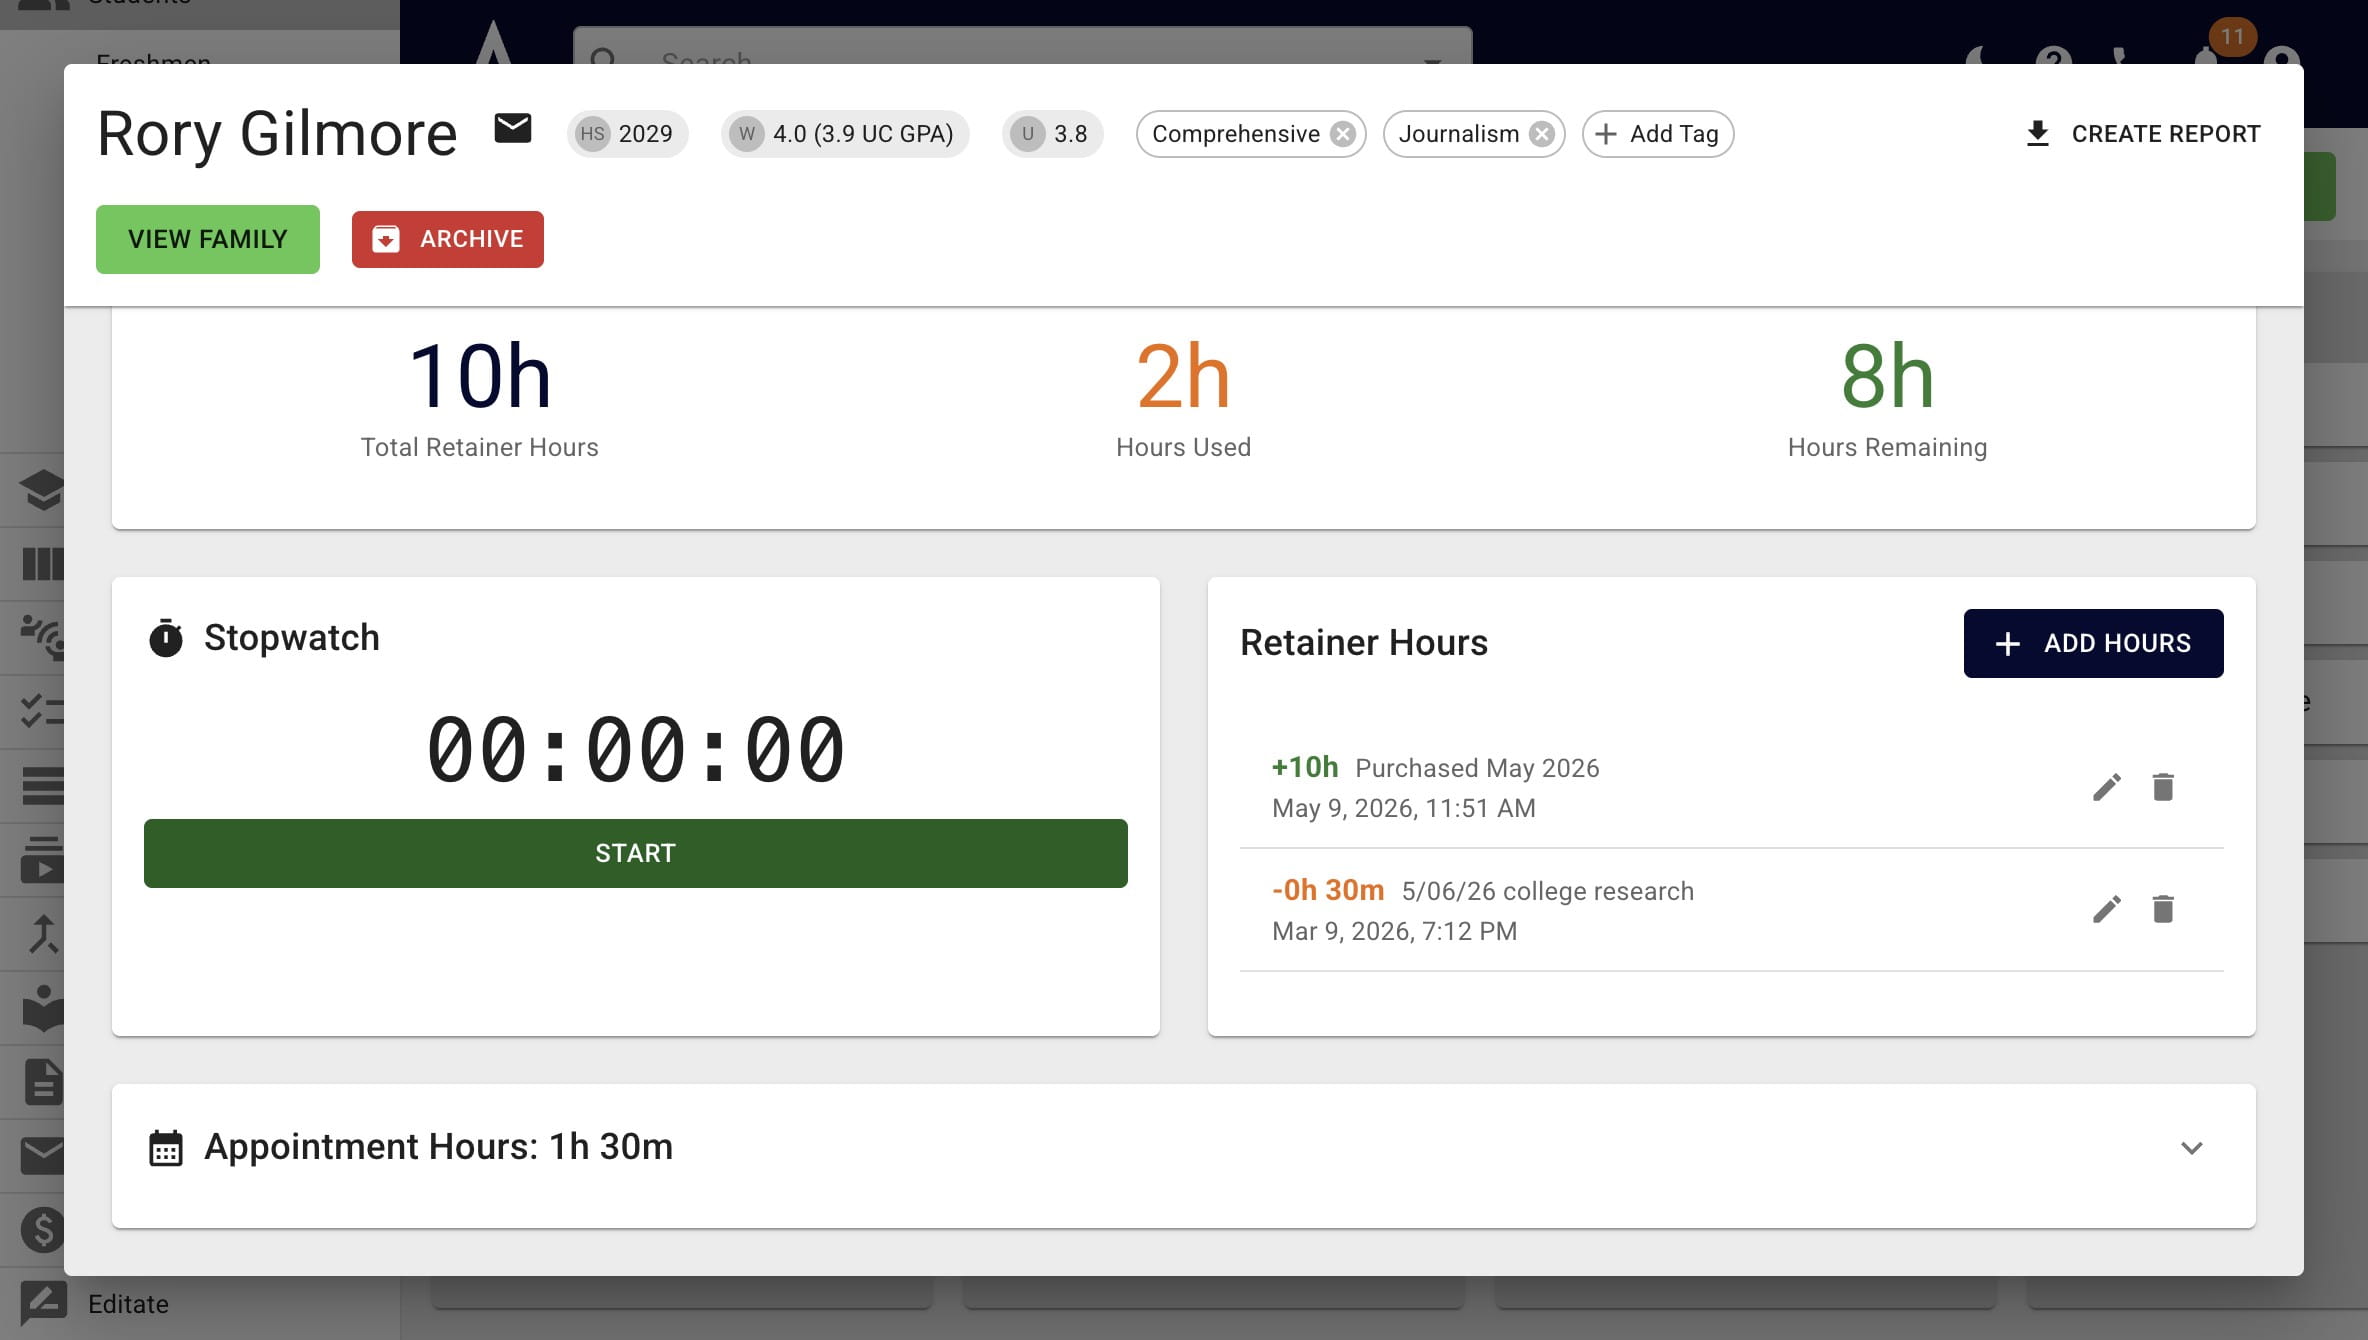
If you're reviewing an essay, you may want to use the **stopwatch** to record the time spent. Press **Start** when you're ready to begin.
7

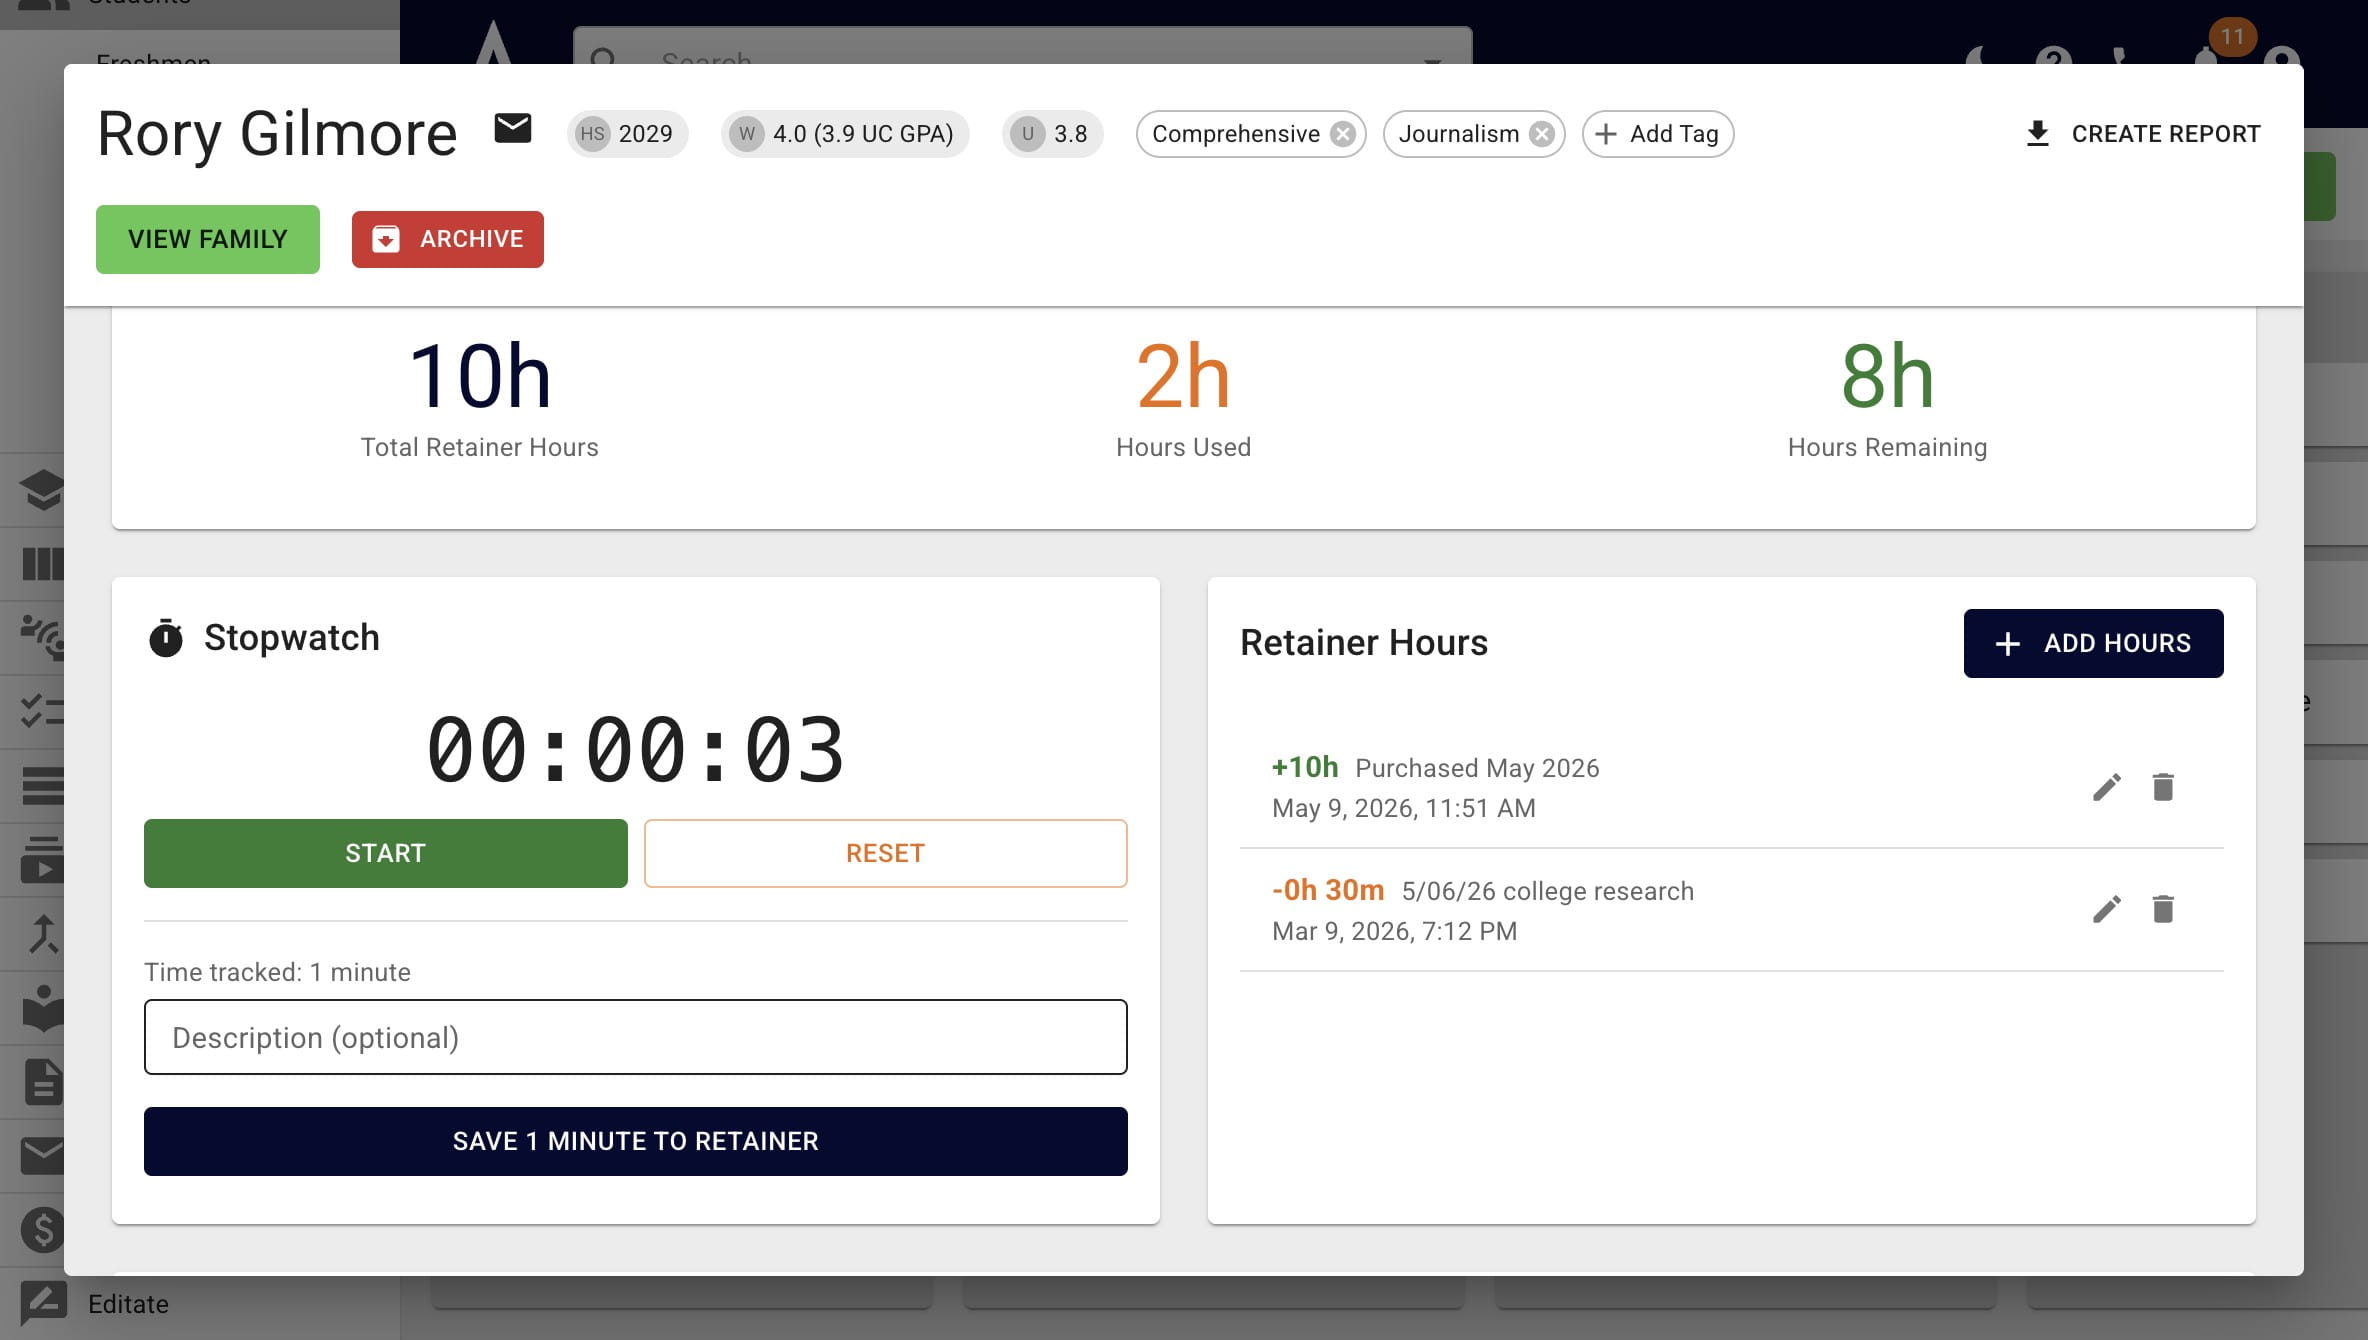
Click on Stop when you're done.

Click on **Stop** when you're done.
8

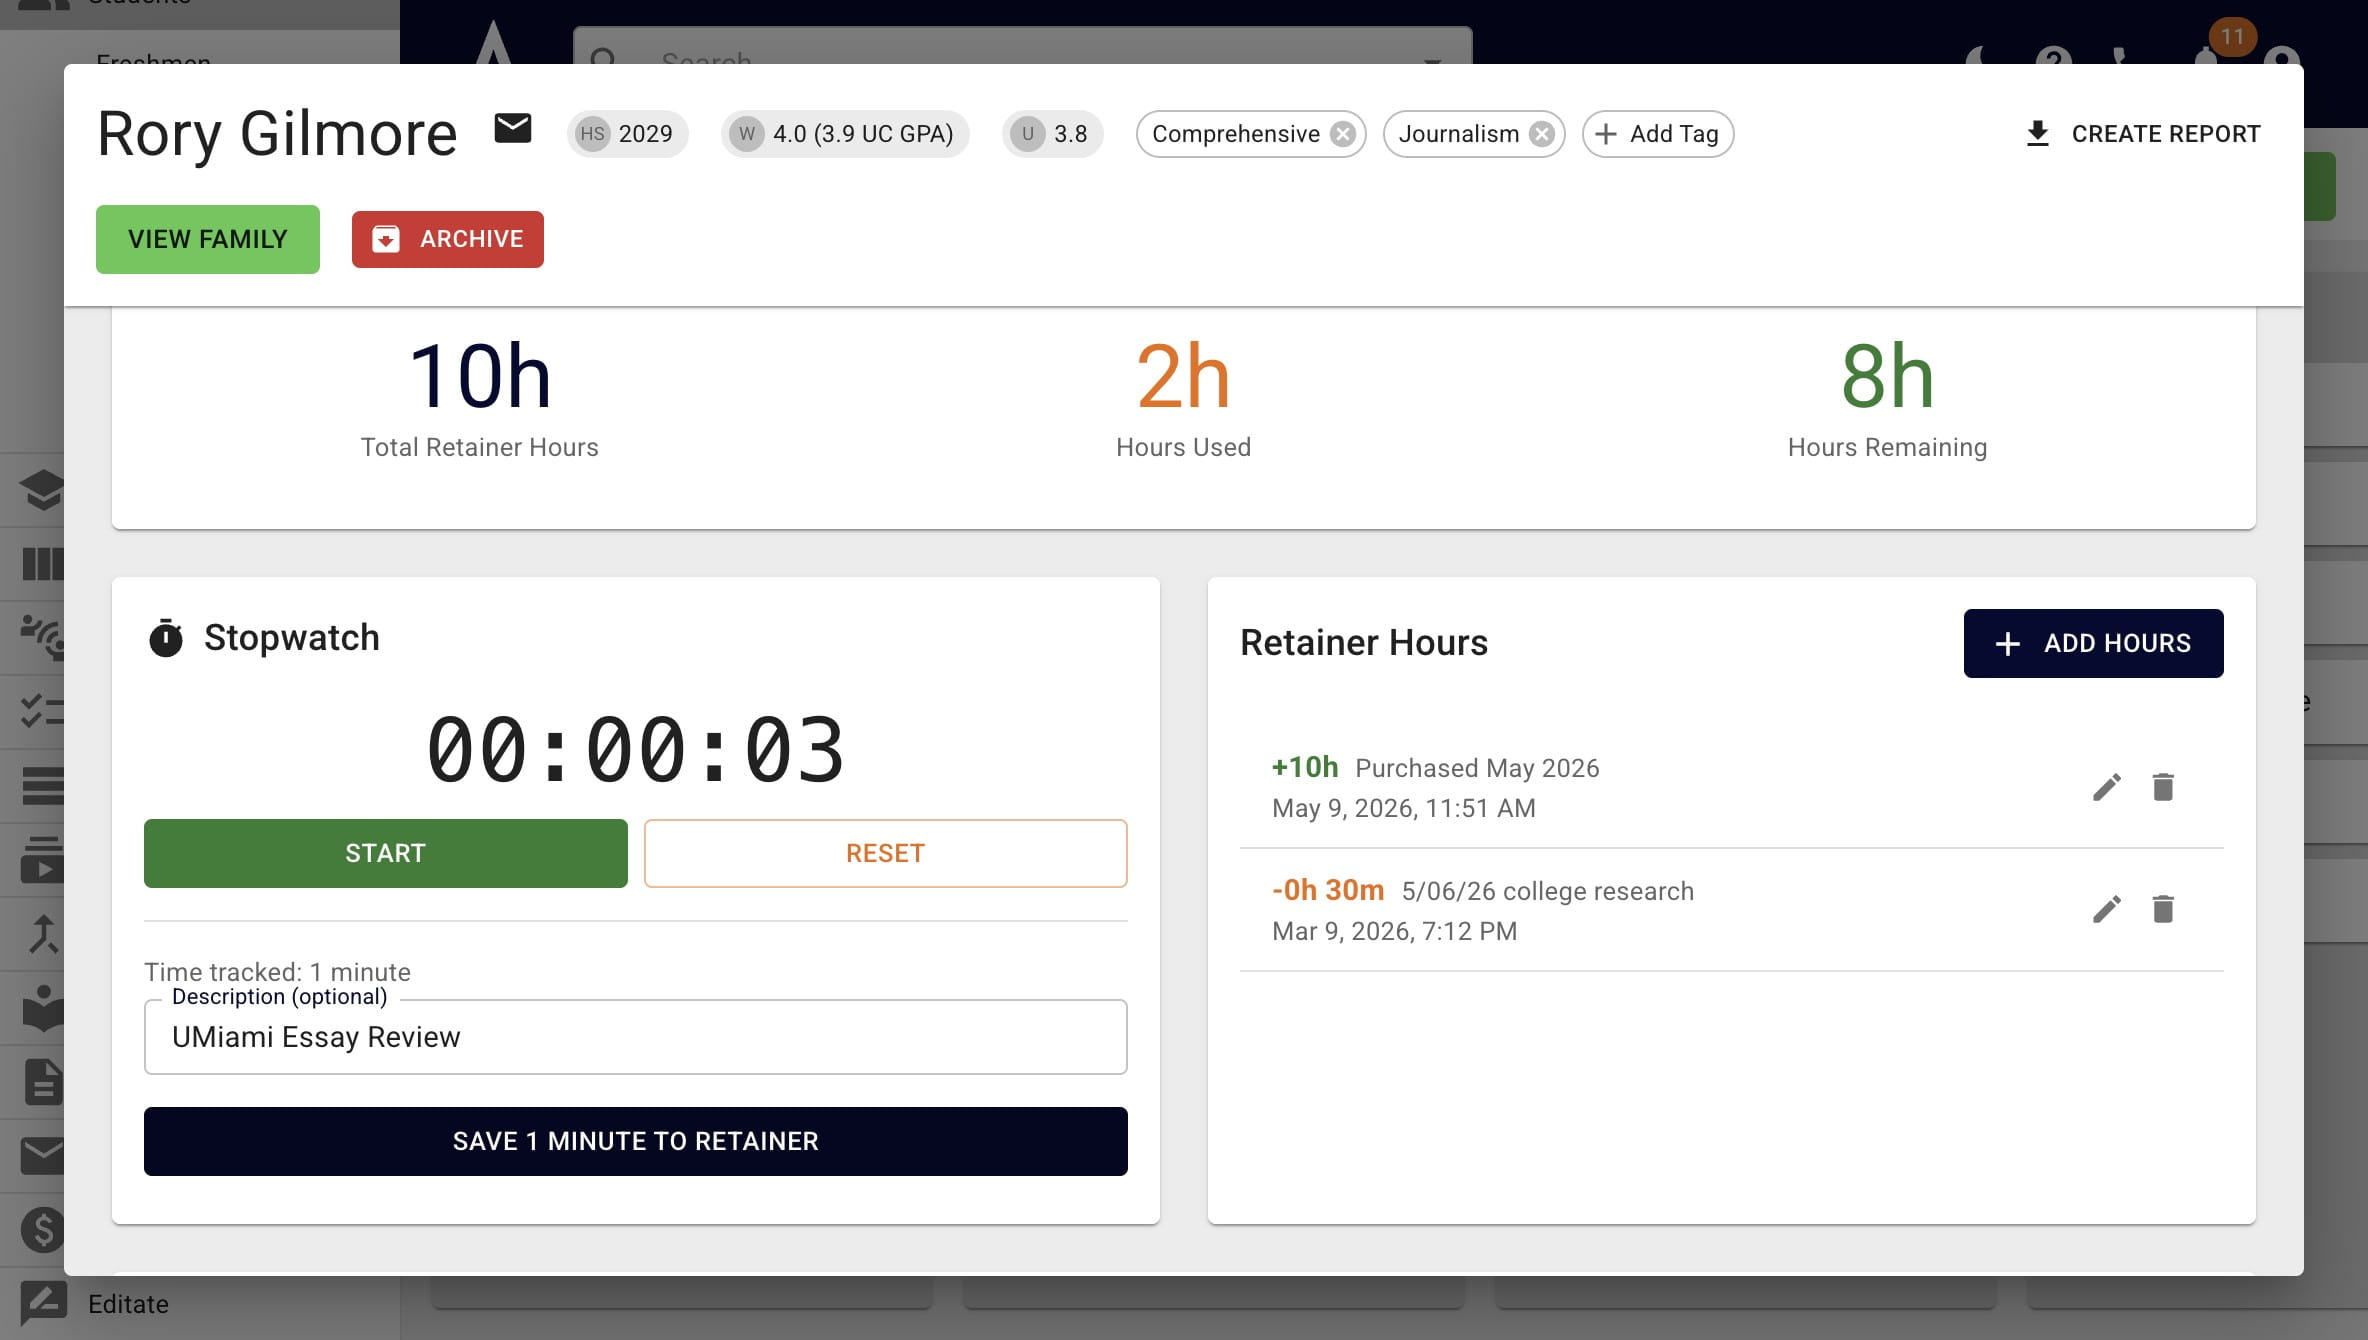
Under the Description field, you can add in details, such as what the time was spent on.
Under the **Description** field, you can add in details, such as what the time was spent on.
9

Click on Save To Retainer when complete.
Click on **Save To Retainer** when complete.
10

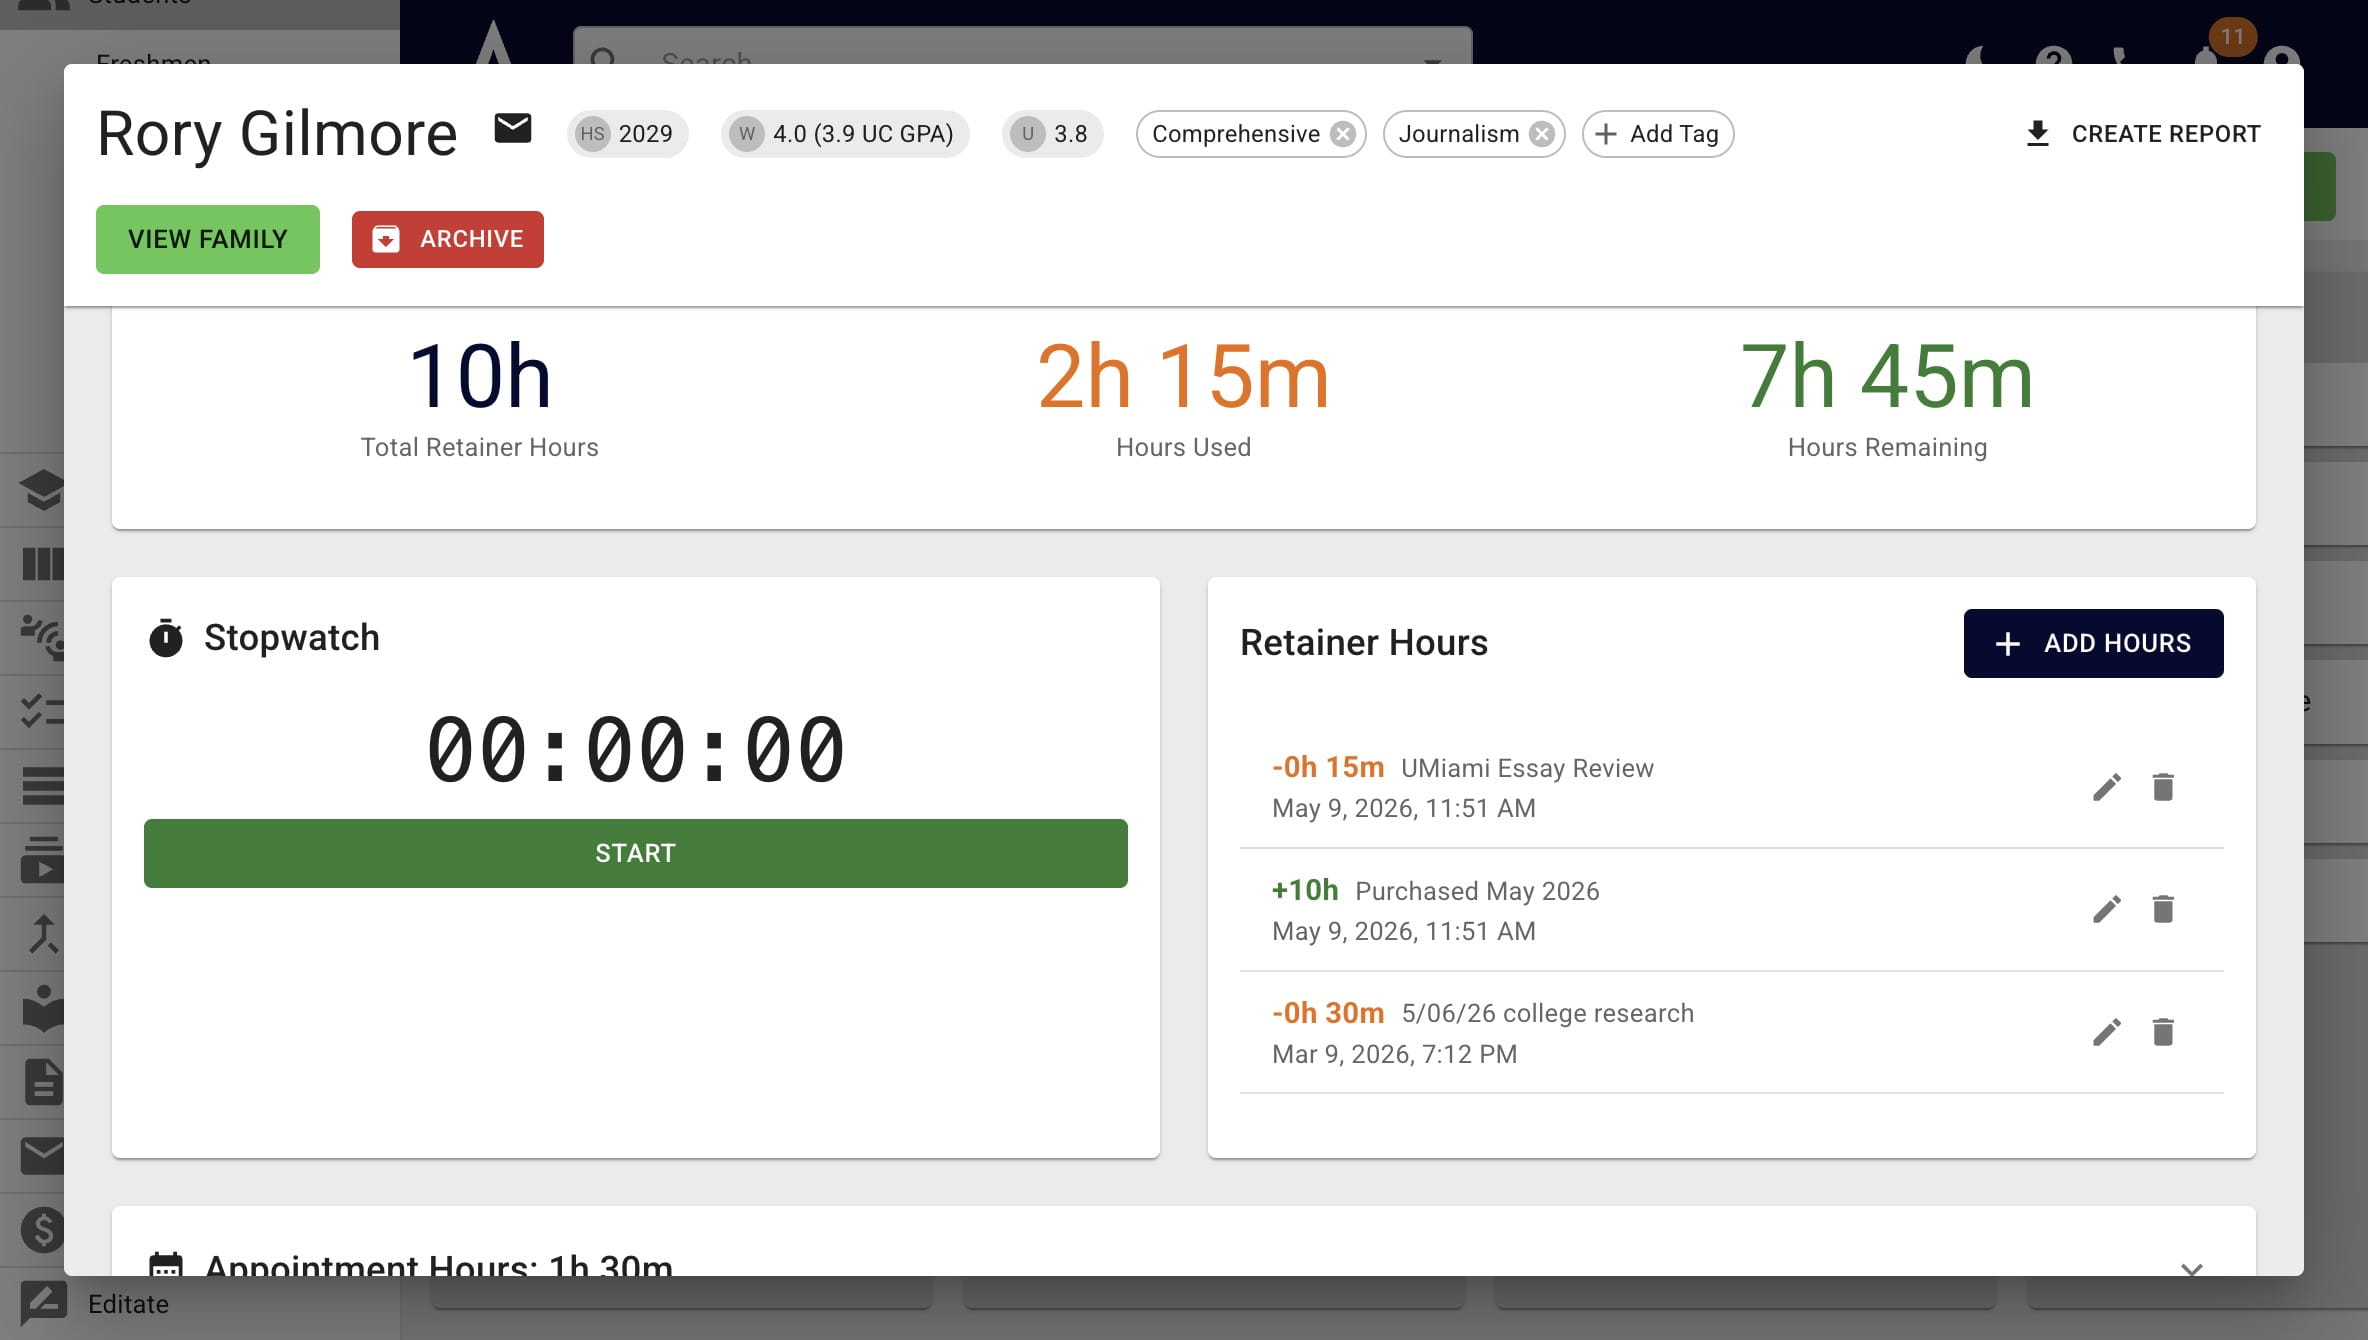
To edit an entry, click on the Pencil icon.
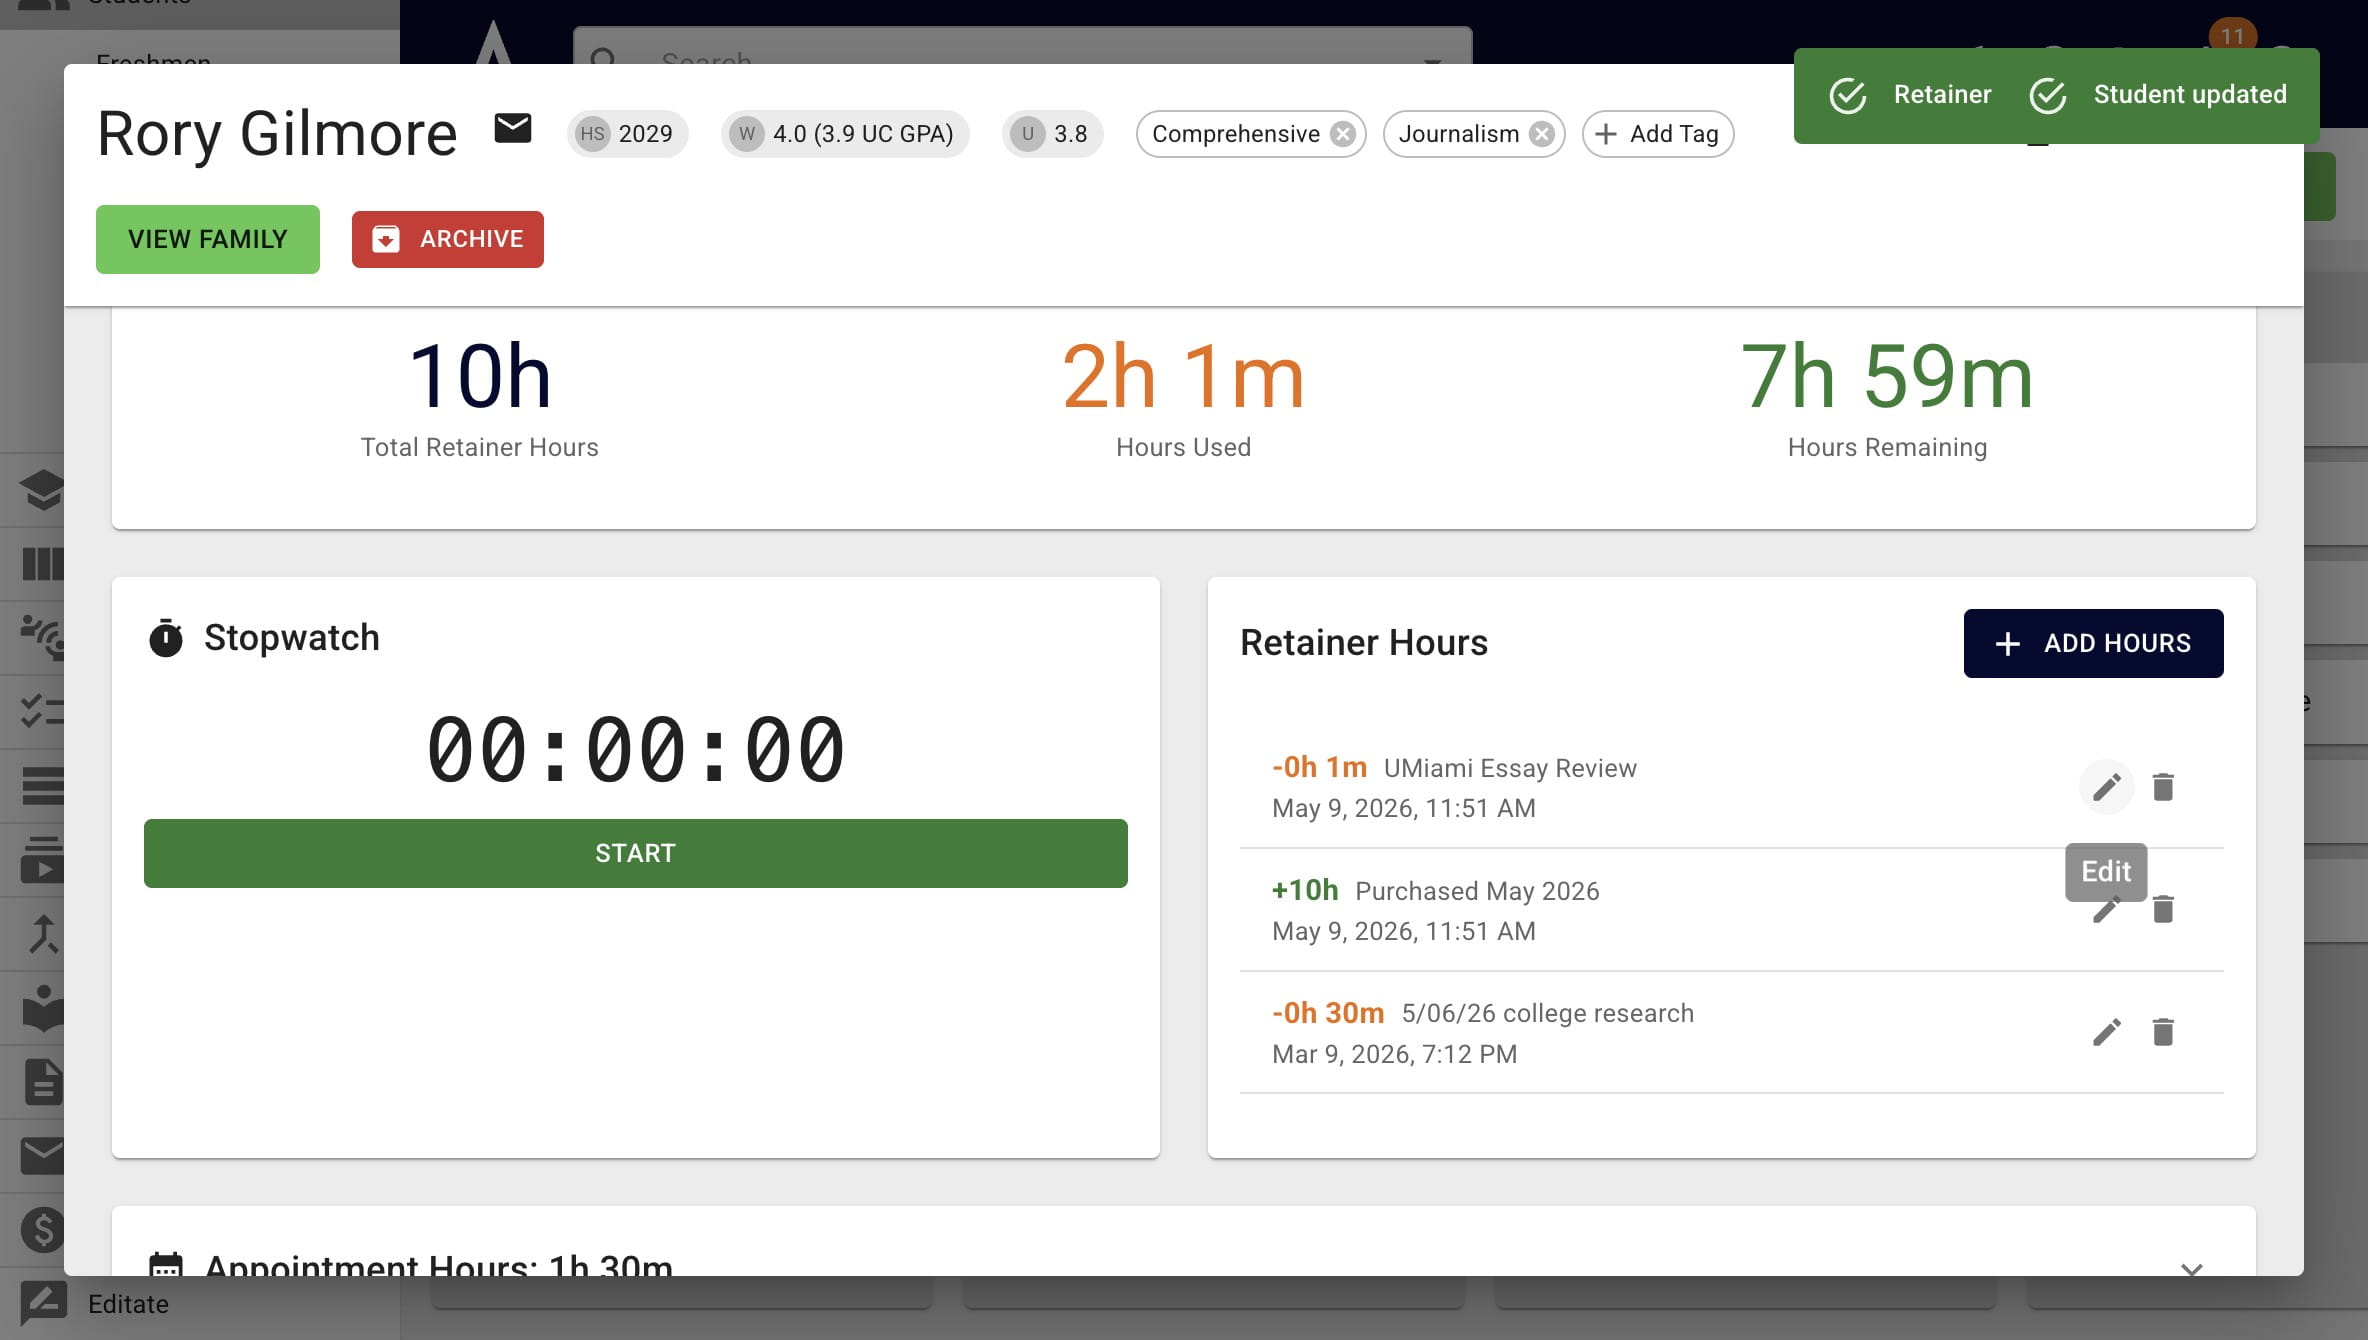
To edit an entry, click on the **Pencil** icon.
11

Once you've made any necessary edits, press Update Entry.
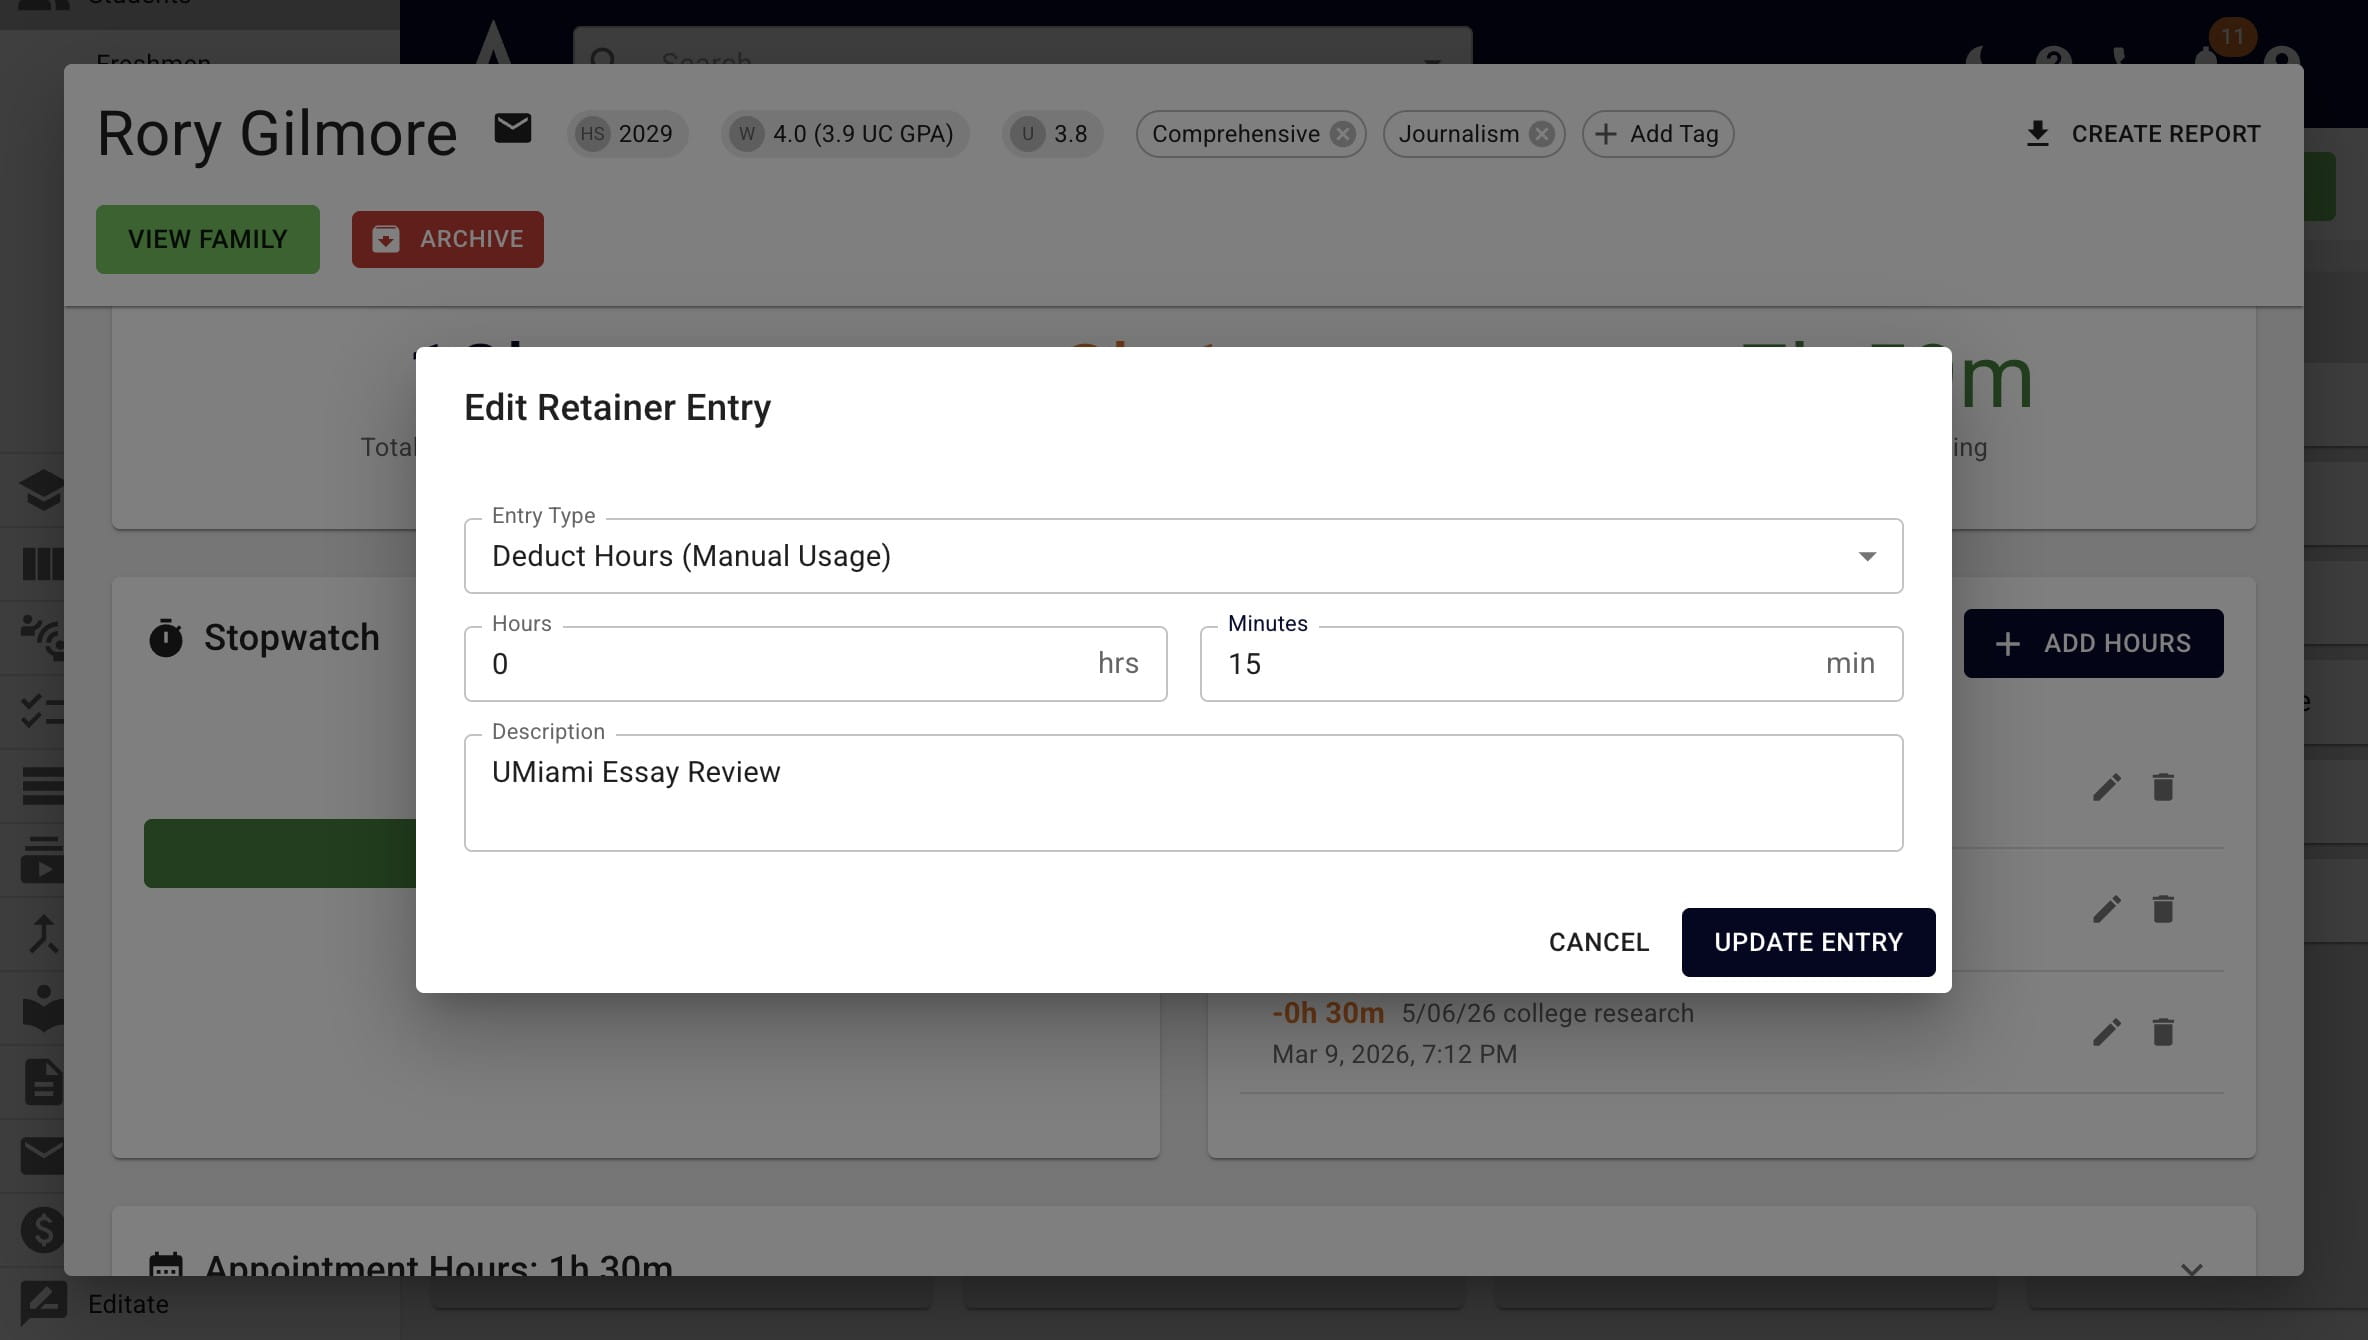
Once you've made any necessary edits, press **Update Entry.**
12

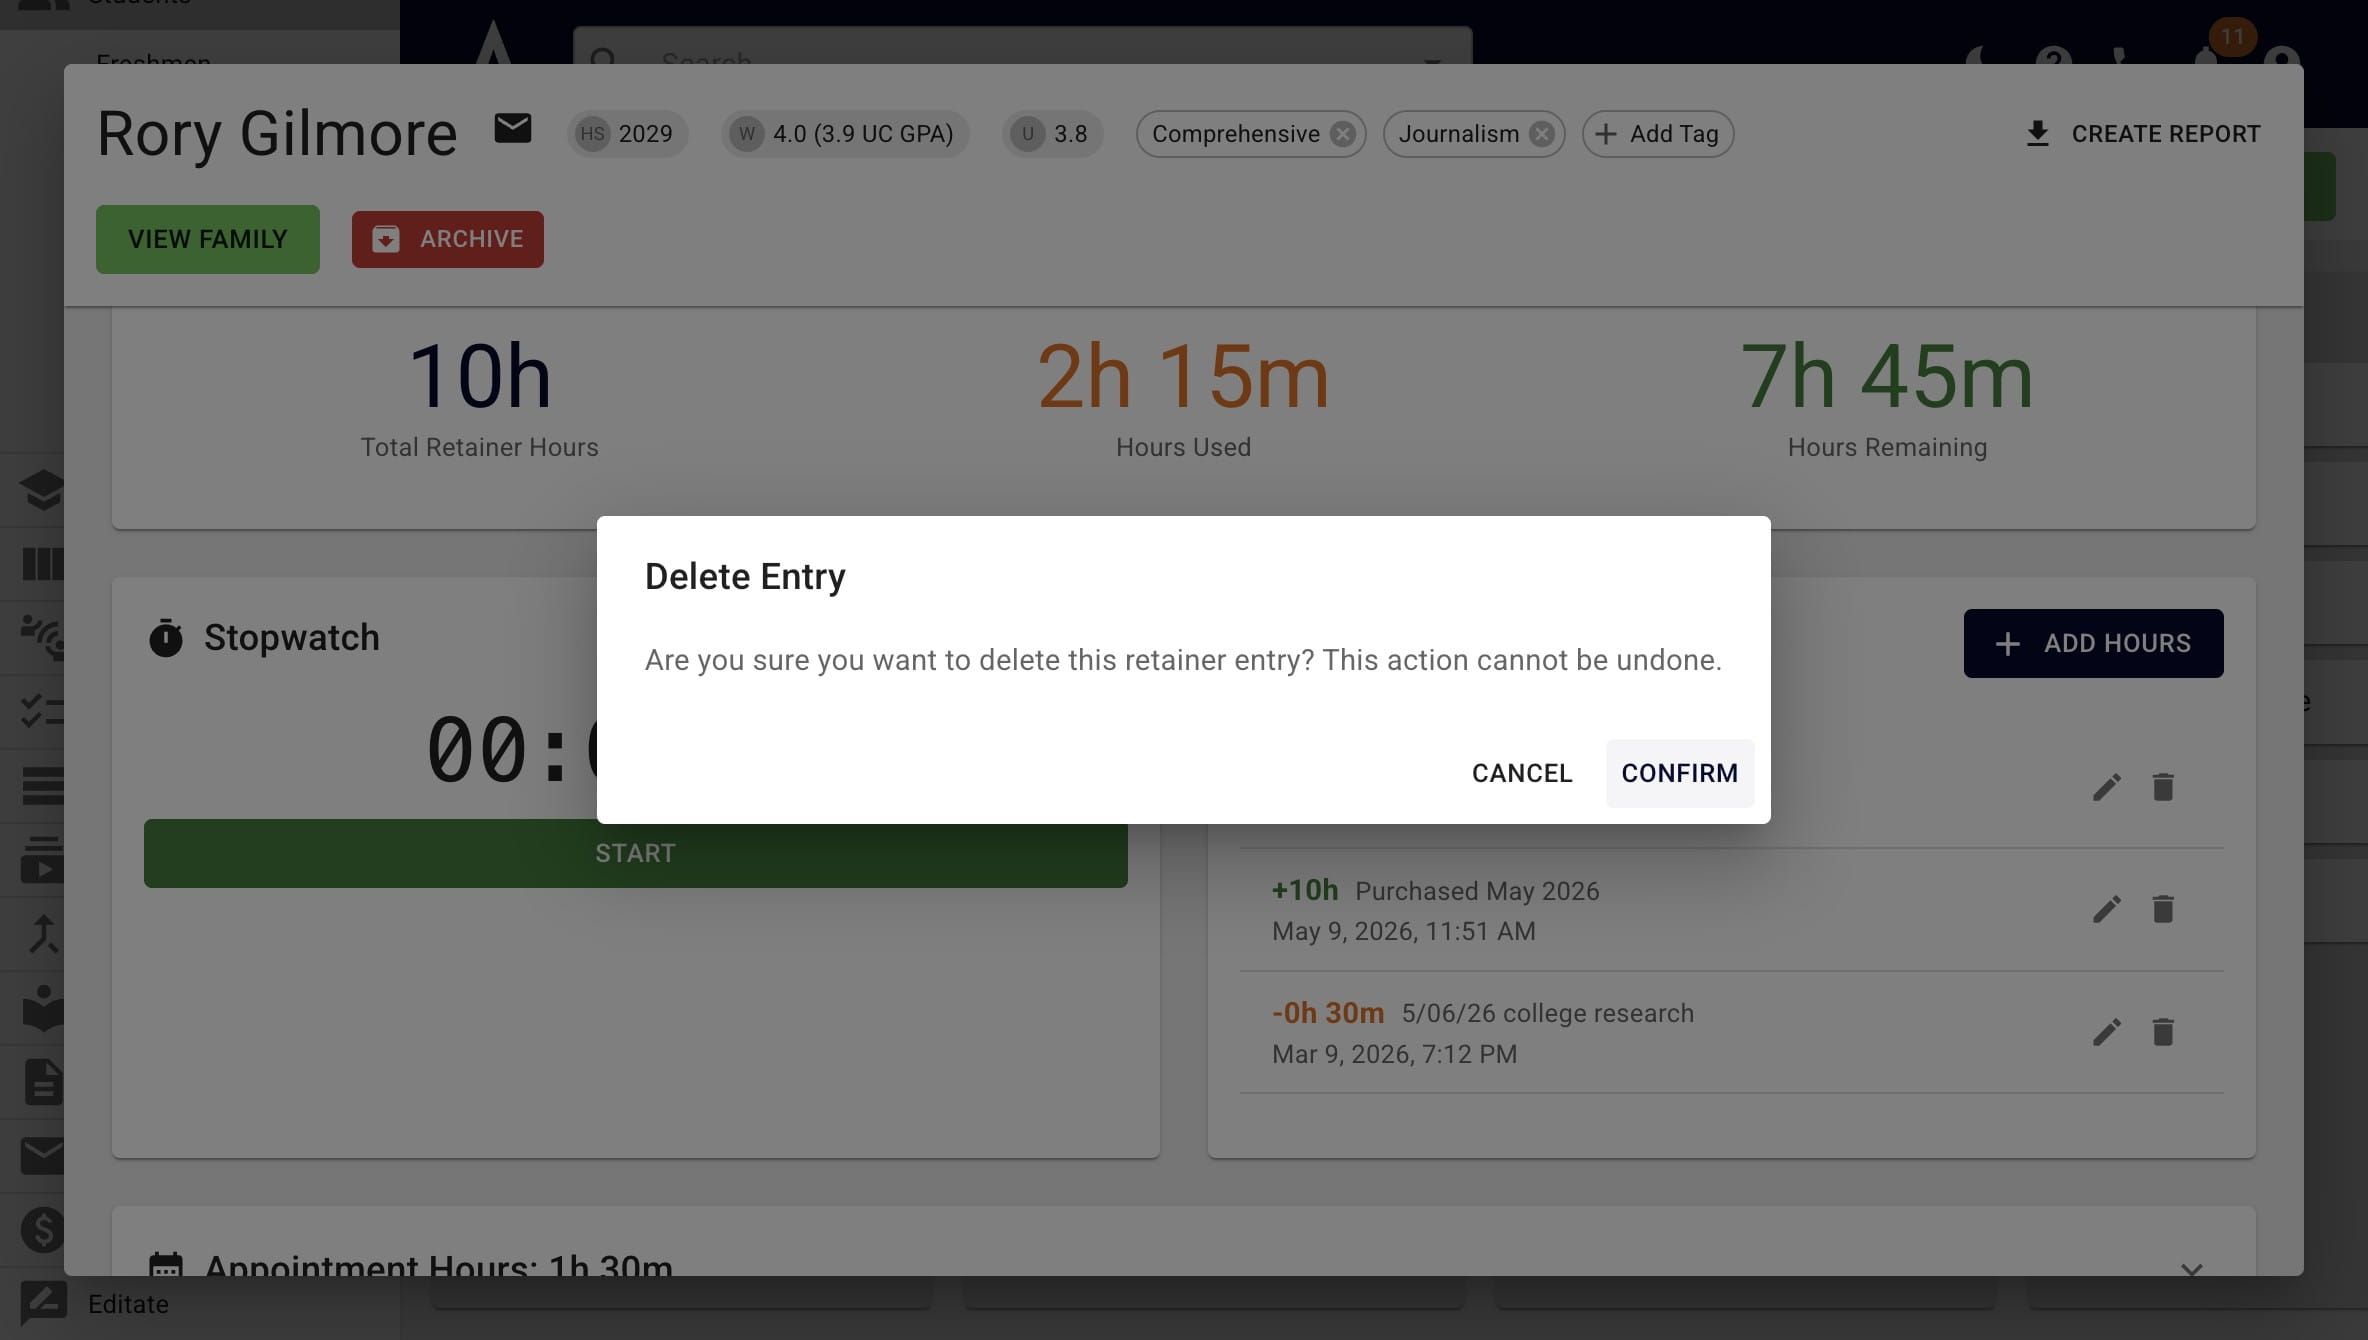
To delete an entry, press the Trash Can icon.
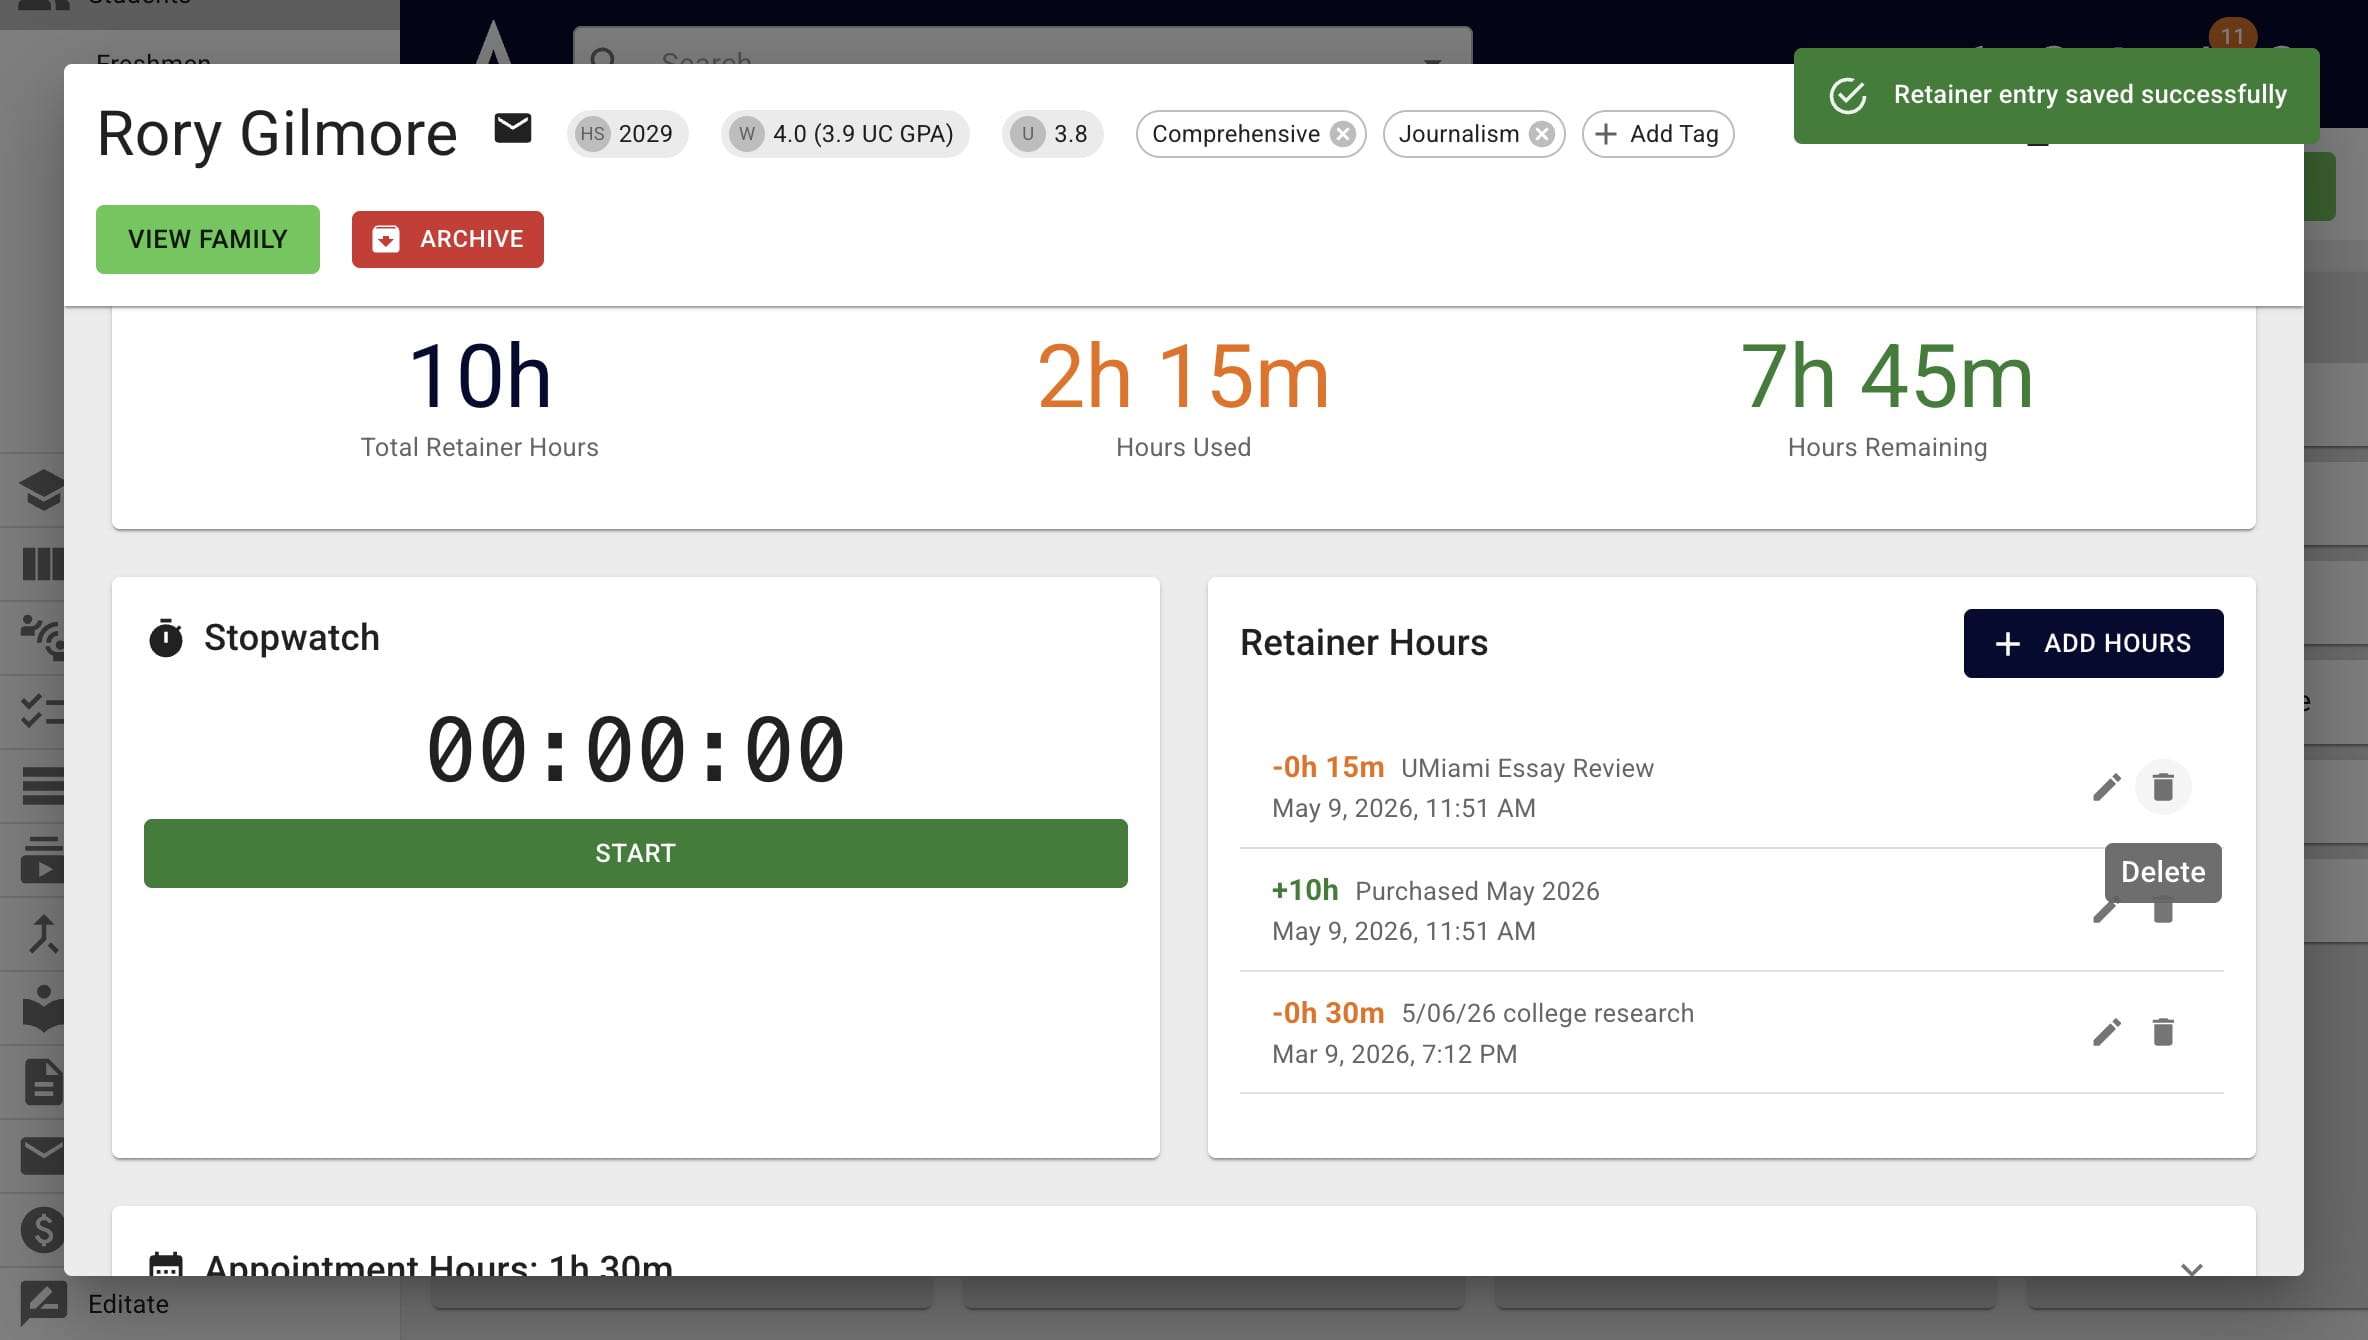
To delete an entry, press the **Trash Can** icon.
13

Then click on Confirm.

Then click on **Confirm.**
14

Done 🚀

Done 🚀