
Sending Emails to Multiple Students or Families
Learn how to send emails to multiple students or families. The guide covers including or excluding recipients based on tags and/or statuses.
Navigate to https://app.achieveiec.com/communication/email
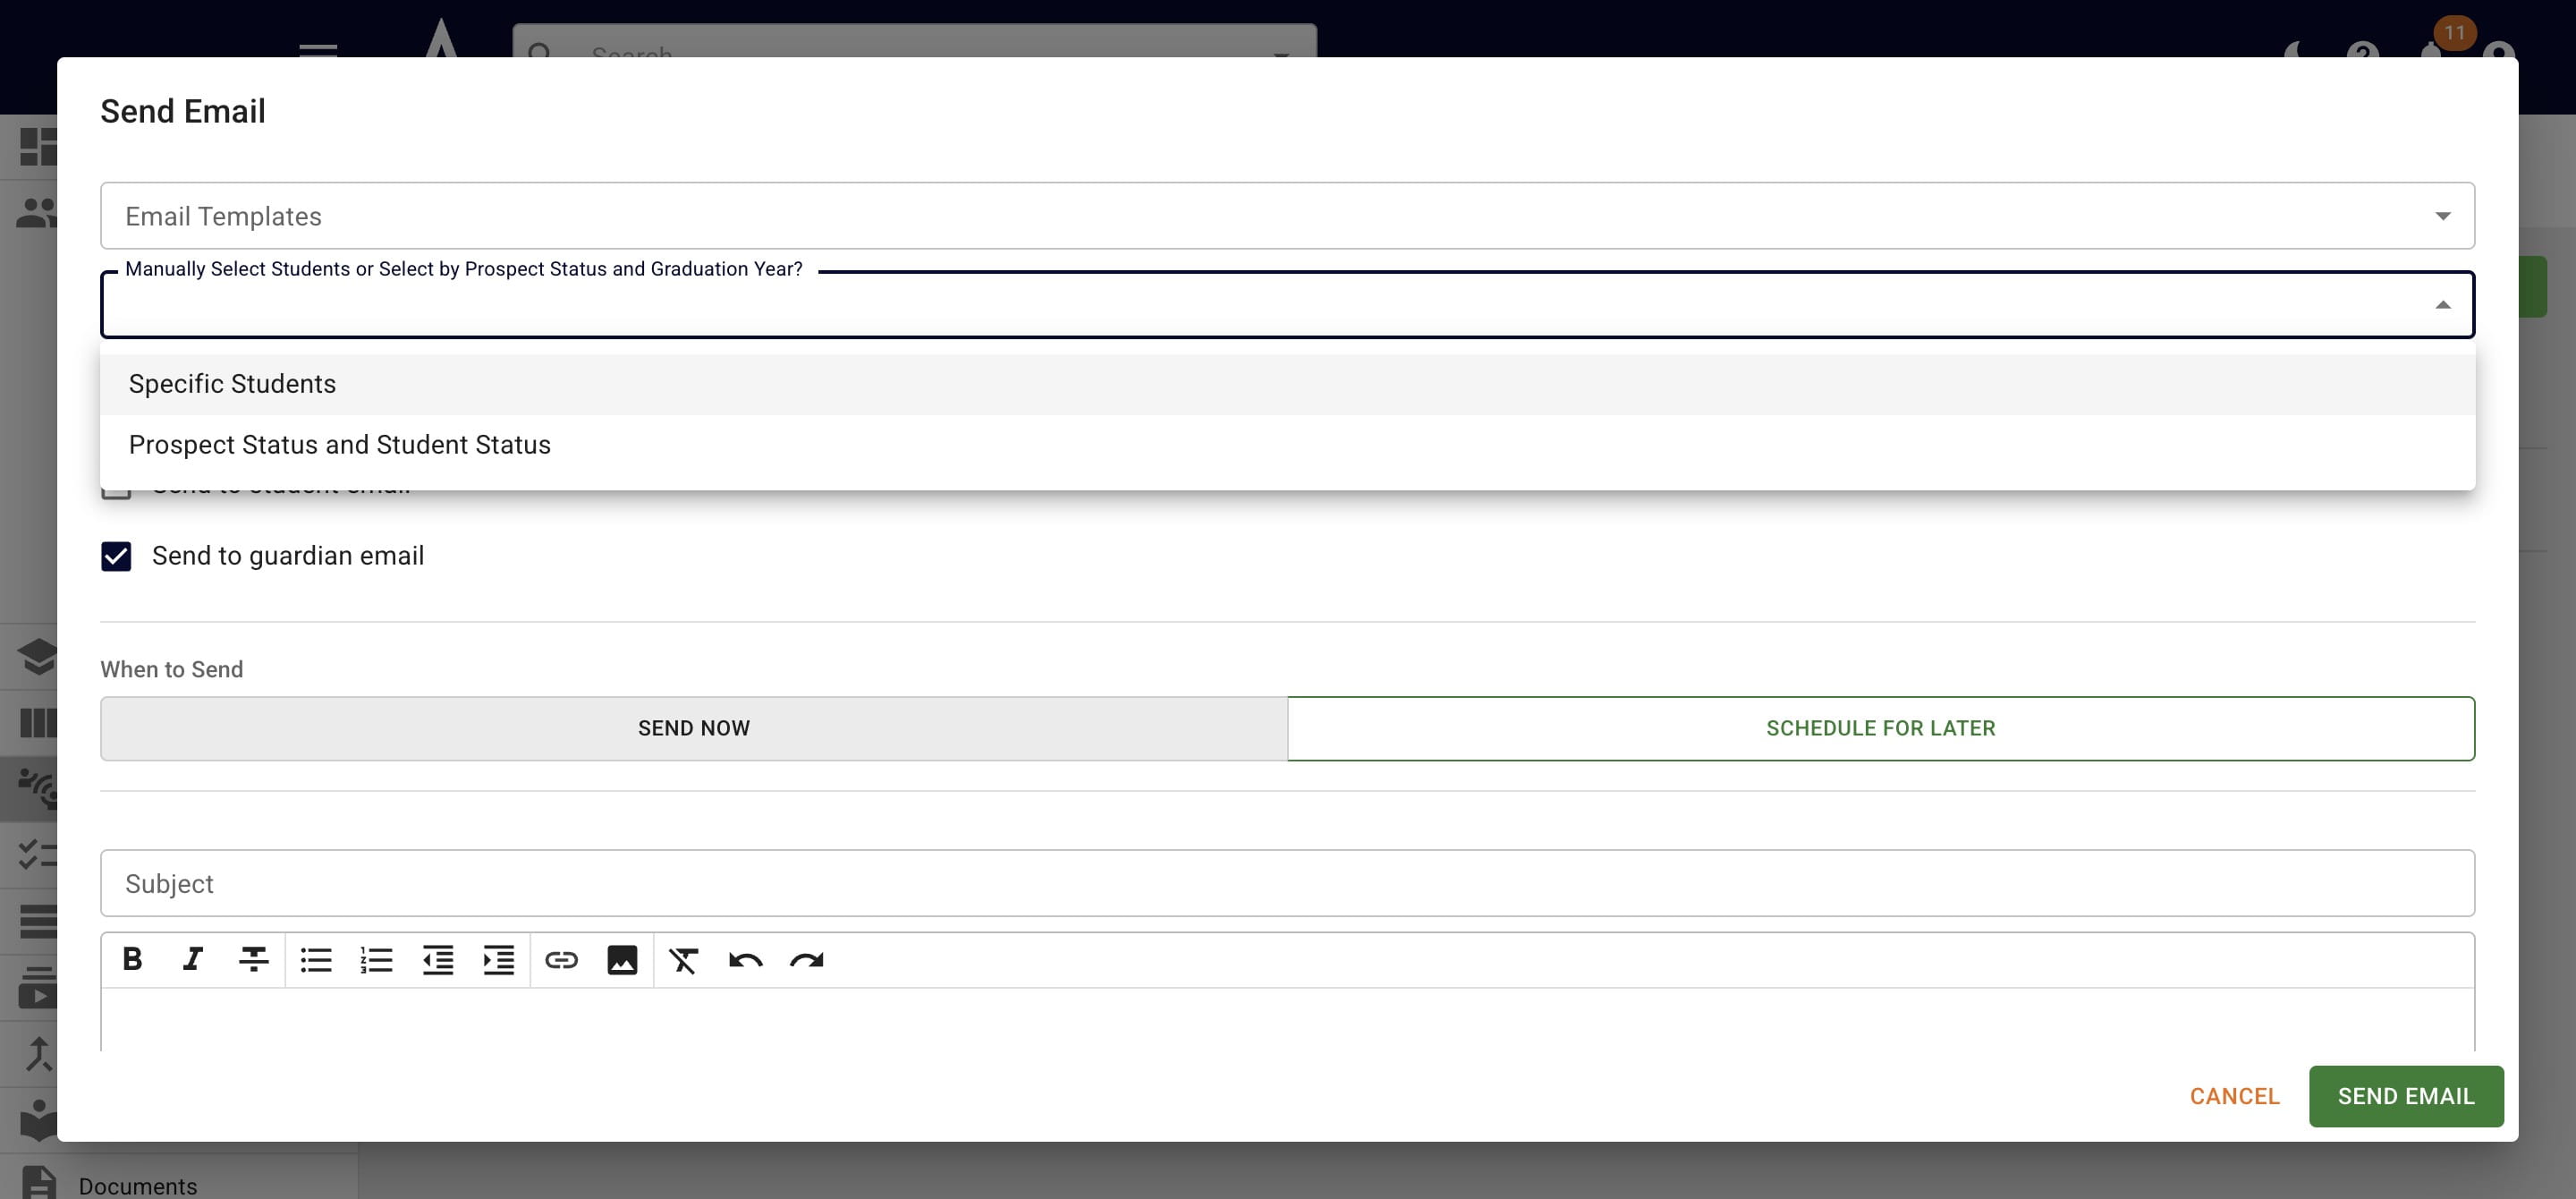
Click on Specific Students if you want to send an email to a handful of students that aren't in the same grade, student status, and/or tag.
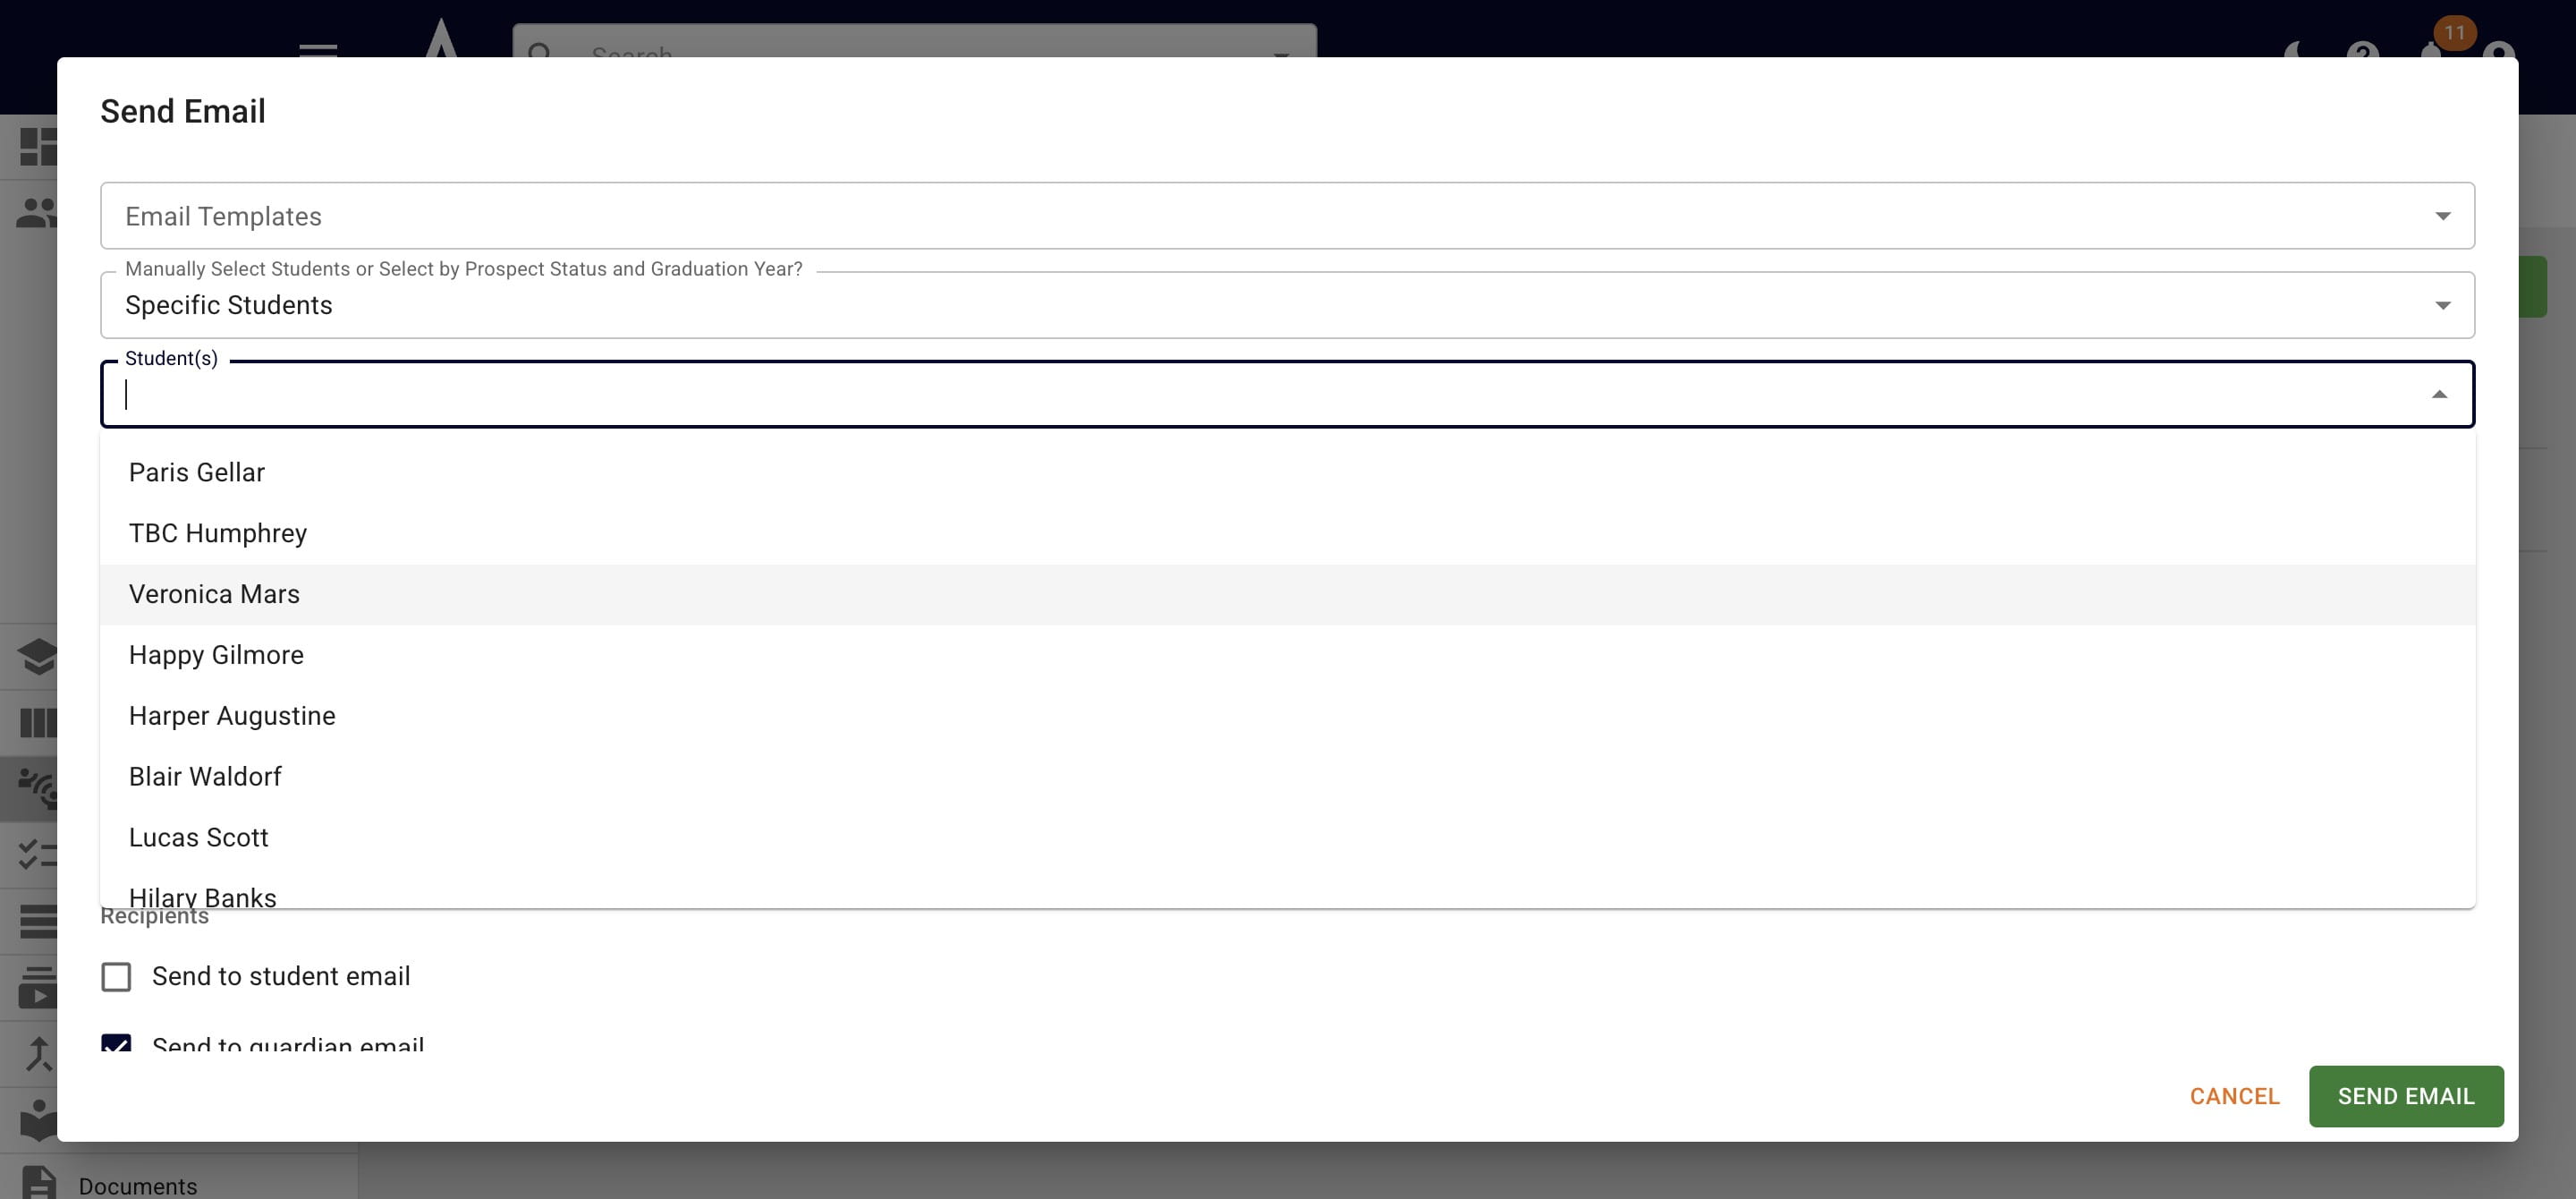
From the drop-down menu, select the applicable students.
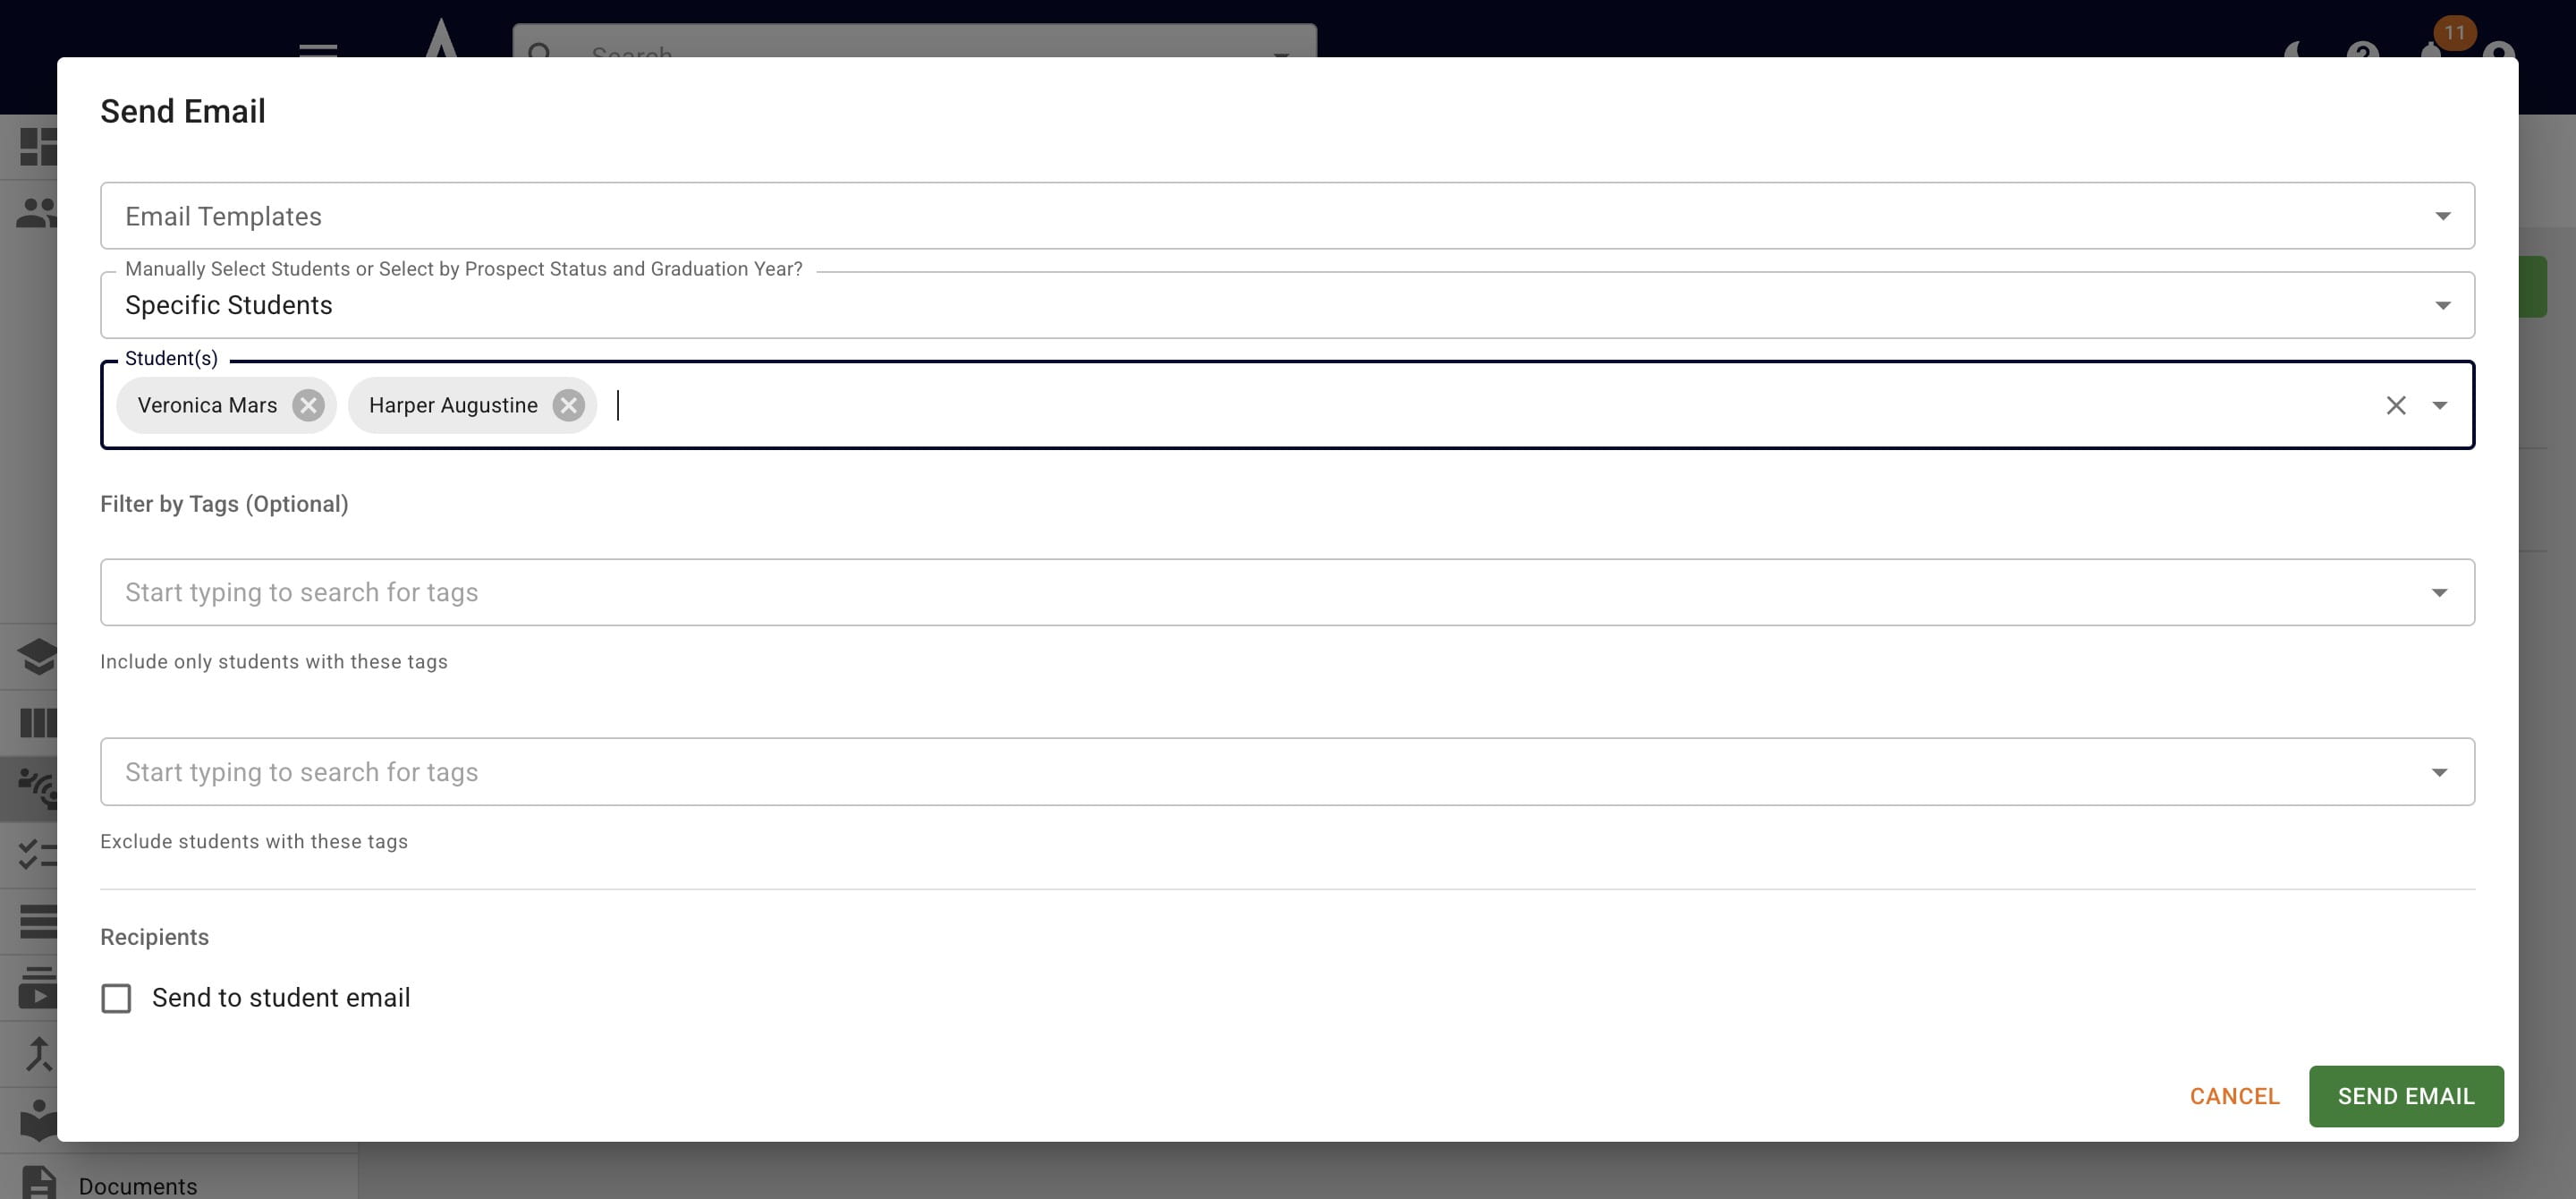
Click on the X to remove a student from the recipient list.
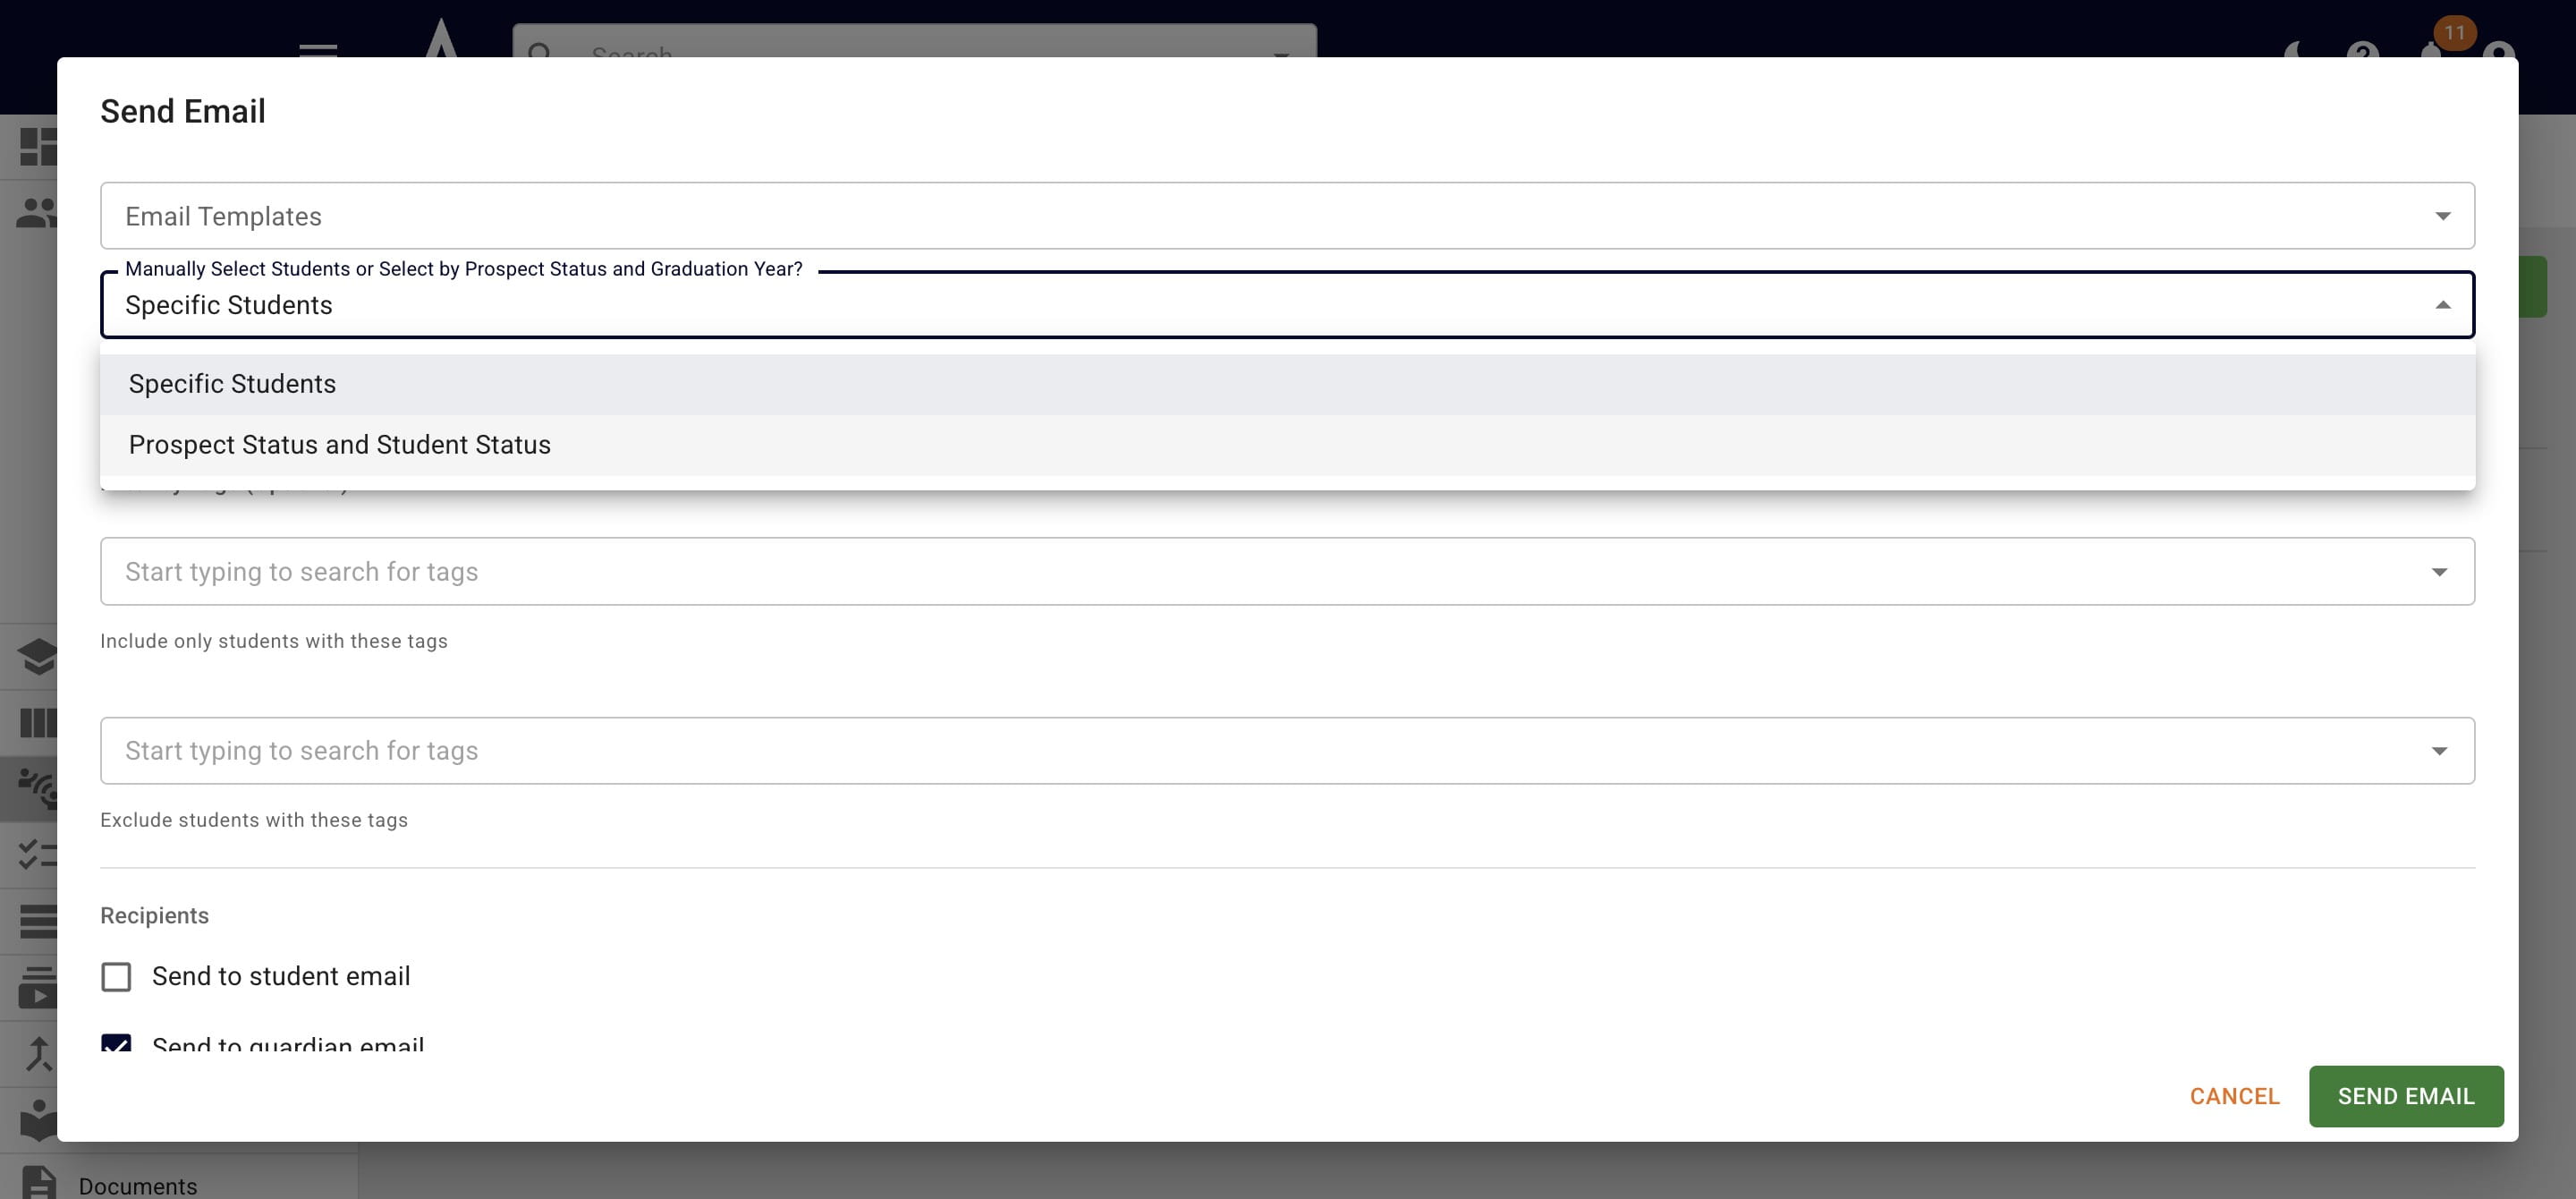
If you want to send an email to students within a specific status, choose Prospect Status and Student Status.
Choose the applicable student statuses.
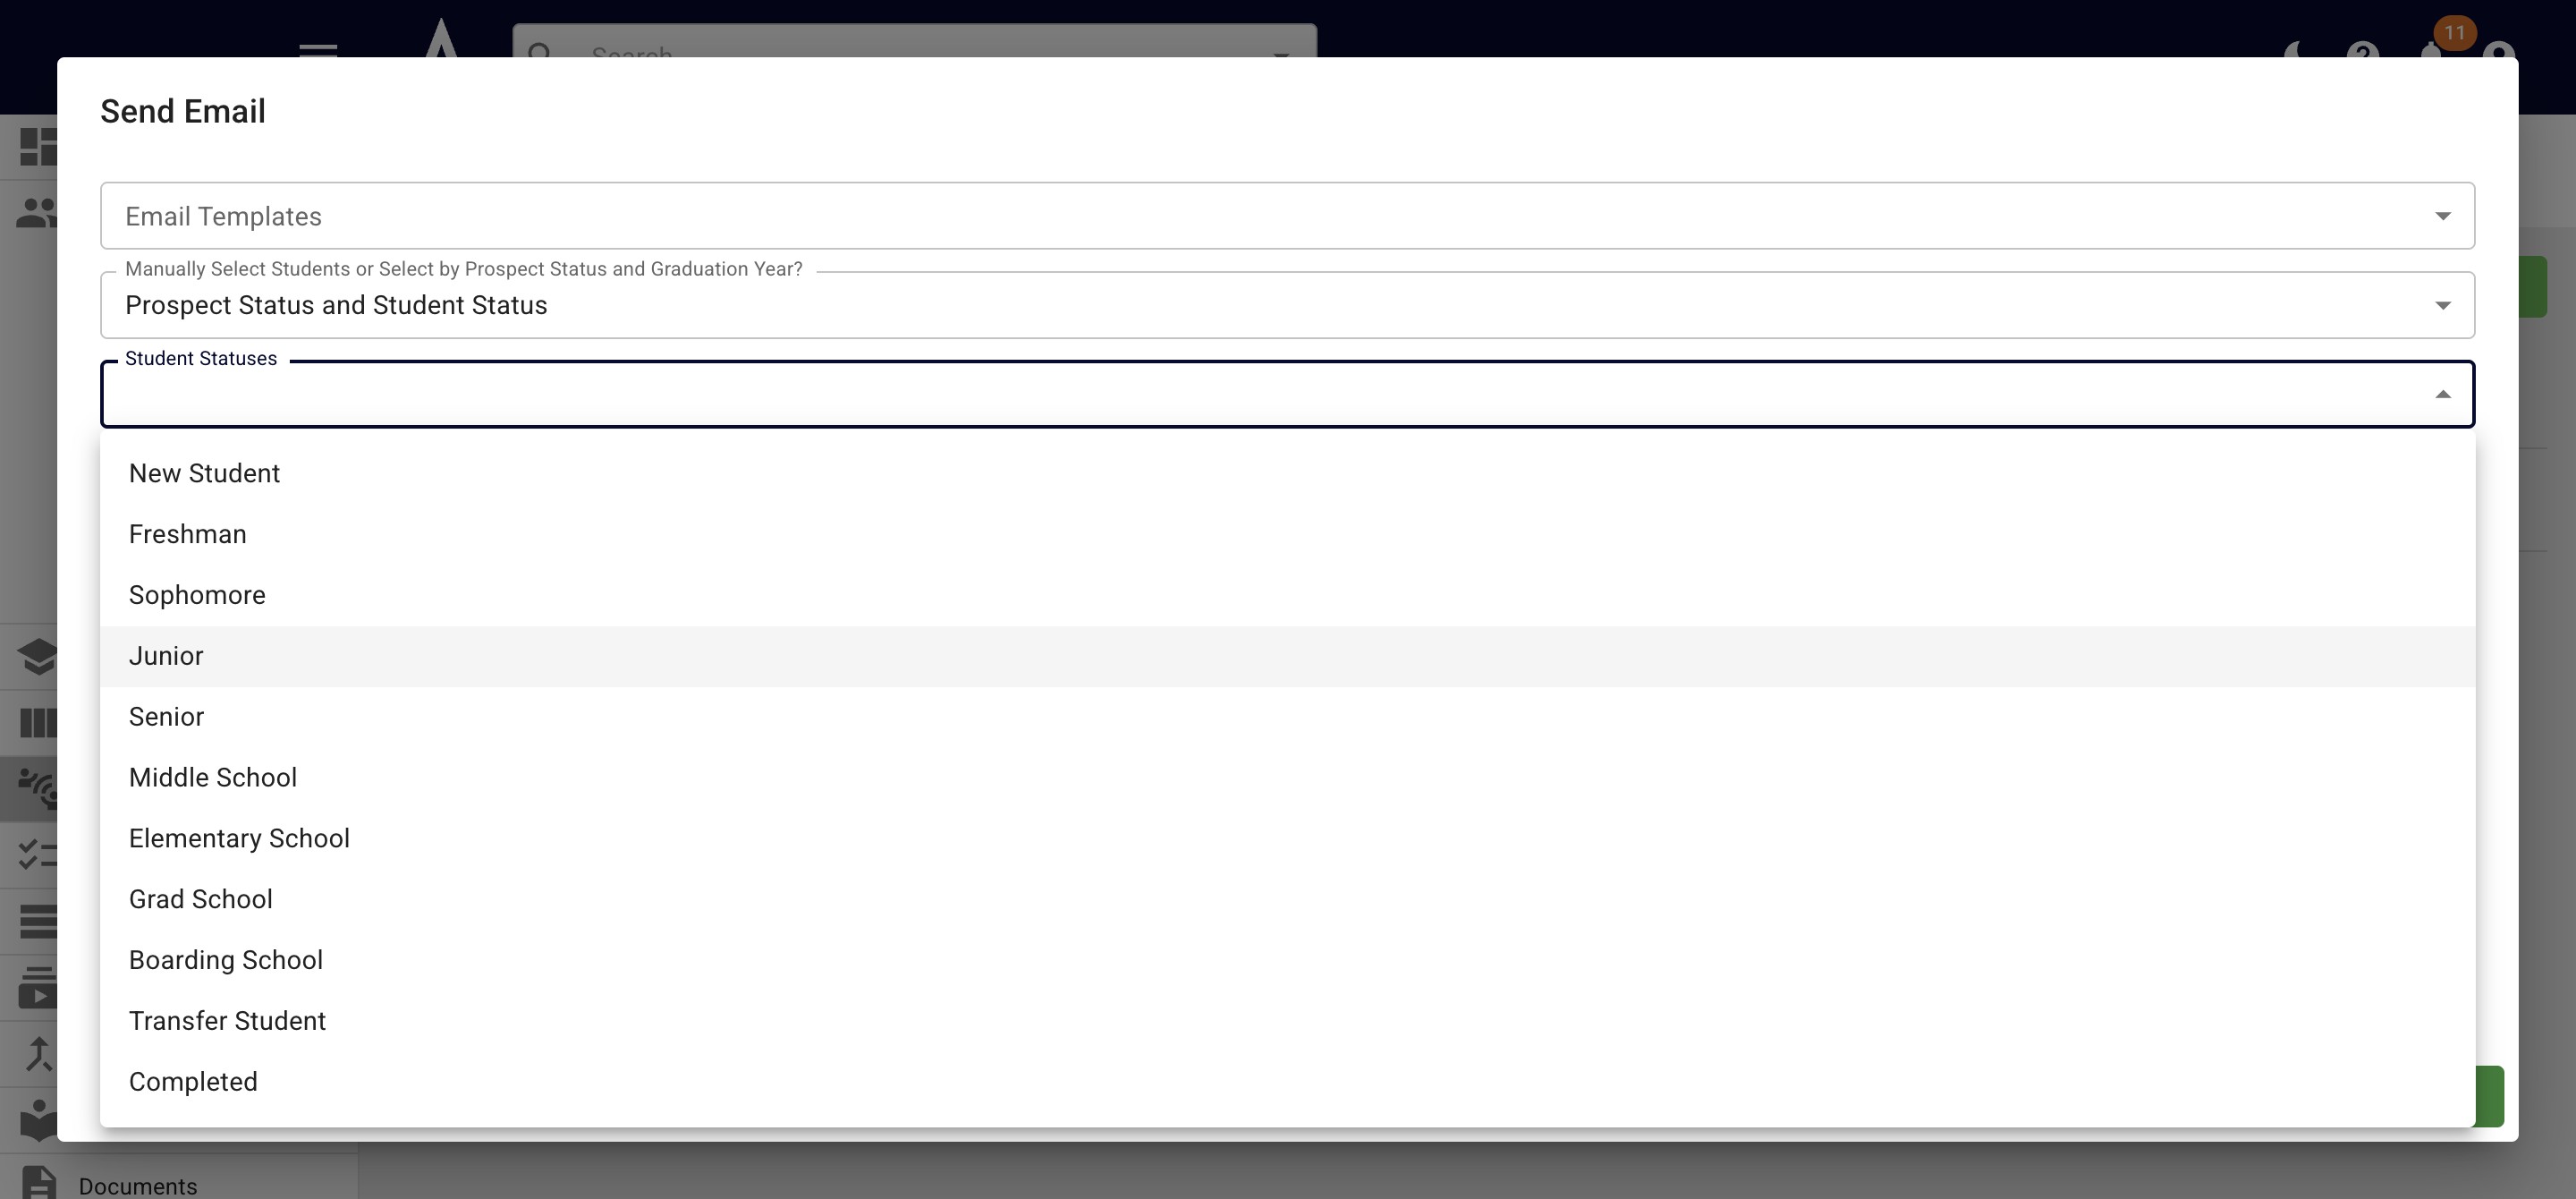
All the Prospect Status options align with the Prospect Pipeline Columns and the Student Status options align with the Student Pipeline Columns.
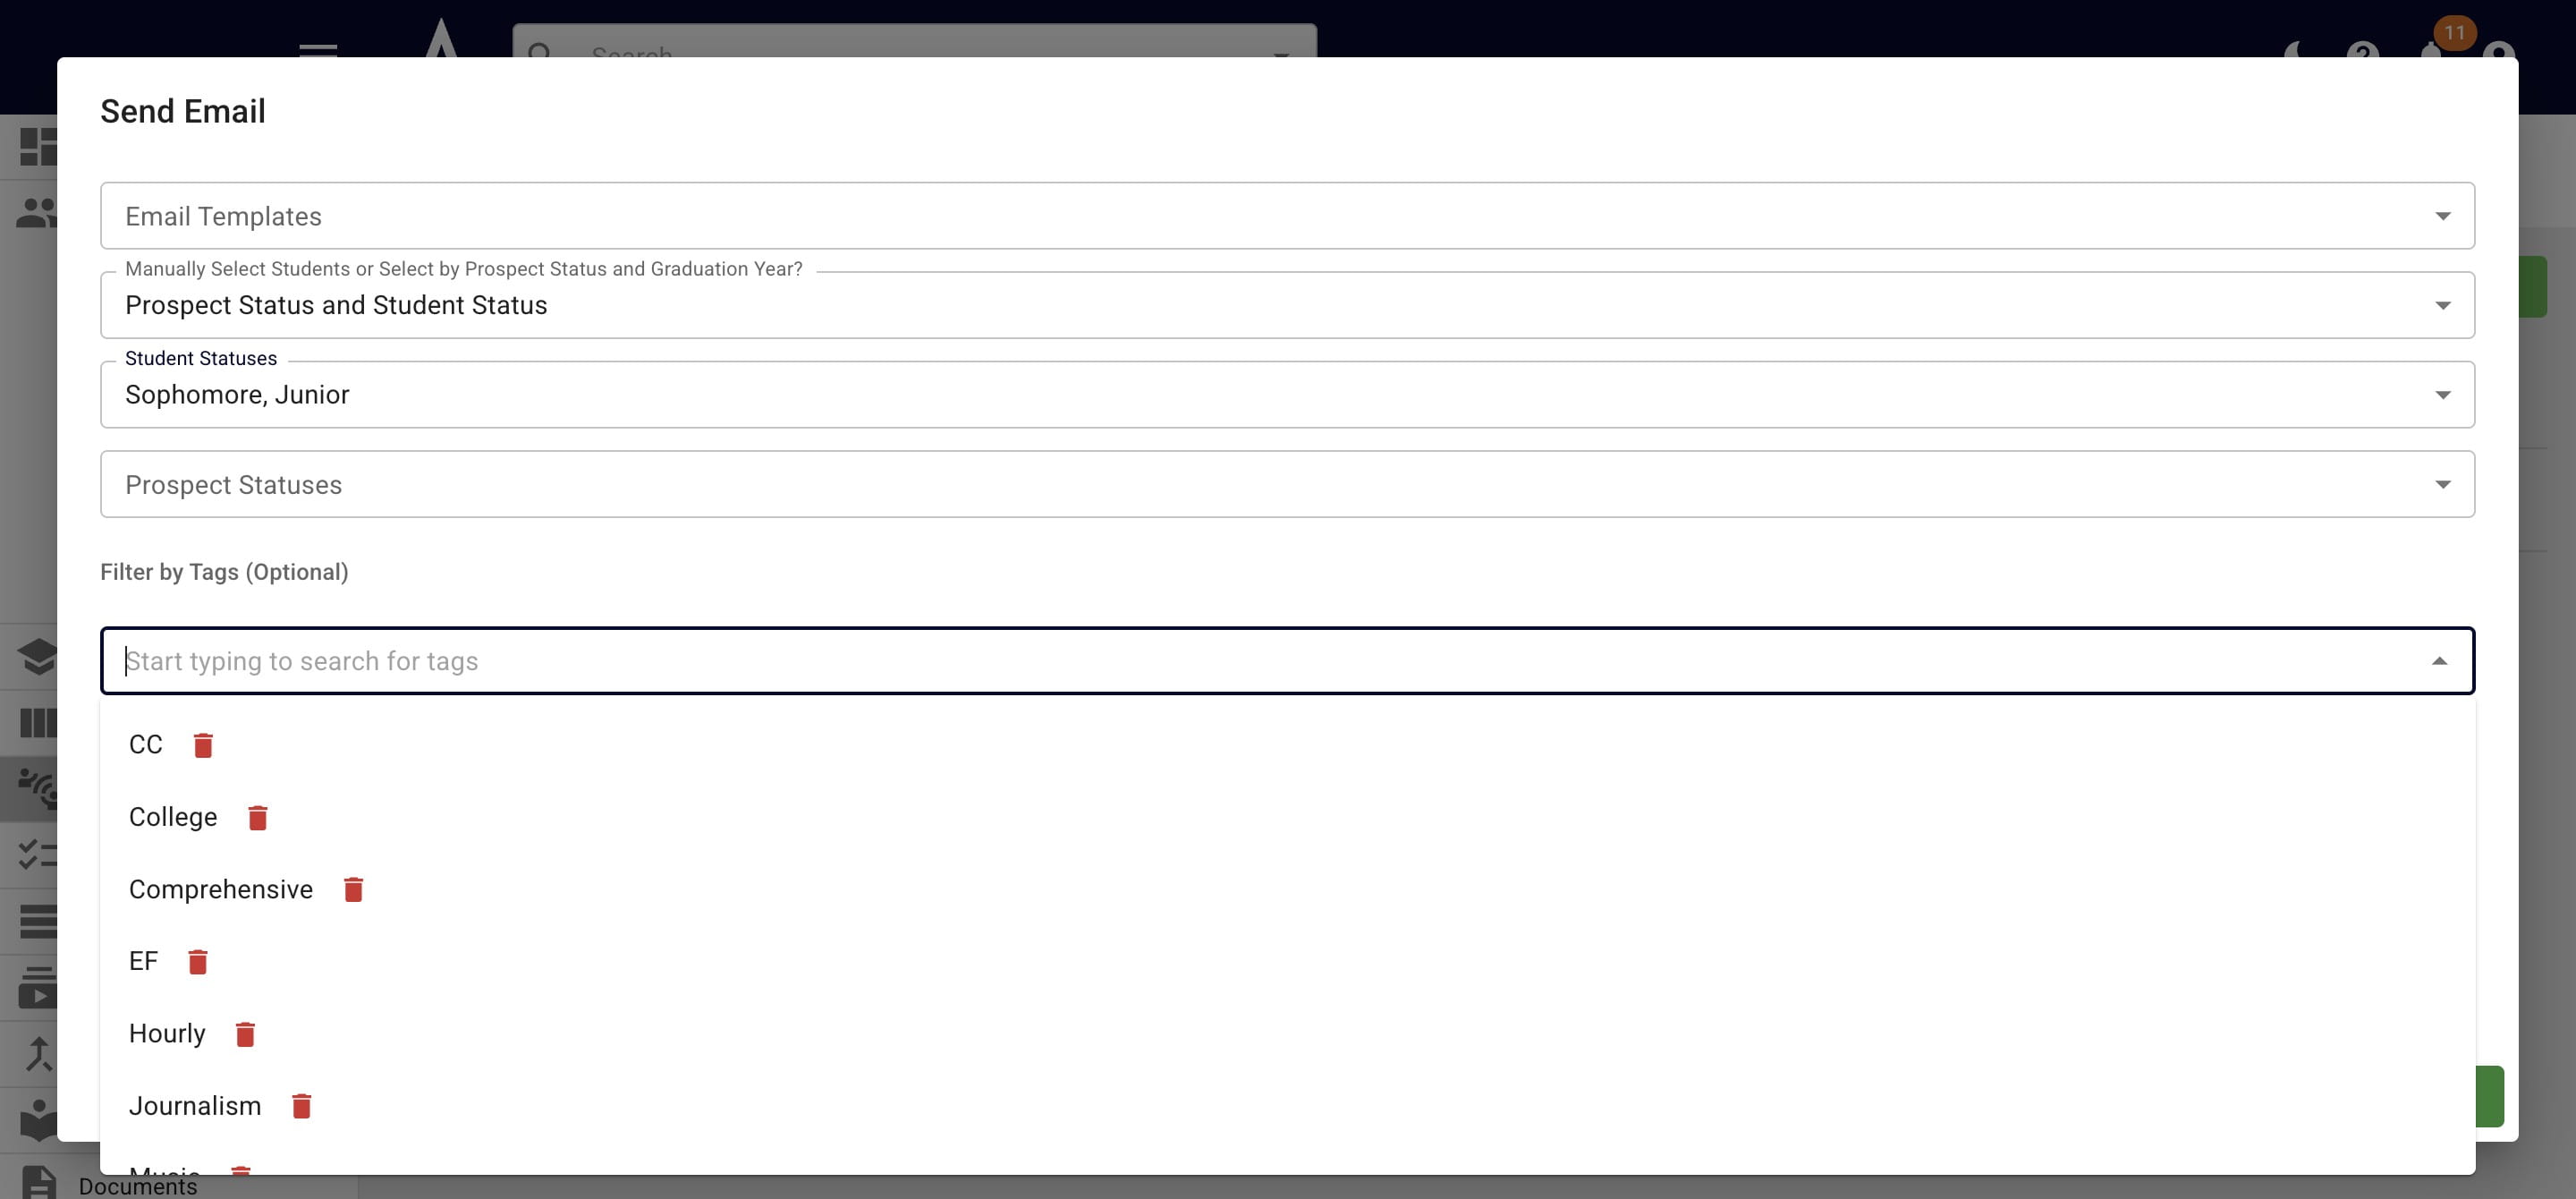
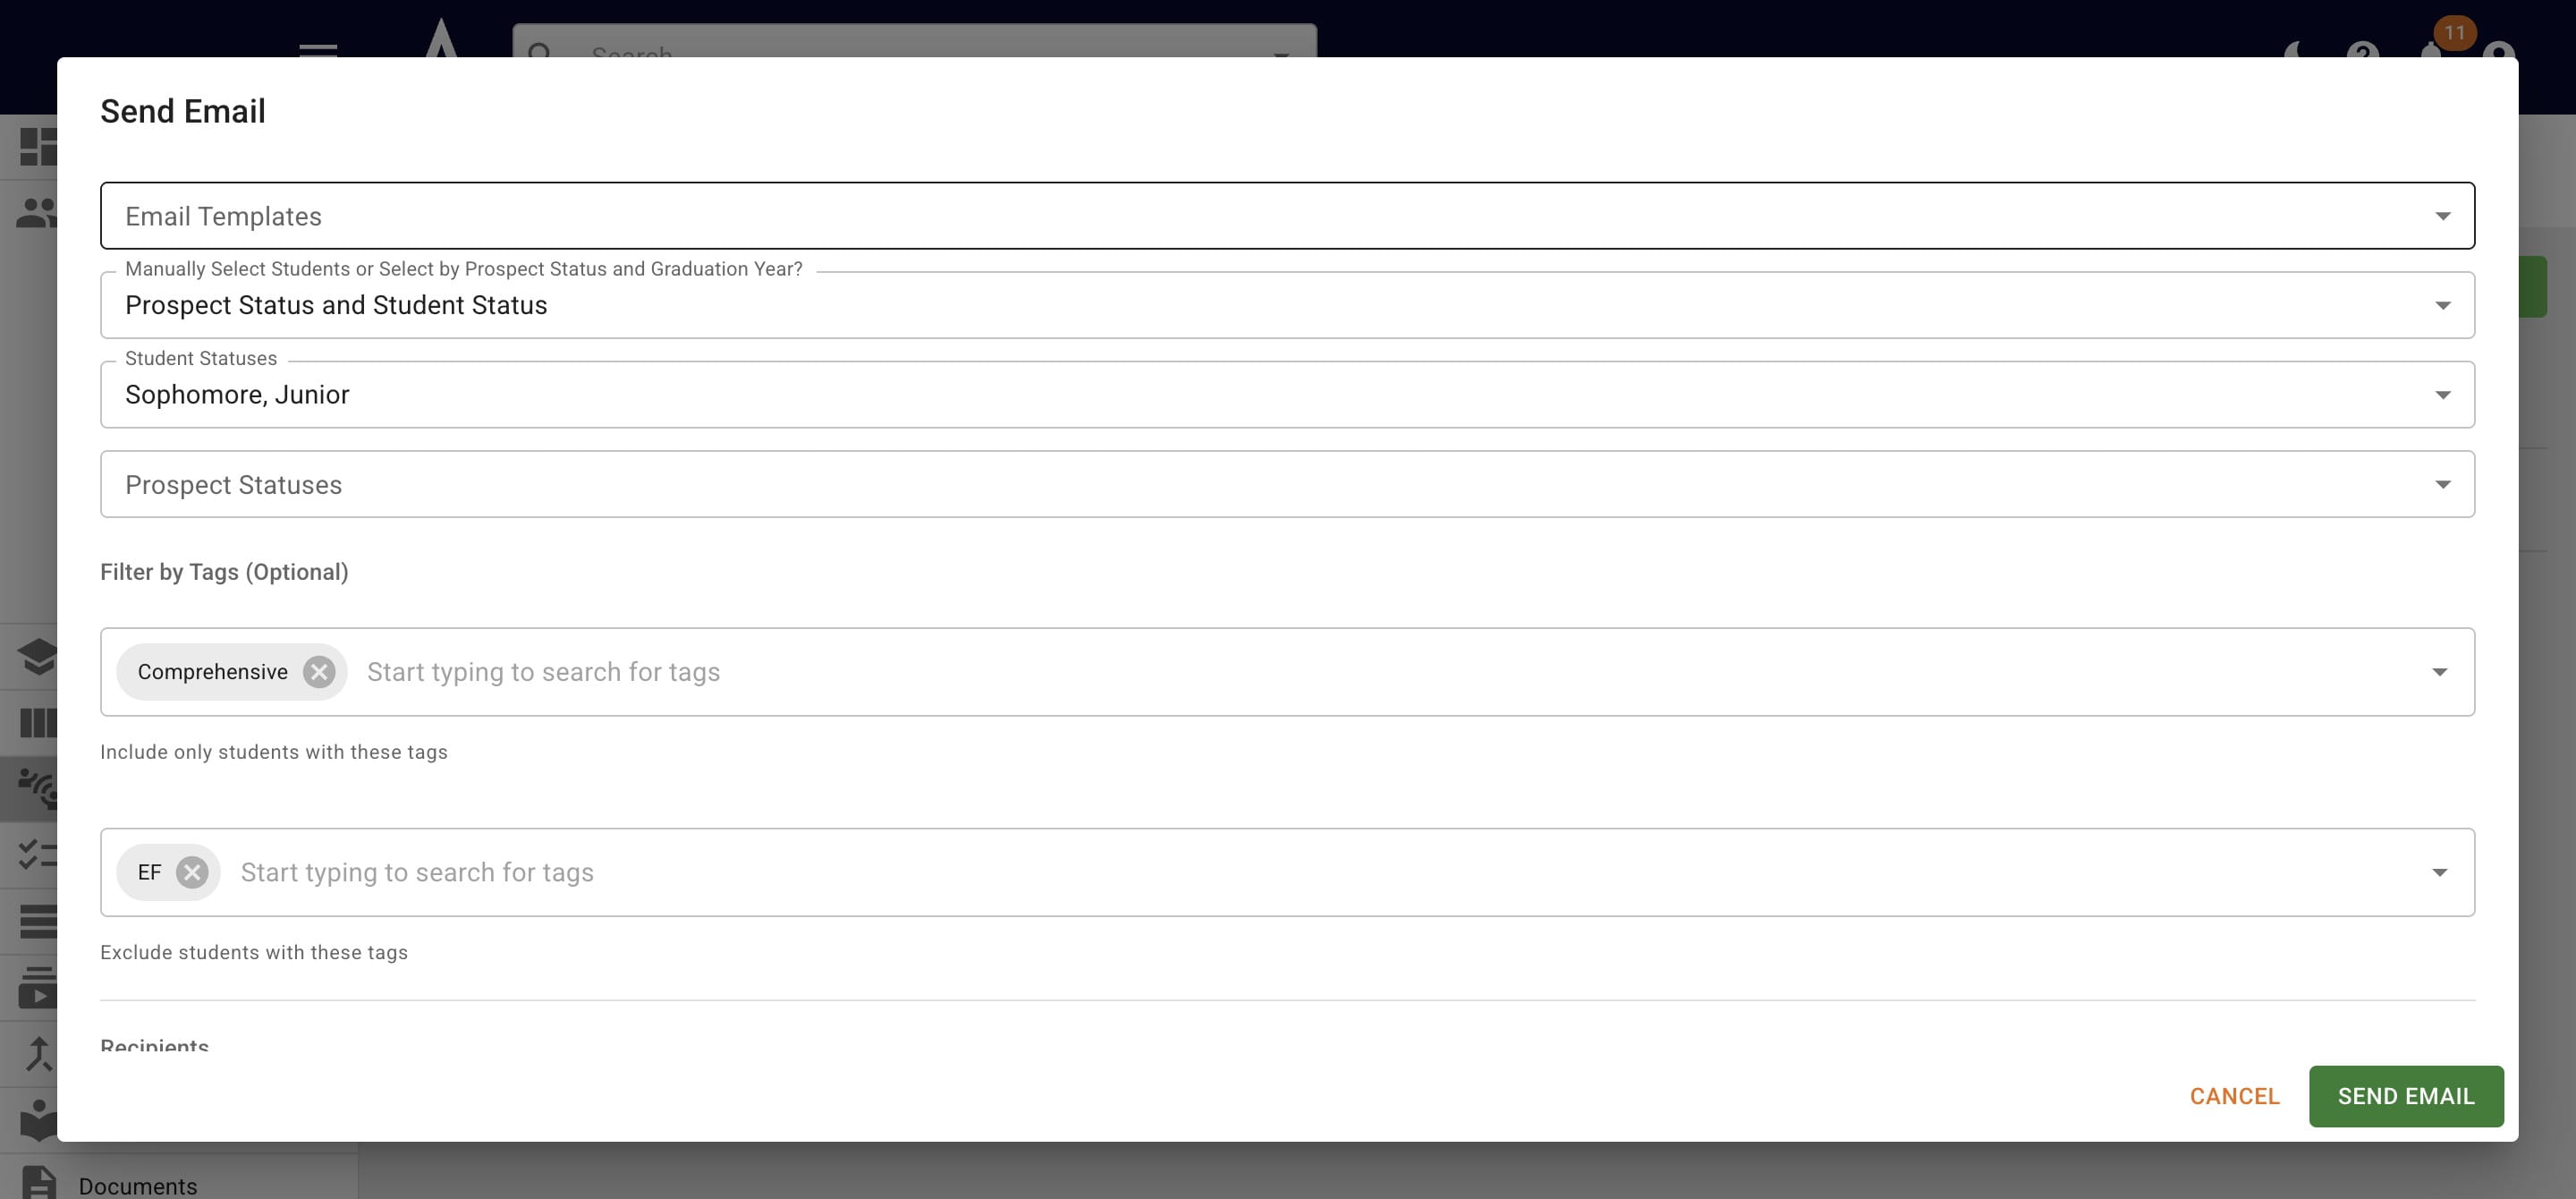
If you only want students with specific tag(s) to receive the email, you would chose those within the Include only students with these tags field.
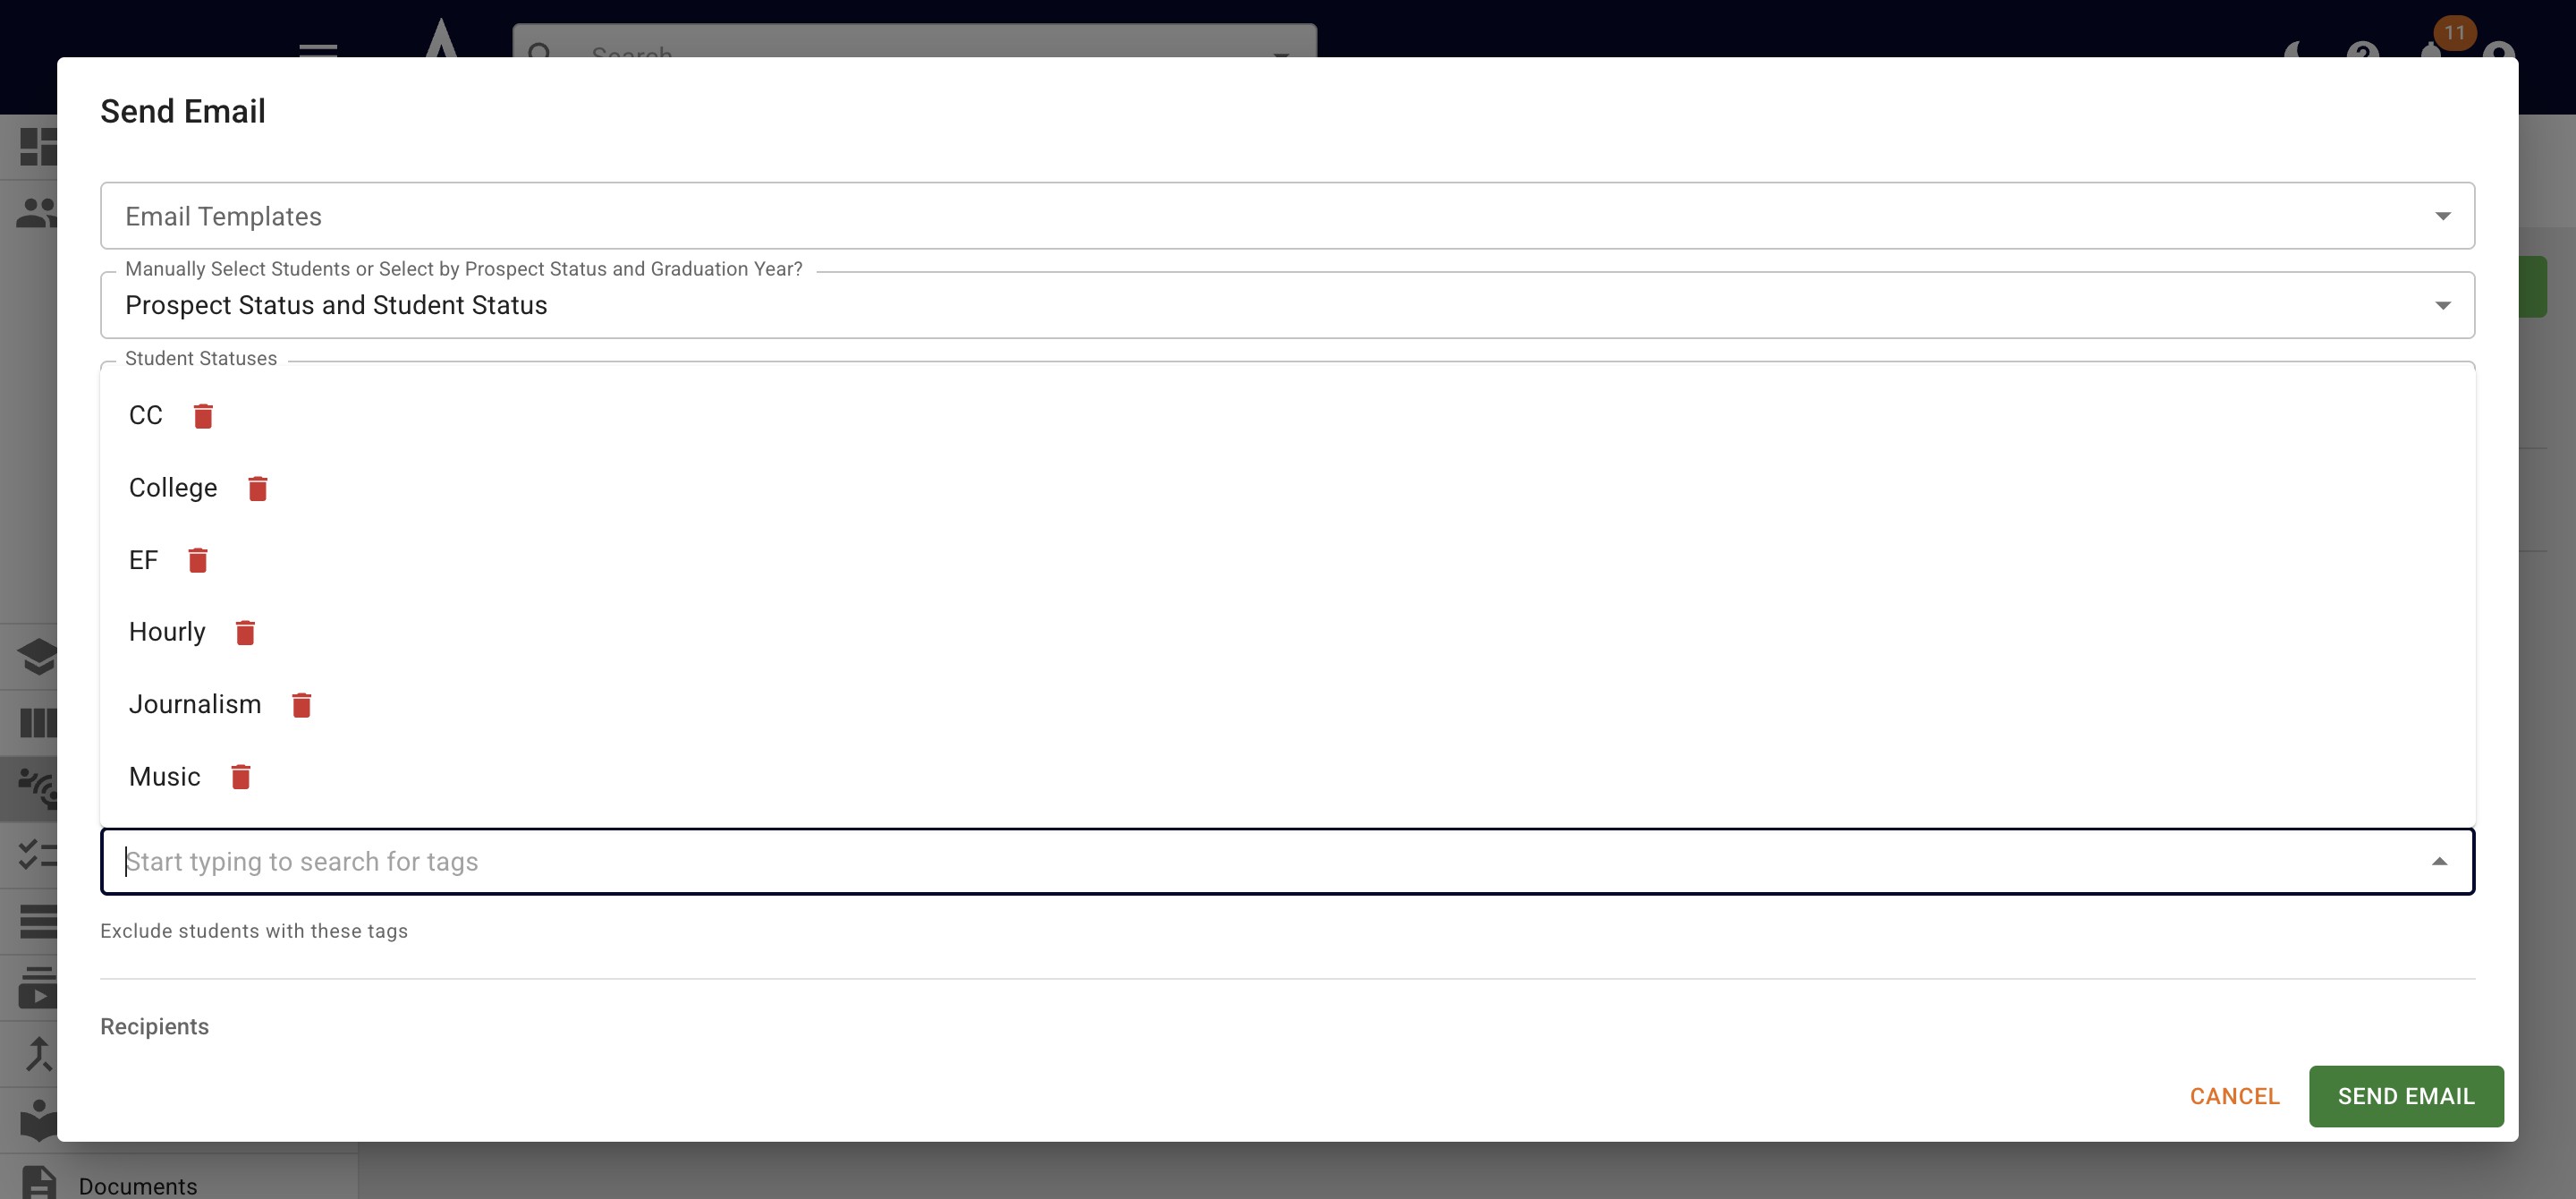
If want to make sure students with specific tag(s) don't receive the email, you would chose those within the Exclude students with these tags fields.
When your recipients & emails are finalized press Send Email.
Done 🚀