Student Profile Tags
This guide explains how to categorize and manage students in the Achieve Advisor dashboard using tags: creating, applying, saving, and removing tags to keep student information organized.
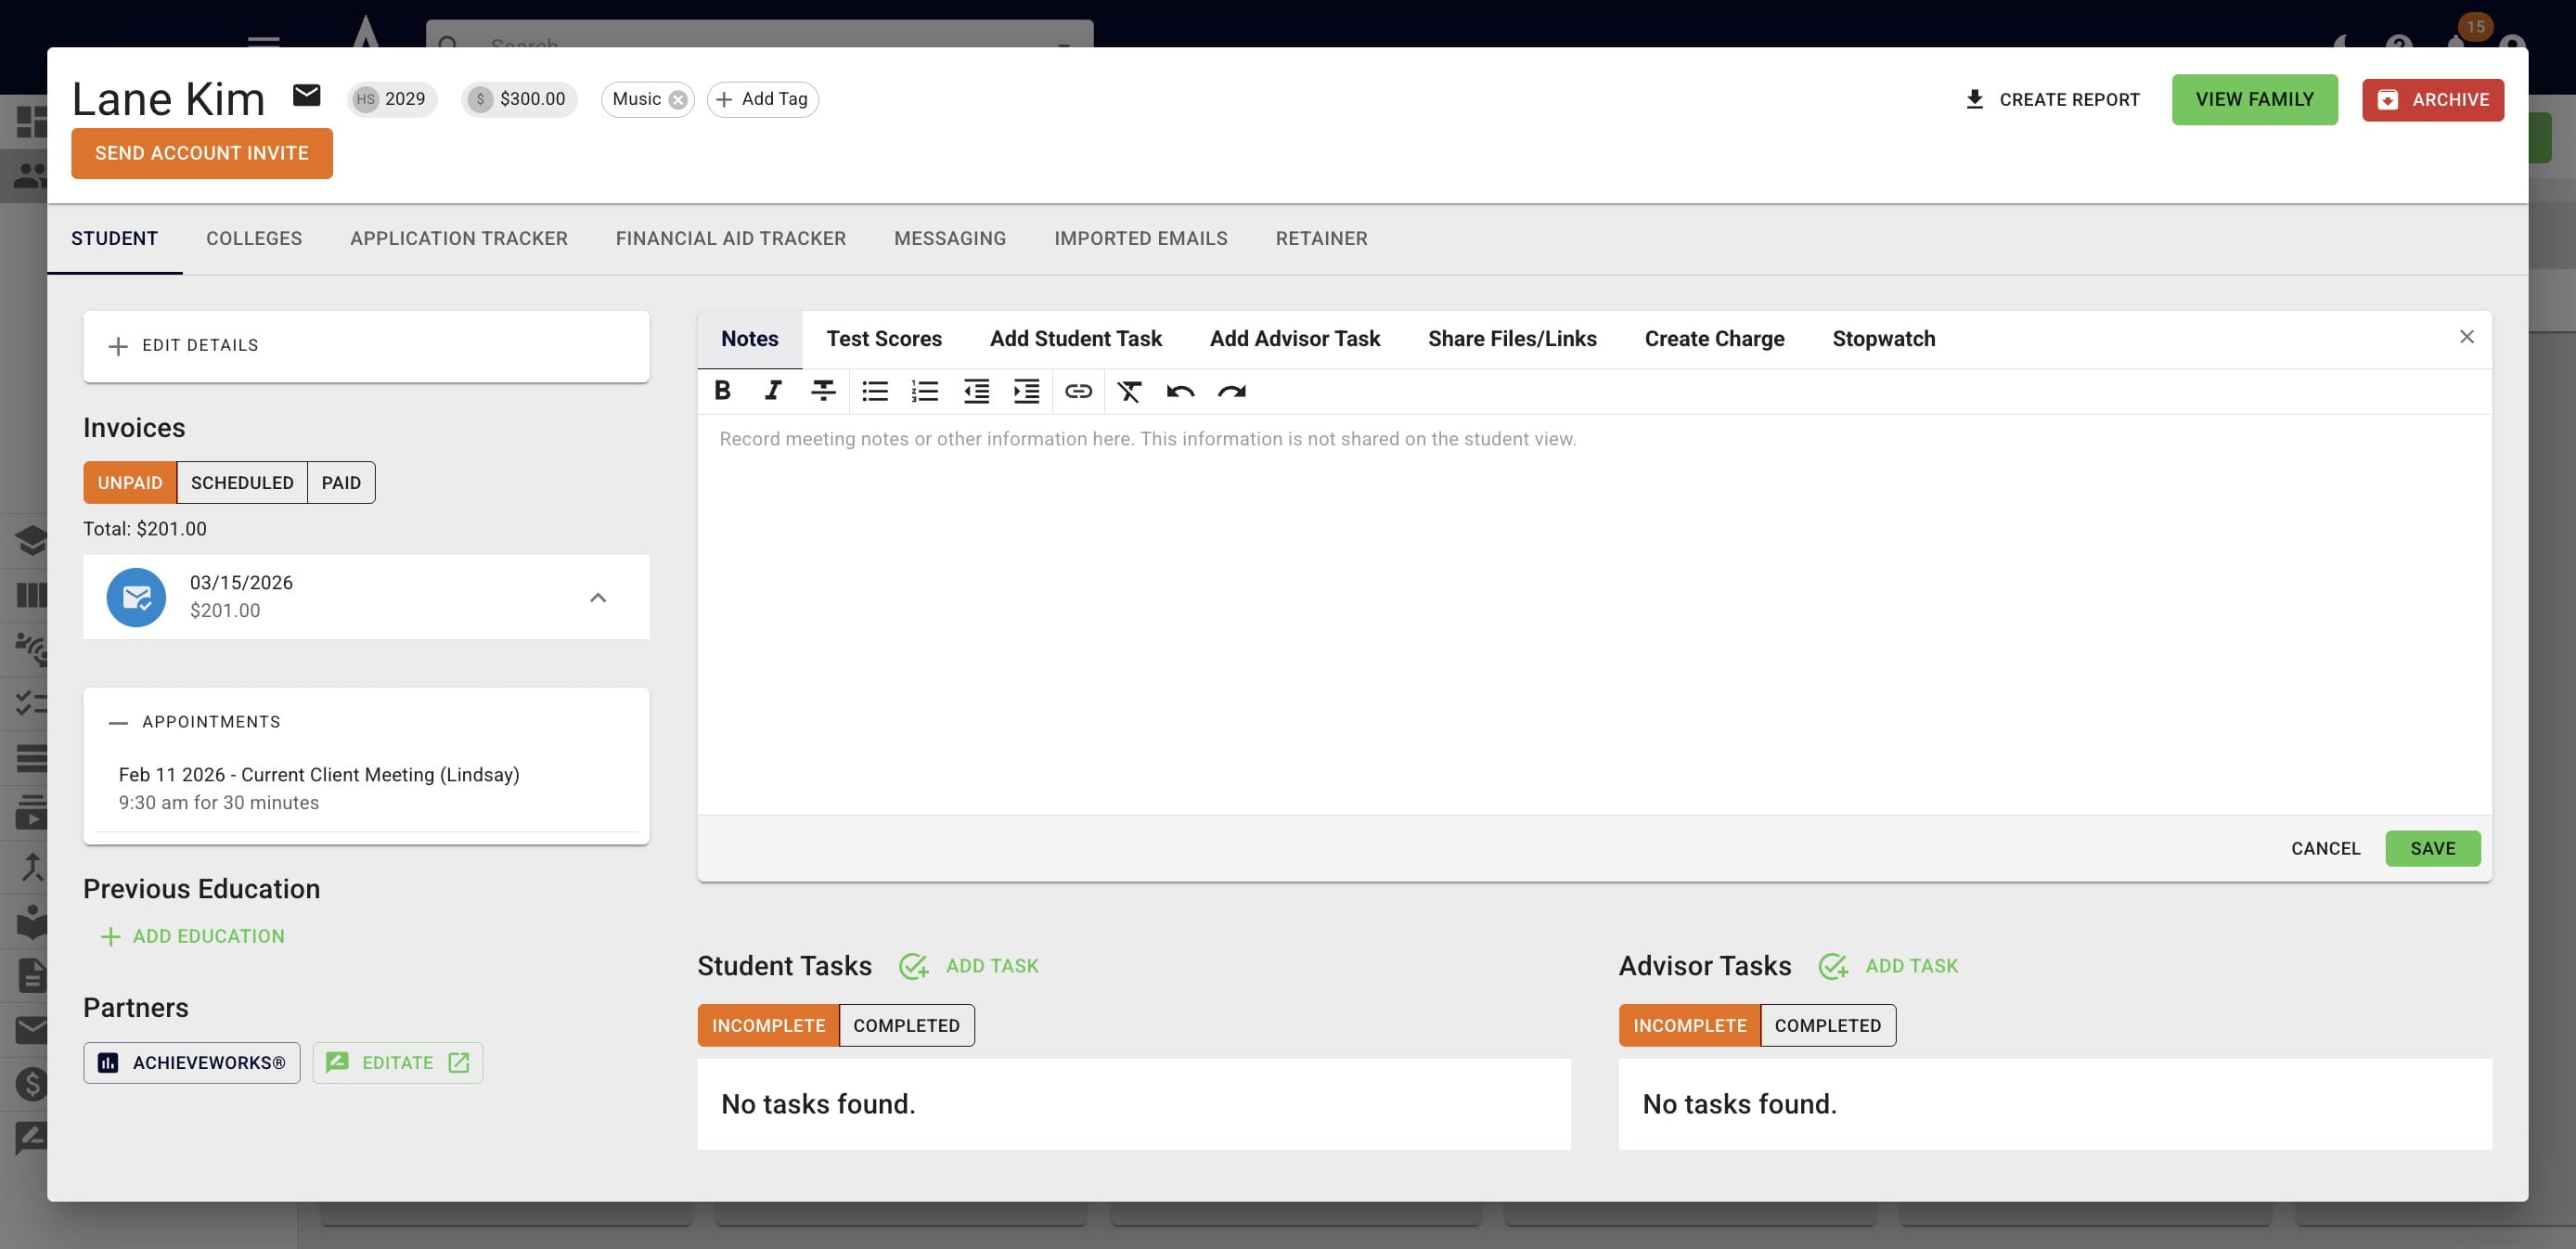
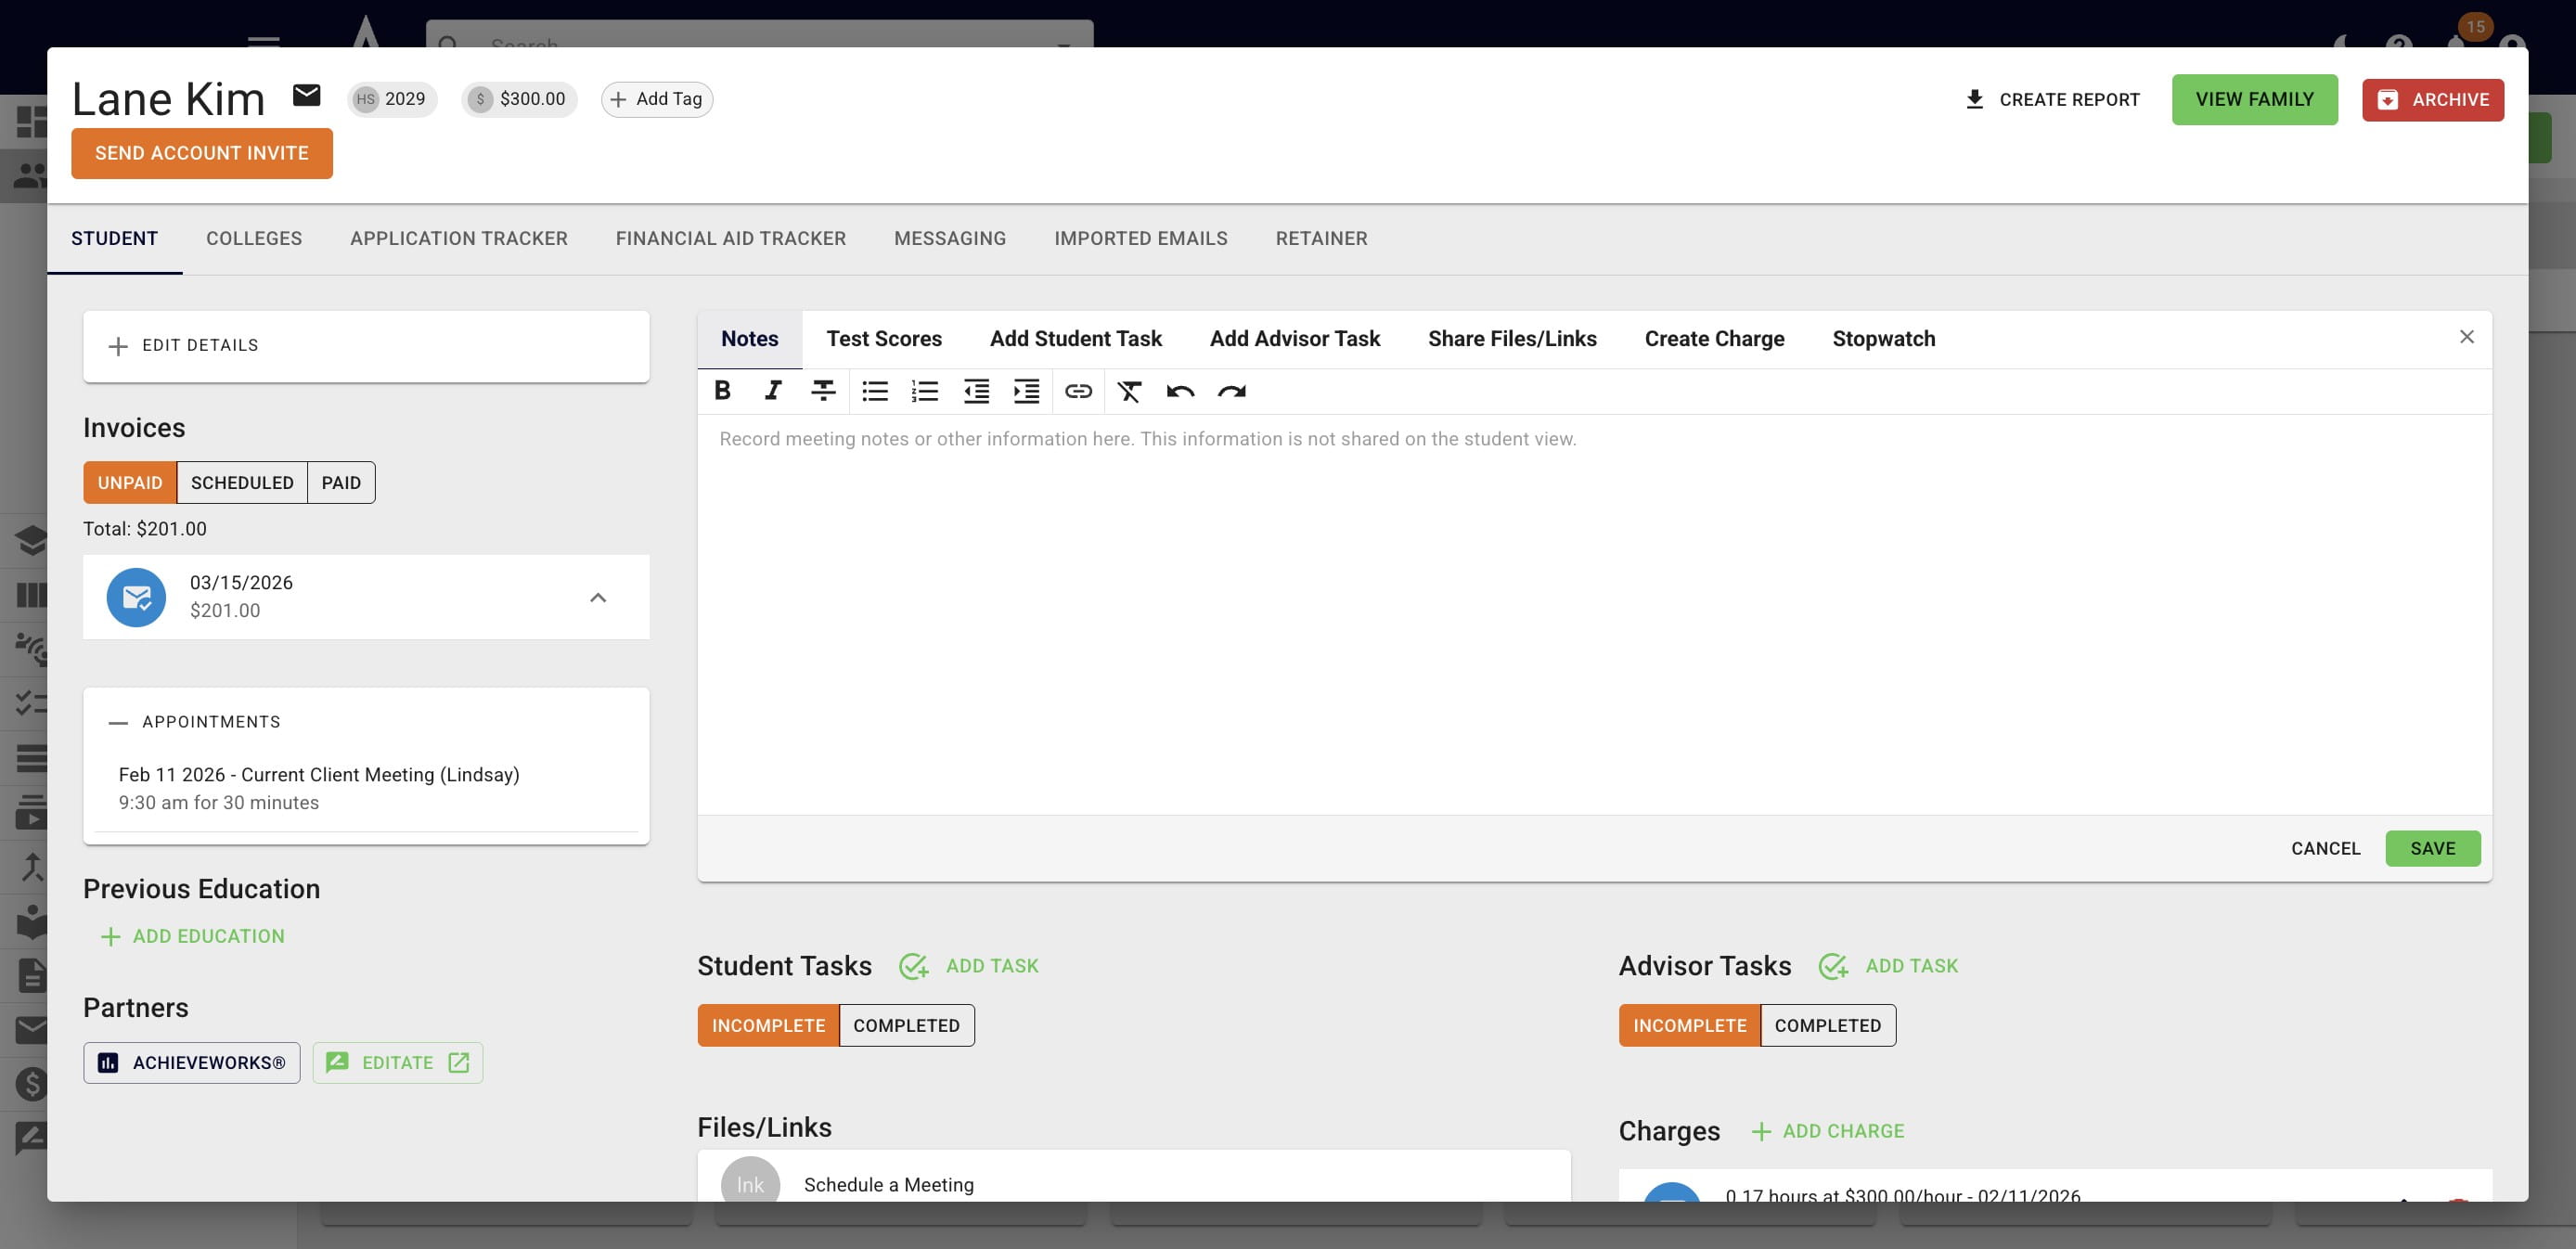
Open up a student's profile in Achieve and then press Add Tag.
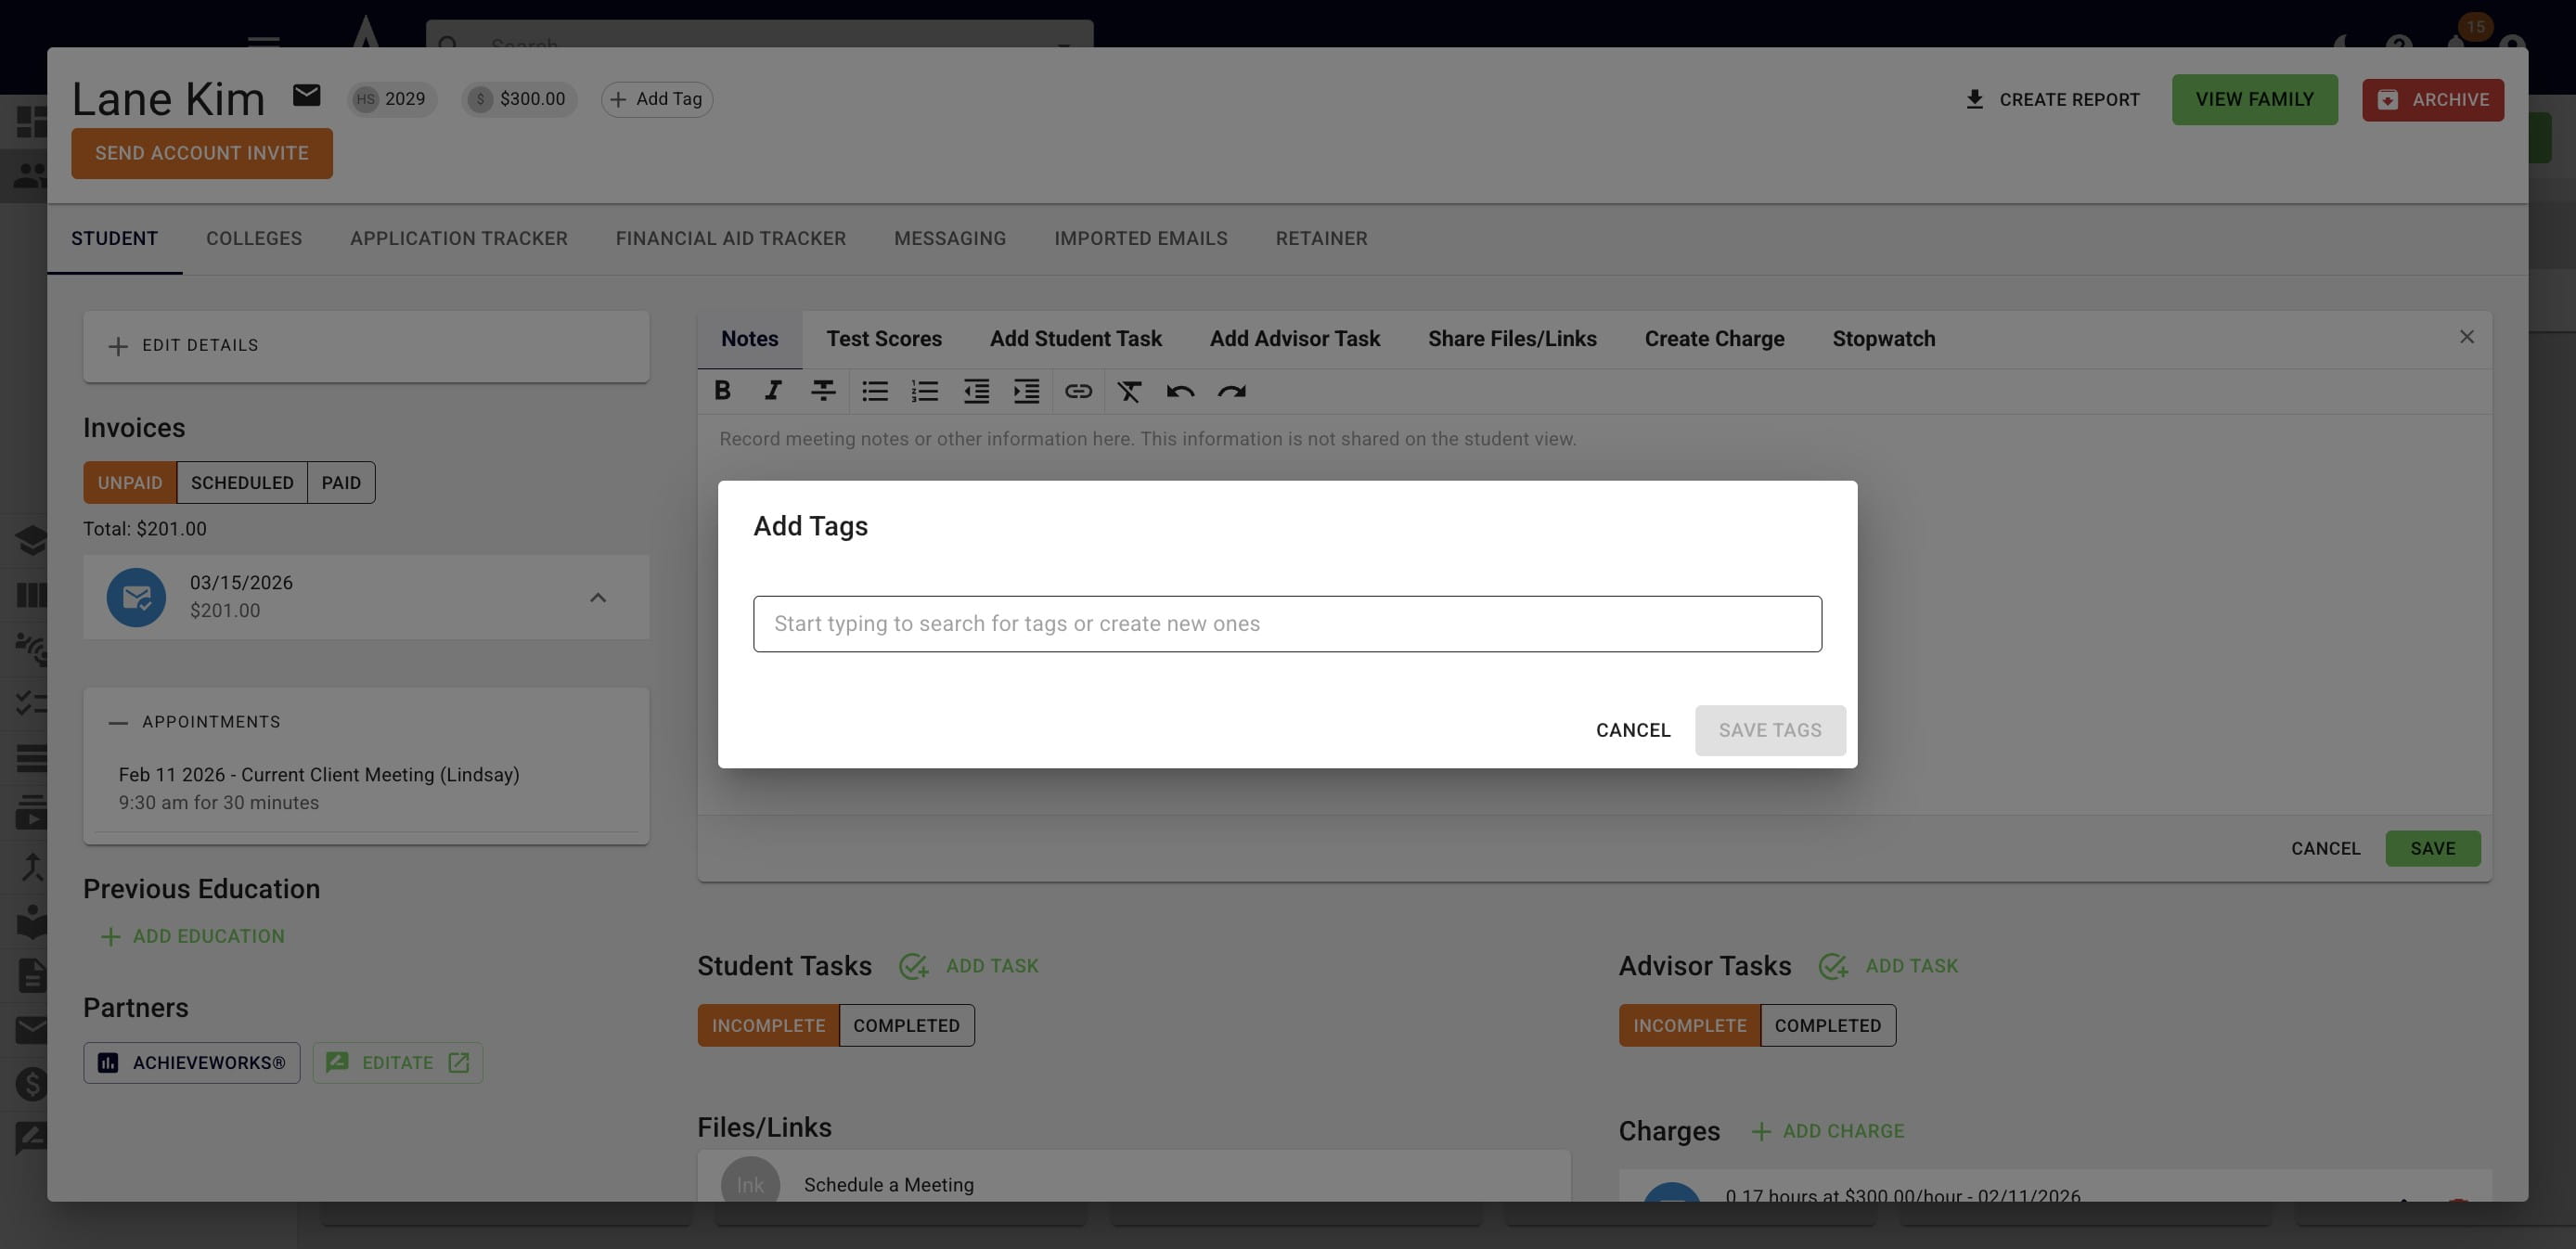
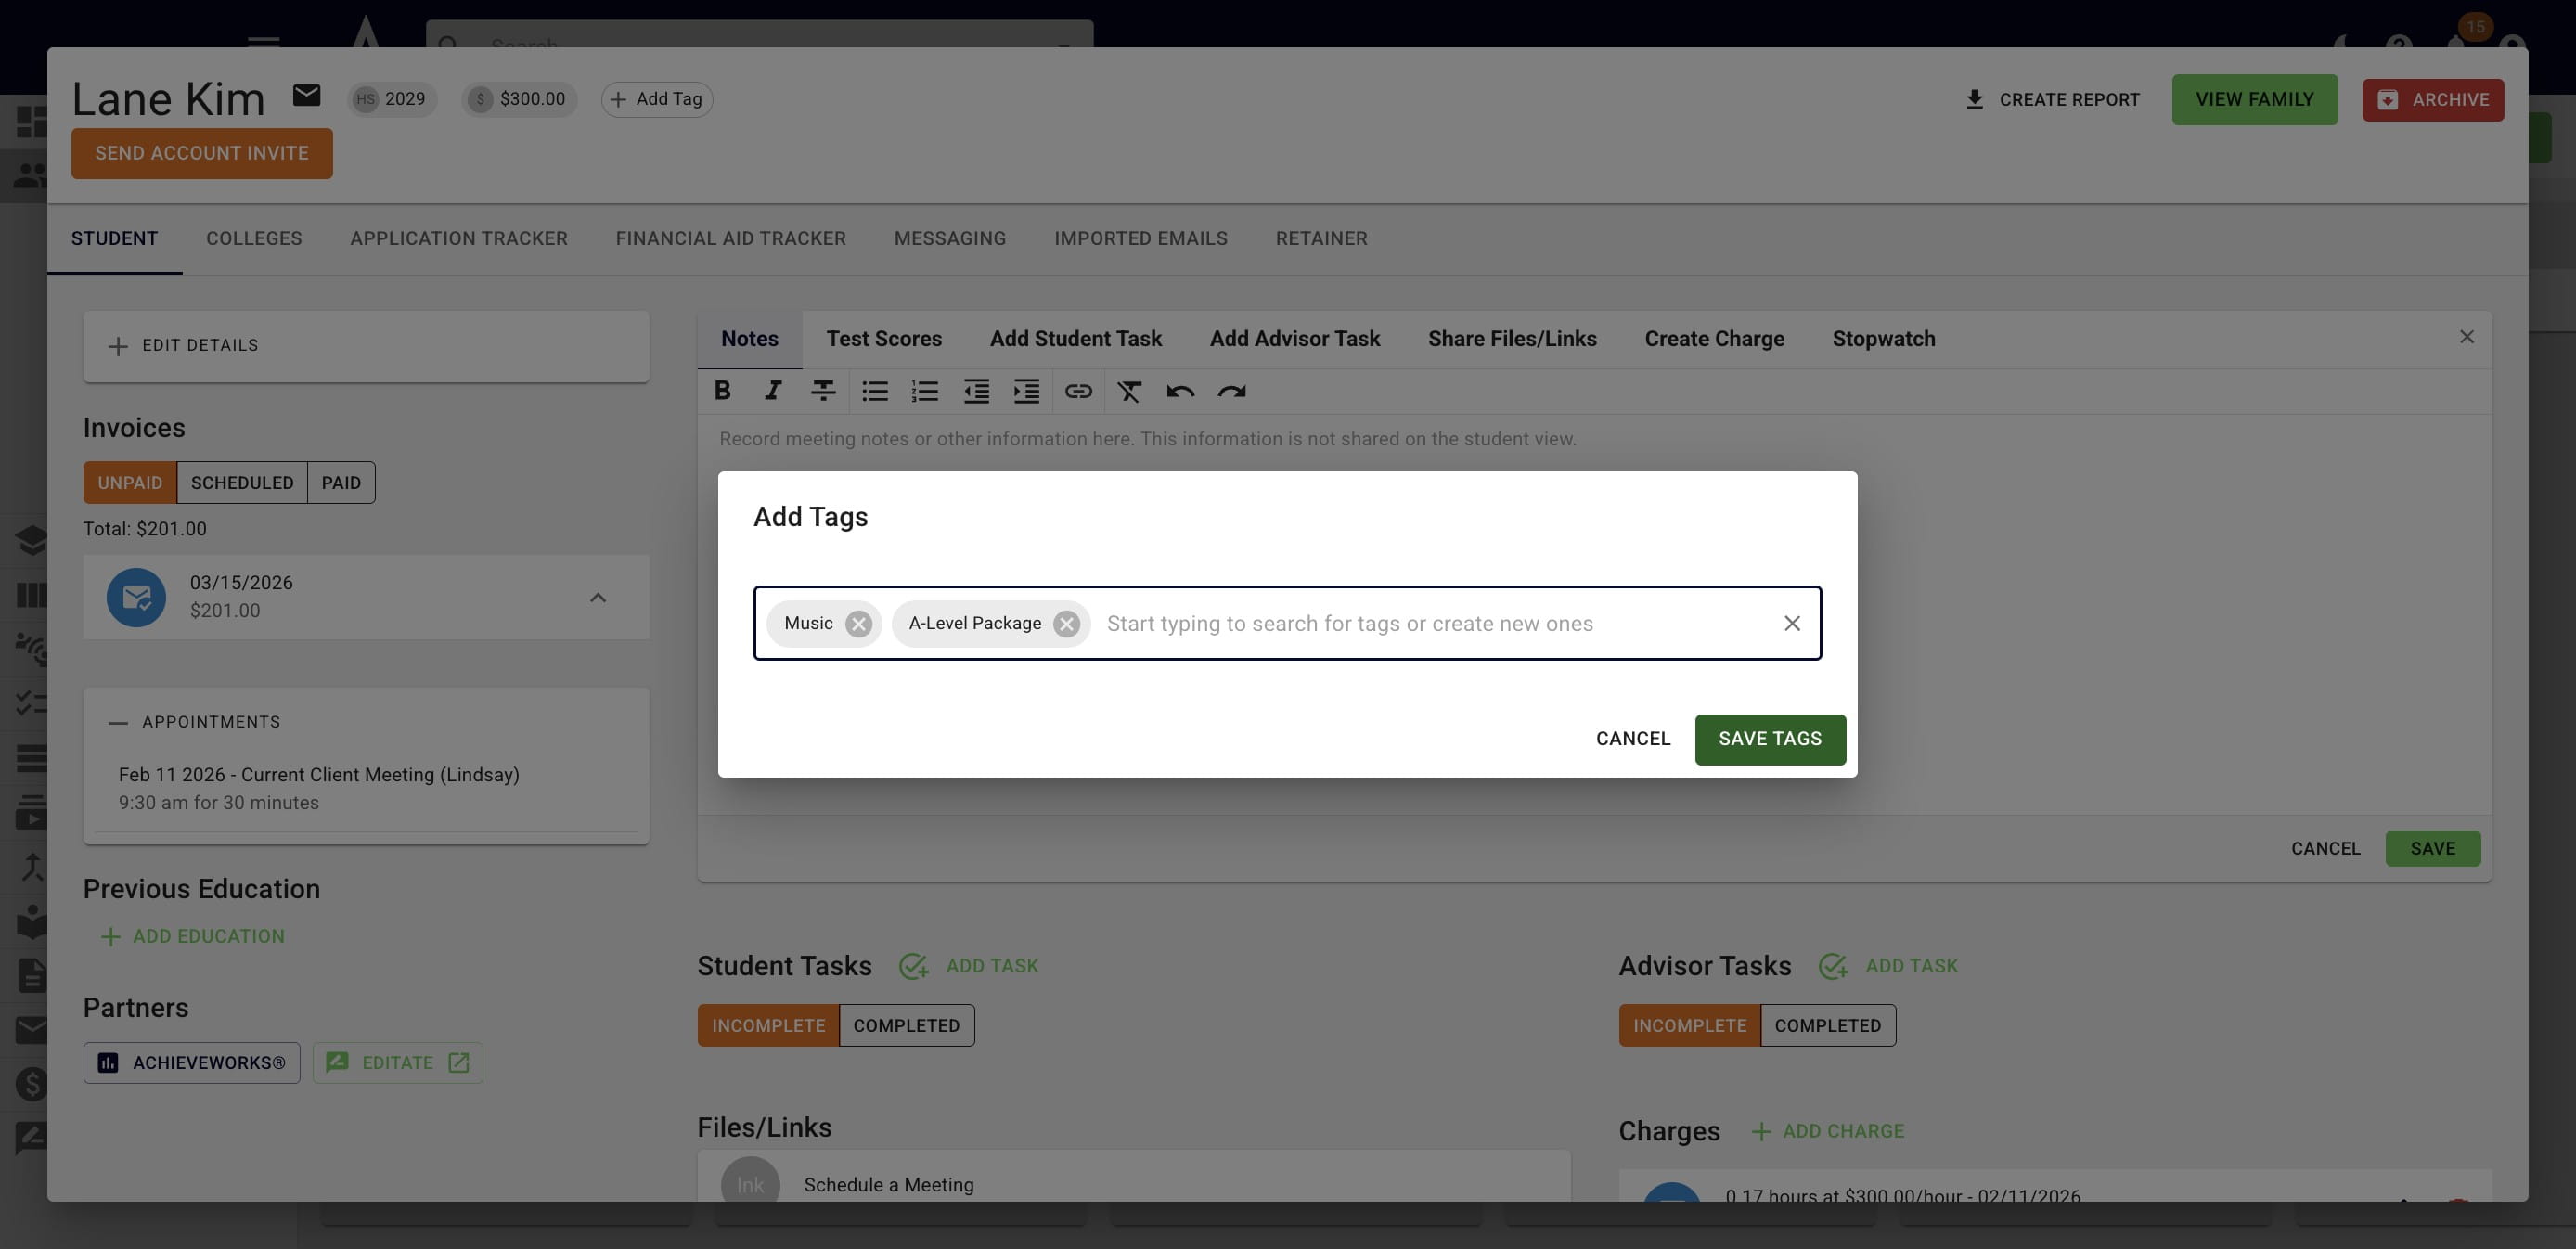
Click into the text box and start typing. A drop down will appear that allows you to choose from pre-existing tags.
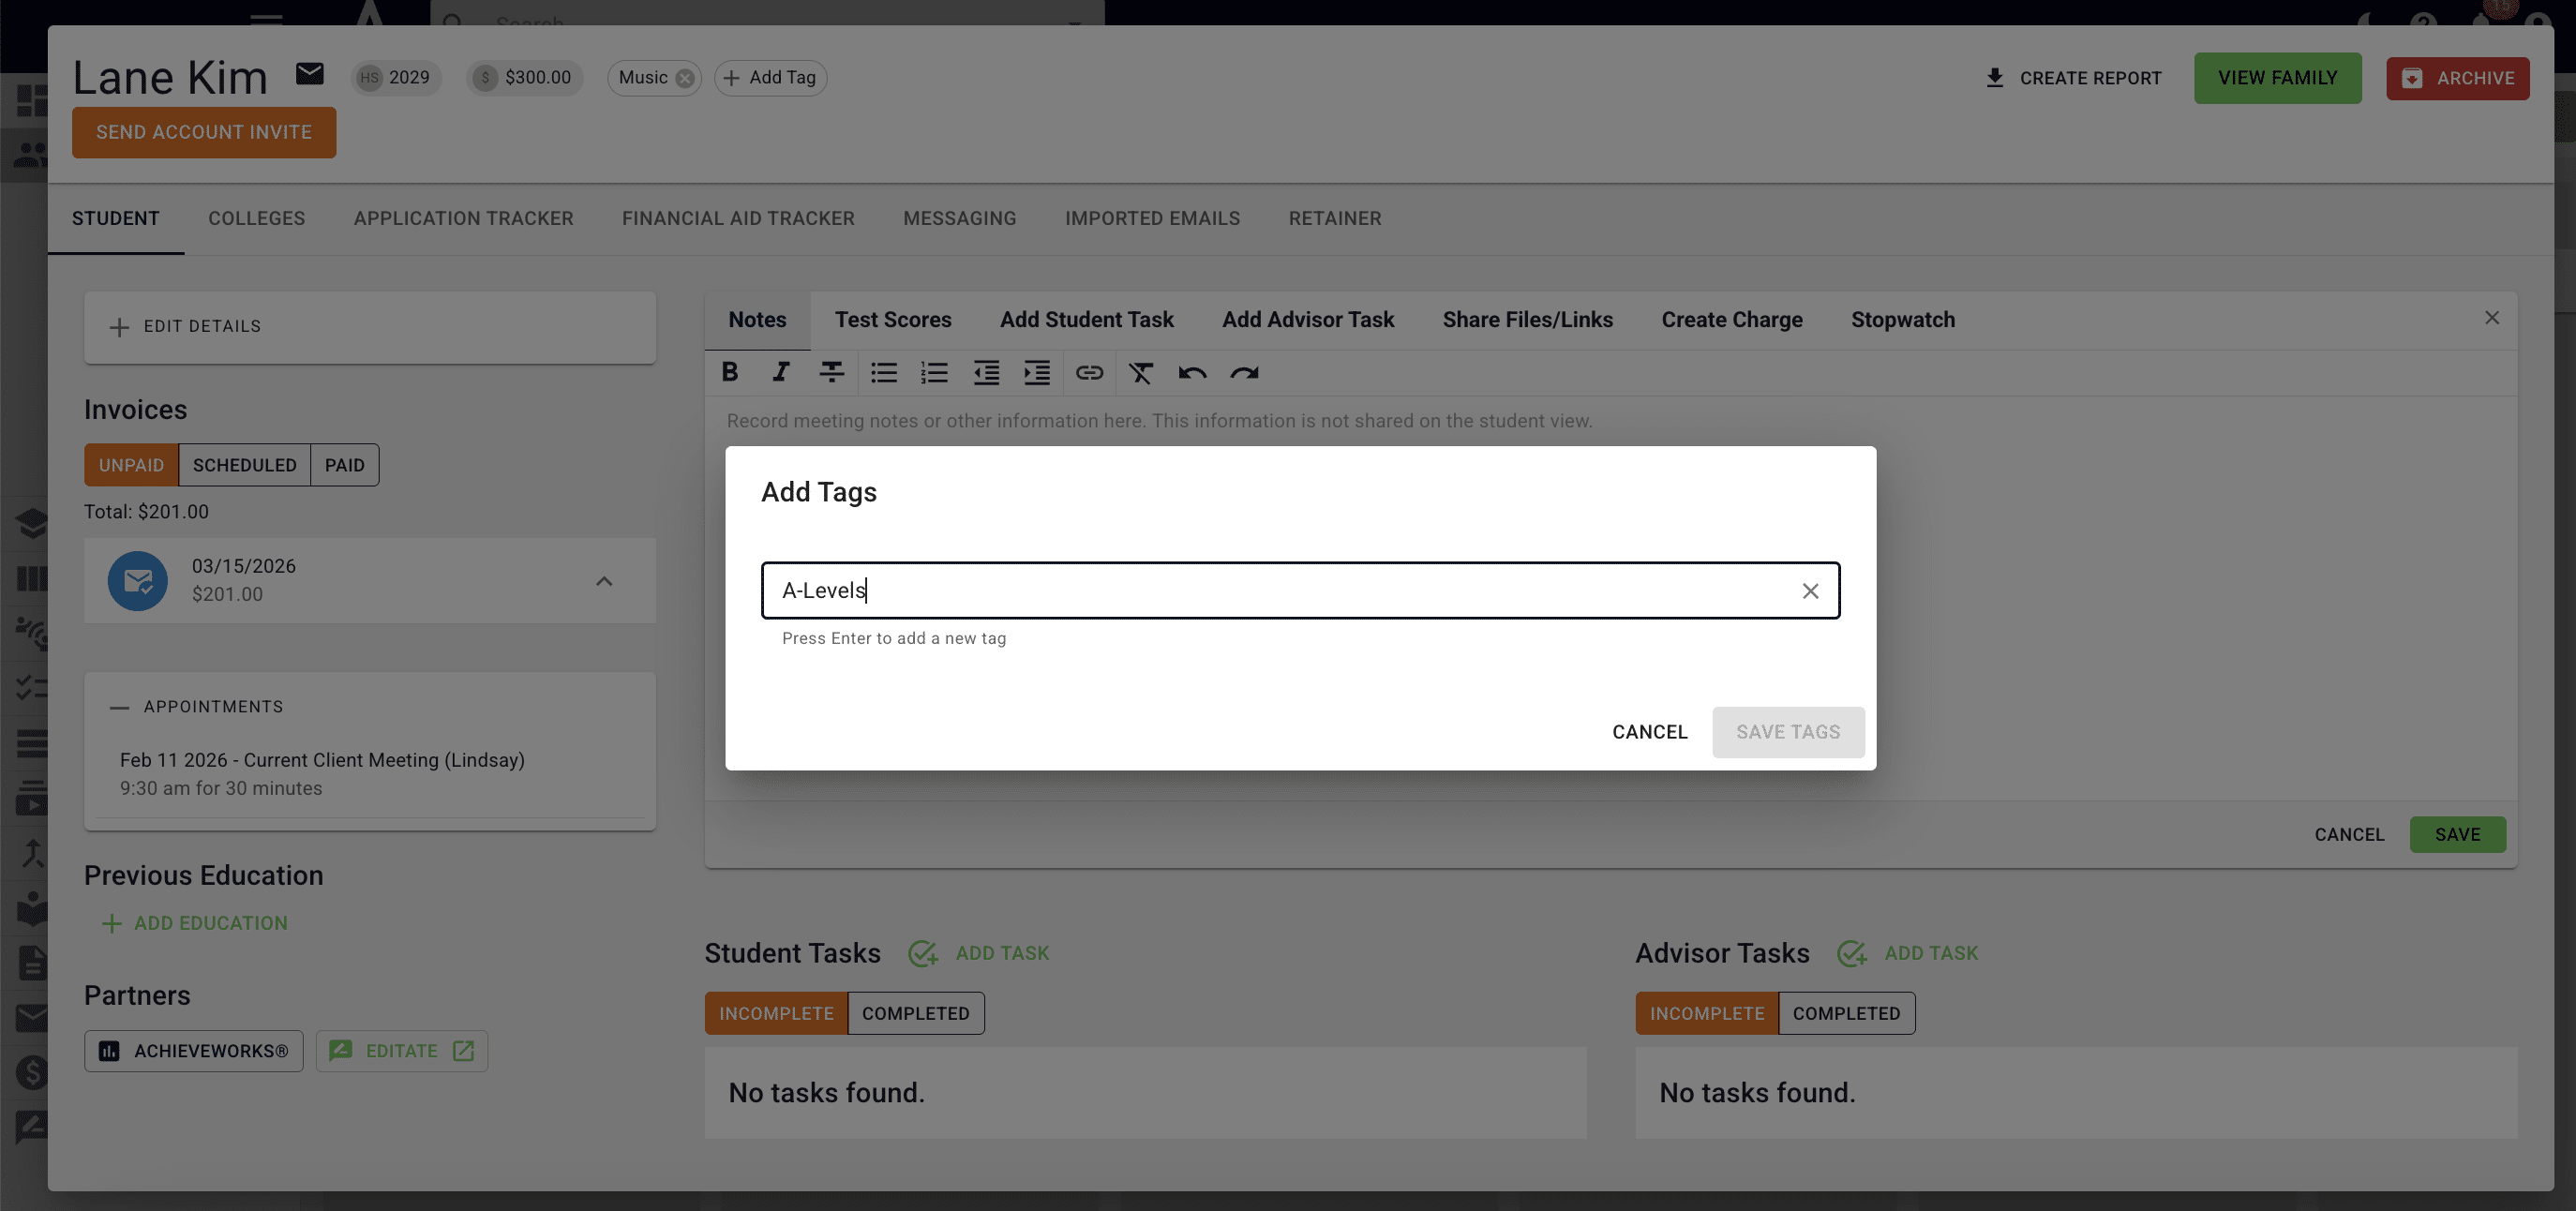
If you're creating a new tag, press Enter on your keyboard once you finish typing the tag's name.
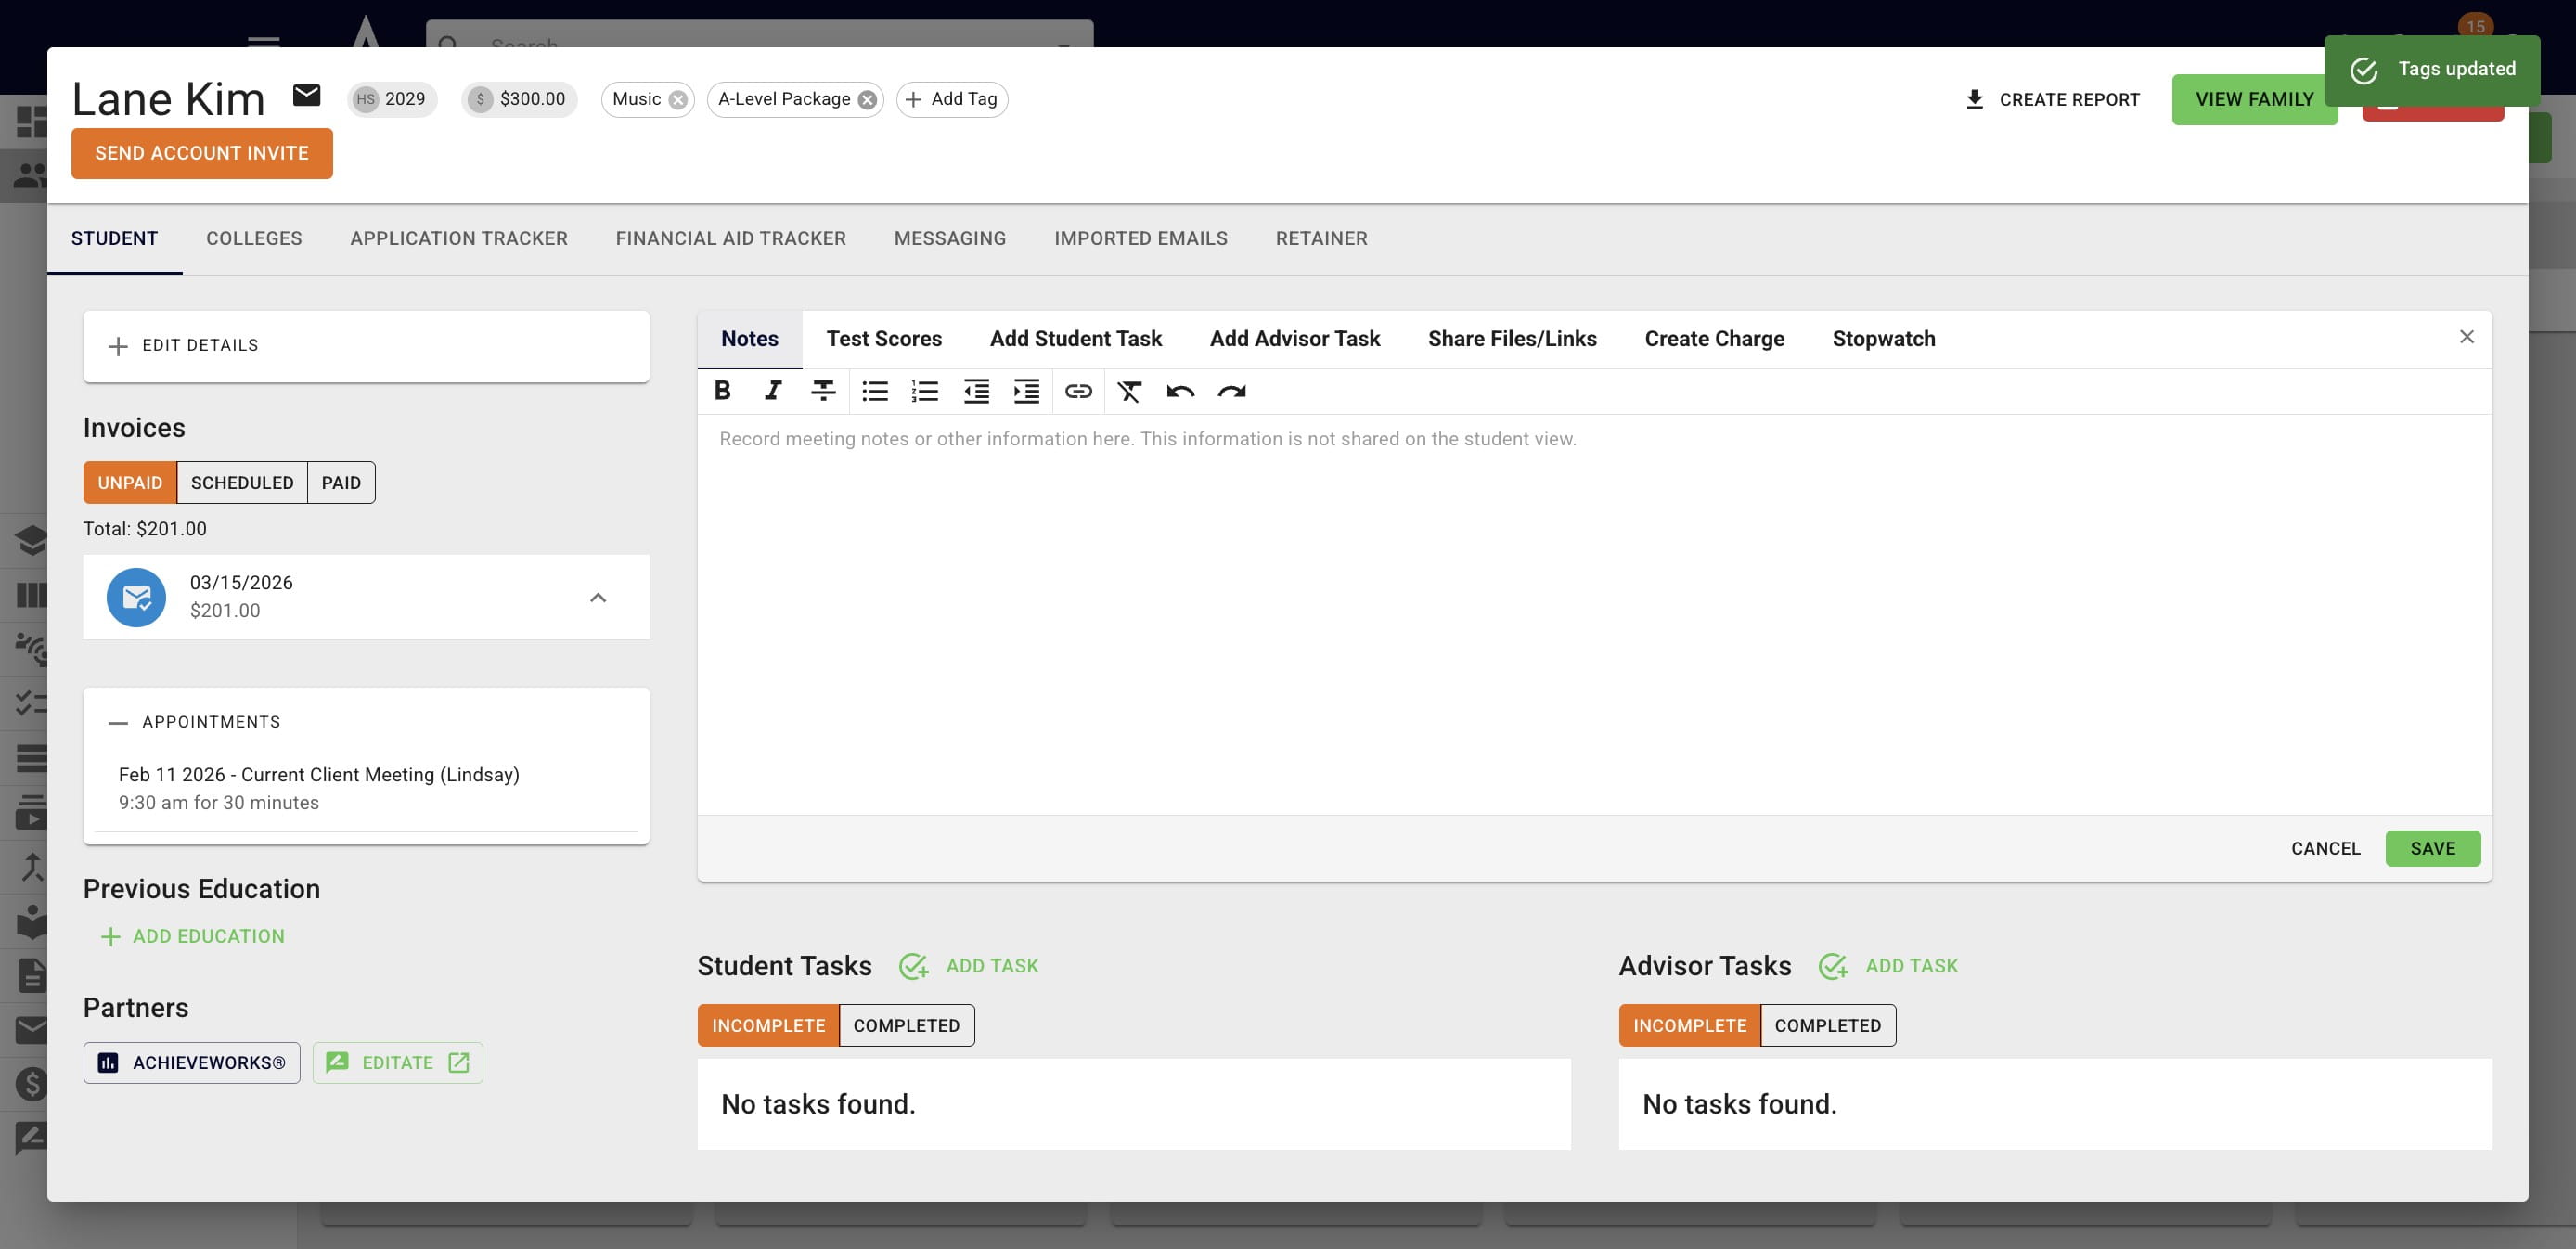
Once you've added all the applicable tags, press Save Tags.
To remove a tag from a student's profile, click on the X to the right of the tag's name.
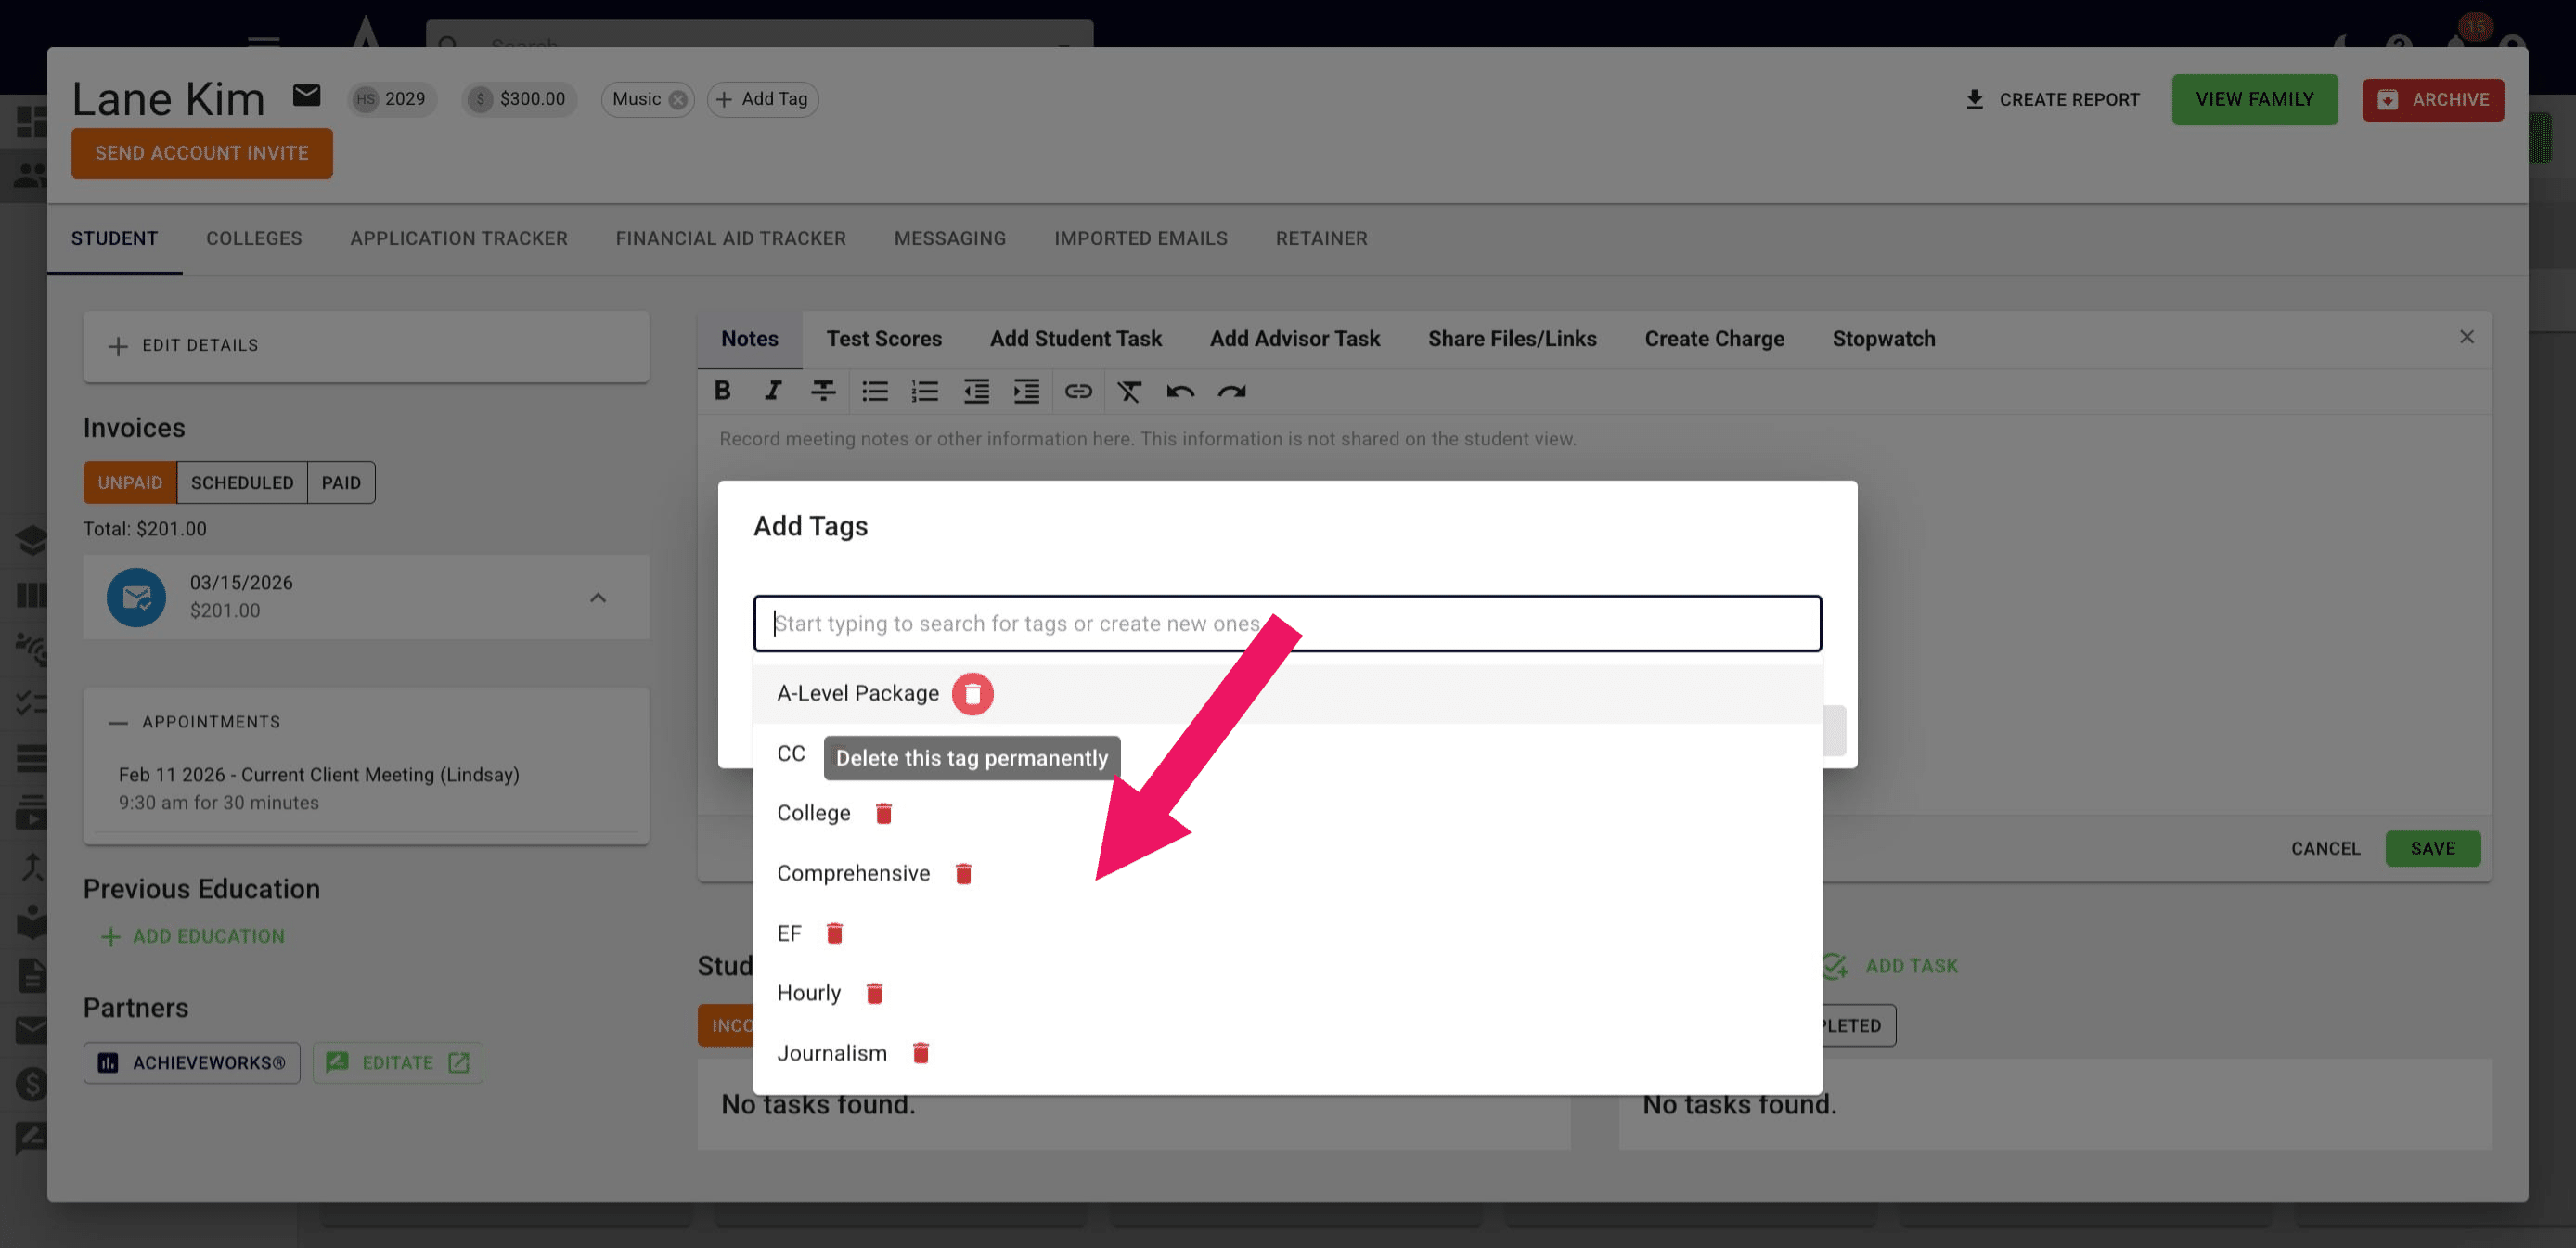
To permanently delete a tag from all student profiles, click on the the red trash icon to the right of the tag in the drop down.
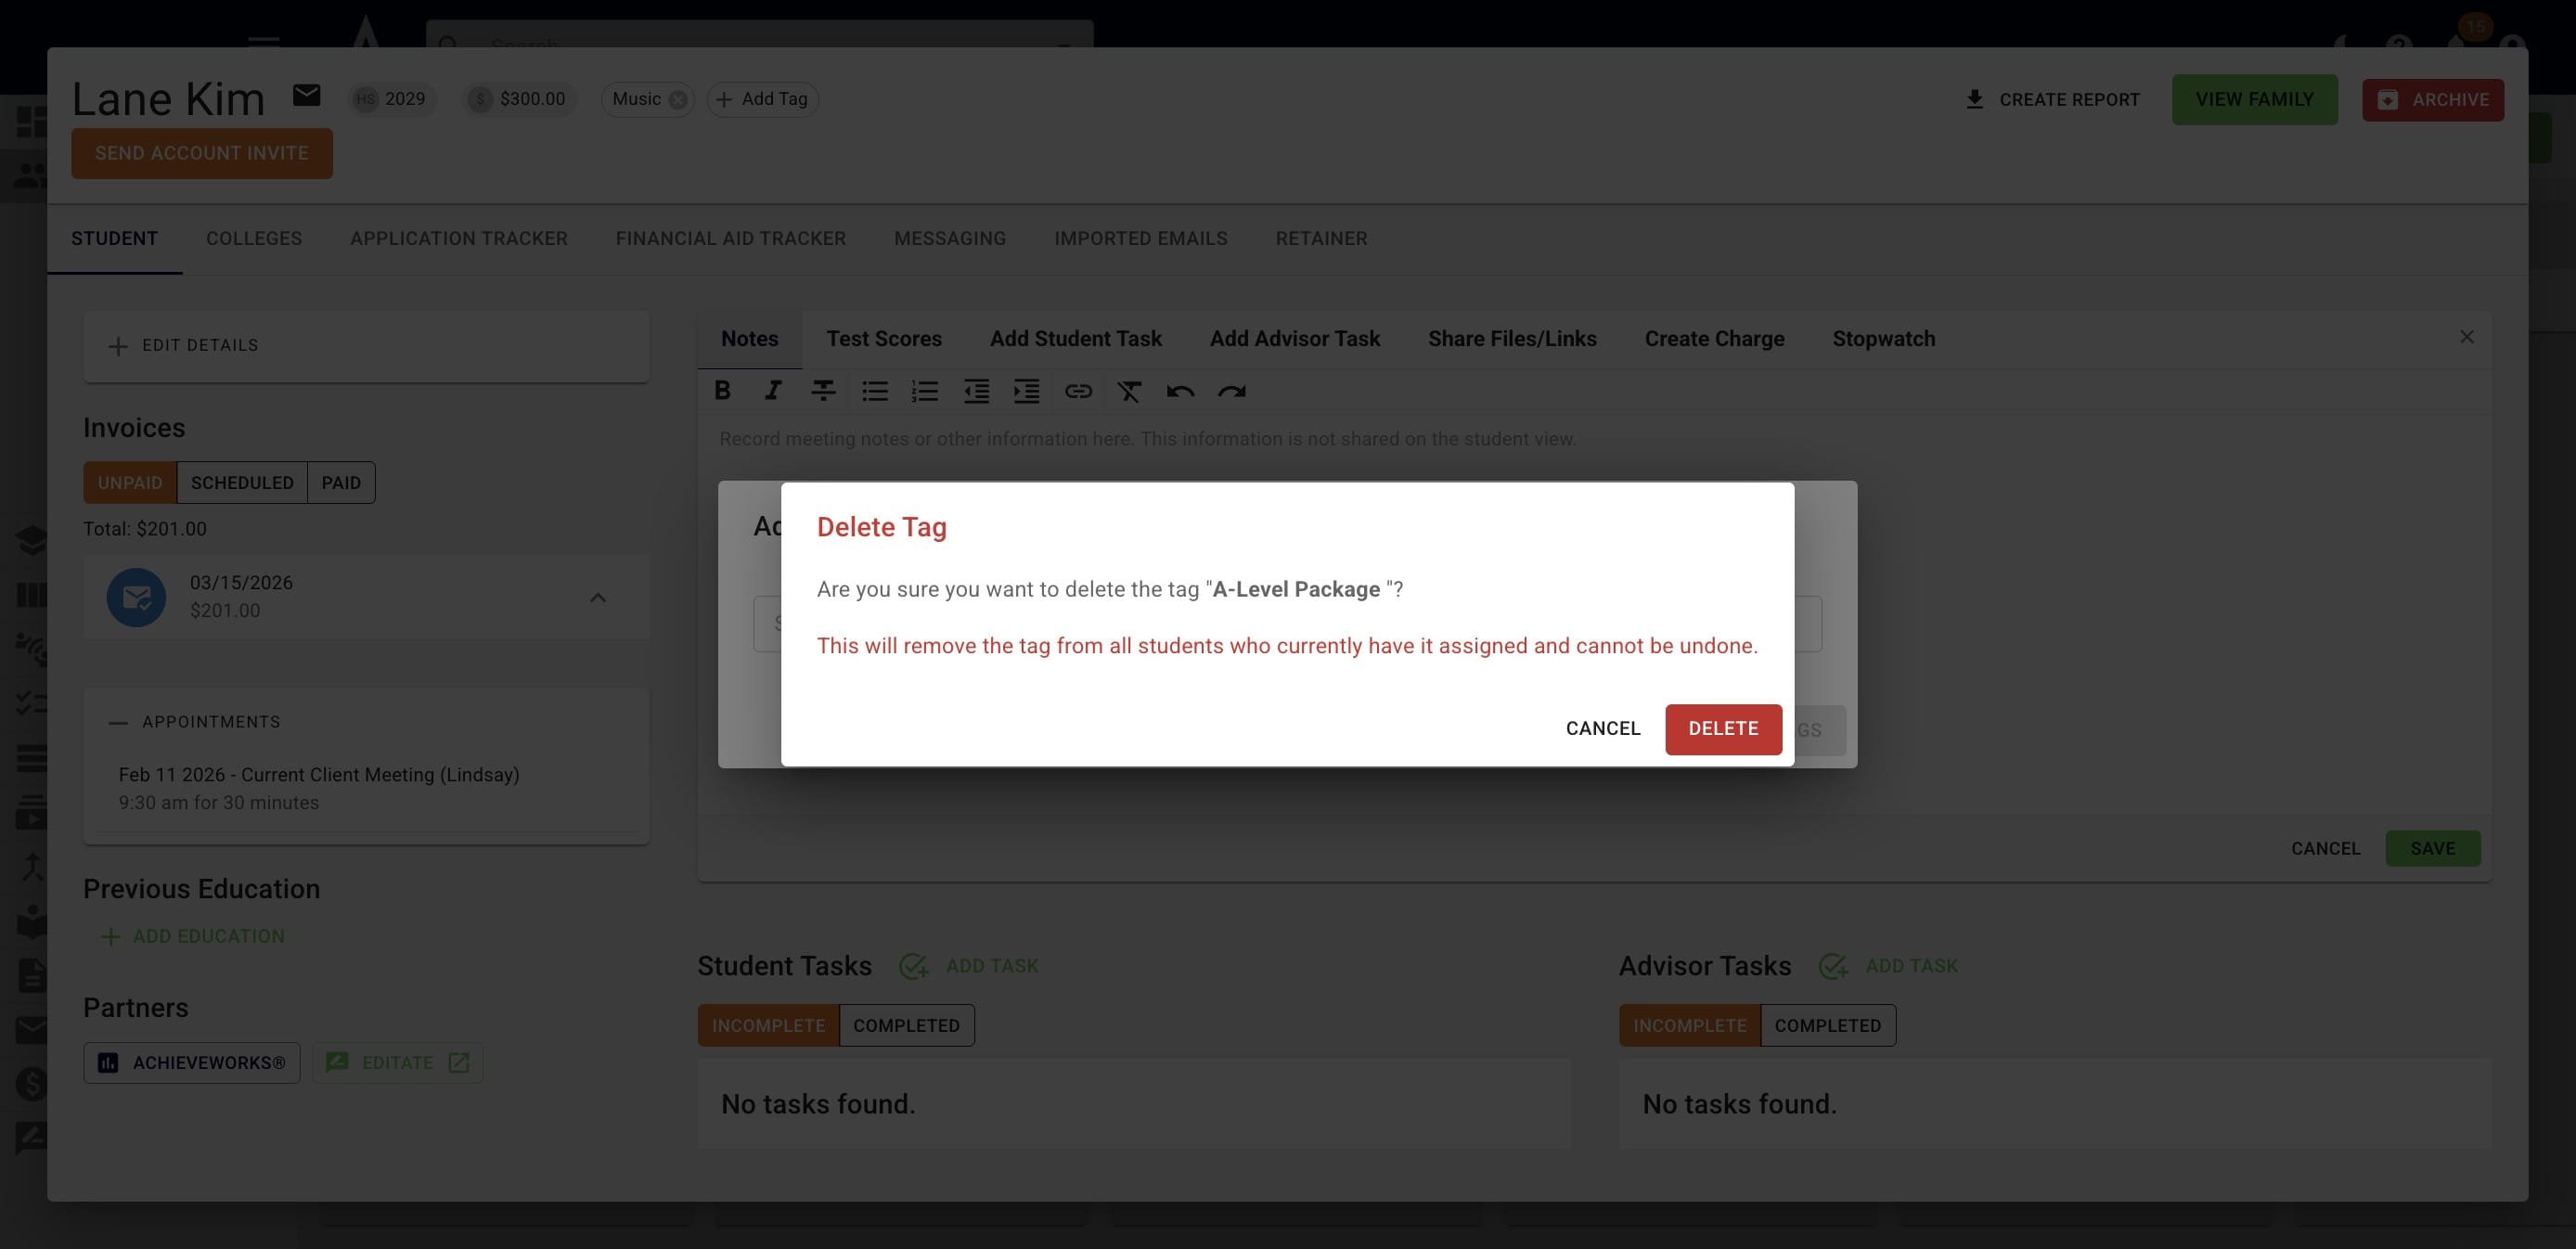
Click on Delete to finalize your decision.
Done 🚀