
Student Status Trackers
An overview of student status trackers that provides an alphabetical view of students within each student status and offers fully customizable columns.
Navigate to https://app.achieveiec.com/
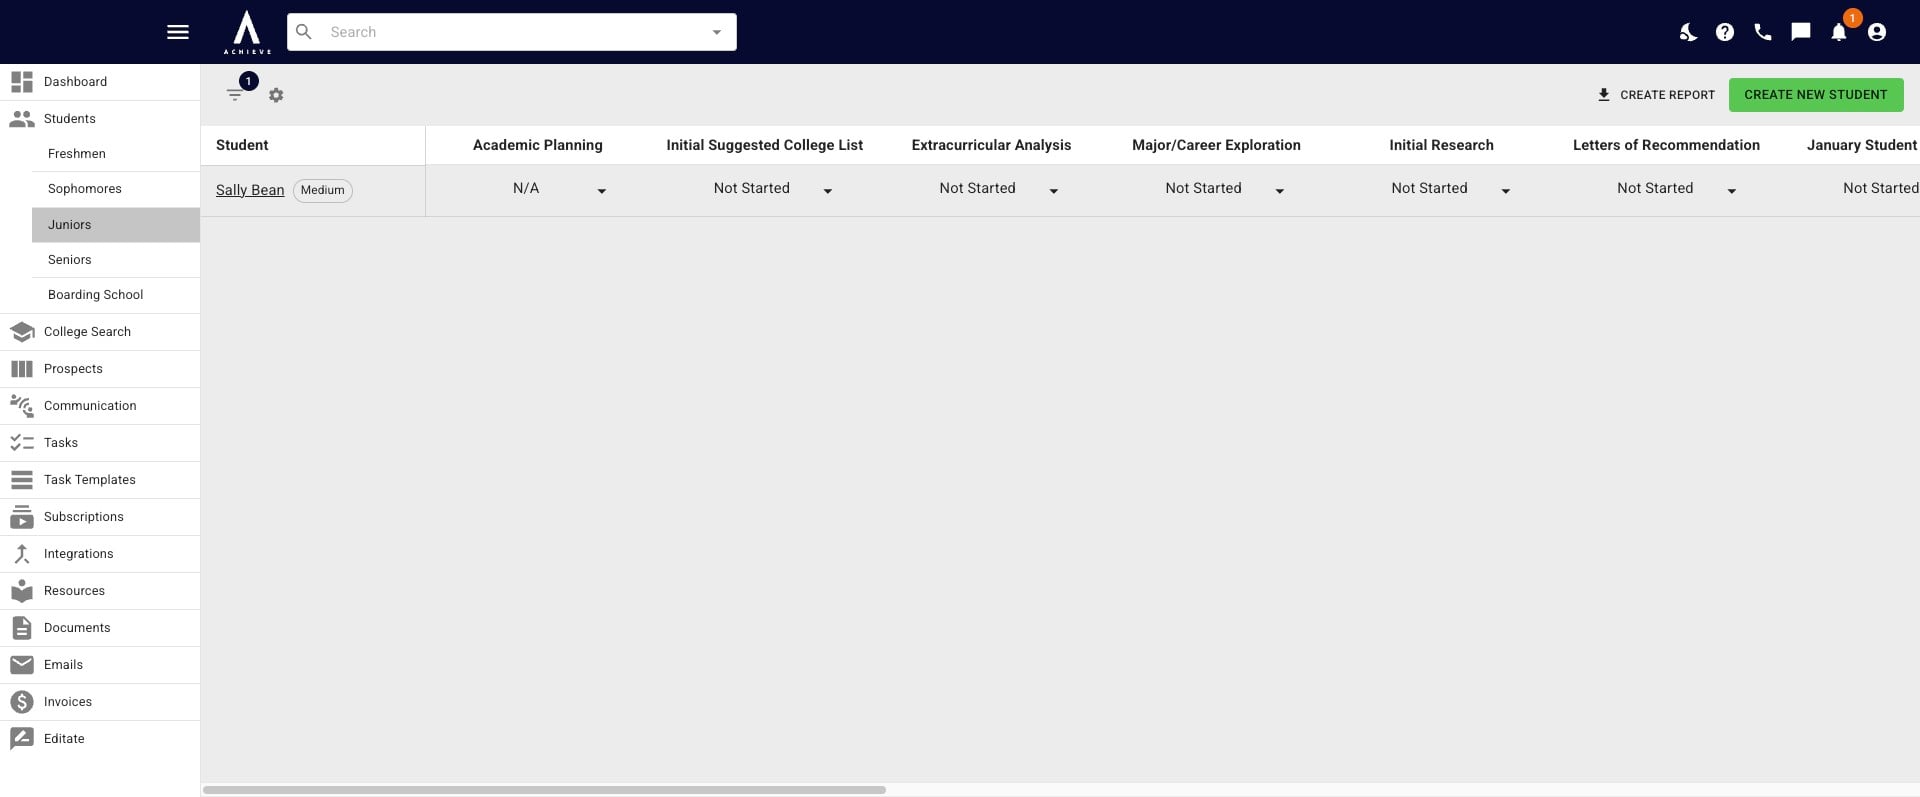
Student Status Trackers can be found under the Student Pipeline section on the left-hand side of your Achieve account. By default, trackers for Freshmen through Seniors will show. However, if other student status(es), like Grad School or Transfer are added you'll see those there, too. You can learn more about adding additional statuses here.
](https://assets.guidejar.com/uploads/a02ced98-84cb-46f5-b0fc-450d04e41373/pCjSrW6u3CRcEKYWdNFi0r5jIXy2/295fc09f-b45b-4a00-ab9c-19adac3c9880/1778012553010.jpeg)
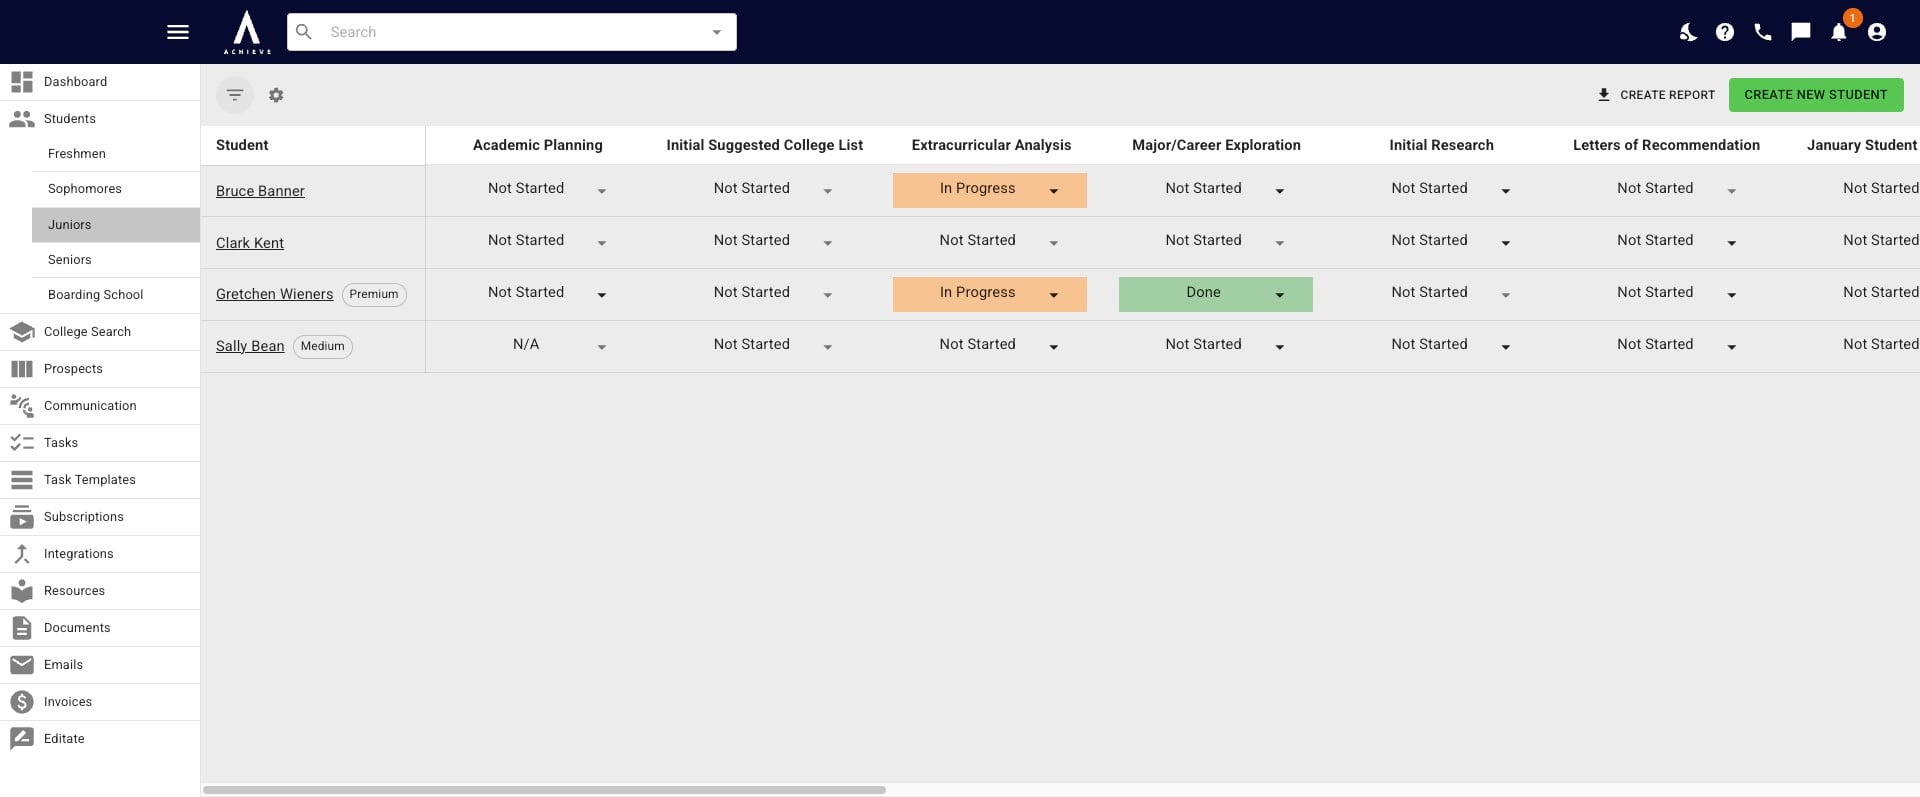
When you open a tracker, you'll see all your students in that status category organized alphabetically by first name.
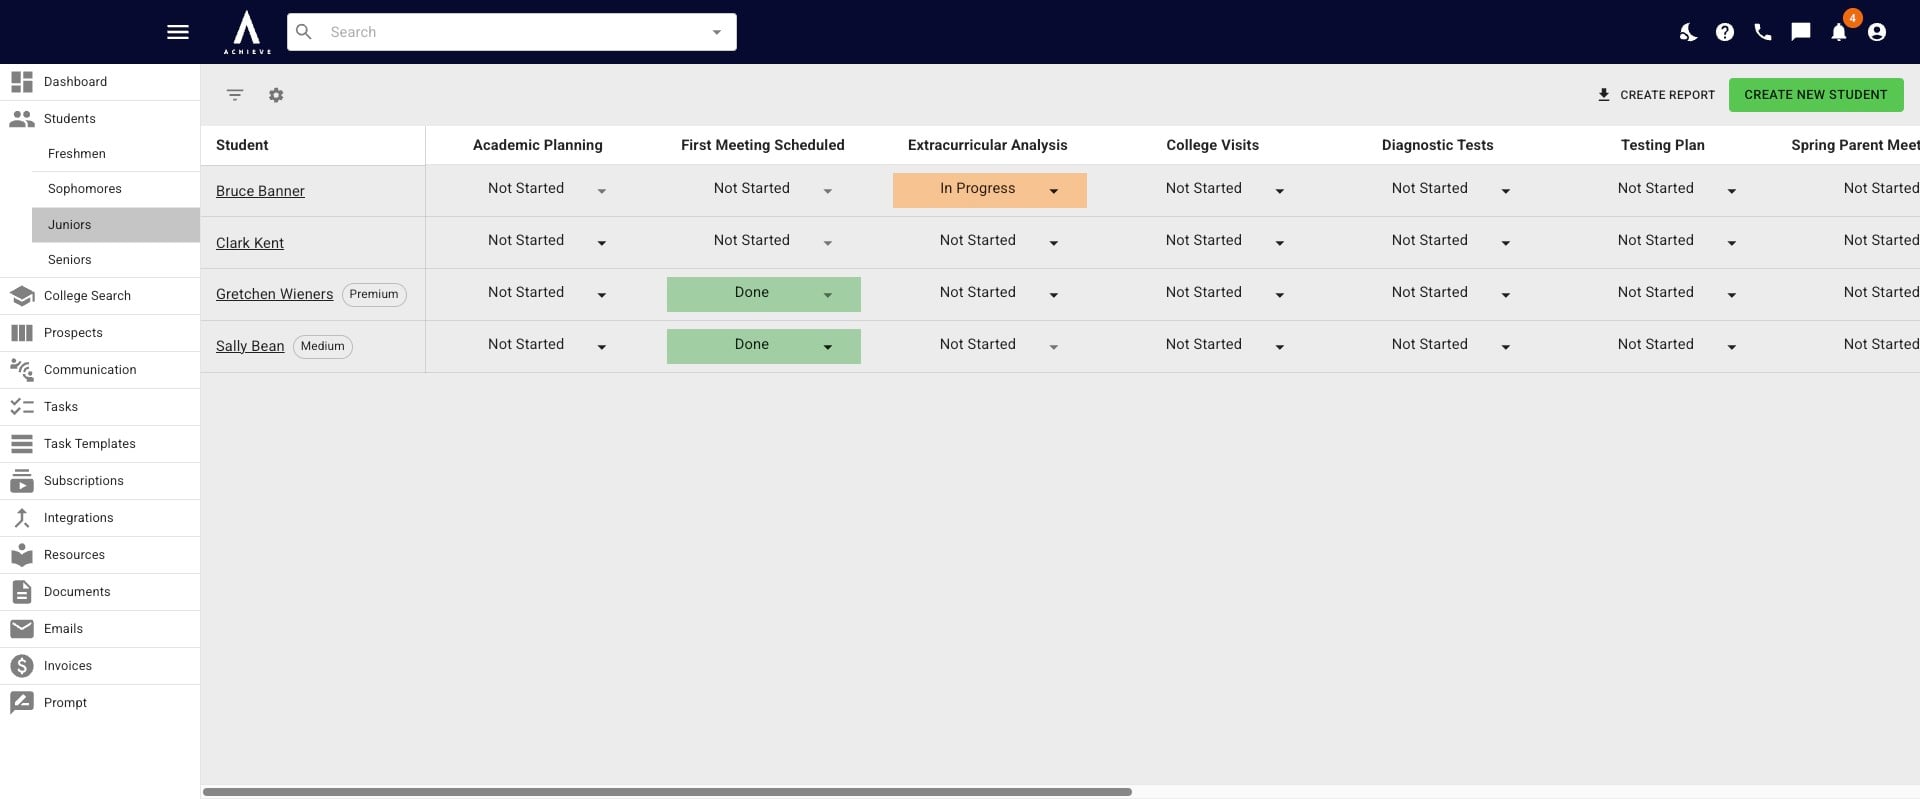
All trackers automatically come with default columns that are relevant to that status. However, you can customize these columns by pressing the Gear icon.
From the drop down, you can choose exactly which, if any, default columns you want to appear.
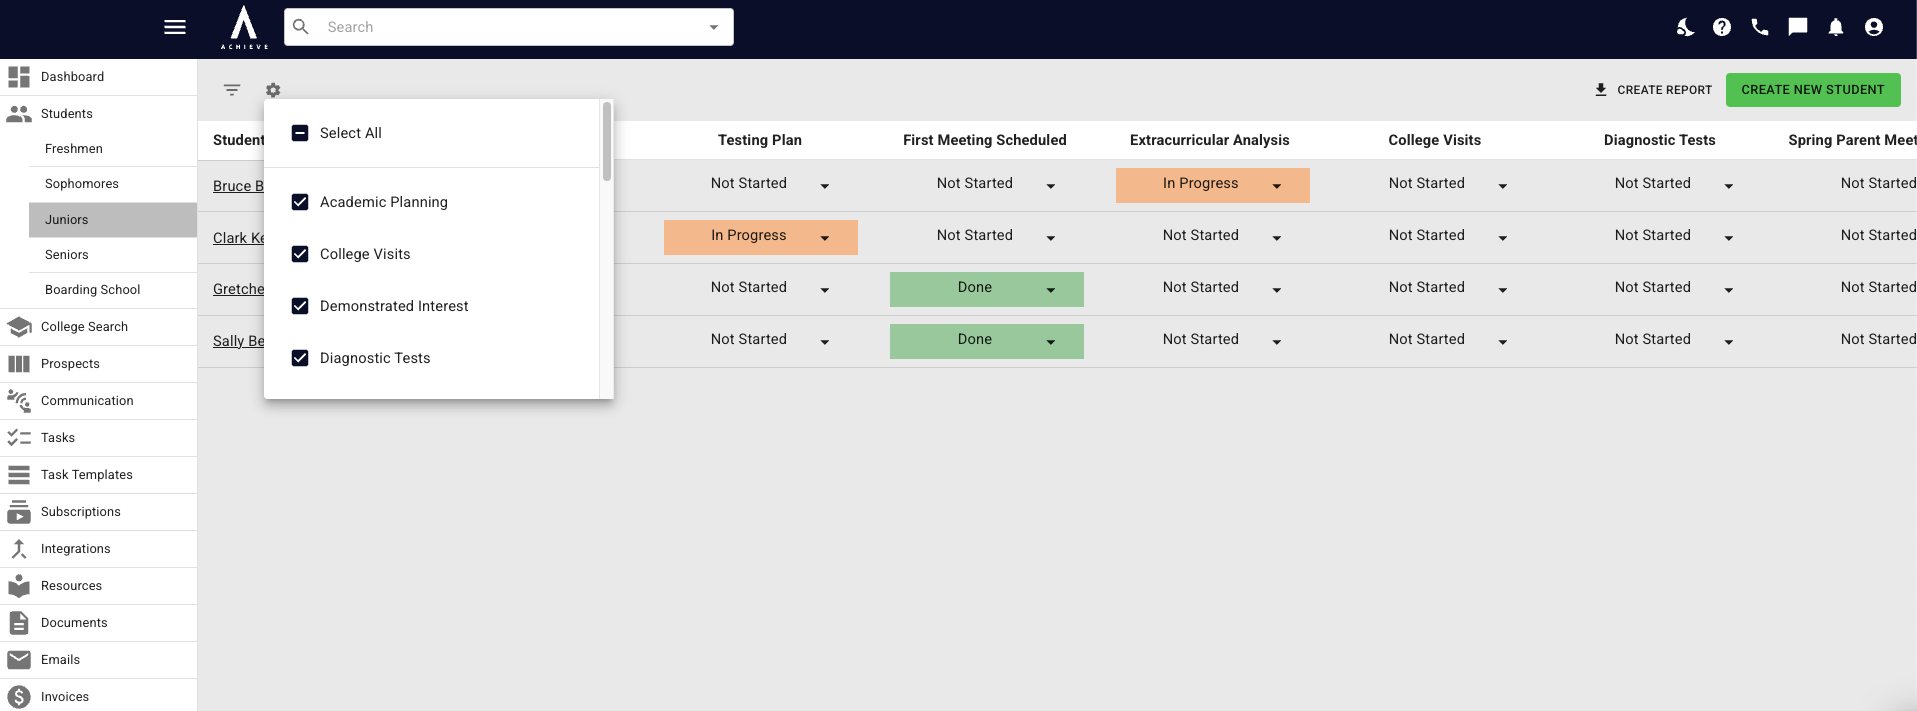
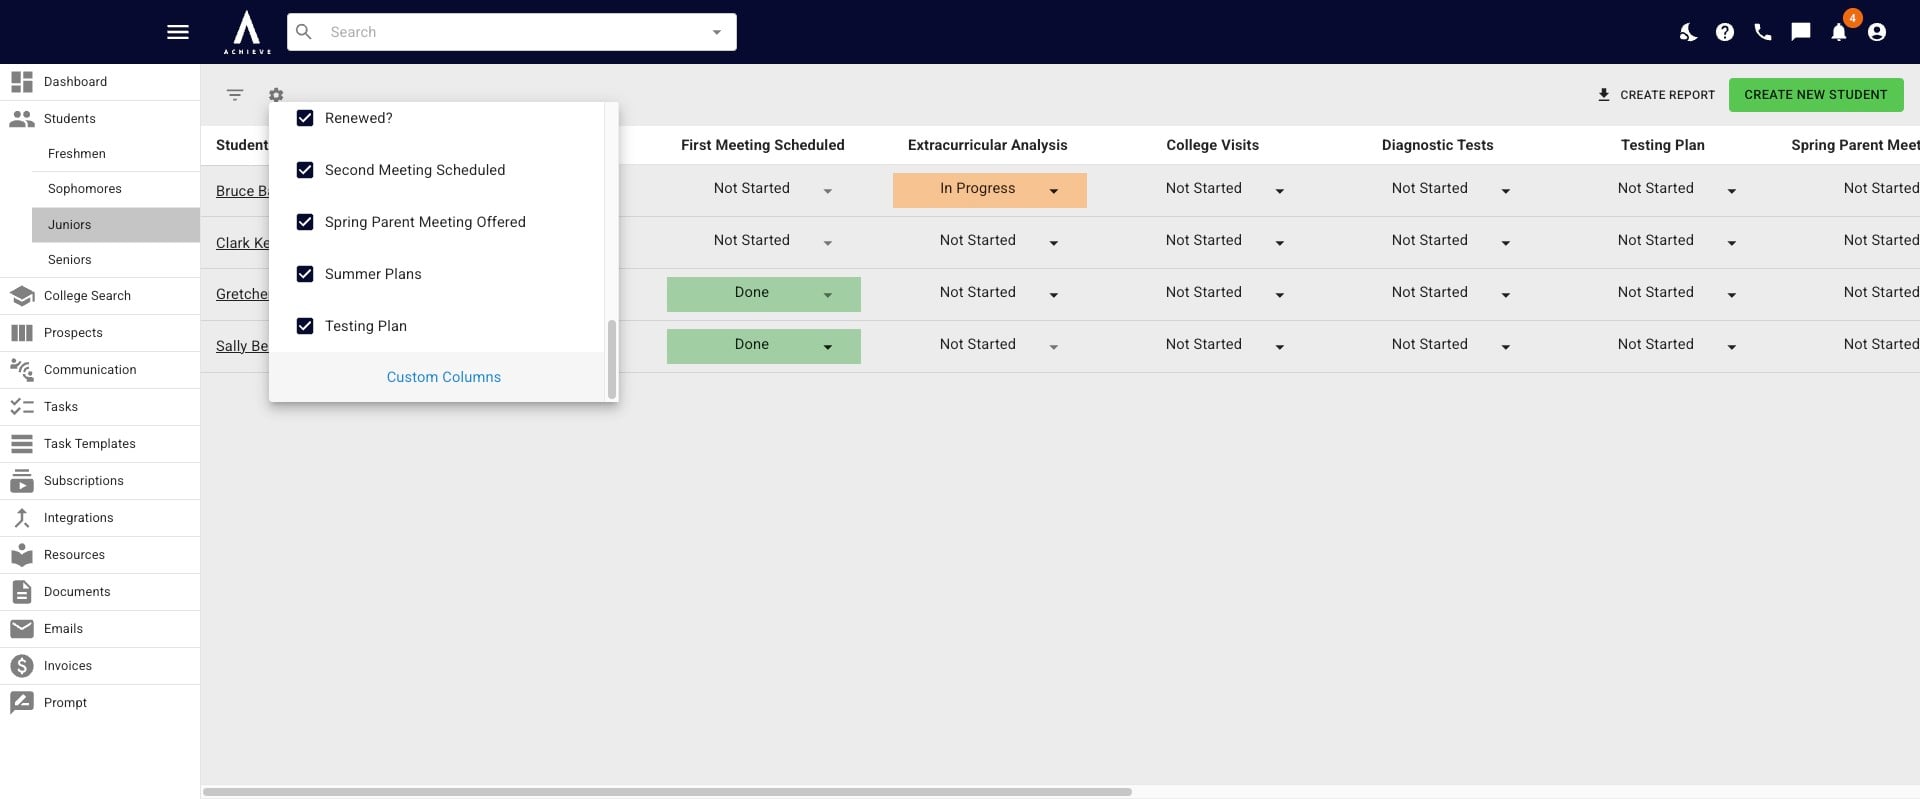
If you scroll to the bottom of the drop-down list, you will see the Custom Columns option. Once you click that, a pop up will appear.
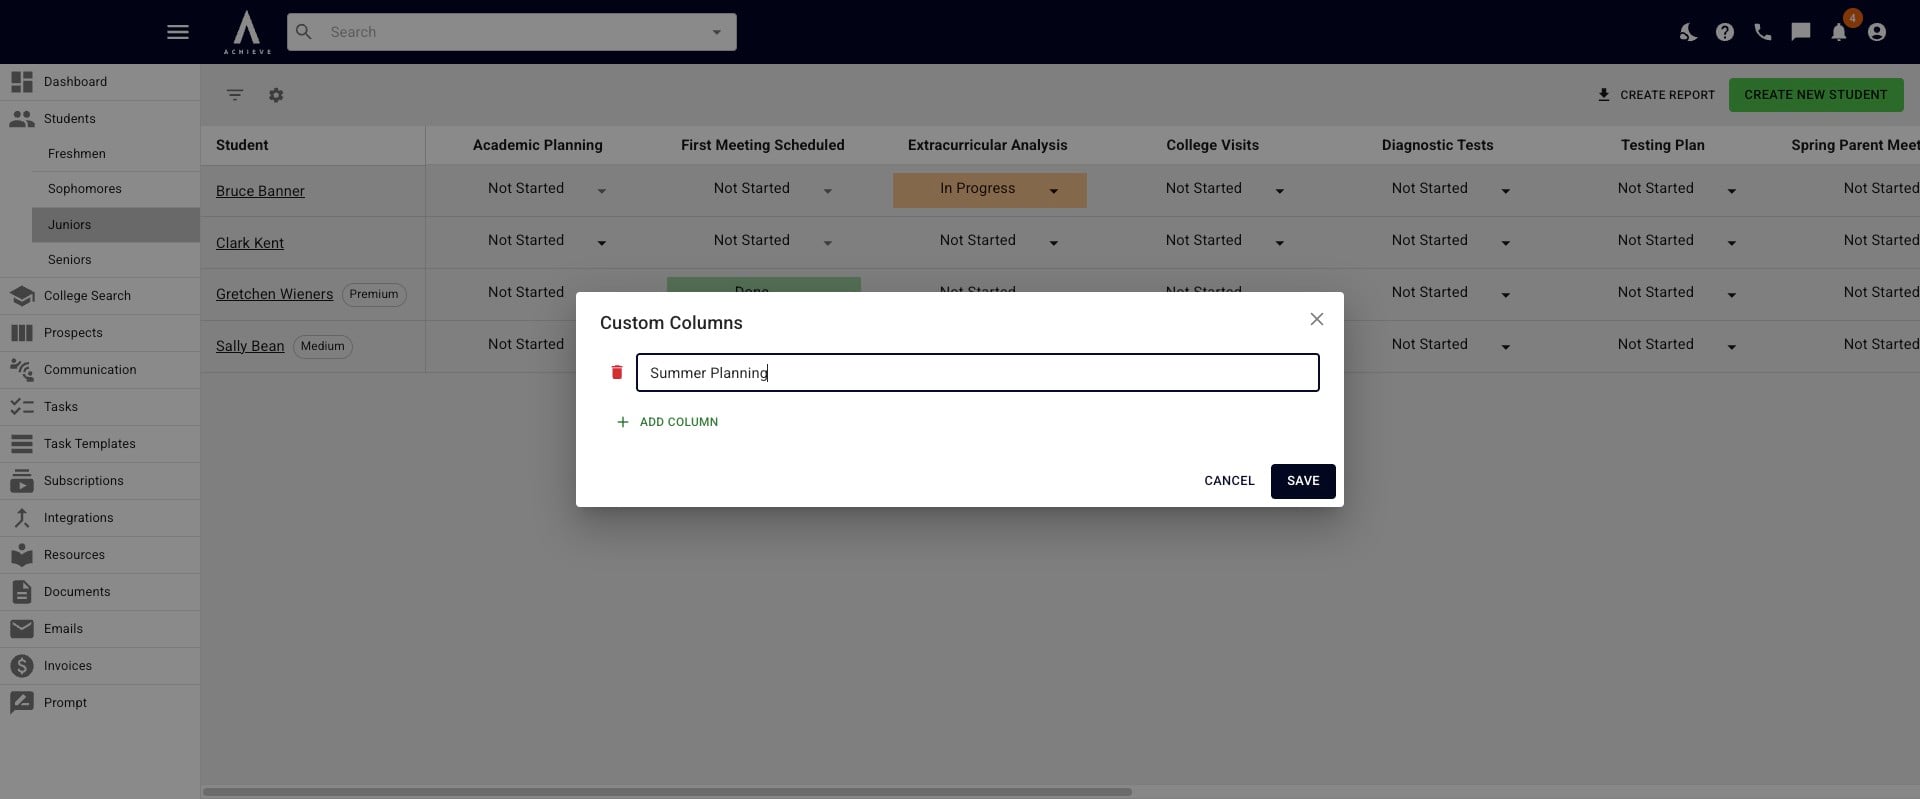
Click on Add Column, type the name of your new column, and then click Save.
You can customize the order of your columns by dragging and dropping them in to the order you prefer.
When you click on a cell, a drop down menu will appear. While you can always manually update these trackers, we have some pre-set automations, which you can see here.
.](https://assets.guidejar.com/uploads/a02ced98-84cb-46f5-b0fc-450d04e41373/YUz4bmbSoodPxUaEVwf4IJQD9uo1/8033c9eb-e504-41df-a4b1-4994a592db41/1777161952536.jpeg)
We can also customize these automations to align with your custom tasks and/or columns. Please speak with your dedicated CSM for more information.
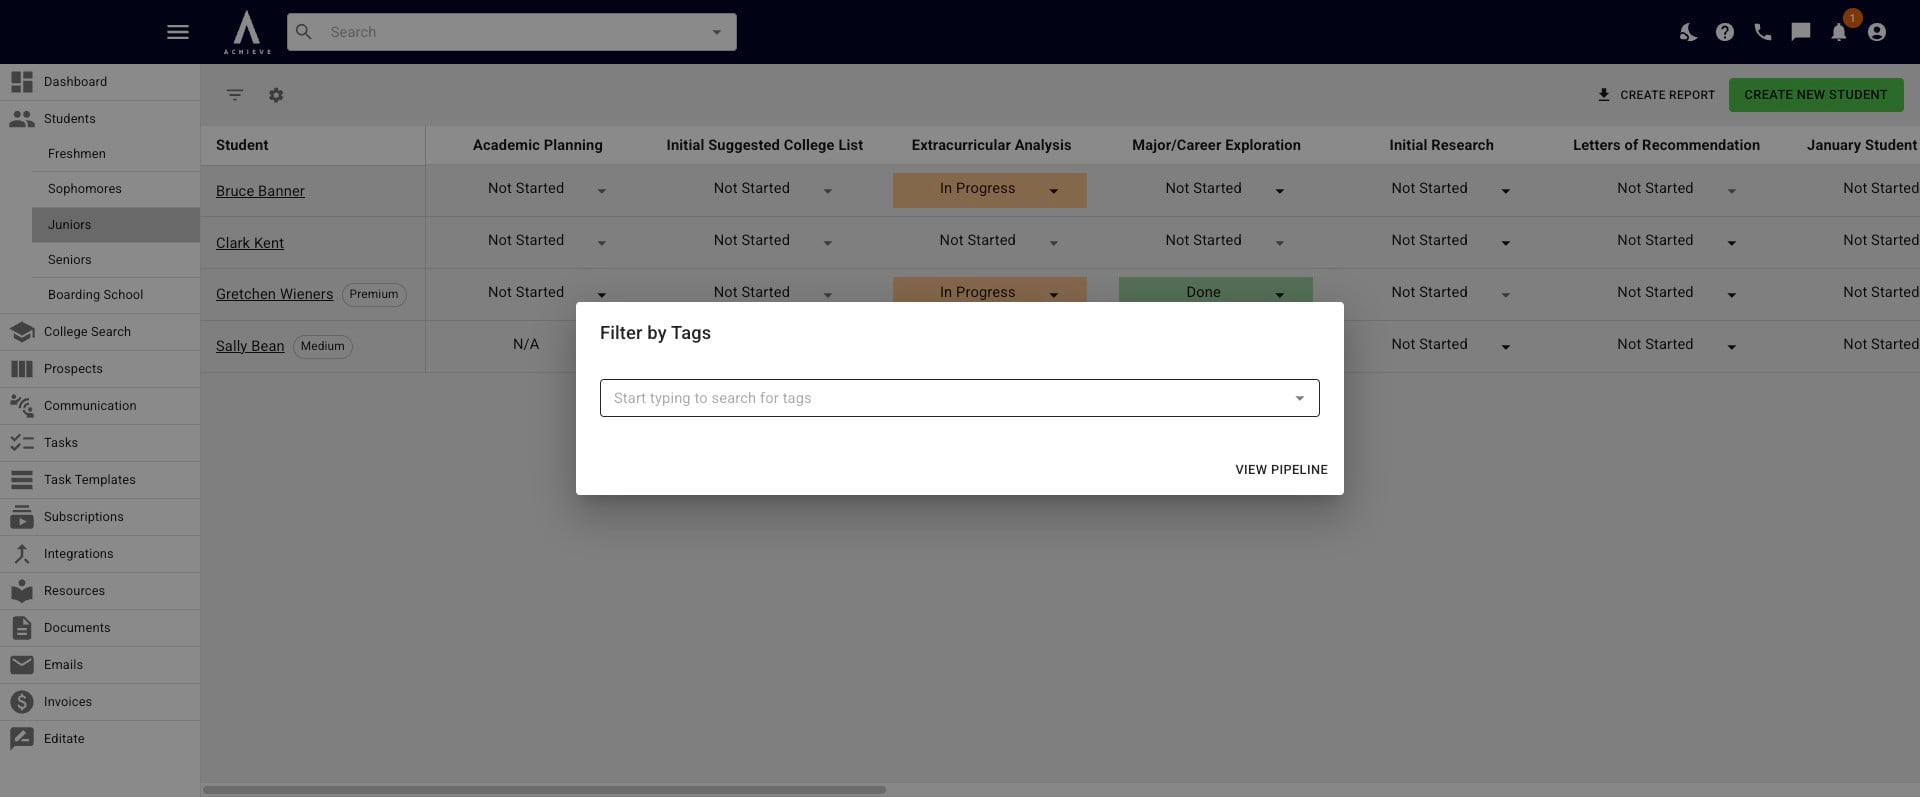
To filter a tracker by tag(s), click on the Filter icon.
Start typing to choose which tag(s) you want to filter by.
Click on the X to remove the tag
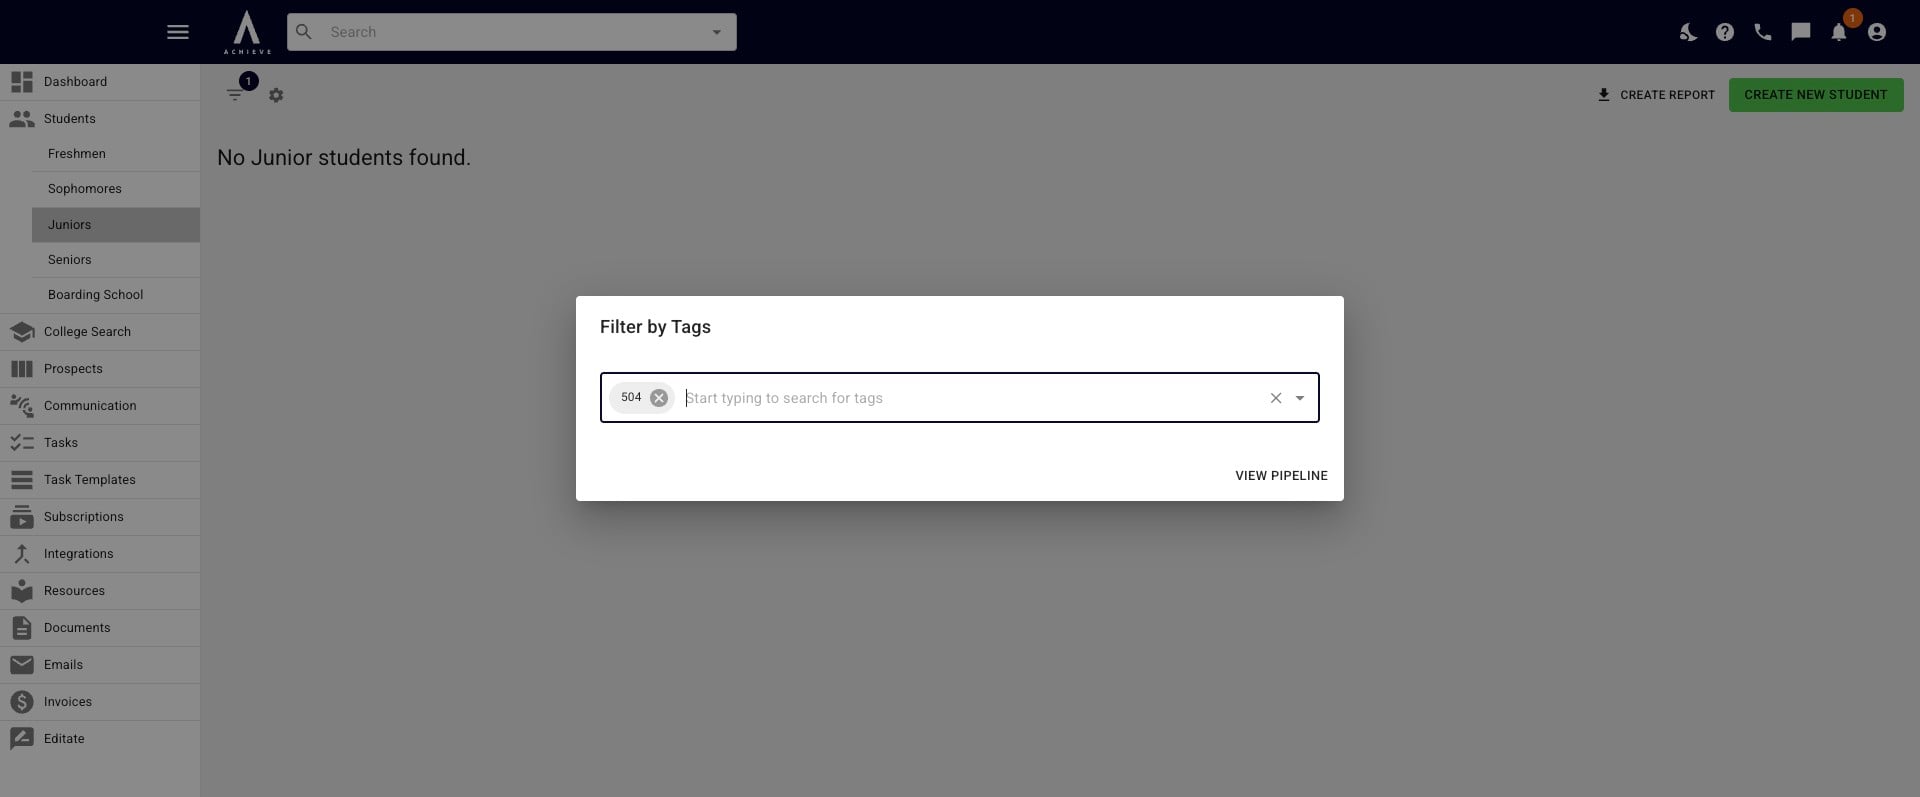
Once you have added all the applicable tags, click on View Pipeline.
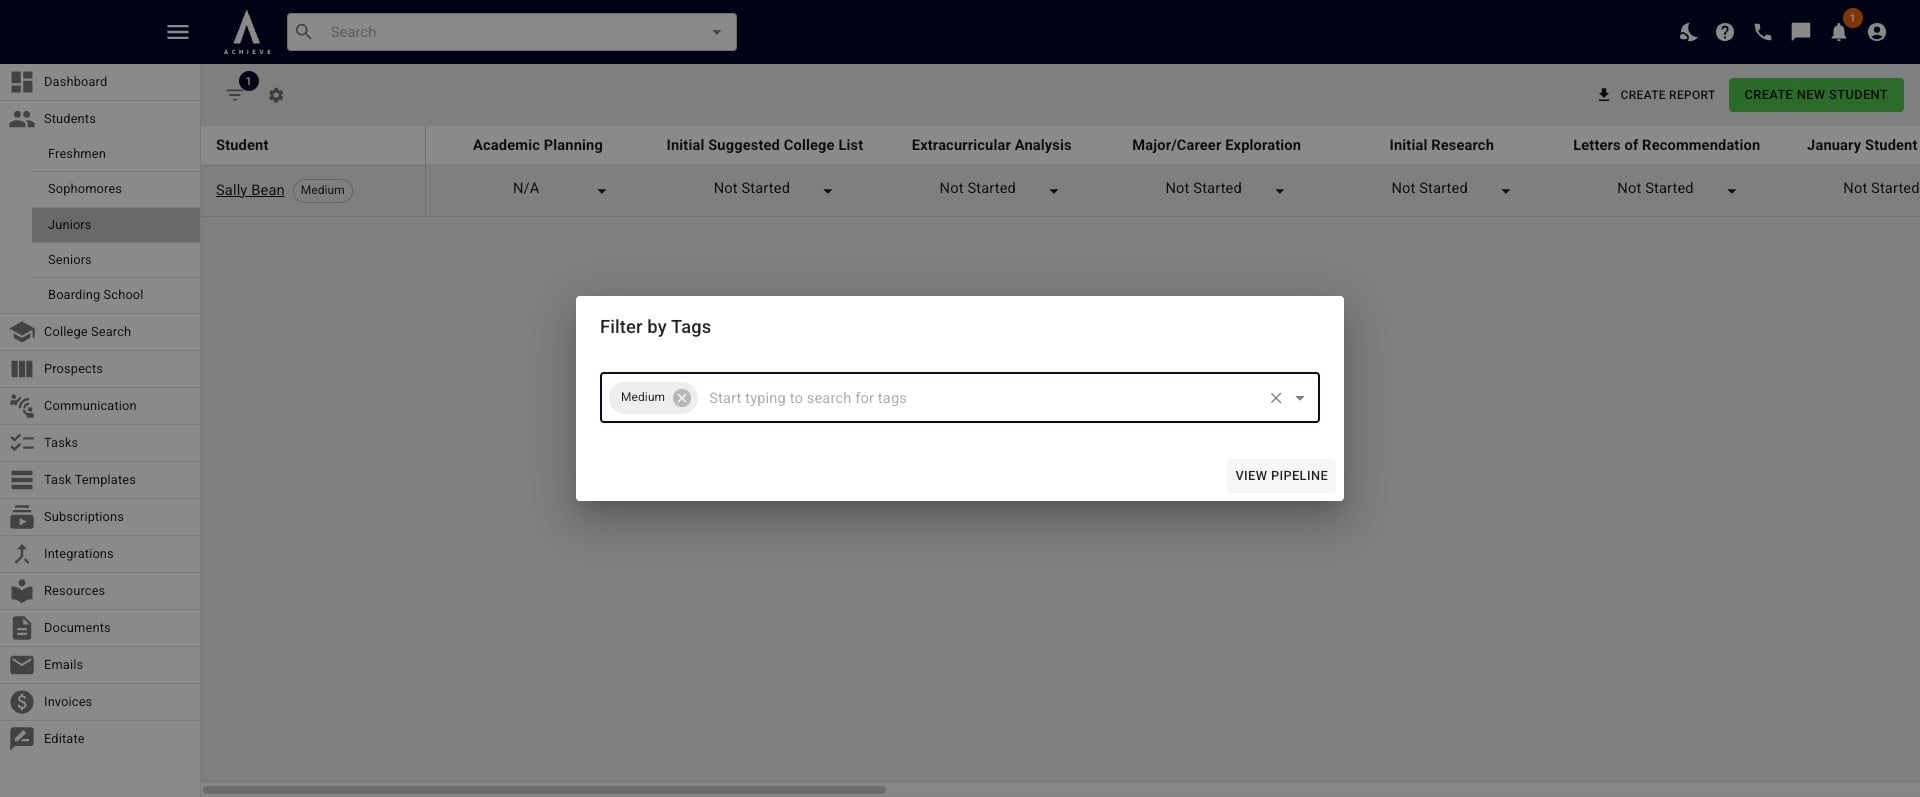
At that point, only you'll only see the student(s) with the applicable tag(s).
Done 🚀