
Uploading New Contracts
This guide covers uploading and configuring a new contract template in Achieve under the Documents section.
Navigate to https://app.achieveiec.com/documents
Click on Create Template.
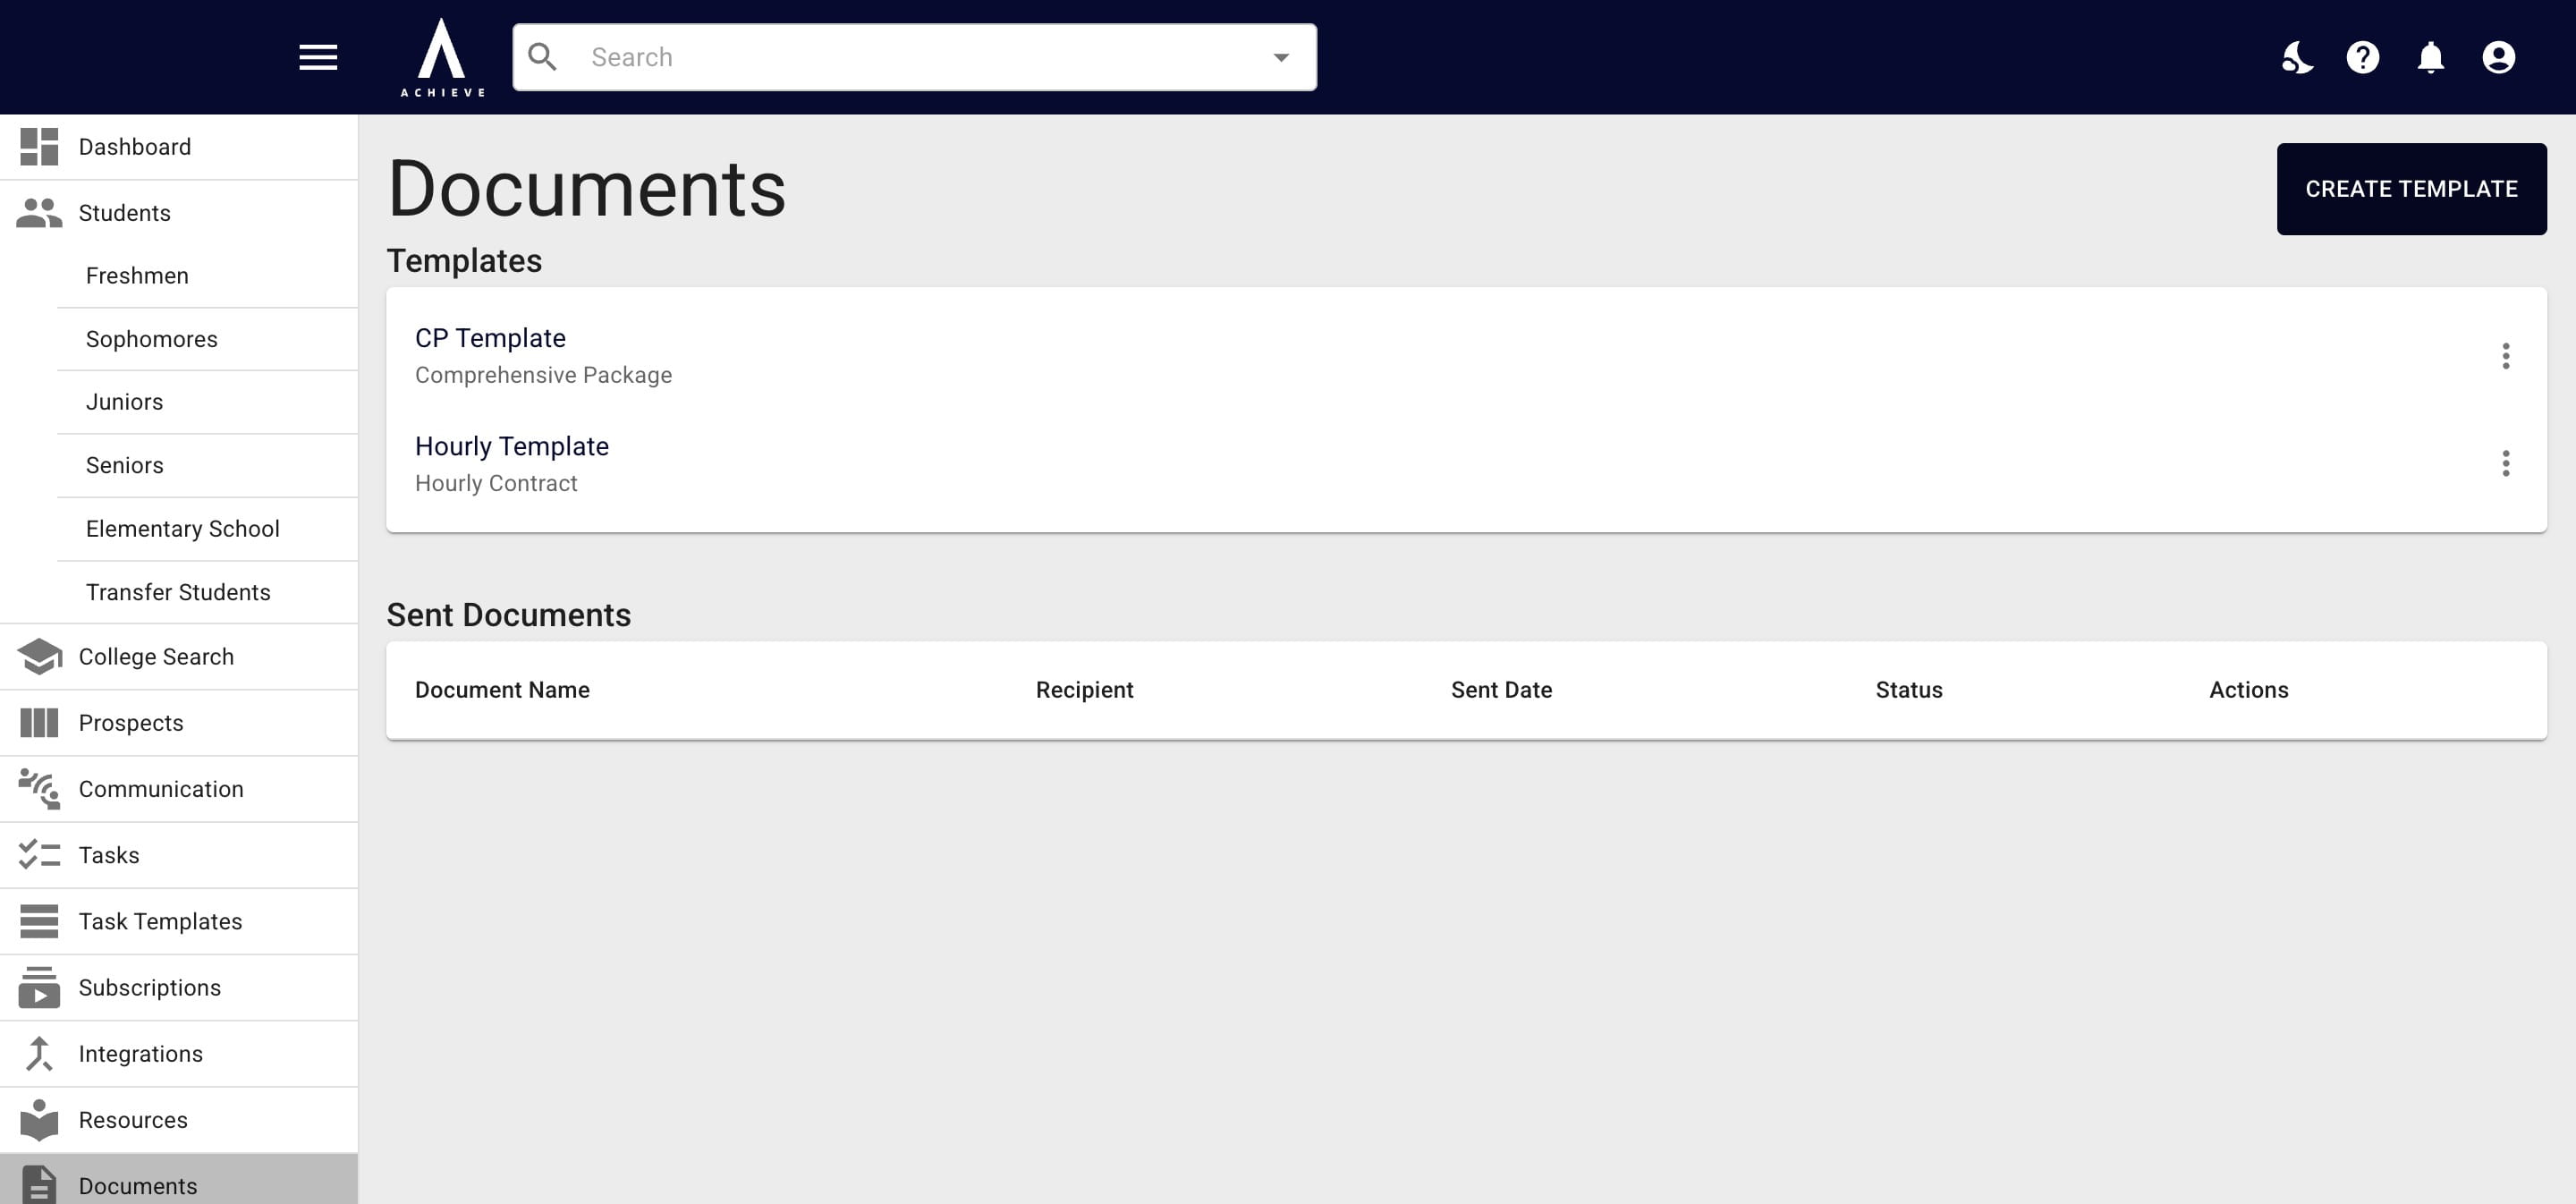
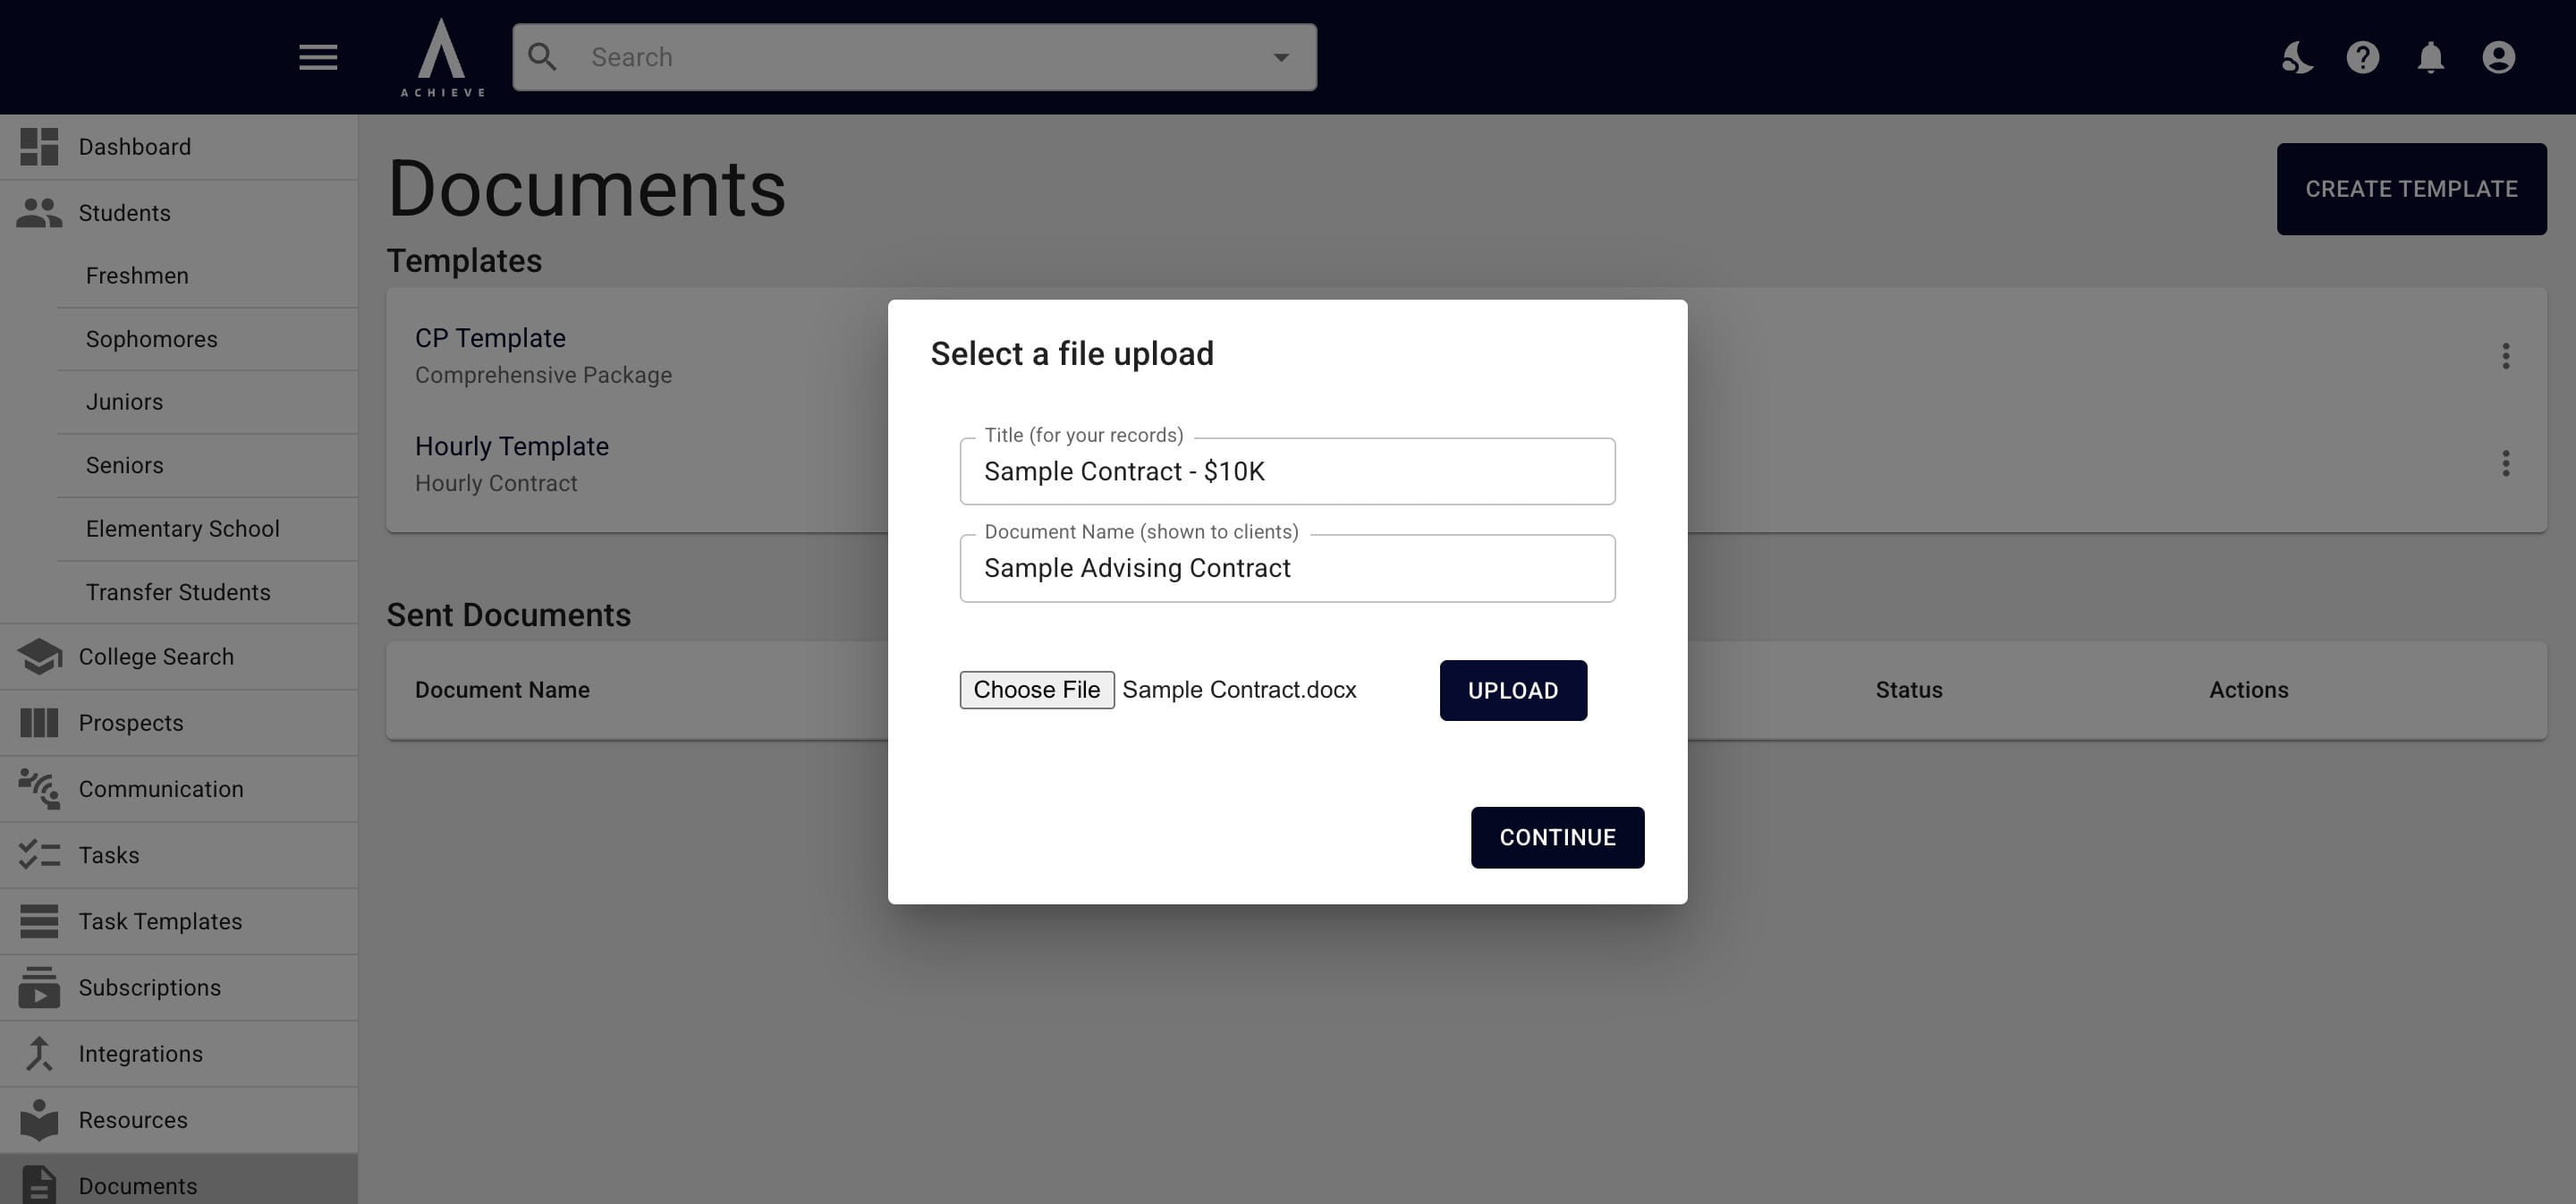
Title your document (you can add an internal title & one shown to clients)
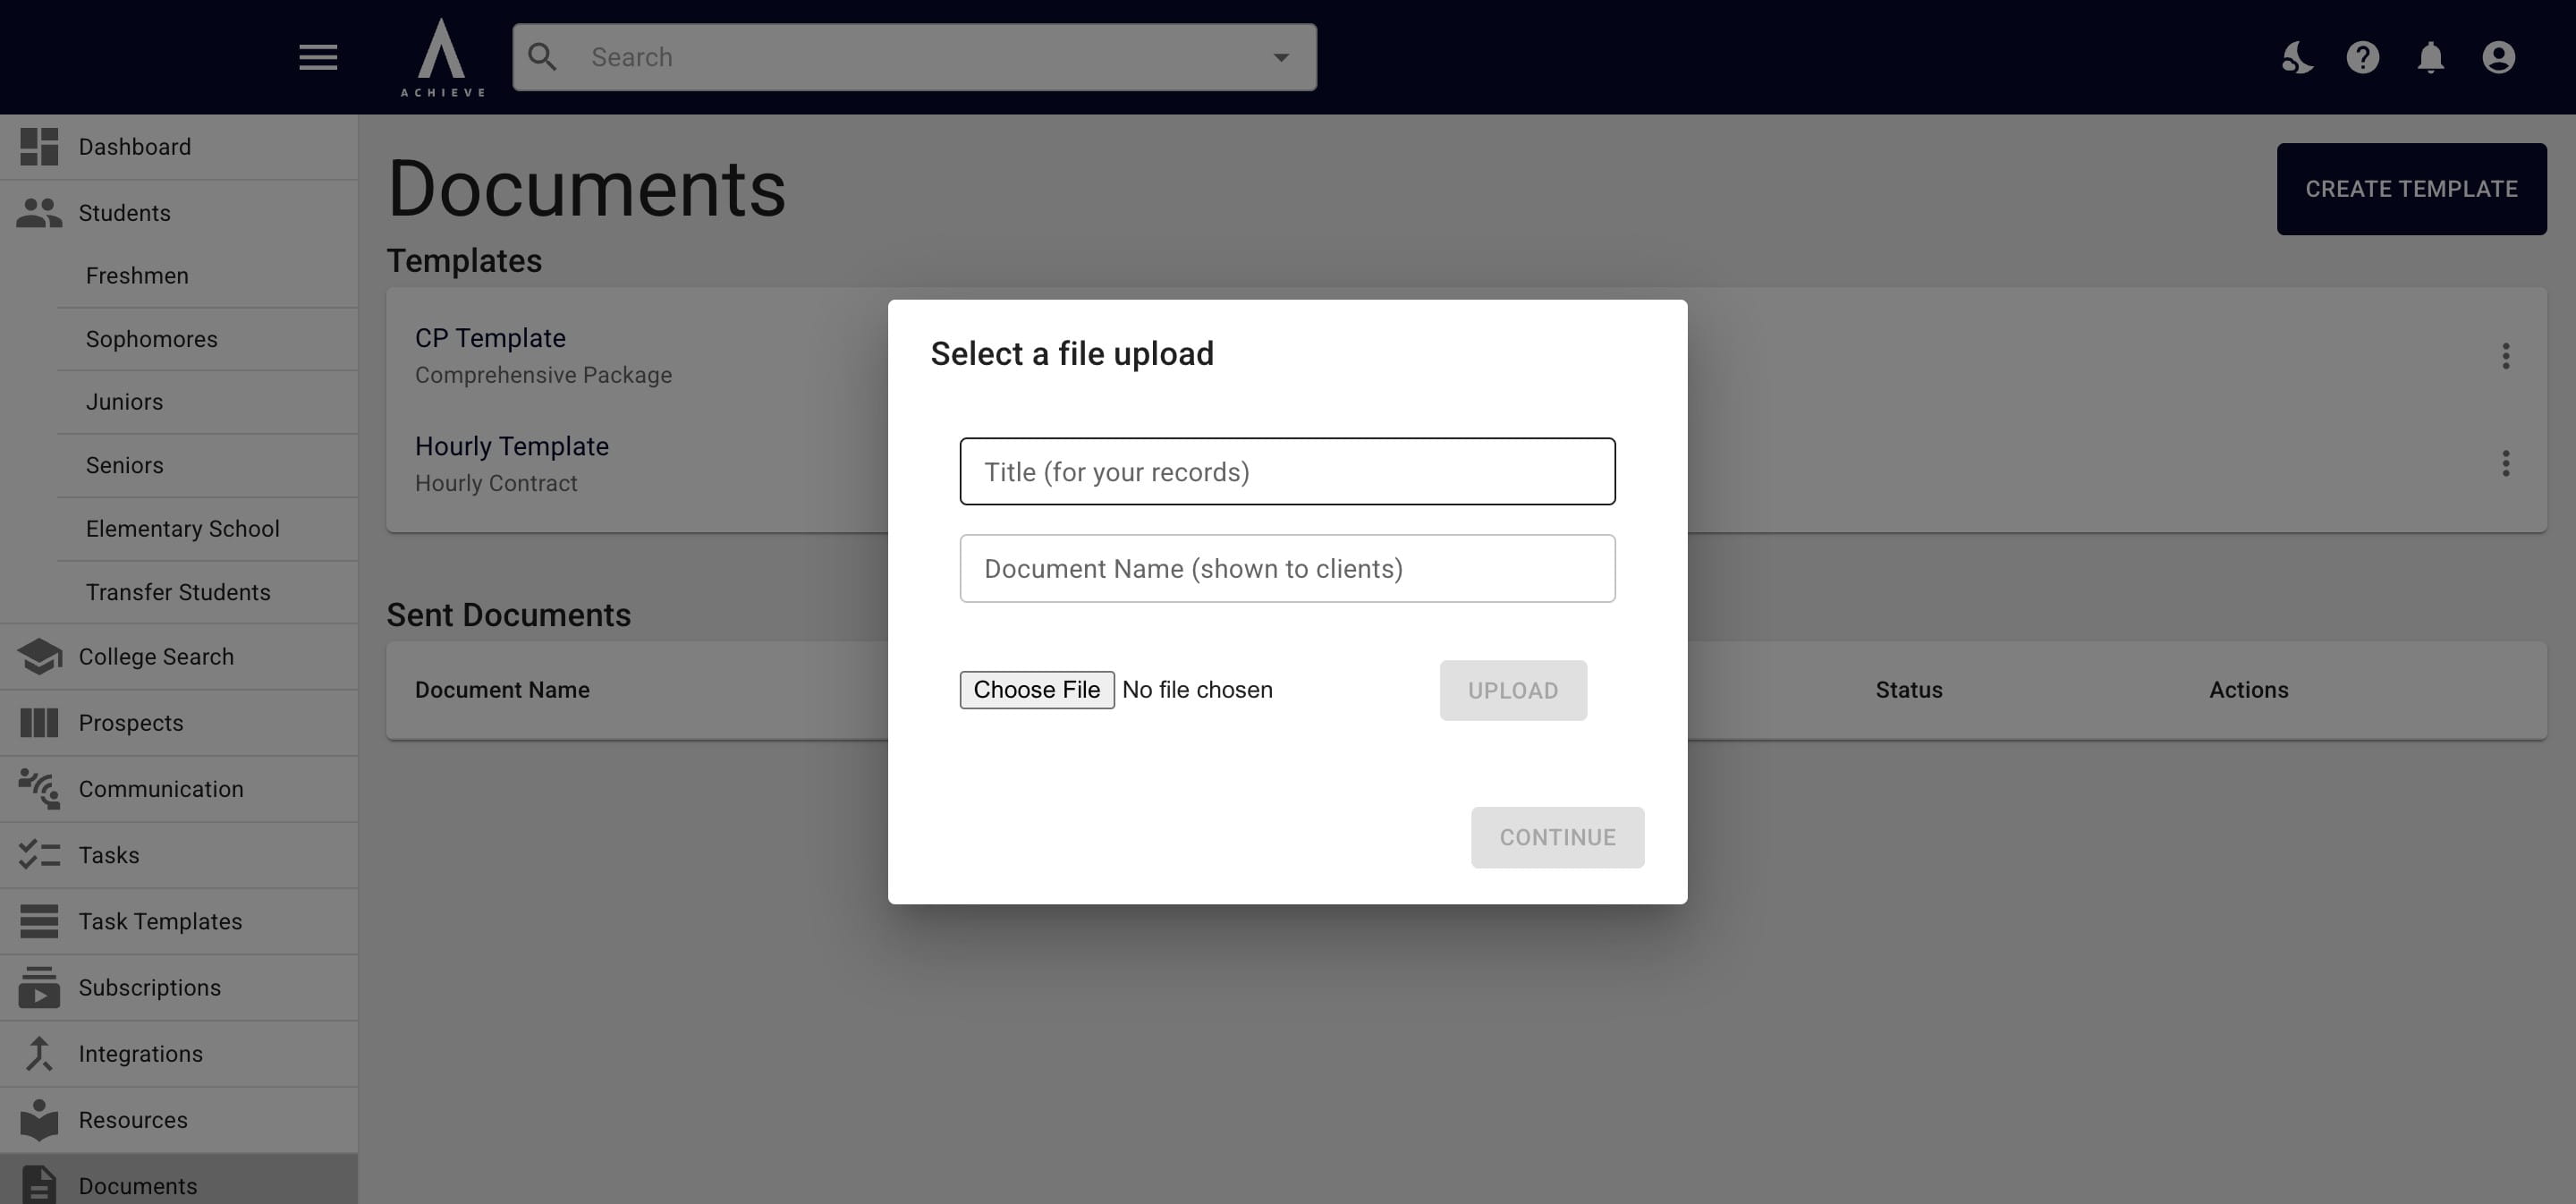
Then press Choose File to upload your template. Templates can be uploaded as PDFs or Word Docs.
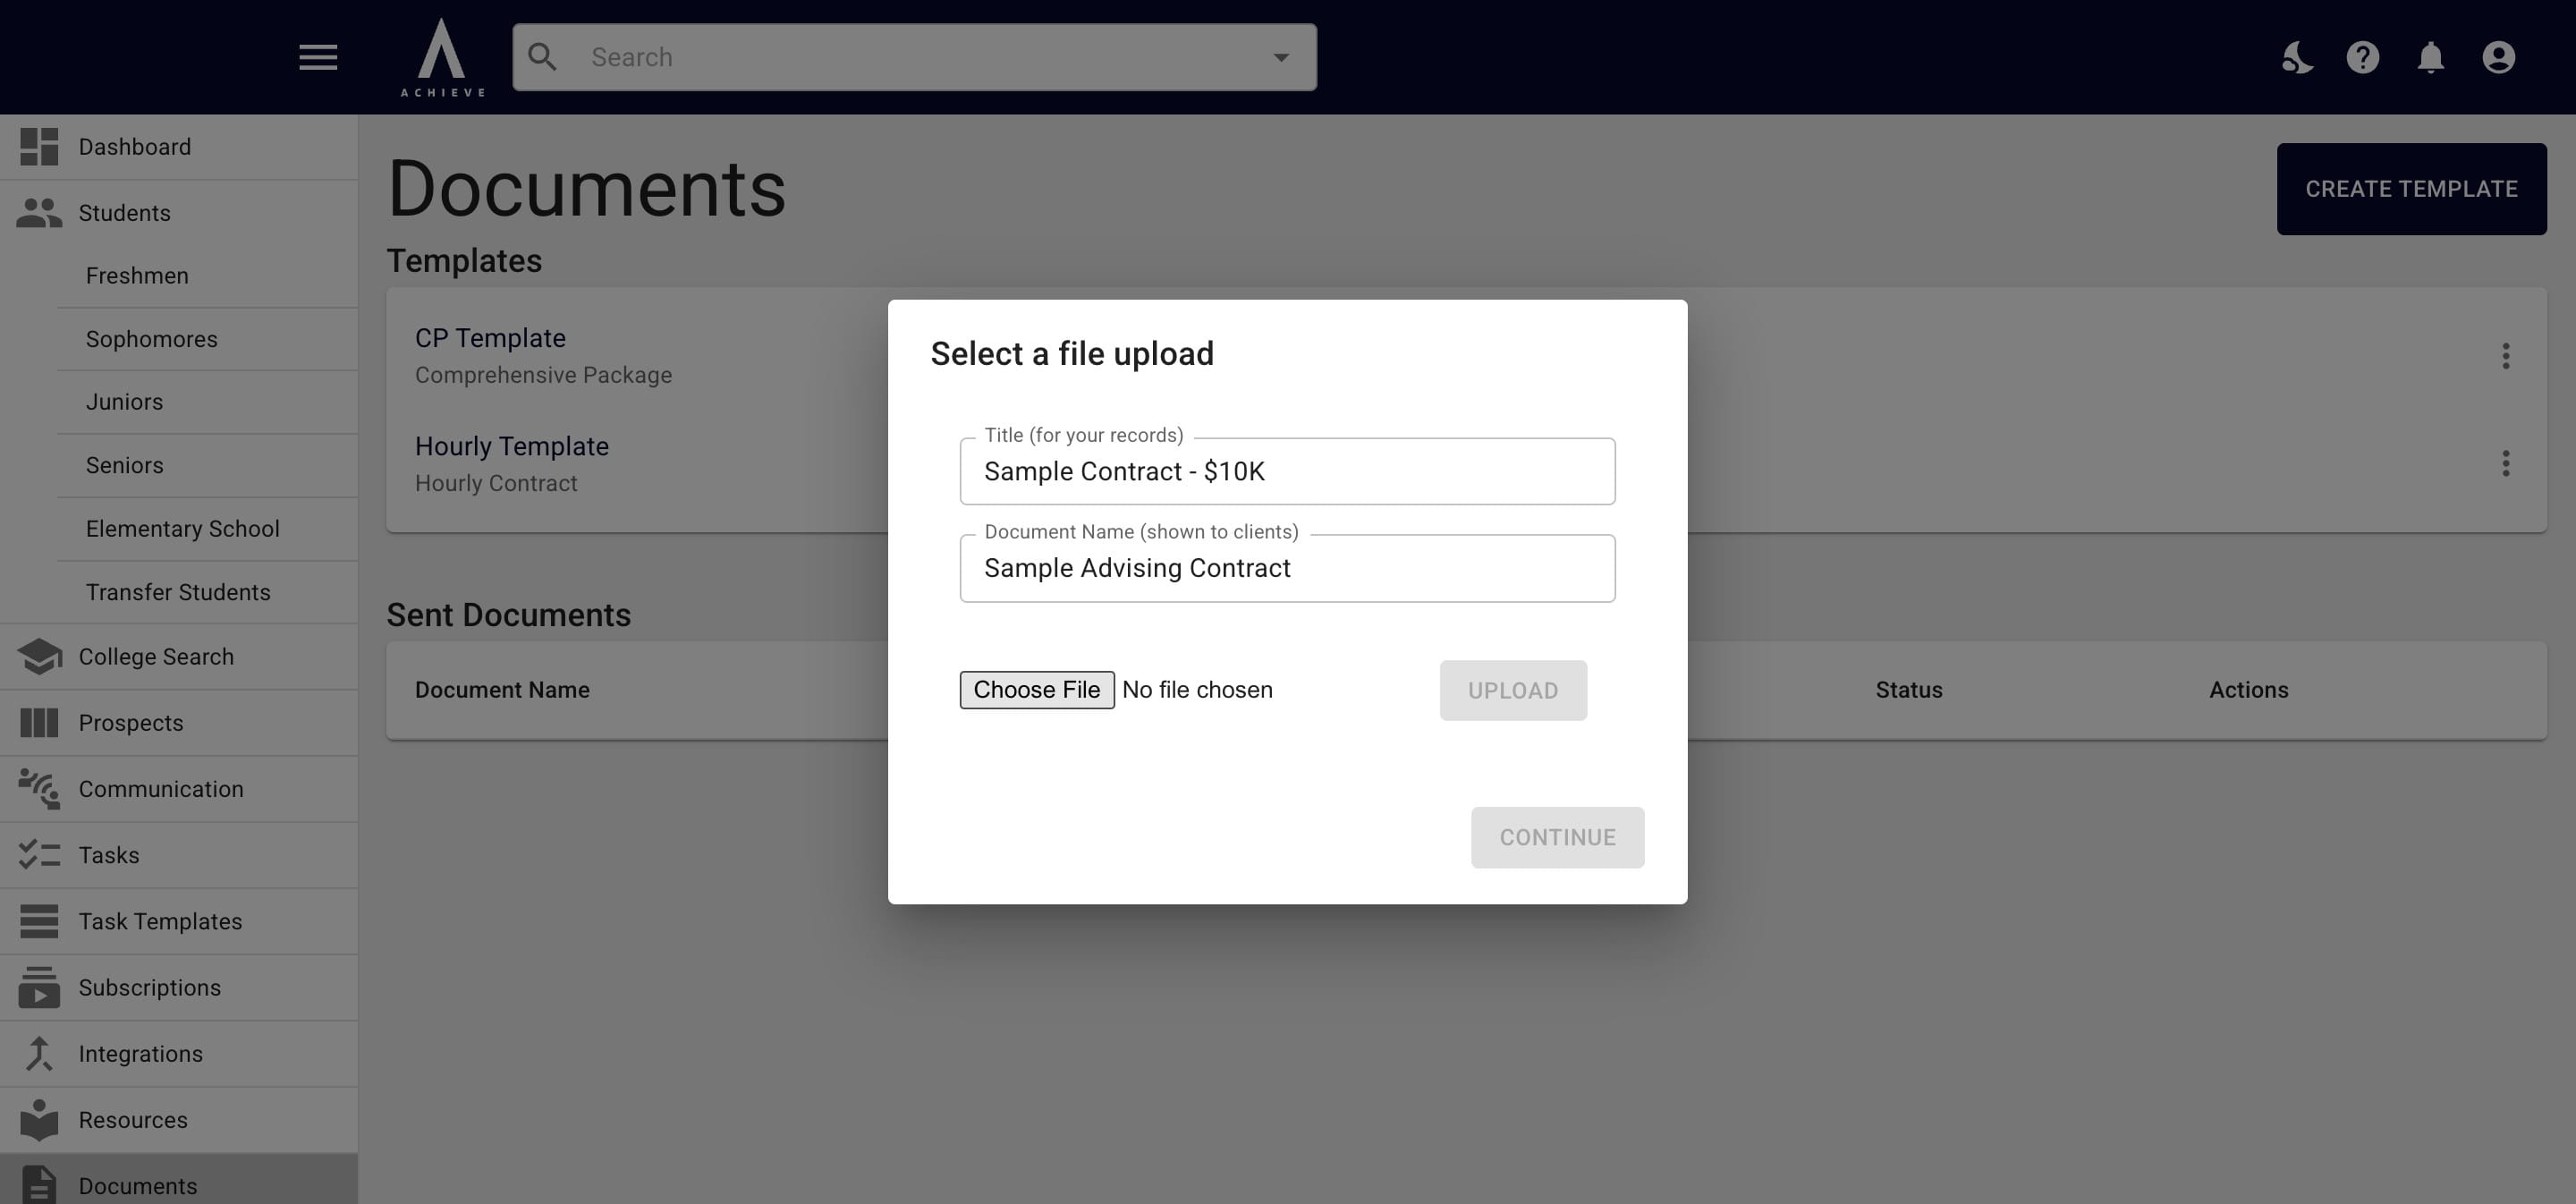
Once you've uploaded the file, click Upload.
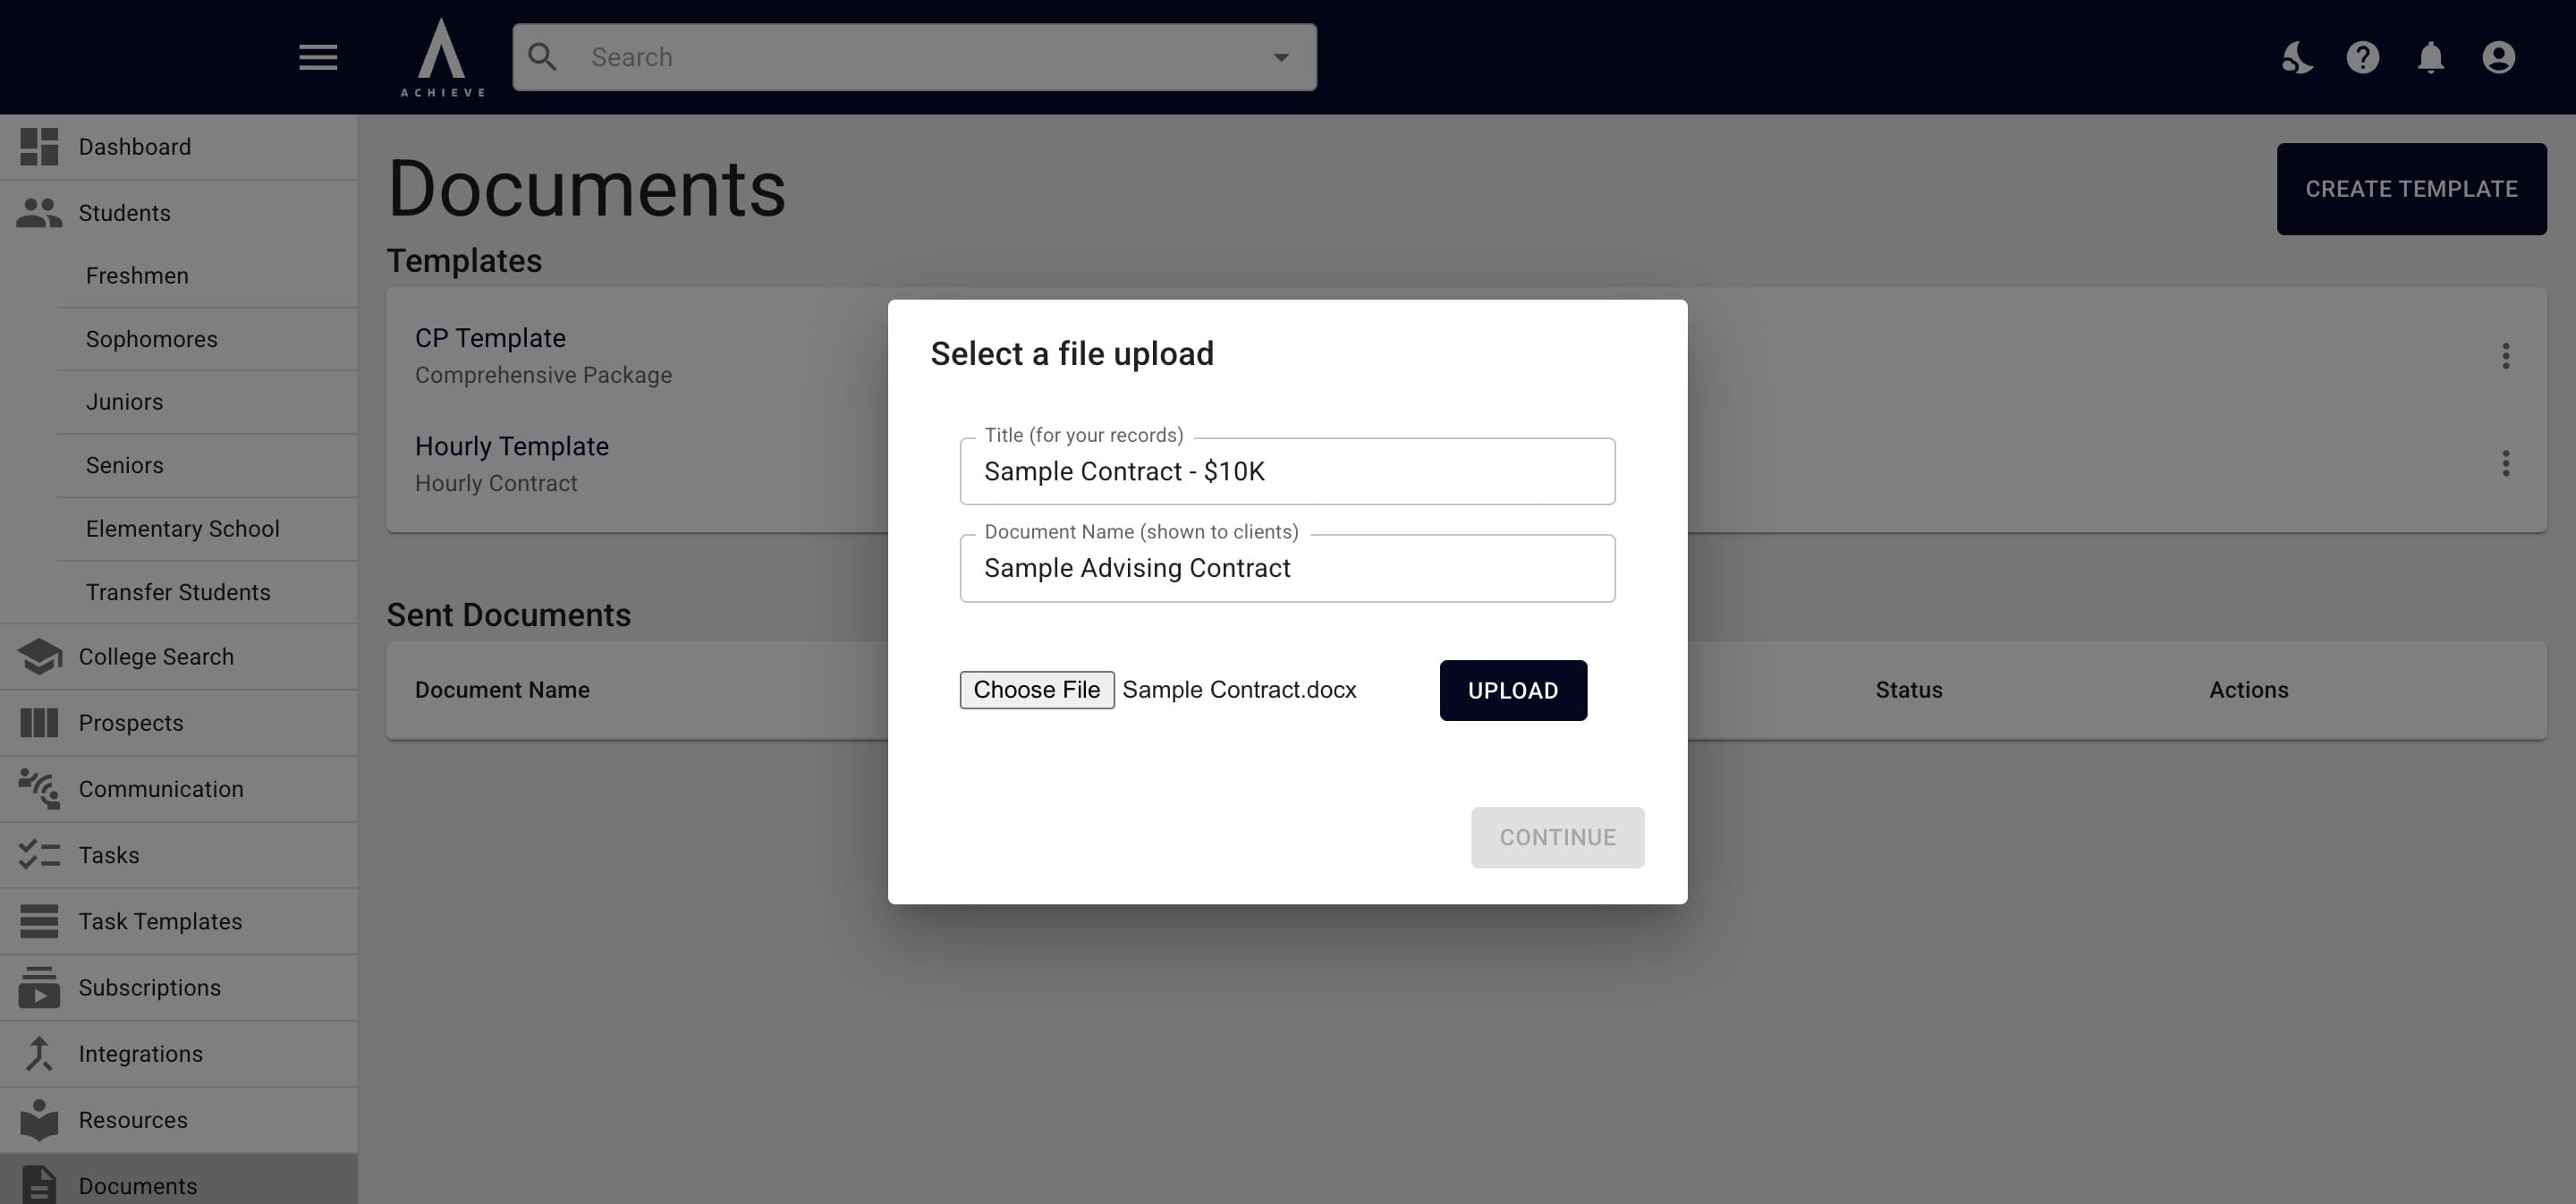
Once the file's been uploaded, the Continue button will no longer be greyed out & you're able to click on it.
After a few seconds, a pop up with the template will appear.
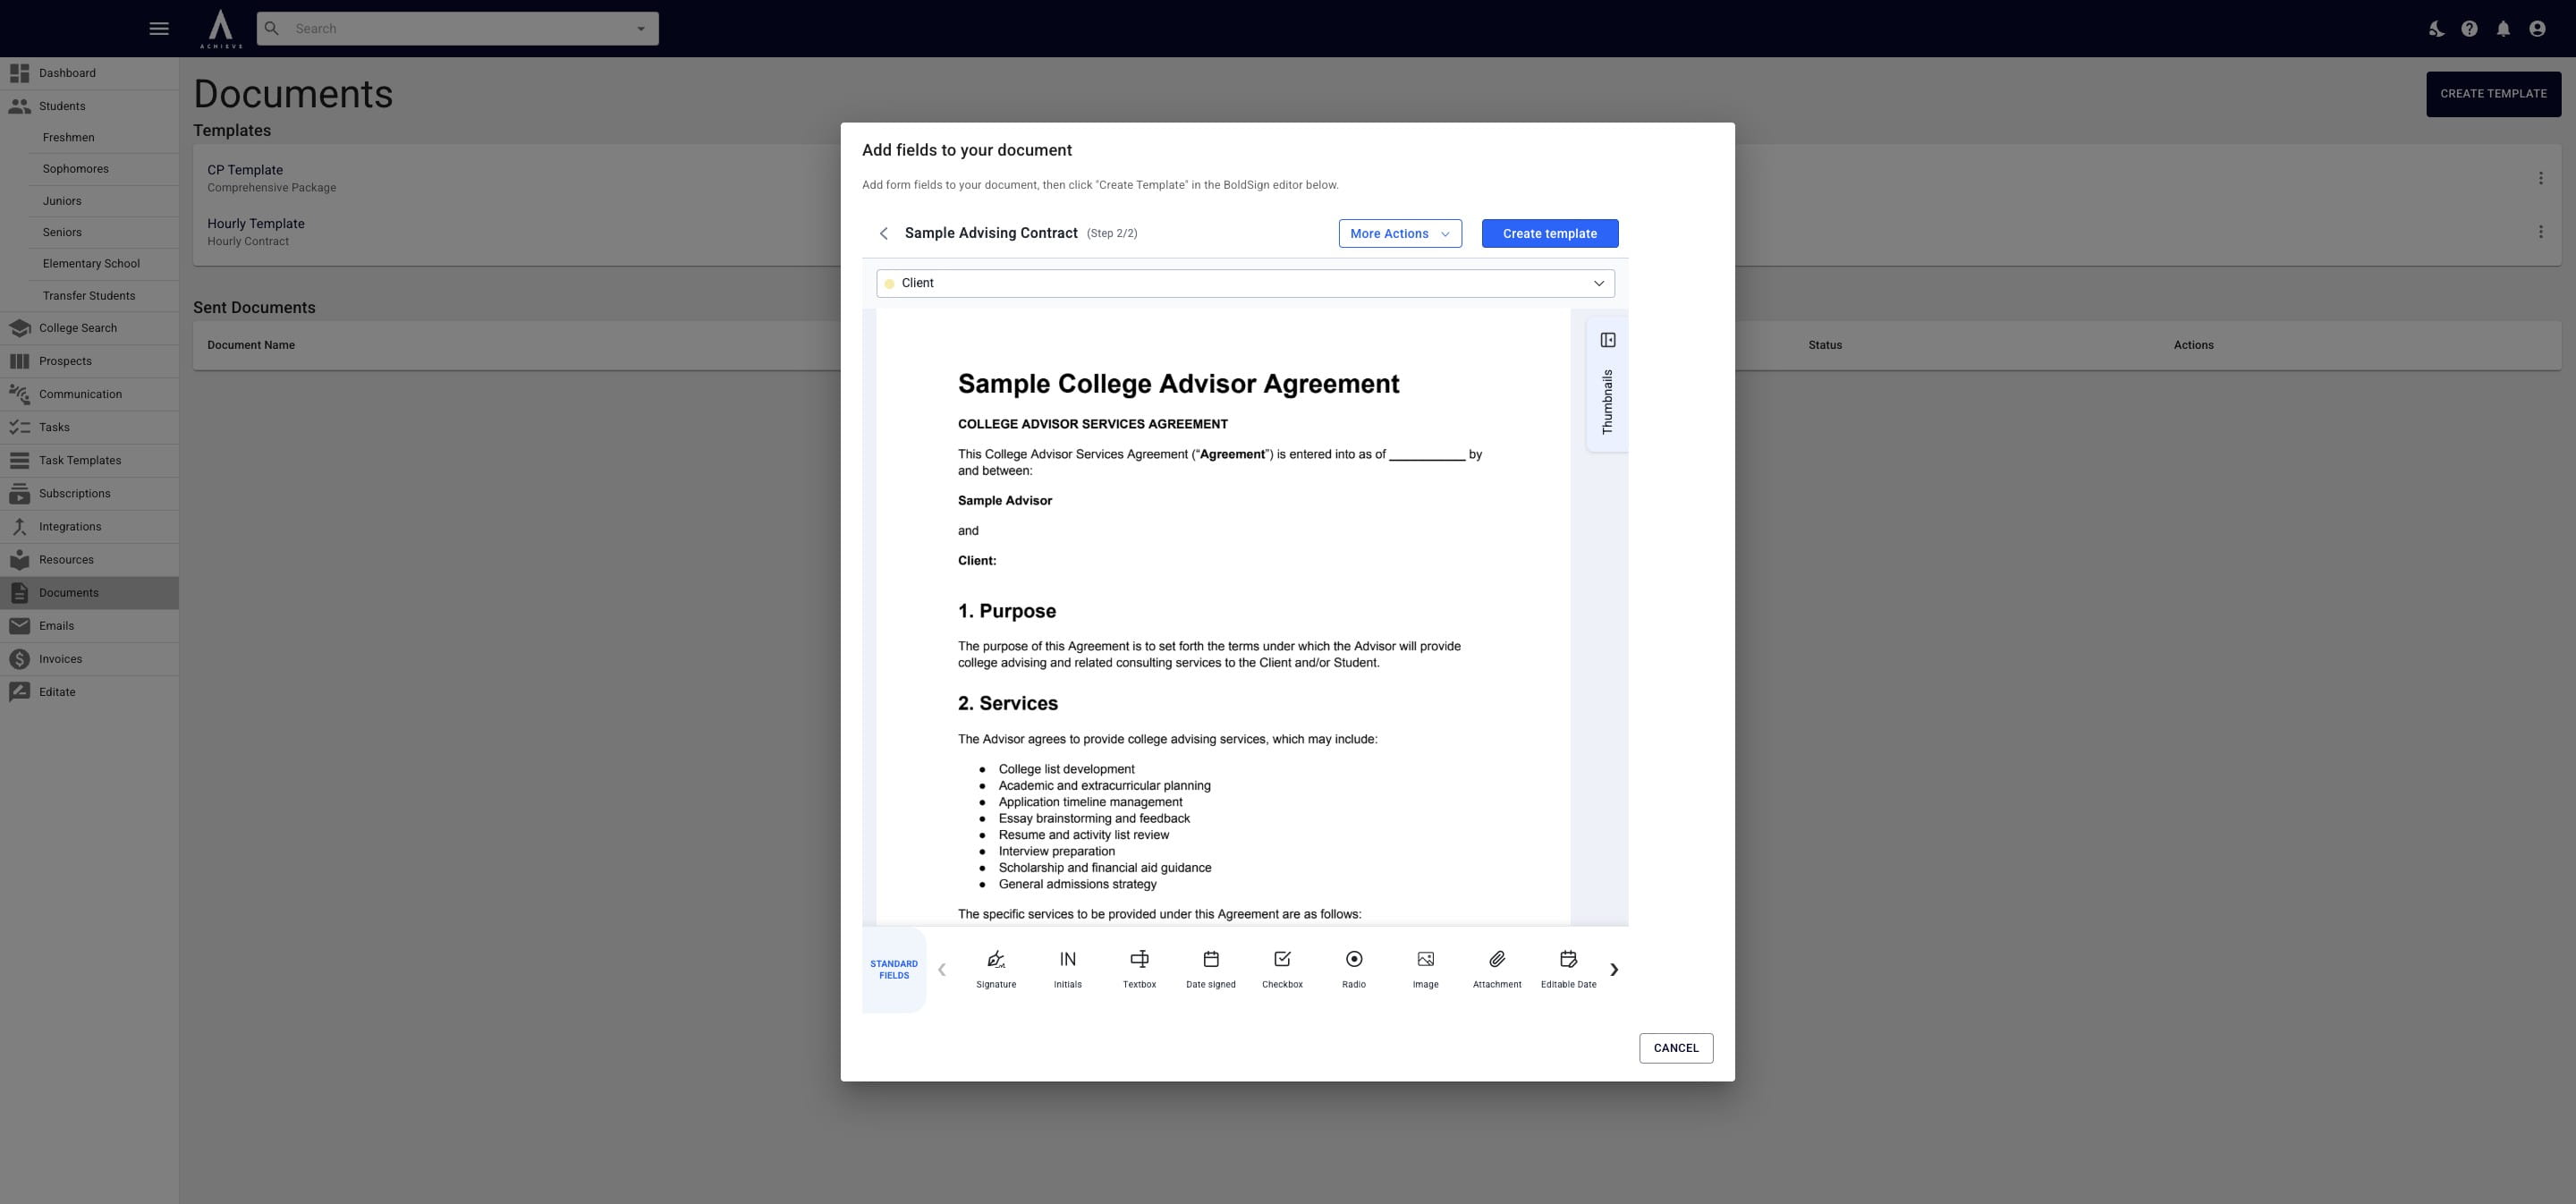
If you don't see the fields as shown above, zoom out on your browser!
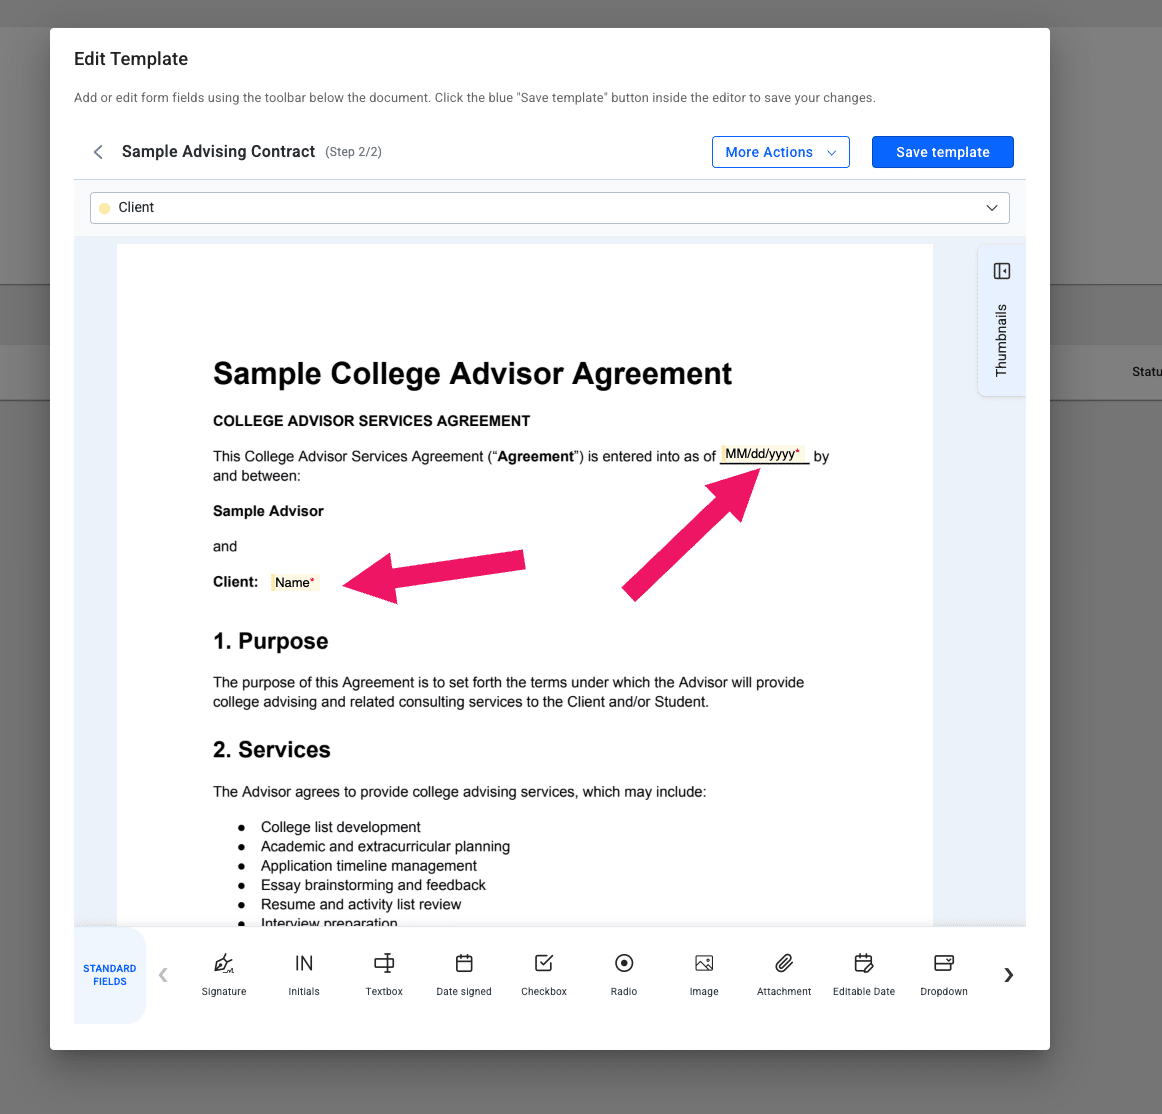
Drag and drop the fields into the template that need to be filled out. In the example below, the Date Signed field was added as well as the Name field, which will automatically fill-in the parent's name once it's assigned.
If you're asking the recipient to choose between different payment plans, packages, or methods, we recommend using radio buttons or a drop down, as seen below.
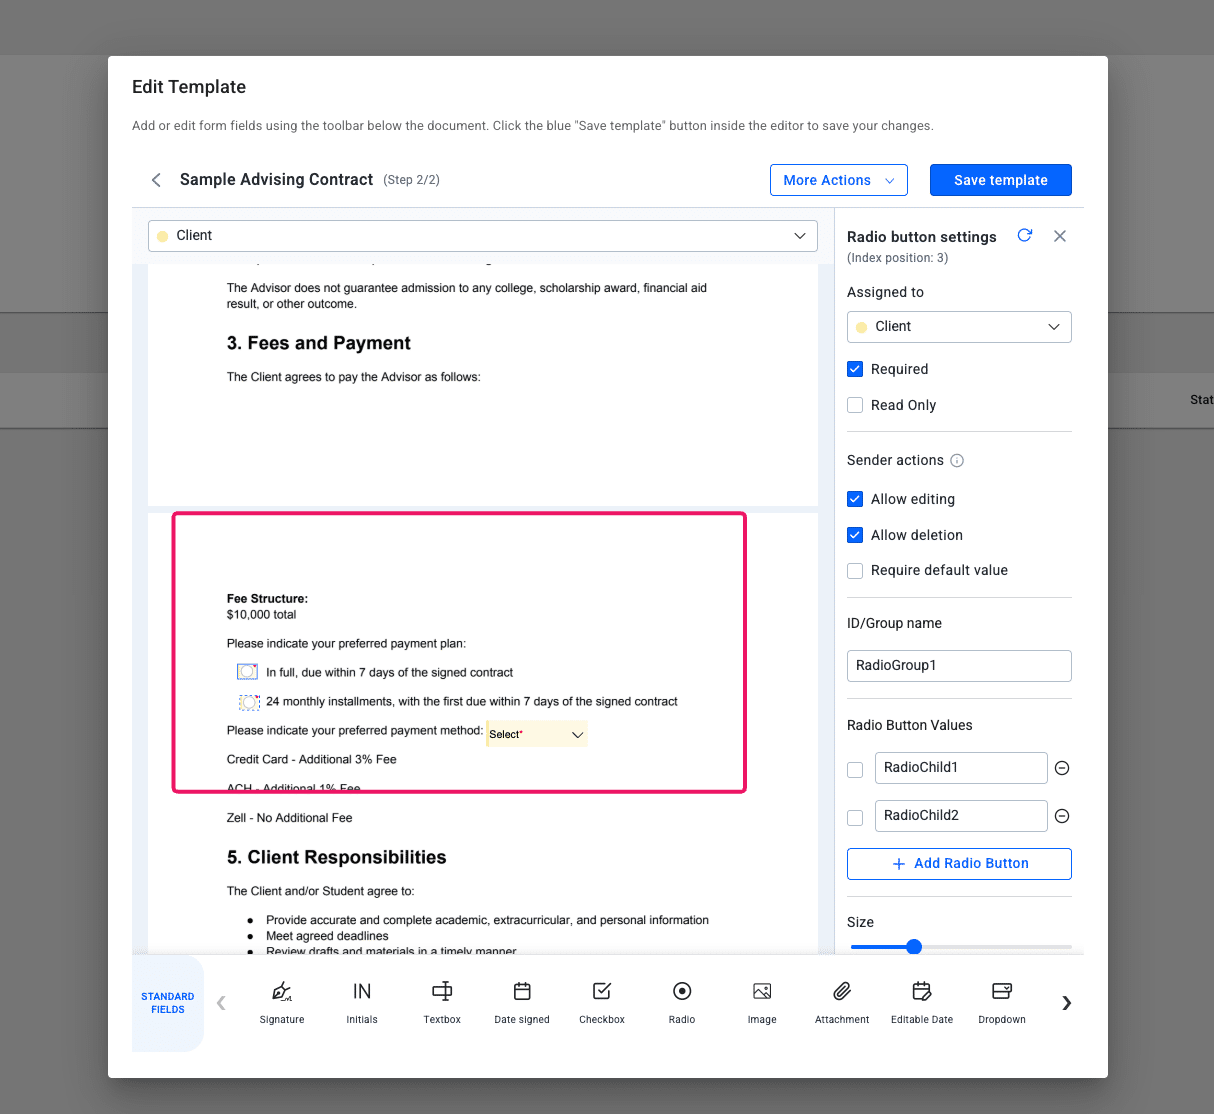
The key with the radio buttons is to add multiple buttons within the same family. Press the + Add Radio button to add more radio buttons within the family.
Achieve only has one signer per contract (as it's a best practice to only have 1 parent be the responsible party). That means that you'll pre-sign the templates before uploading them. Then drag & drop the Date Signed field under your signature and the parent's. That way the contract will be fully executed once they sign.
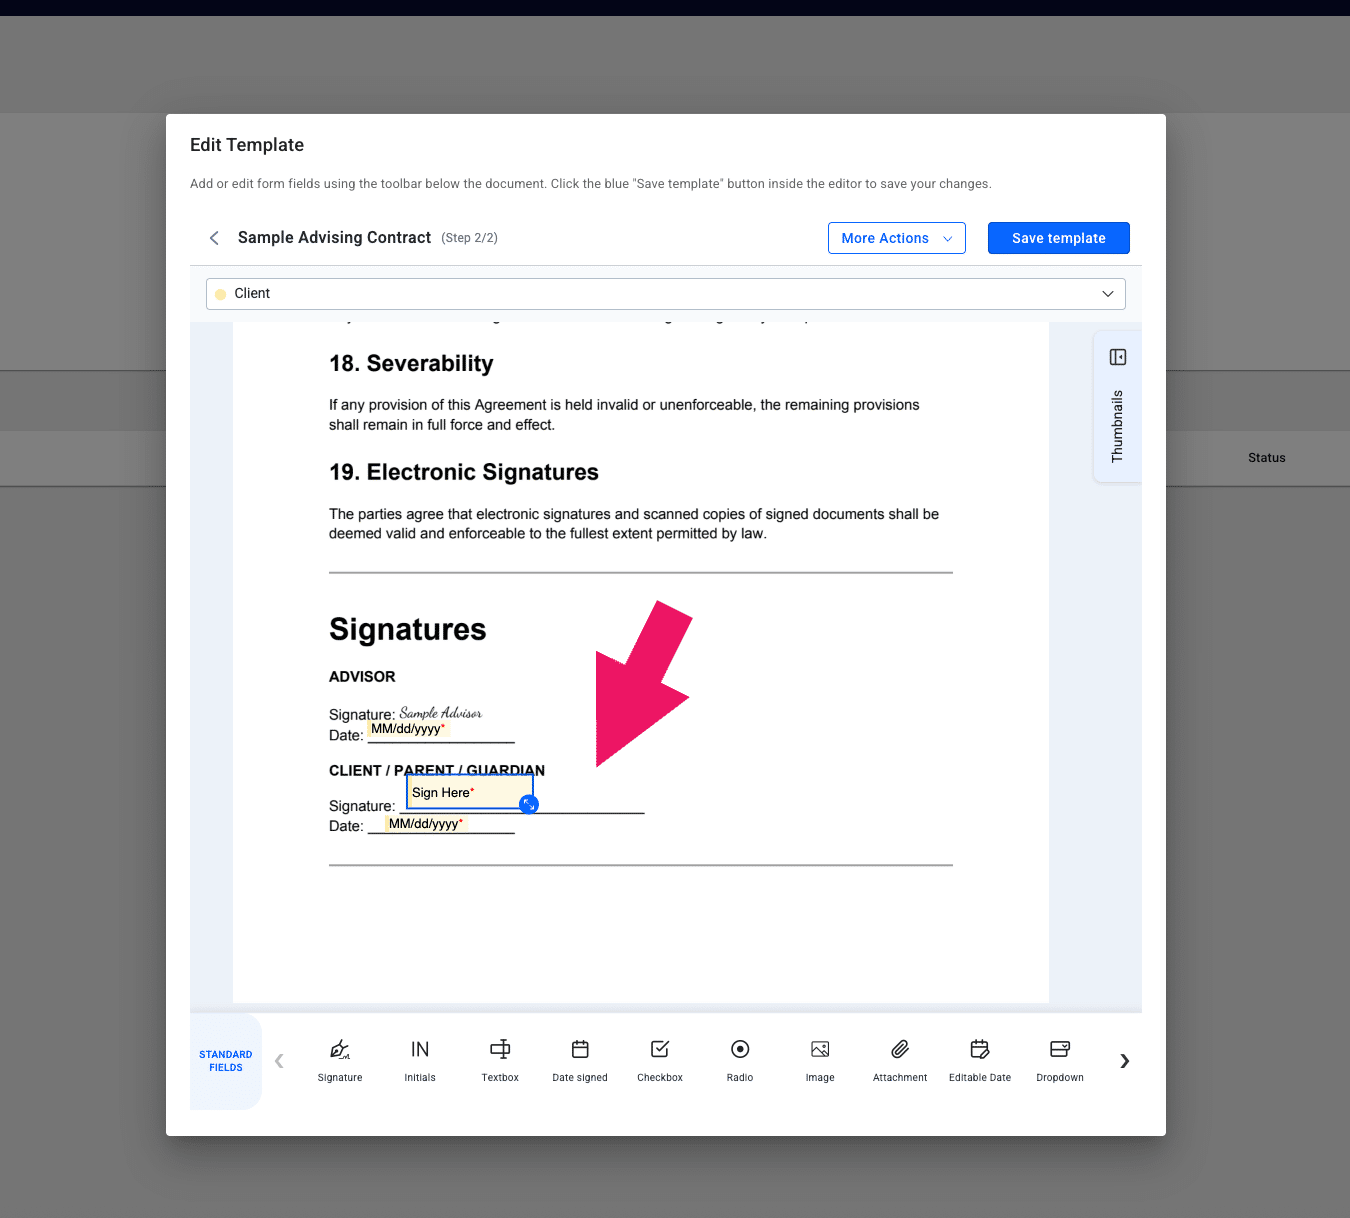
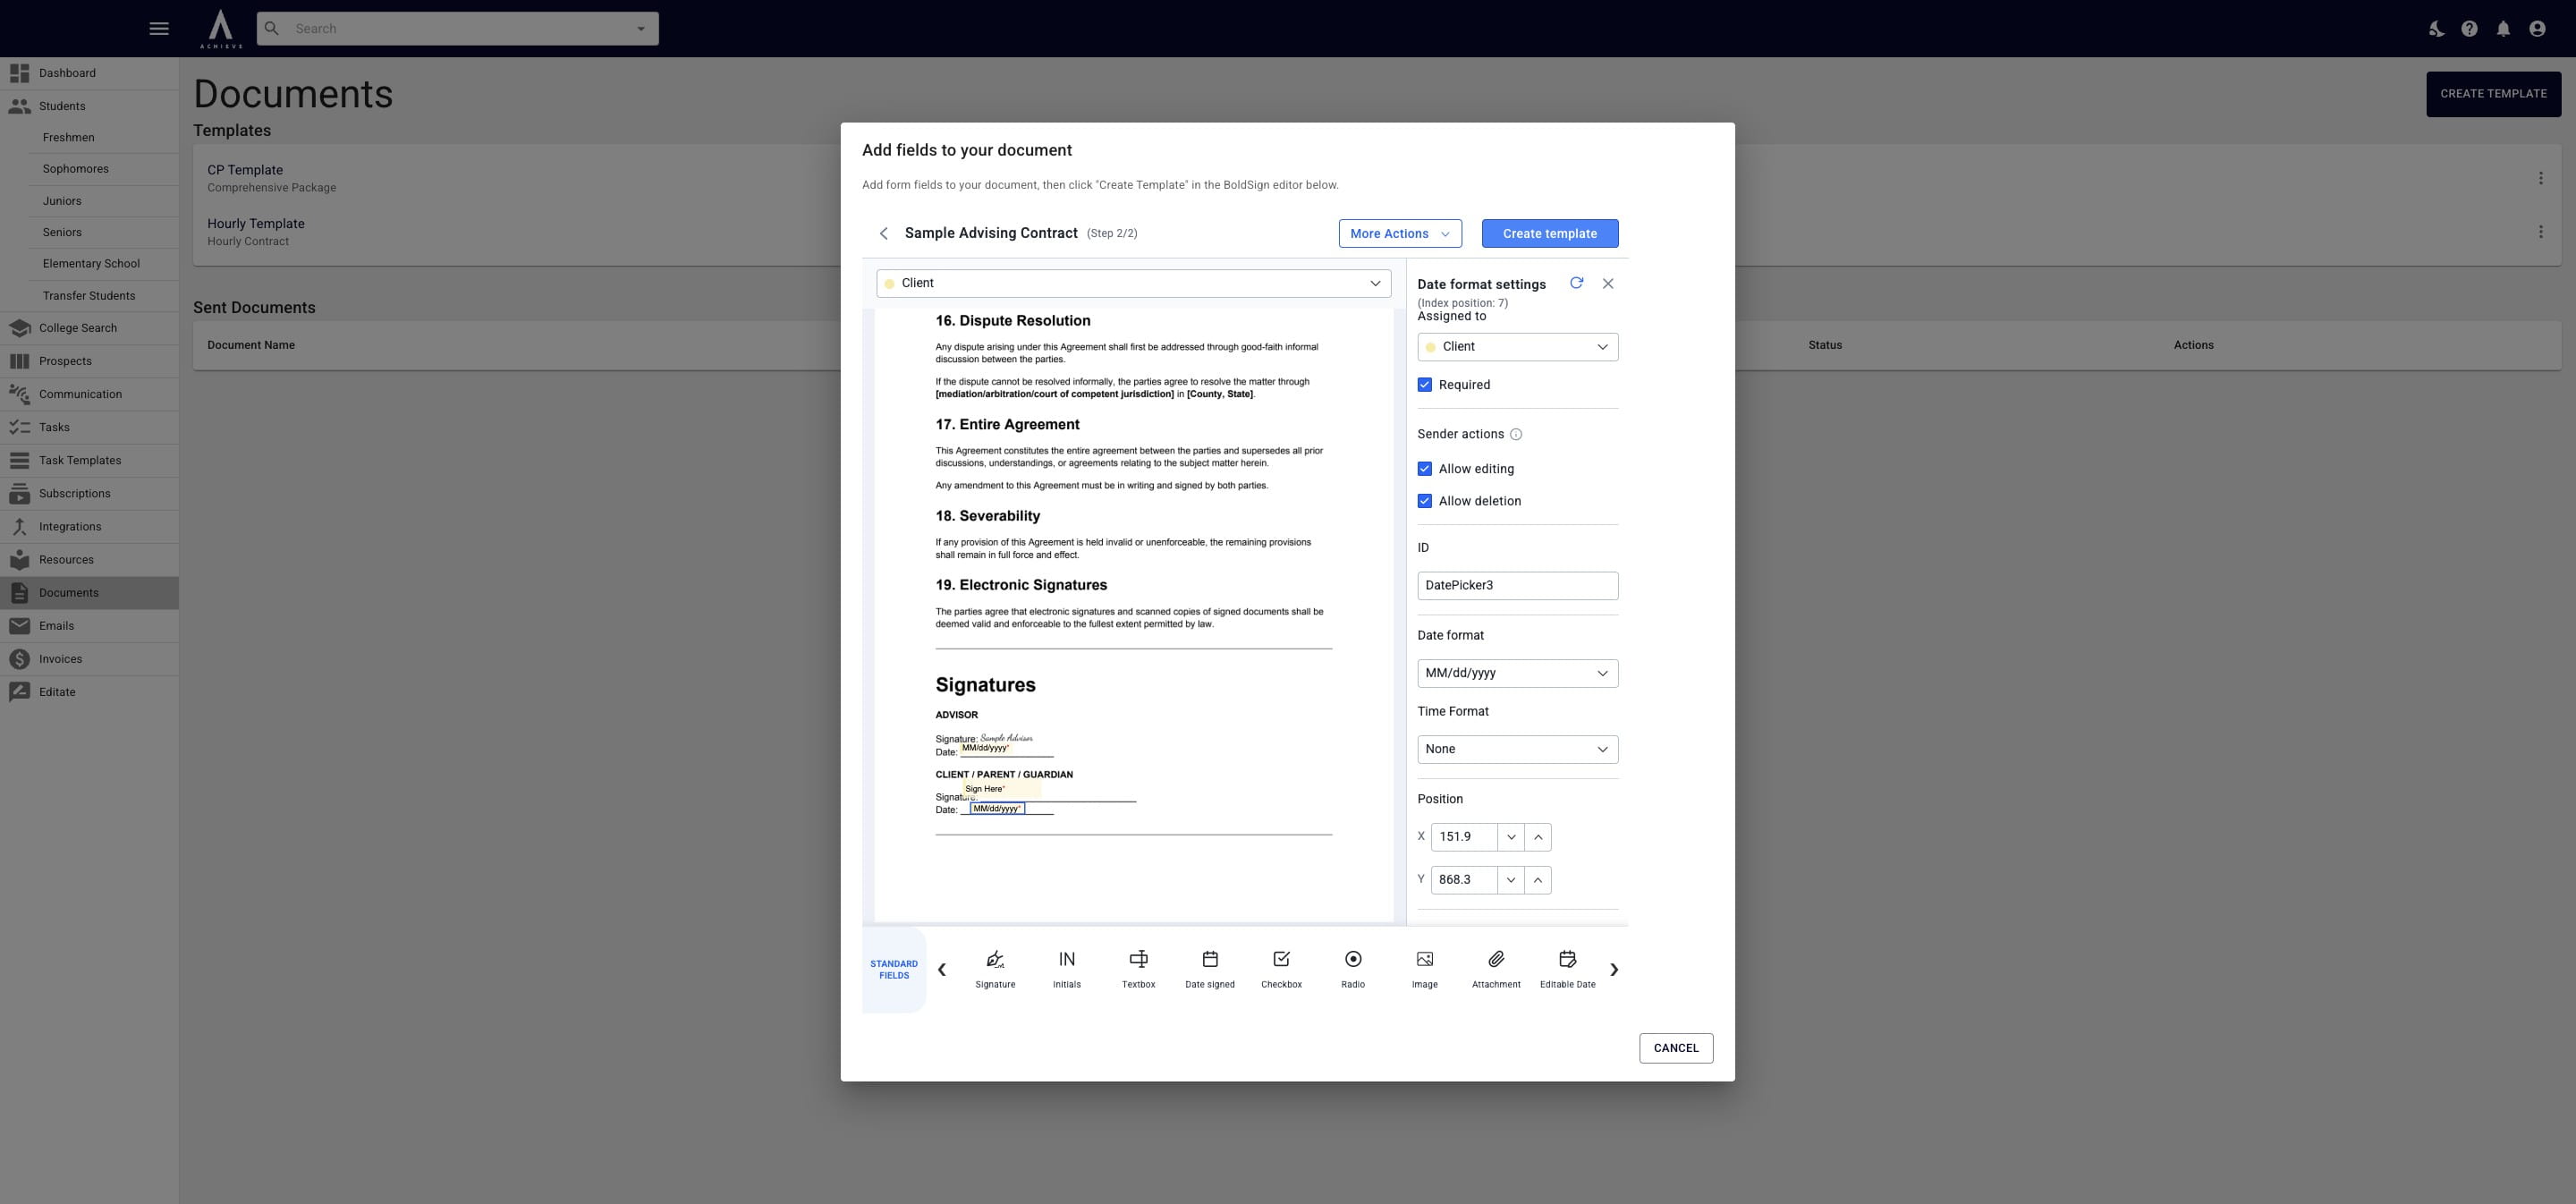
Once your fields are added to the template, press Create Template.
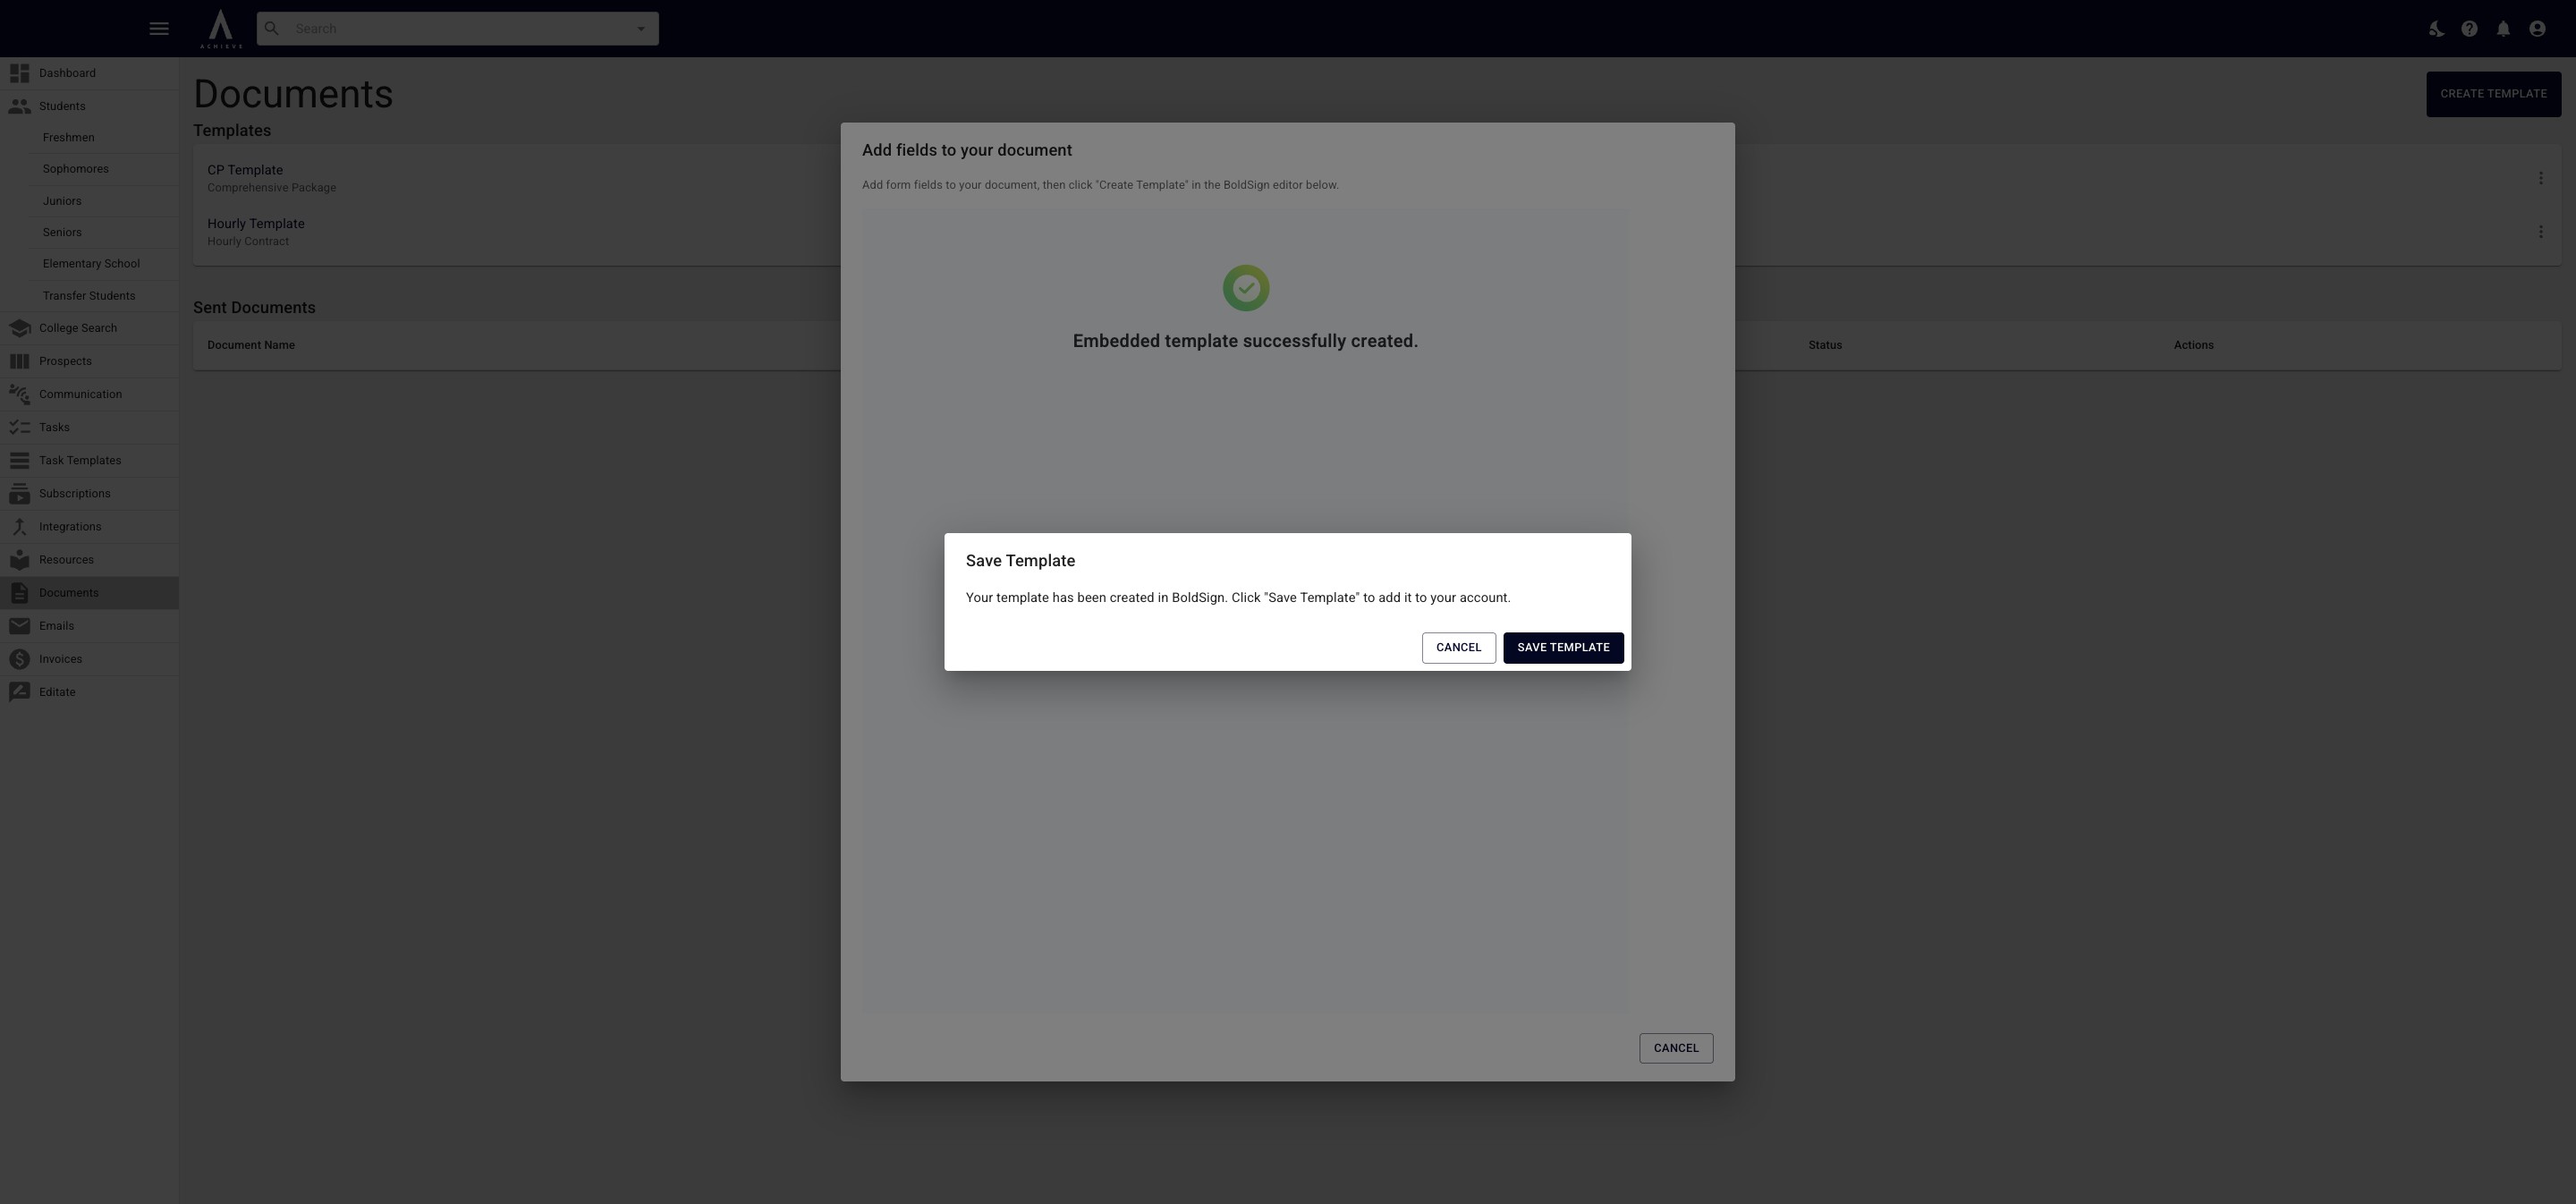
Then click on Save Template.
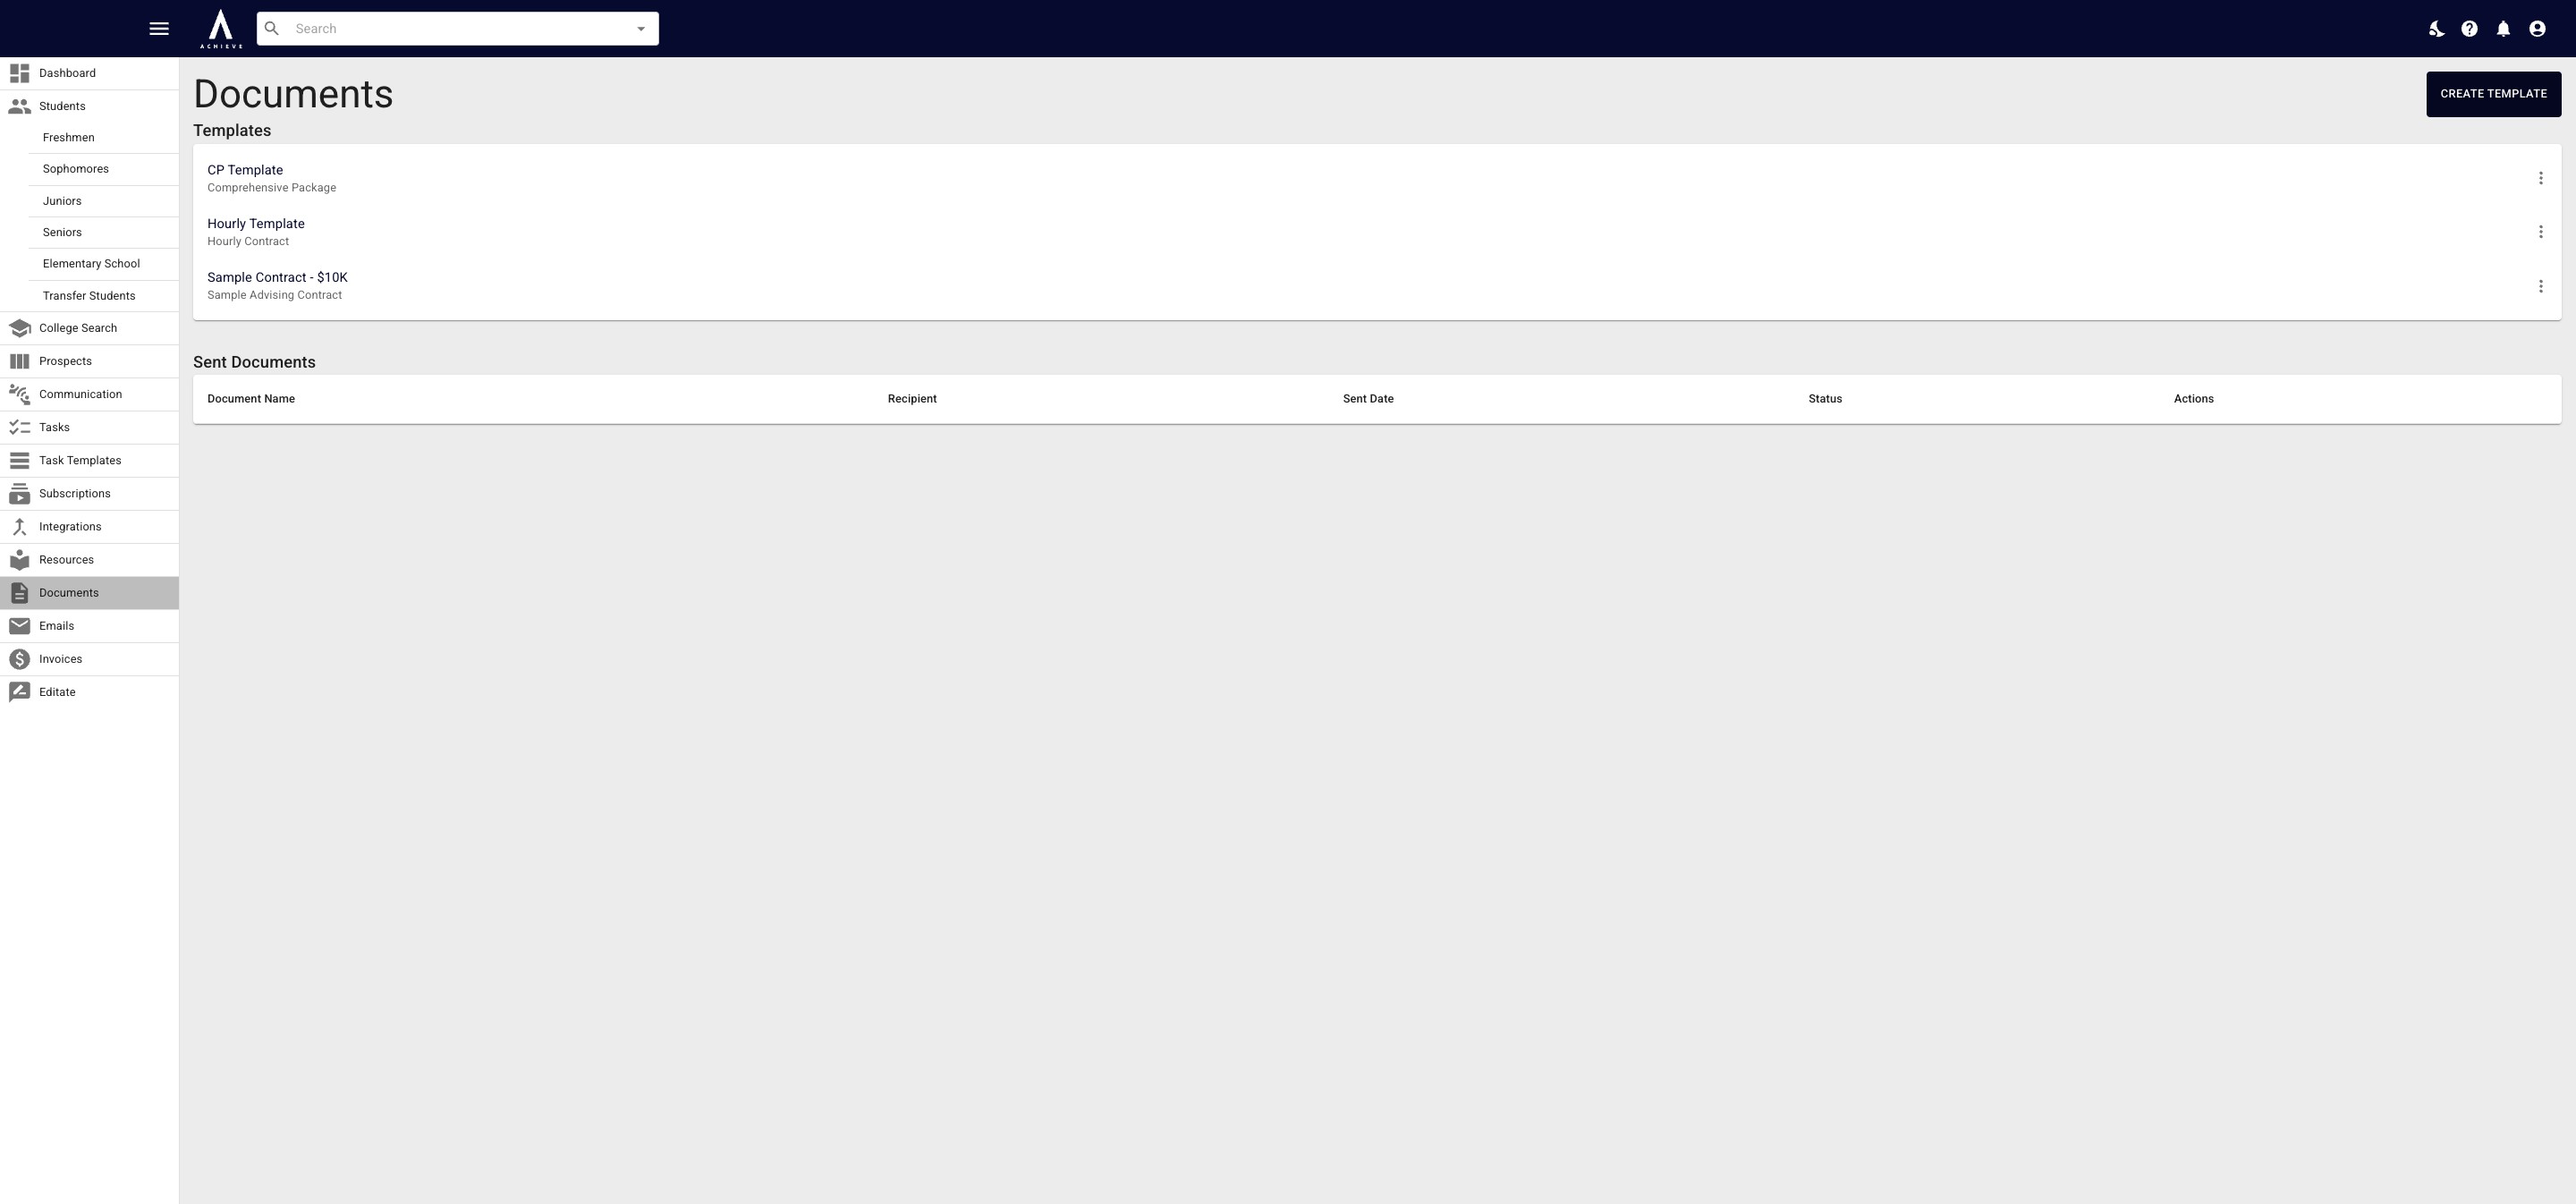
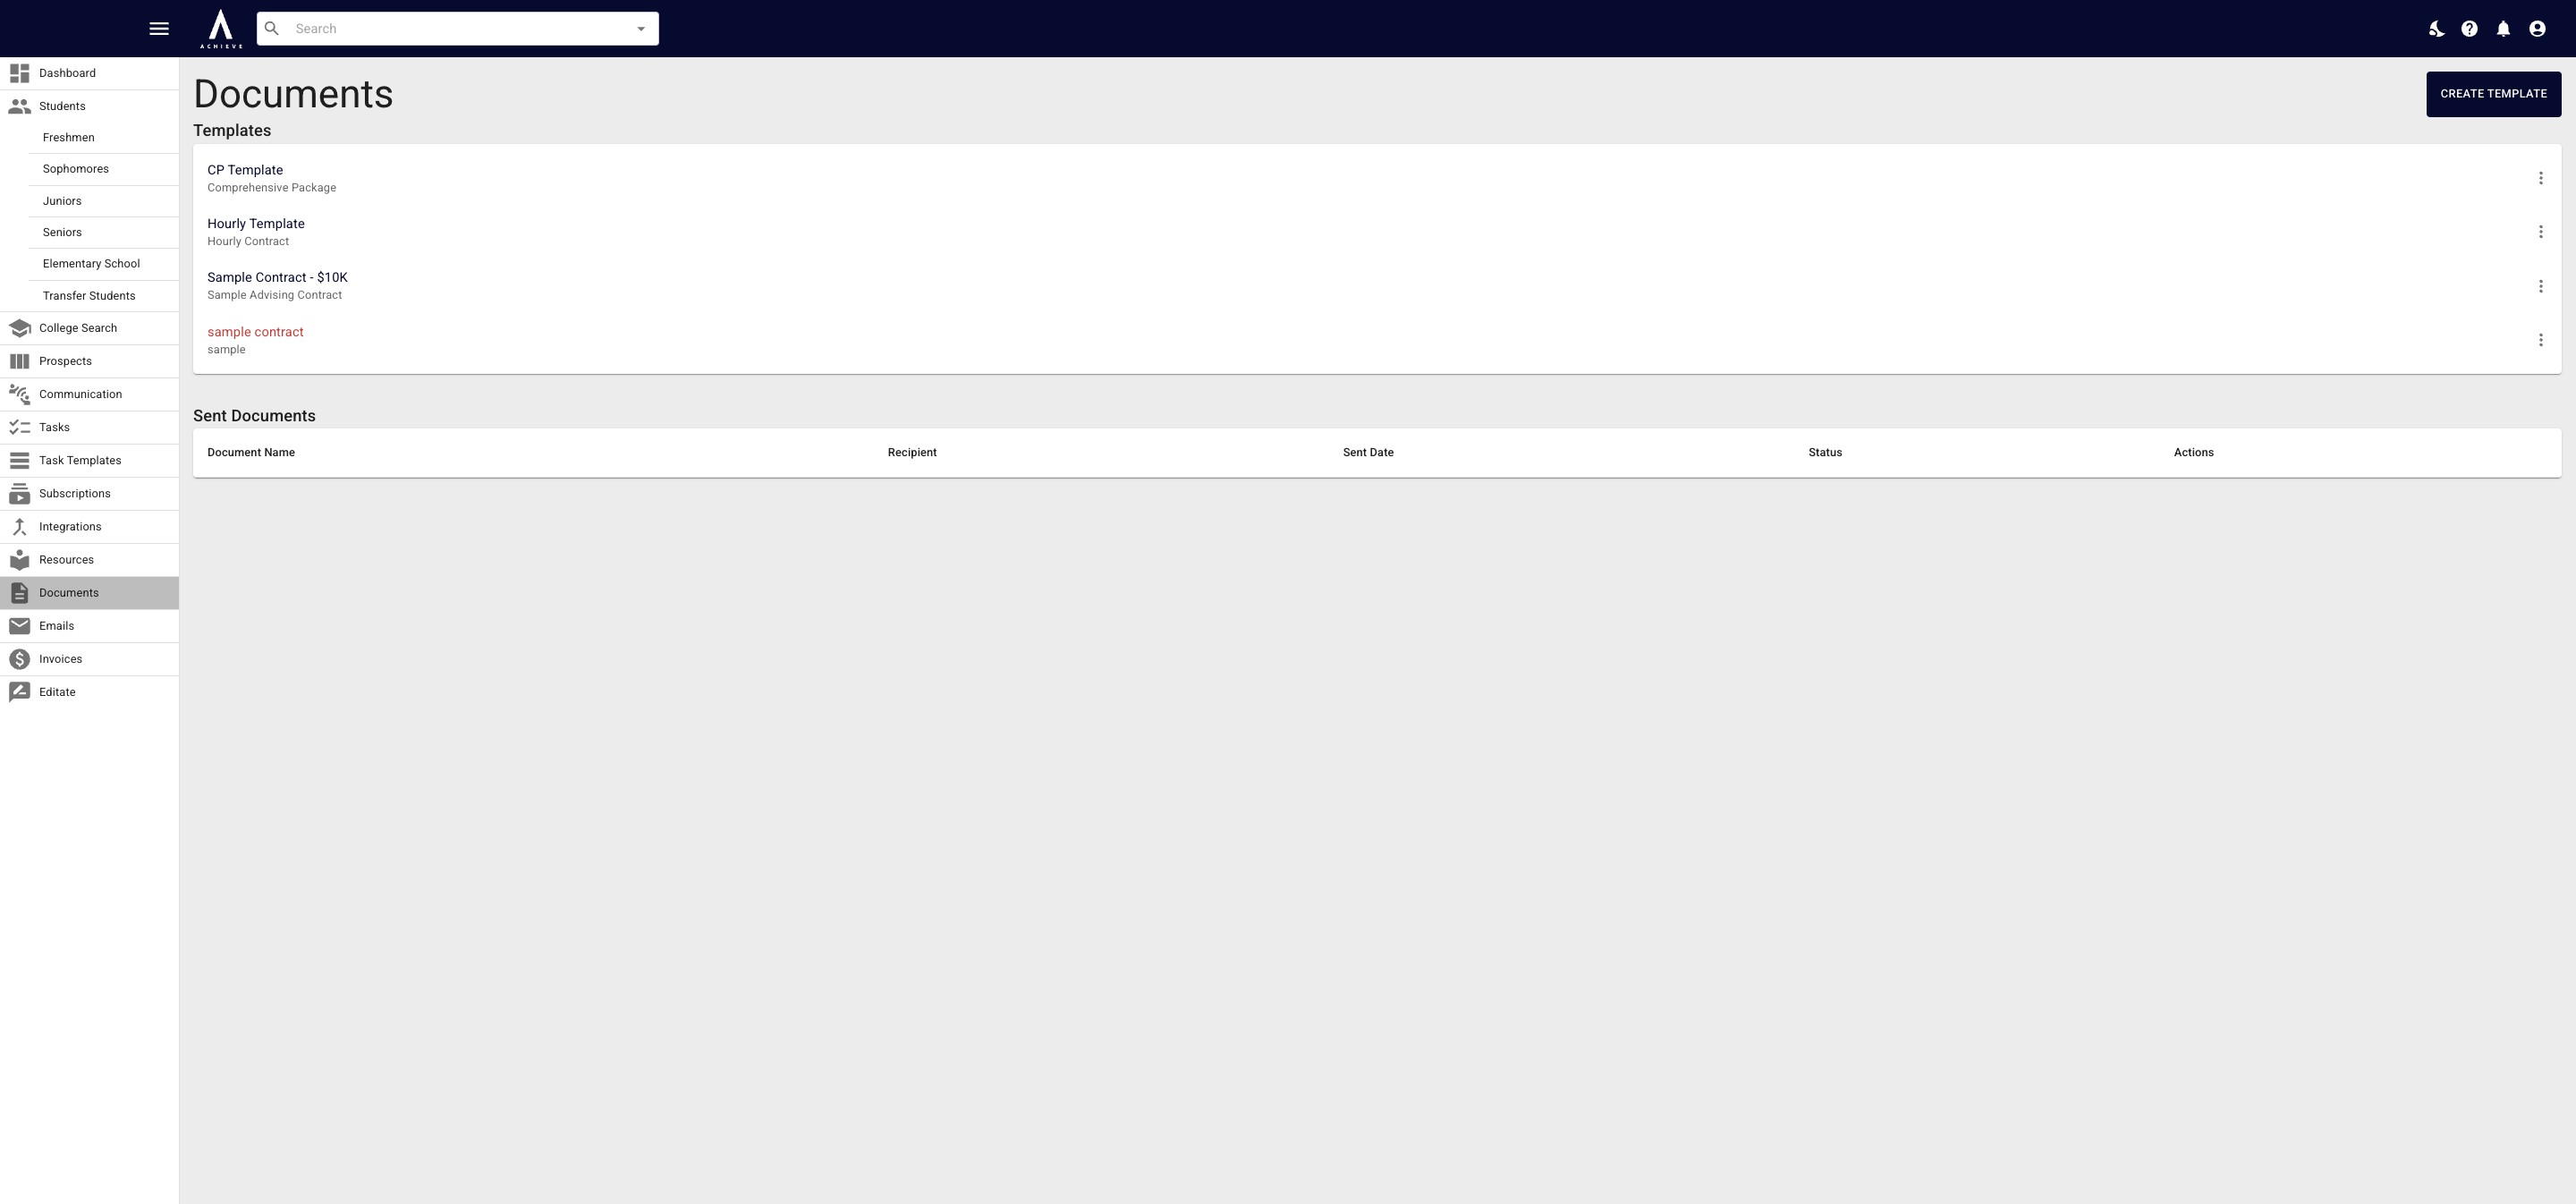
You'll know your new template is ready to send because, once it's saved, the template title will be in black font.
If the new template title had red font, it means there is something wrong with your template. A common issue is that fillable fields haven't been added yet.
Done 🚀