
Student Pipeline
A concise guide to customizing which columns are visible, rearranging columns, moving students between columns, filtering by tags, and more.
Navigate to https://app.achieveiec.com/student-pipeline
To select which columns are visible, click on the Columns icon
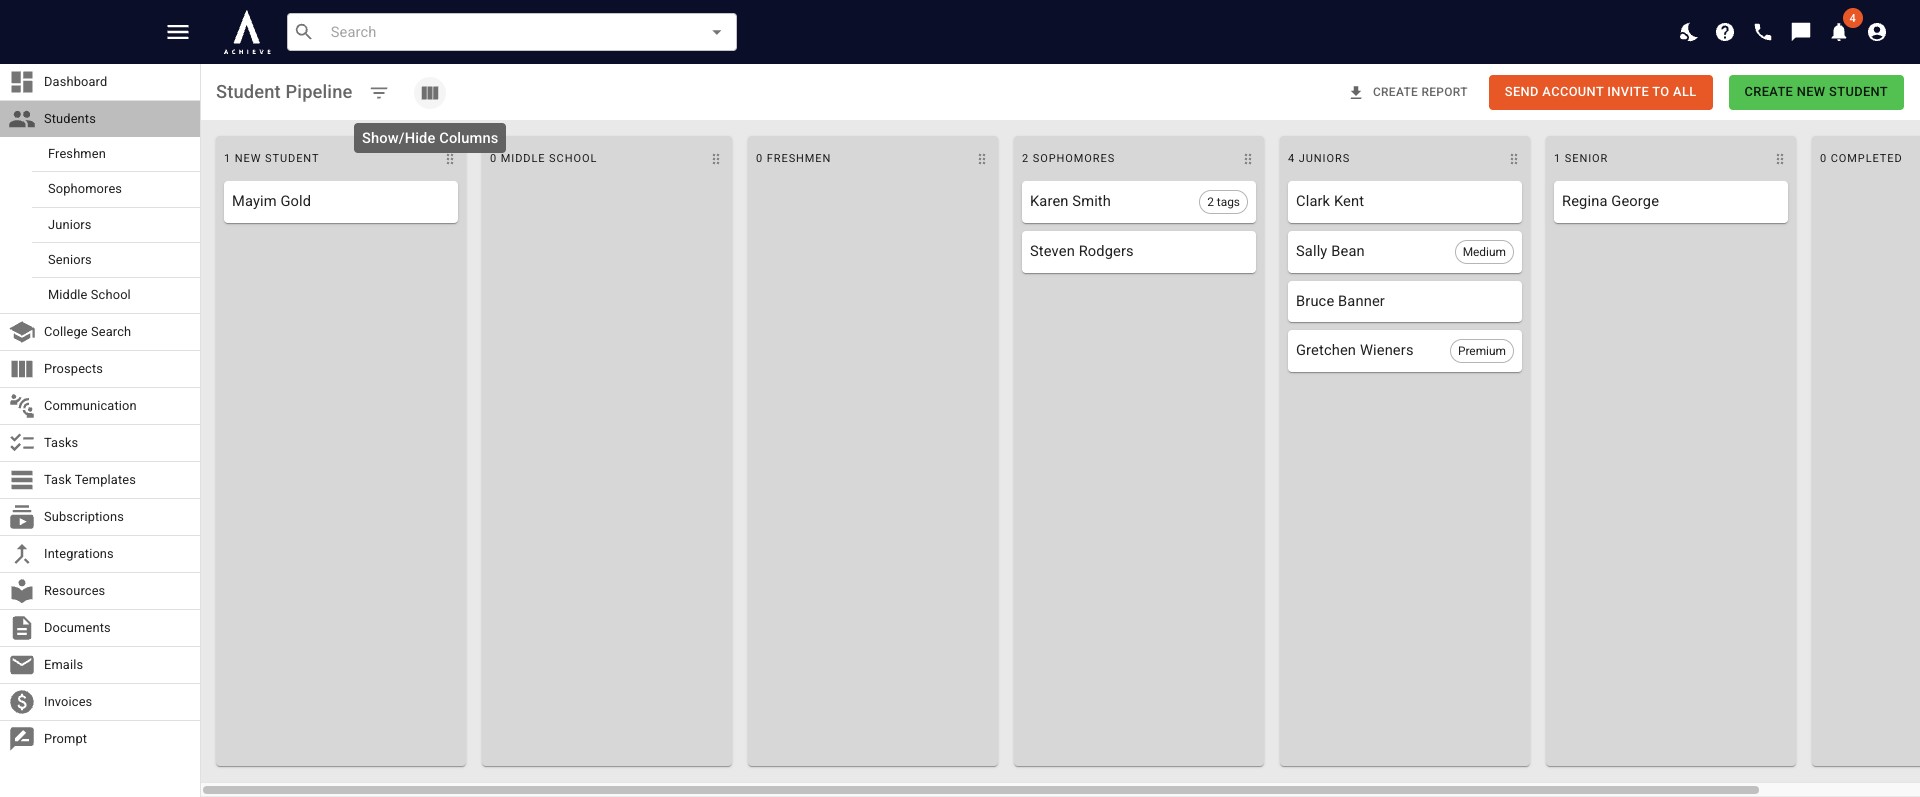
From the drop down list that appears, choose which columns you want to appear on the pipeline.
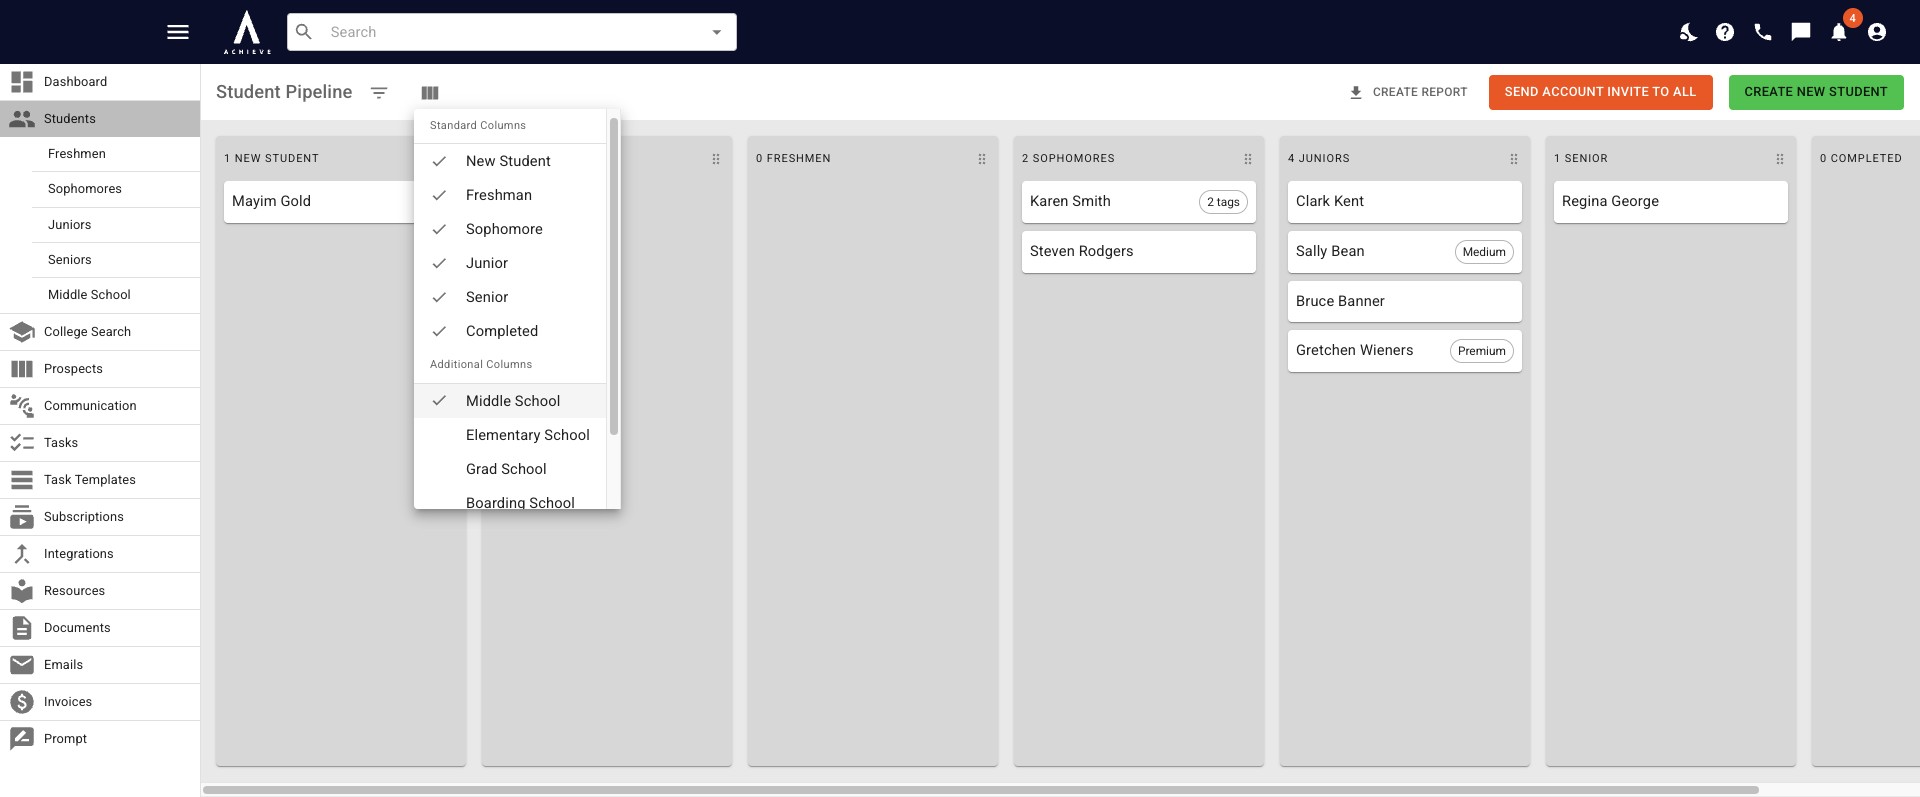
Students can be moved by dragging and dropping the tile with their name to a different column. You can also drag and drop columns to arrange them in your preferred order.
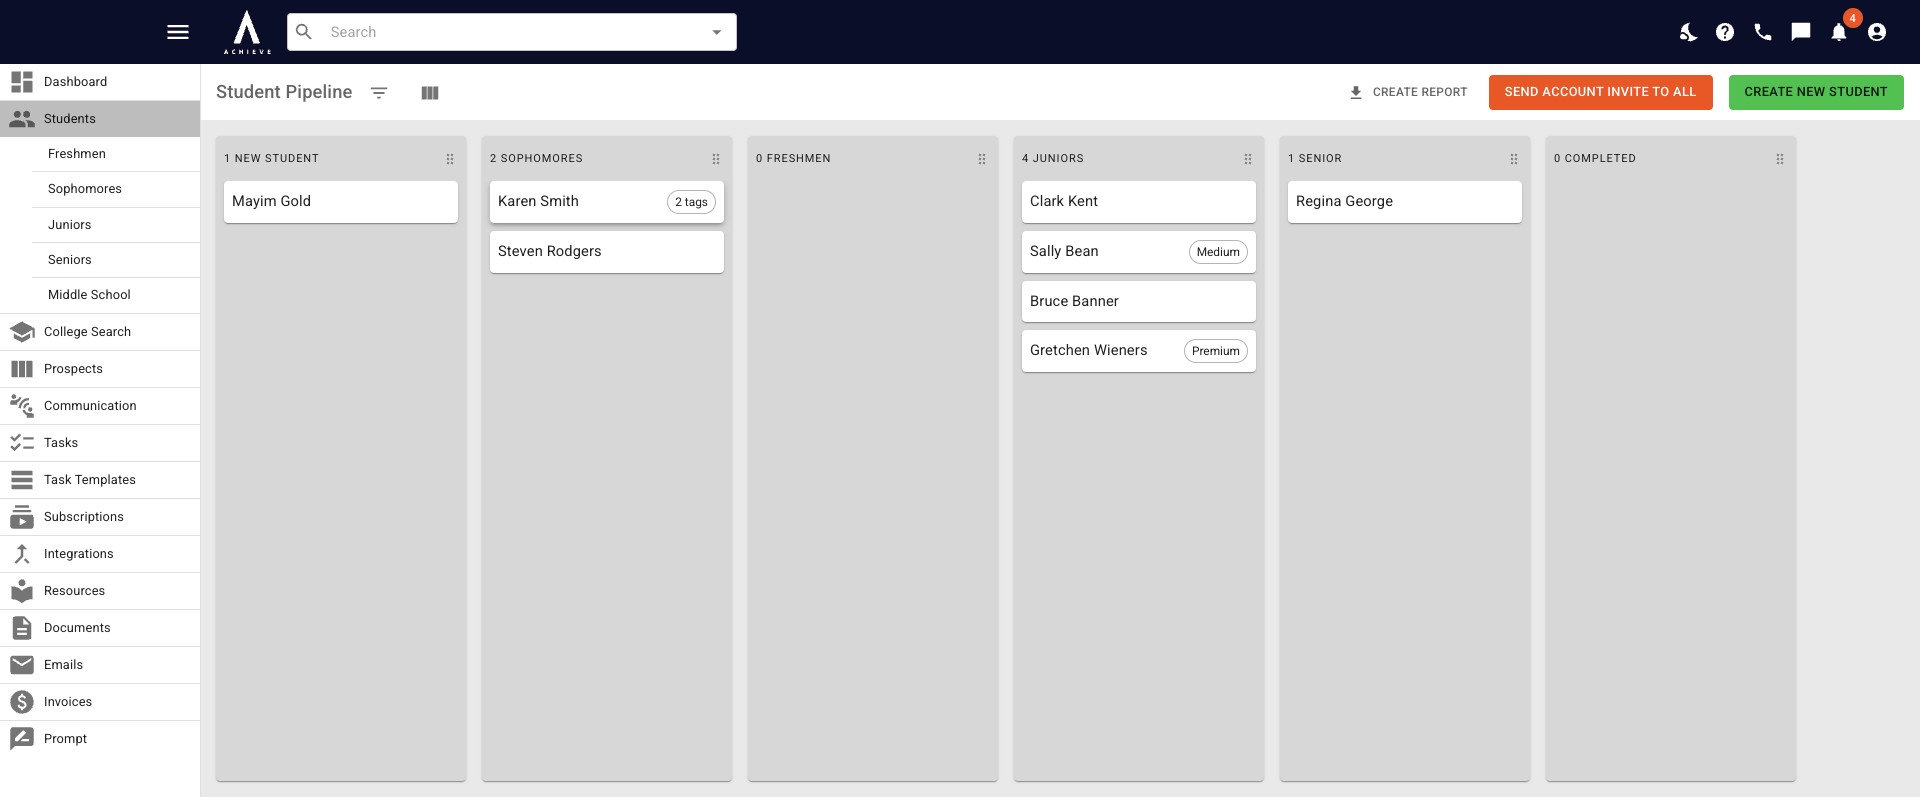
In the Student Pipeline, students are sorted by the last edit to their profile. The student you edited most recently will be at the top of each column.
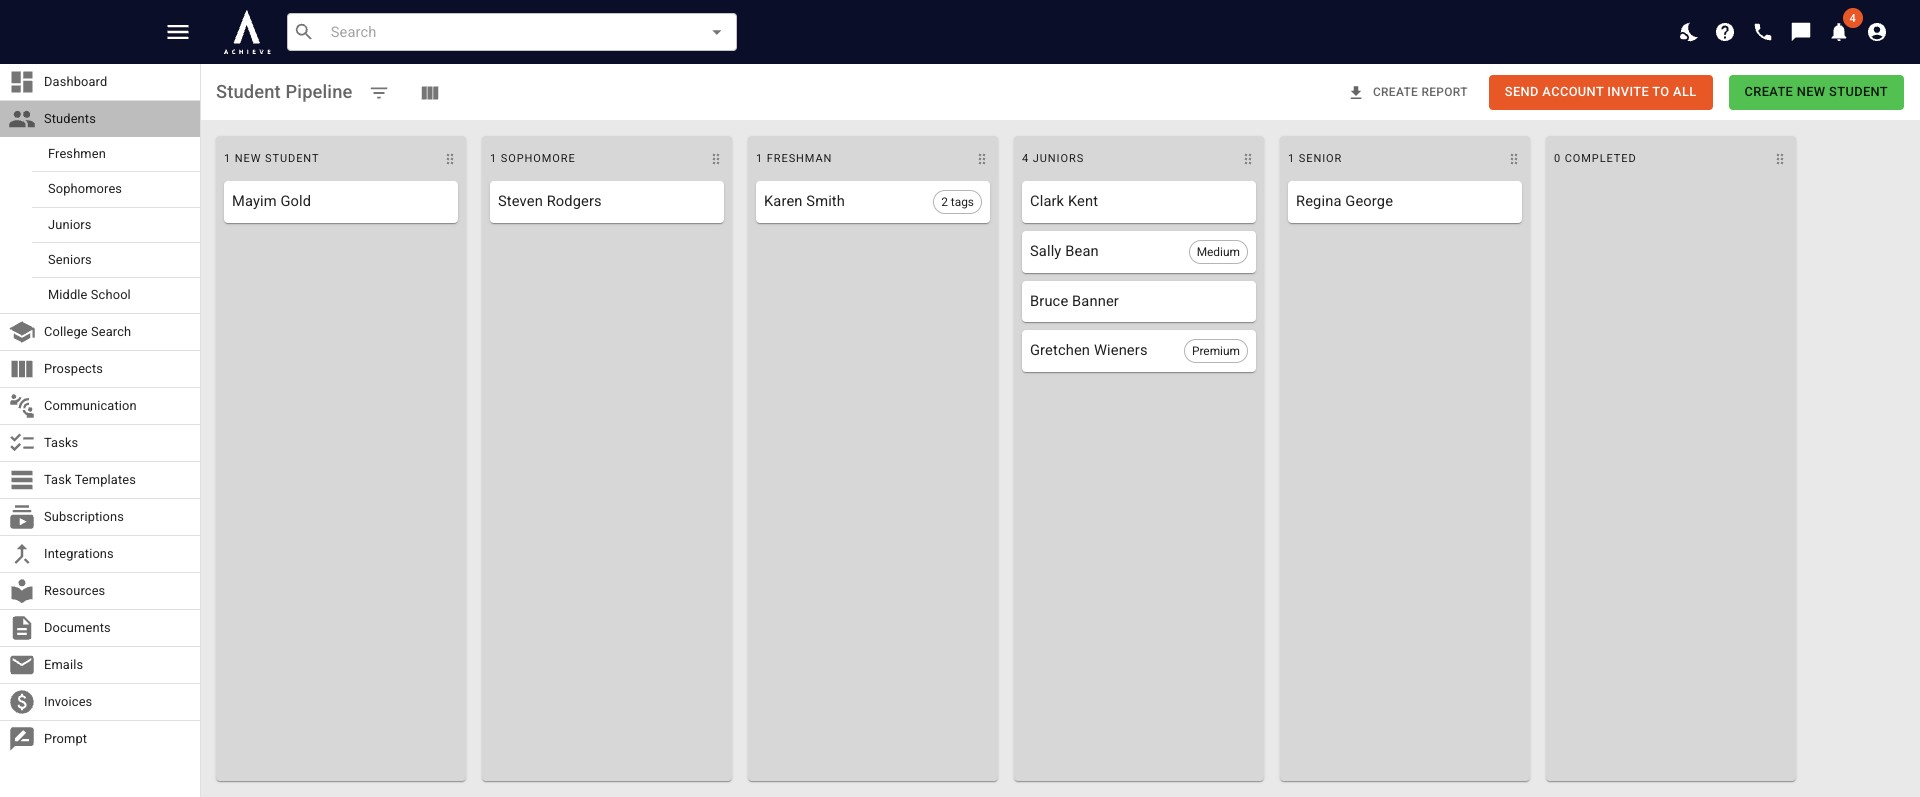
To filter students by tags, click on the Filter icon.
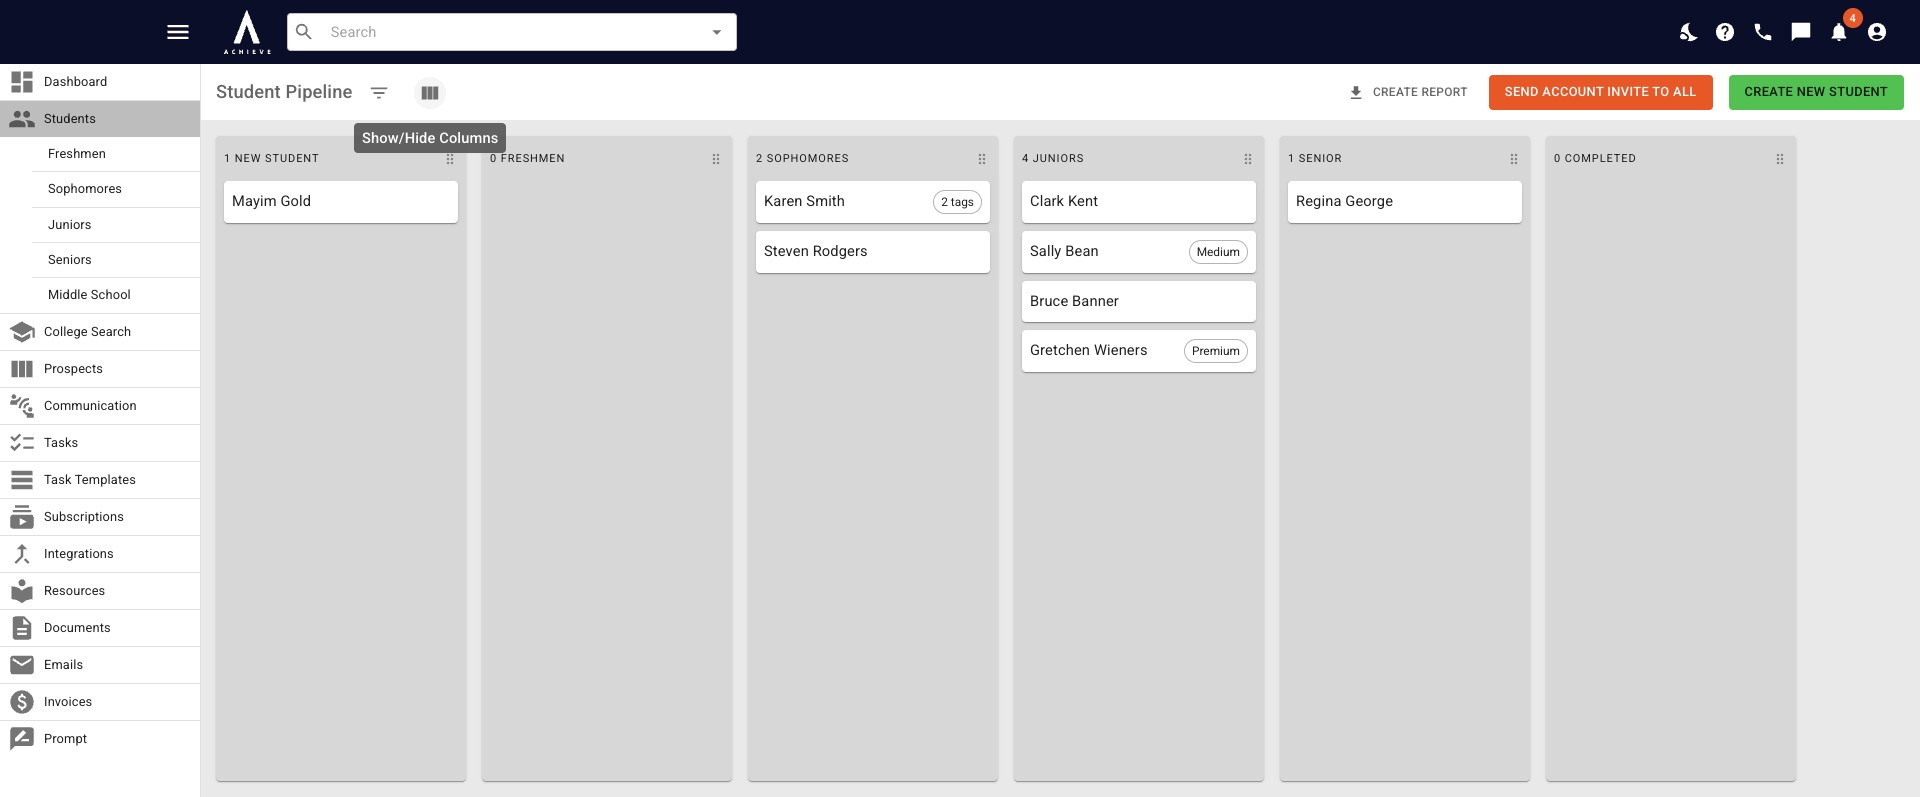
In the pop-up that appears, start typing to choose which tag(s) you want to filter by.
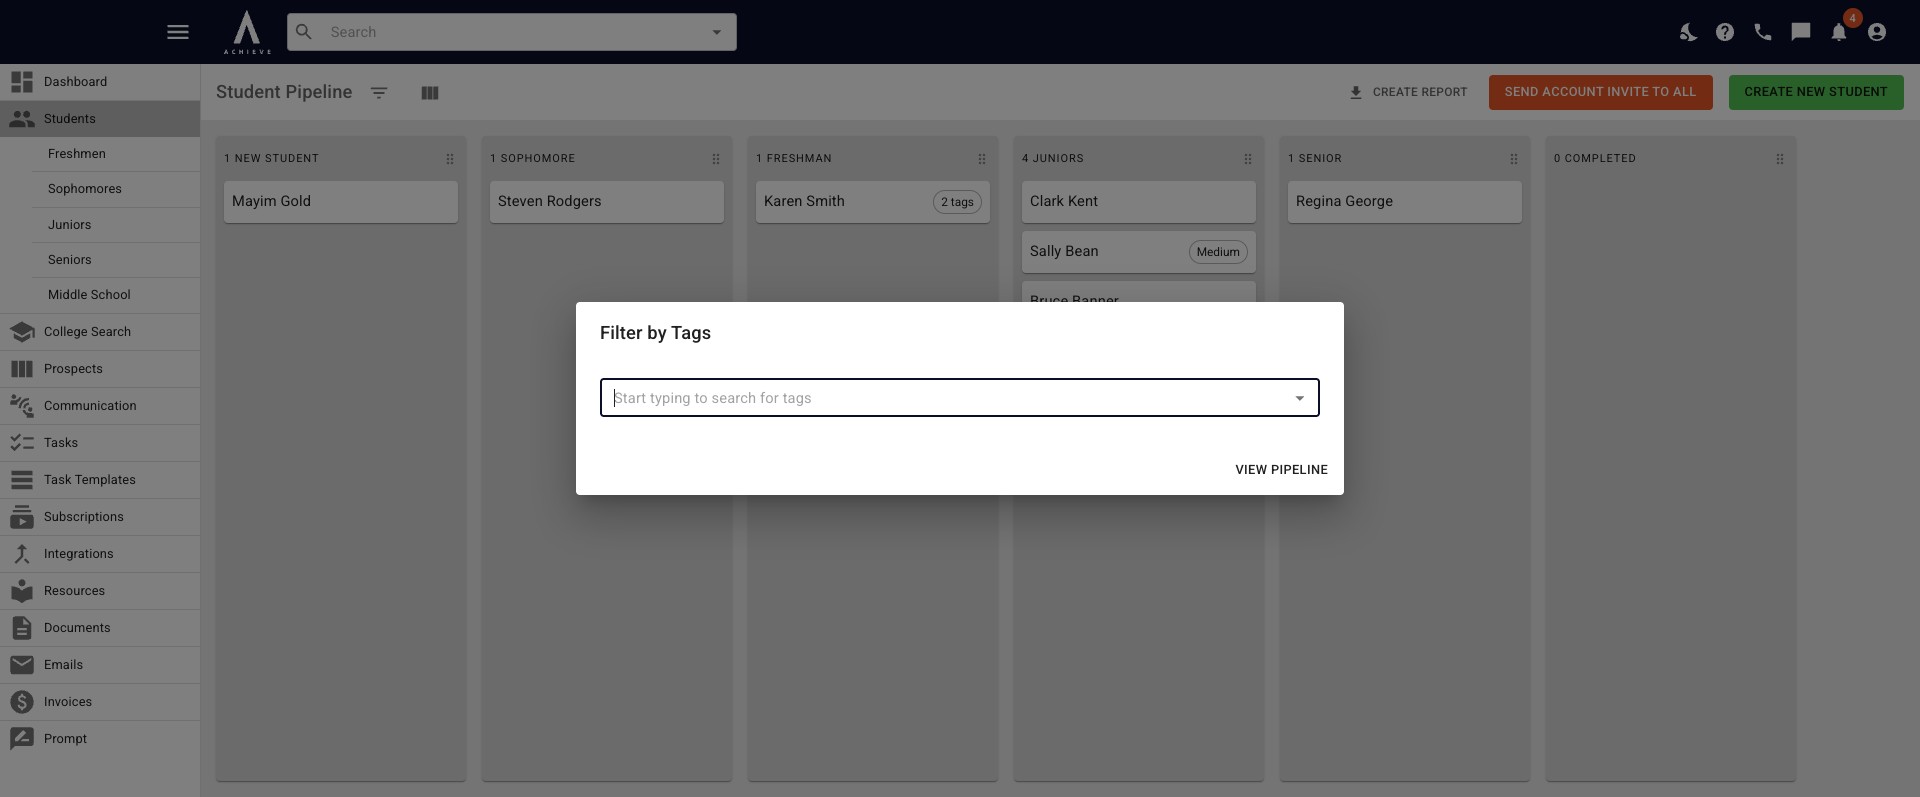
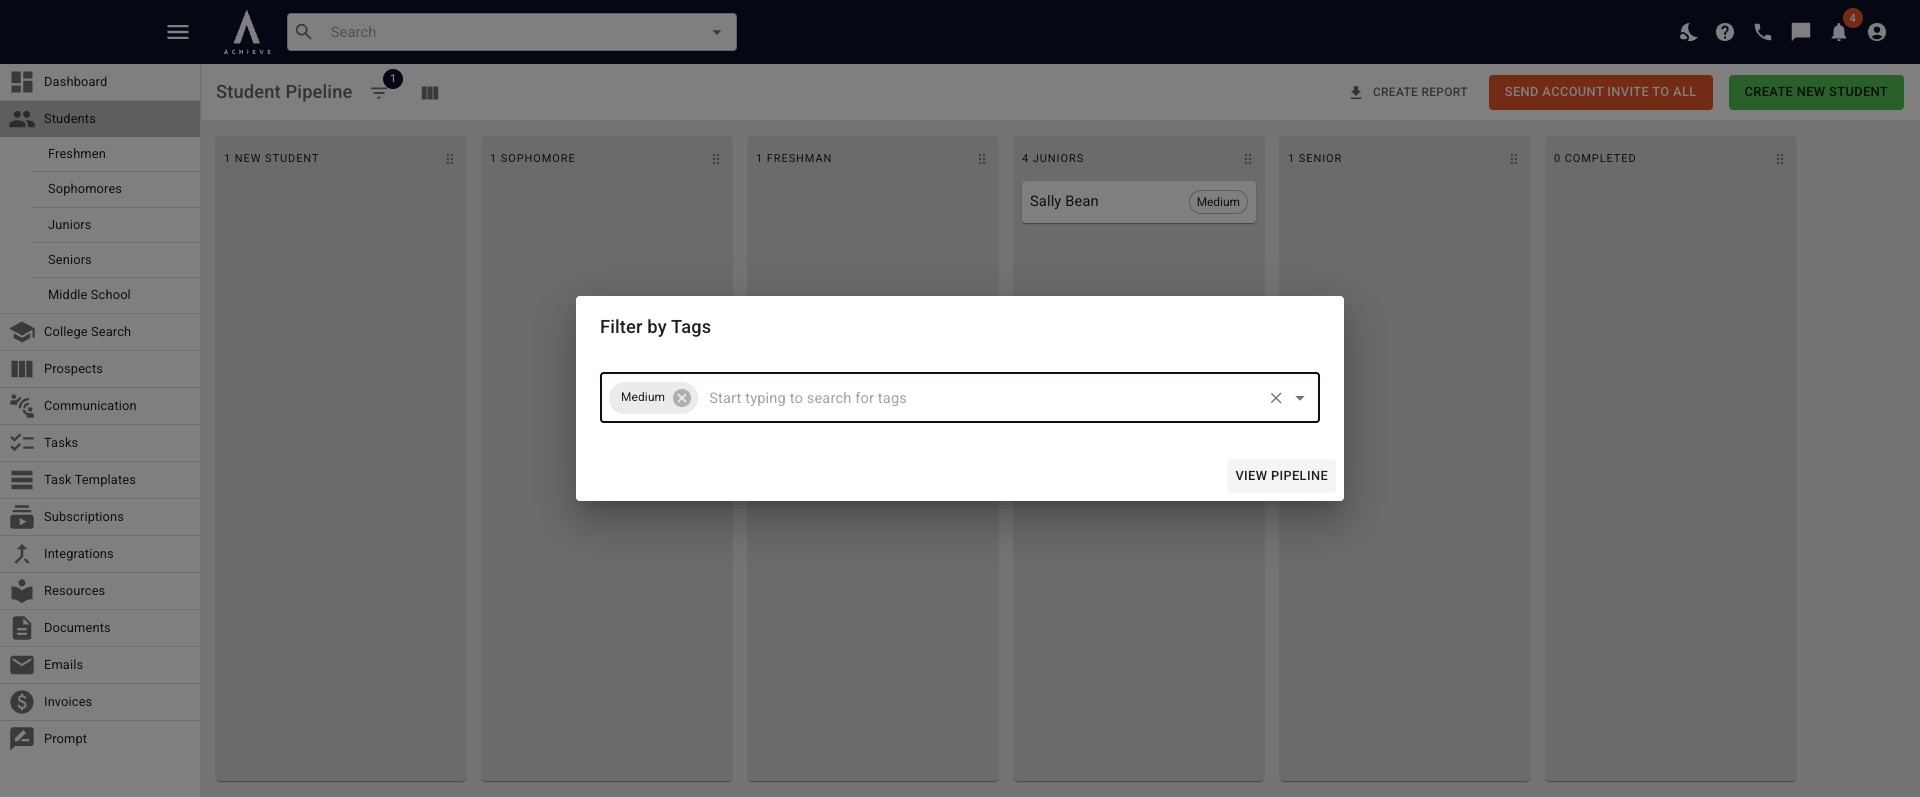
Once you have added all the applicable tags, click on View Pipeline.
You can also run a report for one student or group(s) of students by clicking Create Report.
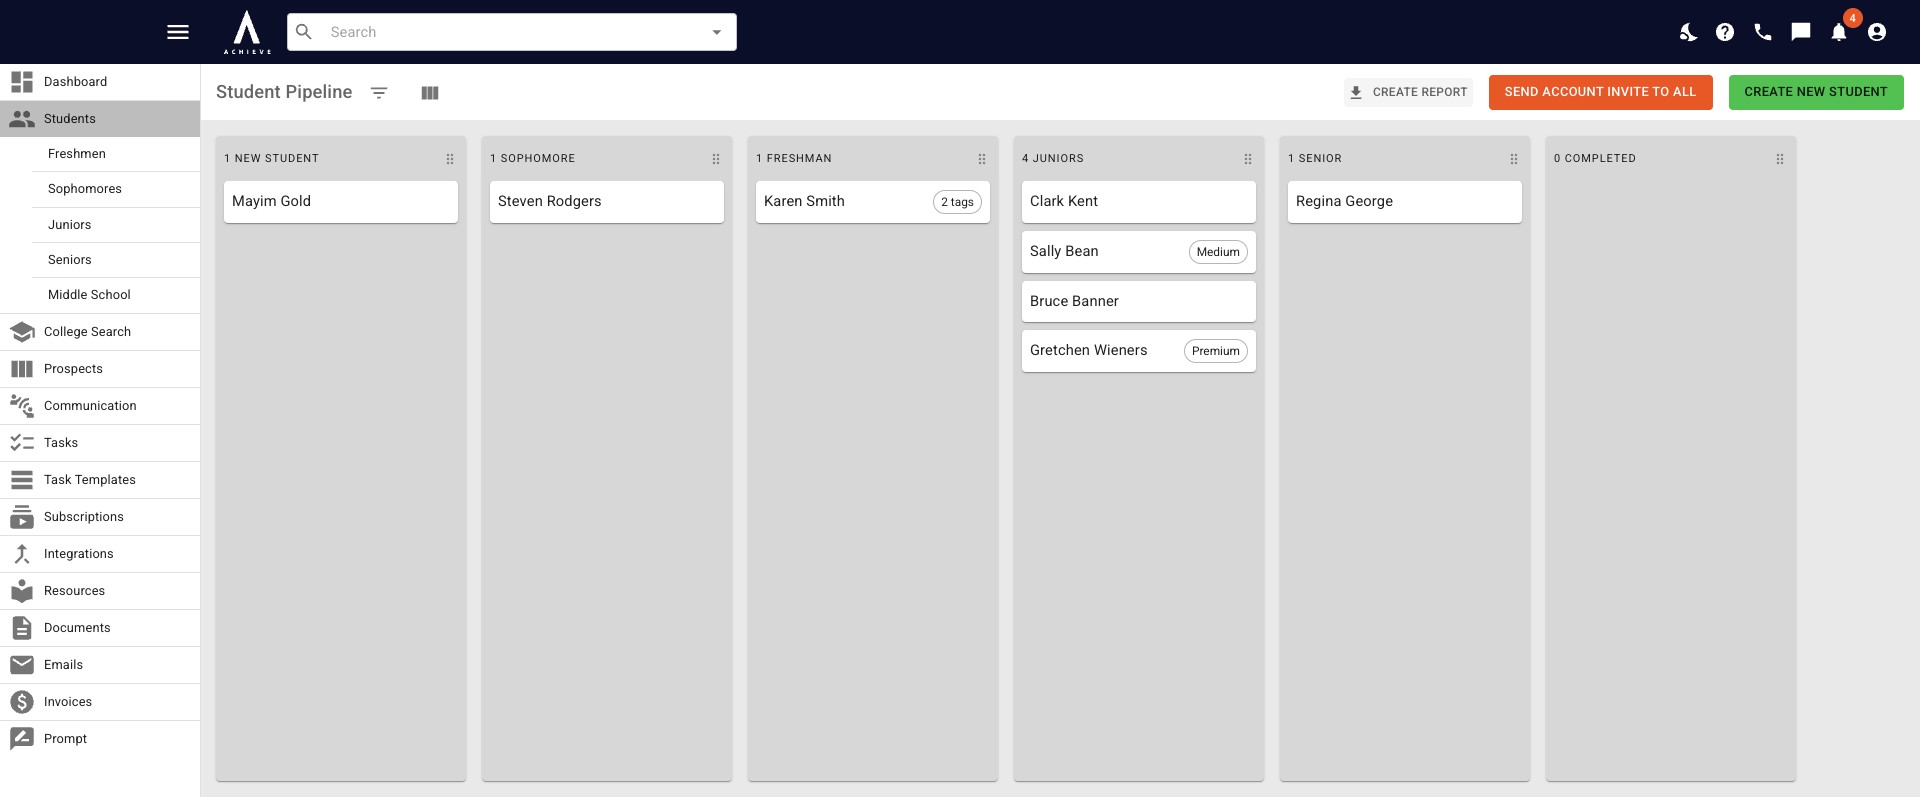
The Create Student Report pop-up will appear. For more information on reports, please see our Reports tutorial here.
](https://assets.guidejar.com/uploads/46977c6d-bd76-4ad9-a699-a354a71dc6e5/YUz4bmbSoodPxUaEVwf4IJQD9uo1/438c0b03-83d4-4e72-bfb3-d9850963a4f5/1776439251383.jpeg)
The Send Account Invites to All button will send Achieve account invites to students without an existing Achieve account.
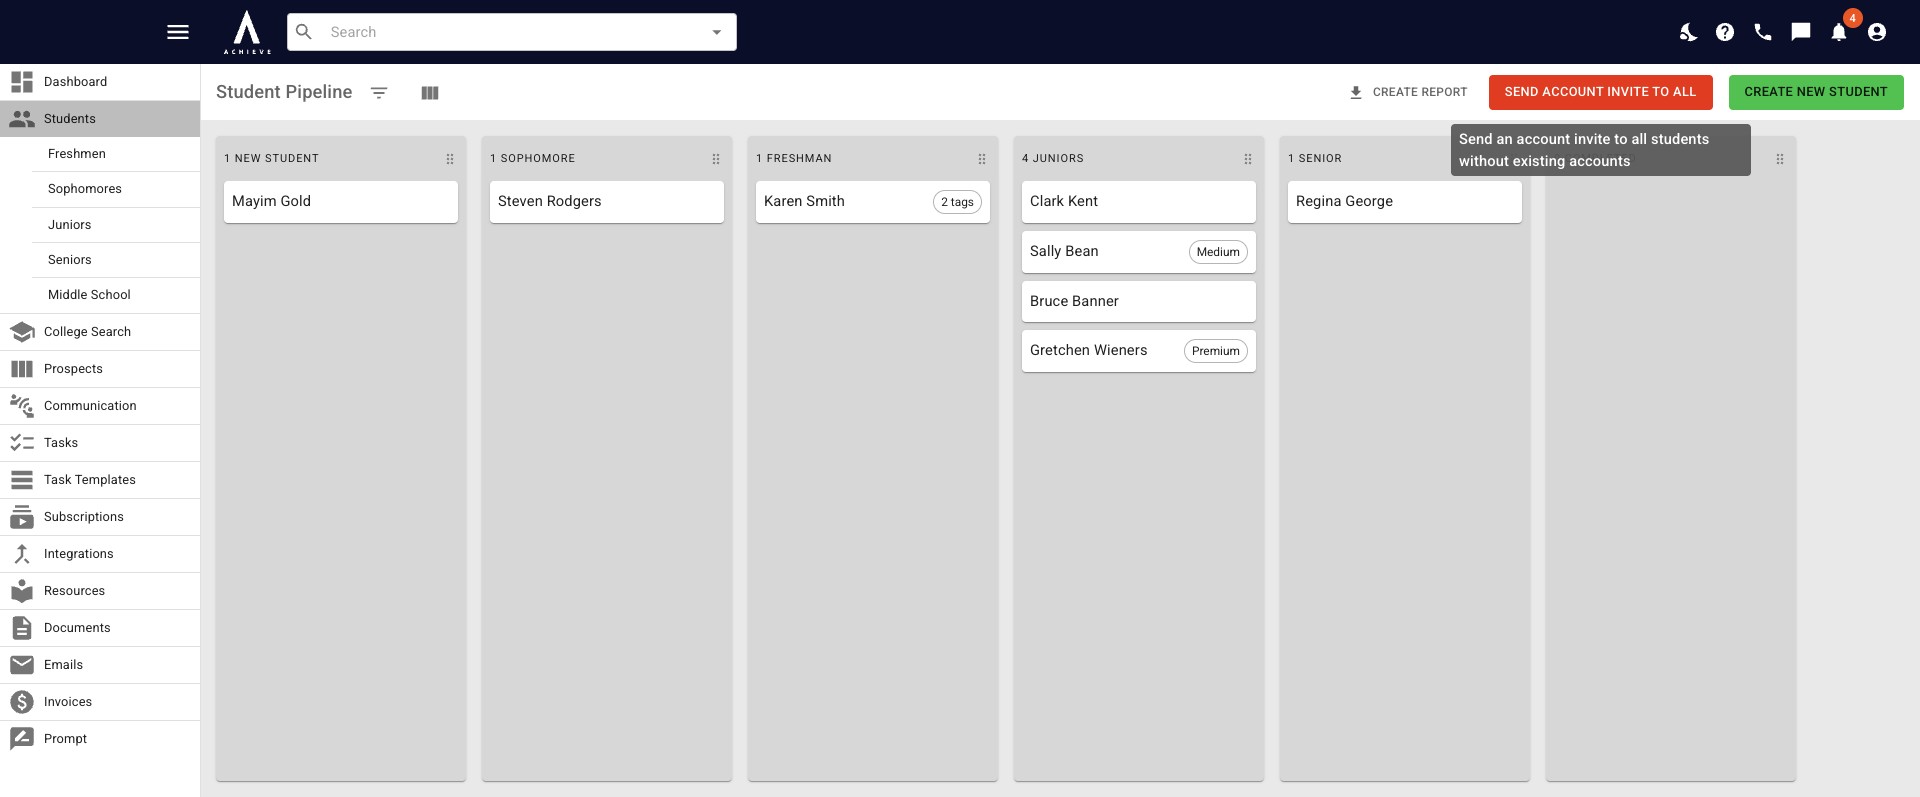
To create a new student, click on the Create New Student button. For more information on adding a new student, please visit the Create a New Student tutorial here.
.](https://assets.guidejar.com/uploads/1031ef21-9901-444d-8aed-bf1cca226cbe/YUz4bmbSoodPxUaEVwf4IJQD9uo1/1235c22a-a1f5-4f0c-a987-9ab2806ff41b/1776439455078.jpeg)
Done 🚀